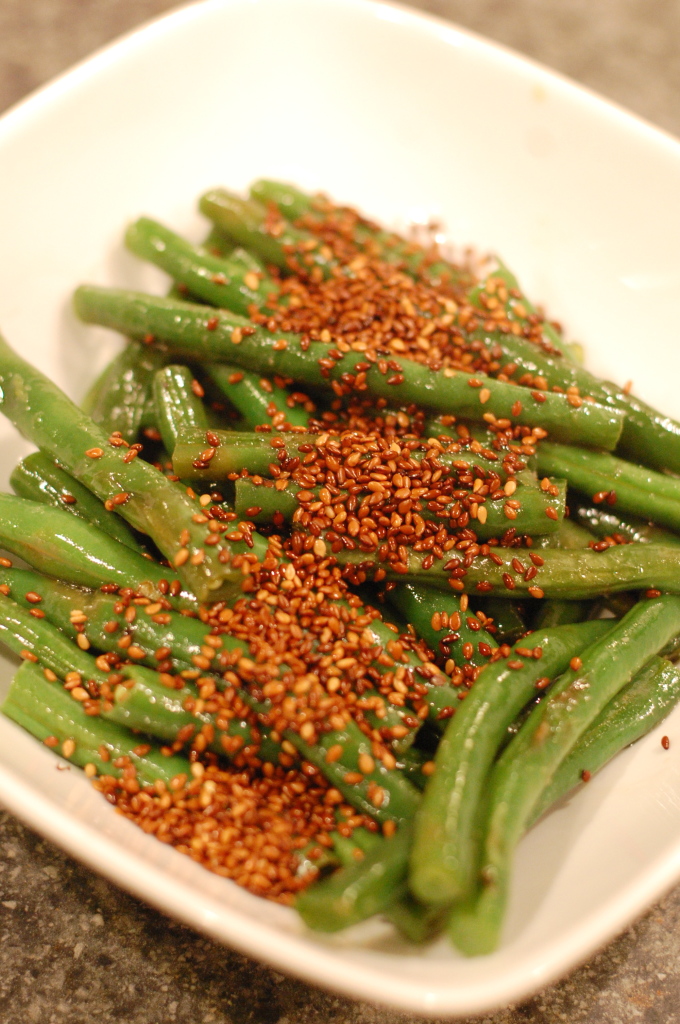
Easy Asian Green Beans

Confession time. I don’t cook anymore. I mean, I sort of cook, but only the fastest, easiest thing I can think of at 4:30 in the afternoon, with the one caveat that it can’t come entirely out of a box. Soup and sandwiches, basic oven chicken with baked potatoes, salads… I am running low on creativity.

So tonight I thought I’d change things up just a bit. I got some chicken egg rolls from the freezer section at Trader Joe’s. I put those on the menu along with plain brown rice and orange slices. Digging through my fridge, I also came up with a bag of green beans that needed to be used, so I threw some things together in the hopes of creating a passable Asian green bean to round out the meal, and what do you know, they turned out so tasty that even the girls gobbled them right up and asked for more.

Easy Asian Green Beans | BobbleHeadBabyEasy Asian Green Beans (Serves 4)

1 Tbs Peanut Oil
12oz Green Beans (washed and trimmed)
Garlic Salt to taste
2 tsp Sesame Seeds (toasted)
Medium sized frying pan with a lid

Heat oil uncovered in pan over medium-low heat. Add green beans and cover. Cook 5 minutes or until green beans start to brown on the bottom. Uncover, sprinkle with garlic salt and stir. Recover and cook for an additional 4-5 minutes, stirring periodically, until the beans are tender. Transfer to a serving dish and sprinkle with the sesame seeds.

And that’s it! So easy, right? But I’m telling you, the garlic, peanut, and sesame flavors mingled together just perfectly, making this recipe more than just the sum of it’s parts. I’m going to be serving this one again for sure!

If only all my experiments turned out this well, I might try to be clever in the kitchen more often. Oh well! Feel free to leave me a comment and let me know what your favorite go-to easy dinner menu looks like. Got any tricks, short-cuts or simple sides? I’m all ears!

Easy Gourmet Popcorn Recipe

A couple weeks ago a friend of mine was organizing the decorations and treats for a bridal shower at church.  After detailing all of the adorable decor plans and other delights that were being cooked up, she said, “Would you bring something chocolate to nibble on?  I know you’ll come up with something great.”  Flattering, to be sure, but just a bit of pressure because I knew she wasn’t asking for a simple pan of brownies.  So with a busy week ahead, I did the only thing I could do and headed to Pinterest looking for a quickly thrown together chocolate dessert, but one that didn’t LOOK quick and easy.  The only thing I could come up with was some “easy chocolate truffles”, but since our dear friend Martha was the source of said recipe, I had my doubts about the “easy” part.  I decided to not think about it any more until I absolutely had to, hoping inspiration would strike.

Well, sometimes fortune favors the procrastinator, because come Thursday morning, three days before the shower, a wonderful neighbor of mine brought Cake Batter Popcorn for our playgroup snack that week.  It was cute, it was delicious, and she said it was the simplest thing ever to throw together.  It was like the heavens opened, angels were singing, bells ringing…. and I knew right then and there, I don’t have to try to make Martha Stewart truffles!  Hallelujah!  HALLELUJAH!

Here’s the heaven-sent recipe my friend gave me…

CAKE BATTER POPCORN
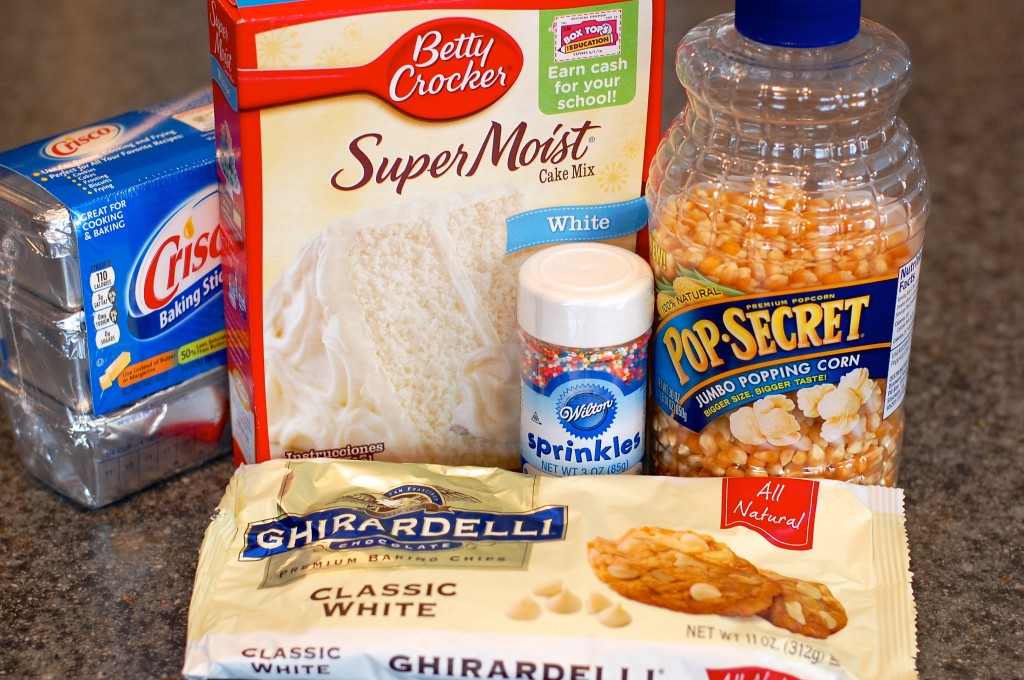
Ingredients:
One 11oz bag white chocolate chips
1/4 cup vegetable shortening
1 1/2 cups dry white or yellow cake mix (about half a standard boxed mix)
8-10 cups popped popcorn
1/4 cup sprinkles

Directions:
1. Melt the chocolate chips in the microwave by putting them in for 30 second intervals, stirring between each, until the chocolate is fully melted.

2. Add the vegetable shortening to the melted chocolate, and stir until it is melted together. (You can put it back into the microwave for a few seconds if you need to.  The runnier the mixture is, the better!)

3. Working quickly stir the cake mix into the chocolate mixture.

4. Immediately pour coating over the popcorn and toss together to coat evenly.

5. Spread popcorn out on cookie sheets to cool/harden and immediately sprinkle with your choice of sprinkles.

6.  Wait until hardened and then enjoy or transfer to an airtight container for storage.

It really is as simple as that!

Once I’d successfully accomplished the Cake Batter Delight, I decided to try my hand at altering the recipe to achieve a different flavor.  Here’s what I came up with:

CHERRY BROWNIE BATTER POPCORN
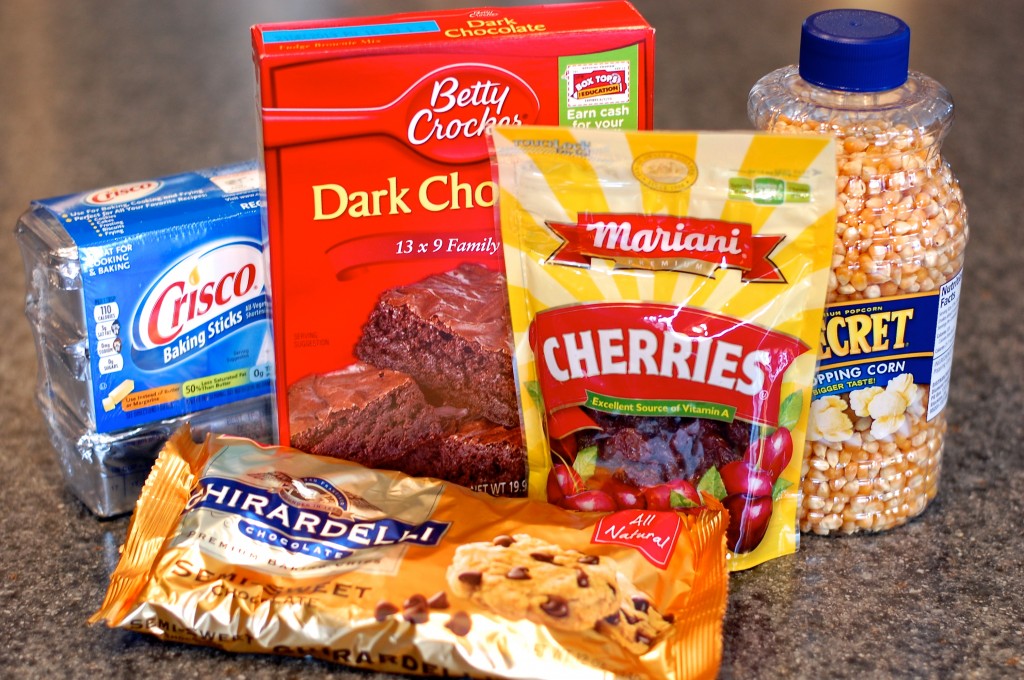
Ingredients:
One 11oz bag semi-sweet chocolate chips
1/4 cup vegetable shortening
1 1/2 cups dry brownie mix (about half a standard boxed mix)
8-10 cups popped popcorn
One 5 oz bag dried cherries

Following the same six steps I did for the Cake Batter Delight, I threw together Cherry Brownie Batter Bliss, an equally decadent treat.

After they were both prepared (and had gone through rigorous quality control testing!) I portioned them out into jumbo muffin paper baking cups and took them to the shower.  Yum!

Both treats were delicious, hard to decide which one was better, I was leaning toward the brownie batter, but Peter (who helped with the quality control) was completely in favor of the cake batter variety.  Makes me want to do some more experimenting, because the possible permutations of this recipe are virtually endless.  I haven’t yet tried any other variations, so attempt at your own risk, but I don’t see why you couldn’t build your own recipe like this…

PICK YOUR OWN FLAVOR POPCORN

Ingredients:
One 11 oz bag candy chips (white, milk, dark chocolate, mint, butterscotch, etc)
1/4 cup semi-solid oil (vegetable shortening, peanut butter or coconut oil)
1 1/2 cups dry cake (chocolate, white, red velvet) or cookie (sugar, snickerdoole) mix
8-10 cups popped popcorn
1/4-1/2 cup candy, nuts, sprinkles or dried fruit pieces

Combine ingredients using the same steps as the above recipes.

I’m thinking dark chocolate chips with coconut oil, chocolate cake mix and flaked coconut for an Almond Joy Popcorn, or milk chocolate chips with peanut butter, brownie mix and chopped up Reese’s Peanut Butter Cups for Chocolate Peanut Butter Explosion.  (Can someone get me a job naming ice cream flavors, please!?!) You might be even be able to do seasonal flavors like for autumn using a spice cake mix and candy corn, or Christmas with some white chocolate chips and peppermint bits.

Okay, so now that you are inspired (and maybe hungry) please leave a comment letting me know what flavor combination YOU would choose!
The Perfect Fall Soup

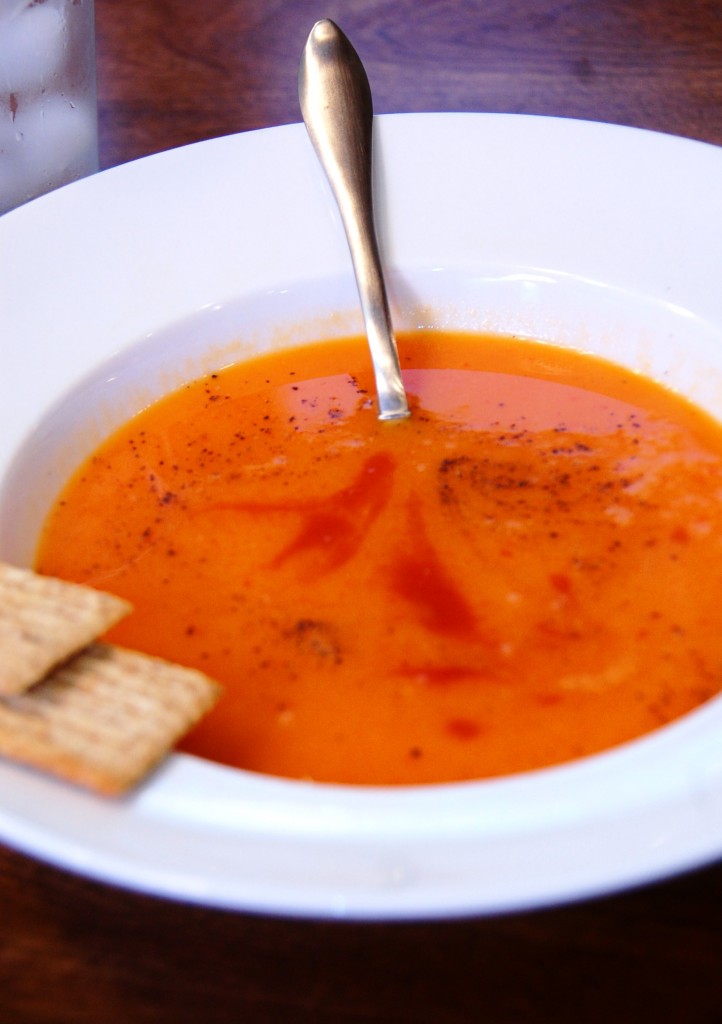
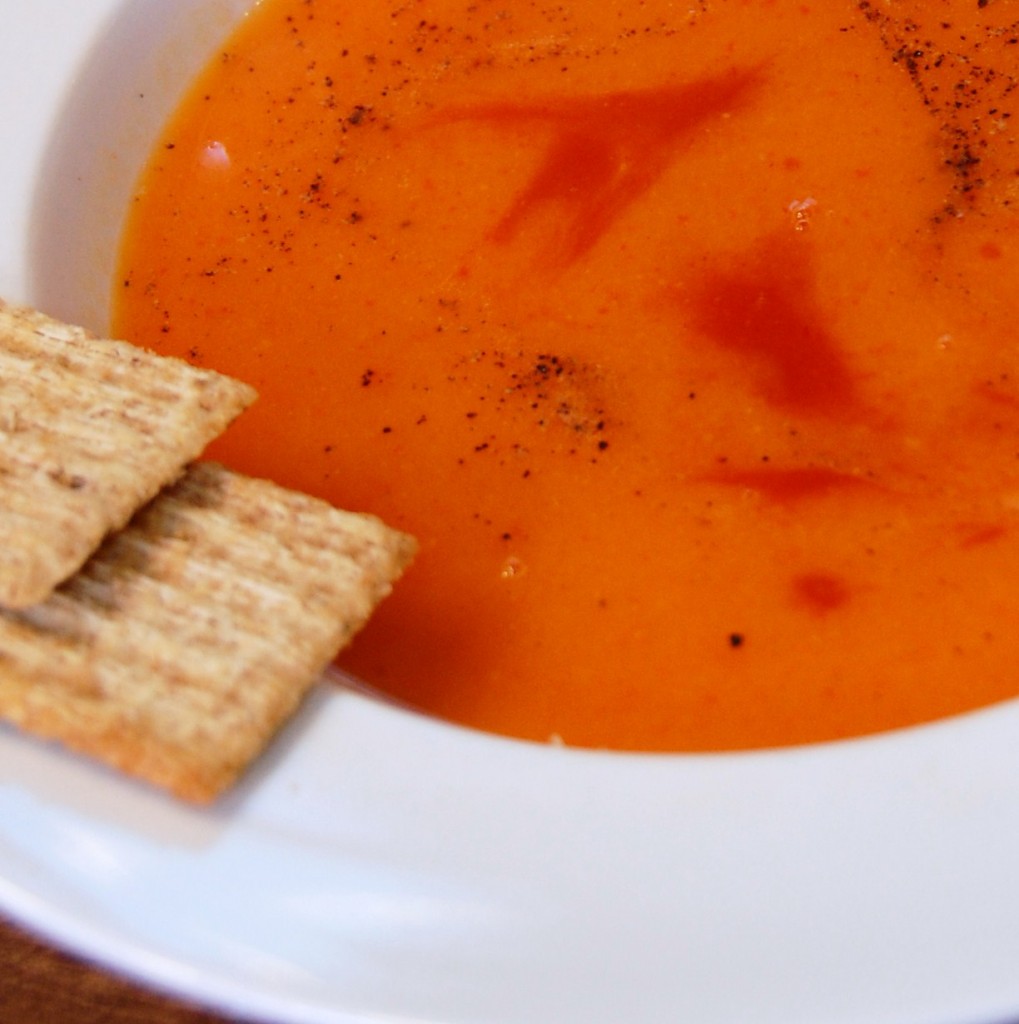
Alright, I know I’ve posted this recipe before, but I just made it for the first time this fall after a long summer hiatus and I’m head over heels in love again.  It is just SO good (and this time I even took a picture to prove it).  You MUST try this soup.  My current favorite way to eat it is topped with Asiago cheese and garlic croutons, but really, you can’t mess this up.  It works as a starter or as a stand alone meal.  You can serve it with a humble grilled cheese sandwich or a fancy five course meal.  One soup does it all!

Sweet Potato and Red Pepper Soup
2 red bell peppers (about 8 oz), seeded and cubed
generous 4 cups diced sweet potatoes
1 onion, roughly chopped
3 large garlic cloves, minced
1 1/4 cups dry white wine
1 1/4 quarts (5 cups) vegetable or chicken stock*
Frank’s RedHot sauce
salt and freshly ground black pepper

* I usually use chicken stock for the flavor, but to make the soup vegetarian, use vegetable stock.

Put the red pepper, sweet potatoes, onion, garlic, wine and stock into a large sauce pan or stock pot and bring to a boil. Lower the heat and simmer for 30 minutes or until all the vegetables are soft.  Transfer the soup in batches to a blender (or use an immersion blender) and process until smooth.  Season to taste with hot sauce, salt and pepper.  Transfer to individual bowls and garnish with a dash or two (or ten) of hot sauce.

I usually make a double batch in my stock pot and either save some for later or give a meal away to a family member, neighbor or friend who could use a kind gesture.  And it freezes beautifully, so no worries about leftovers!

It’s like fall in a bowl!  Love it!

Trying New Things

Today Alethea and I decided to try a few new things.

THING 1

Since I grew up living in a townhouse, there are many yard related tasks that I didn’t do as a child.  For example, I’ve never mowed a lawn and I don’t recall ever having jumped into an enormous pile of leaves.  Today wasn’t a lawn mowing day, but the leaf thing seemed like a possibility.  However, instead of trying it myself, I was content to let Alethea have this first for her own.

Here are a few pics from Alethea’s inaugural leaf pile jumping:

THING 2

Alethea has been really into reading the Frances books lately, especially Bread and Jam for Frances.  I started noticing how in several of the books the characters mention cream cheese sandwiches: cream cheese and chive, cream cheese and jam, cream cheese, cucumber and tomato on rye, etc.  Cream cheese isn’t something that I’ve ever eaten as a main sandwich ingredient, but it didn’t sound too bad, so today we gave it a whirl.  For lunch, Alethea and I had cream cheese and tomatoes on whole wheat bread with a sprinkling of dill for zip.  Turns out cream cheese and tomatoes make for a pretty tasty sandwich.  I enjoyed mine and Alethea liked hers so well, she requested and was given a second serving!  I can see cream cheese becoming a staple around here.

THING 3

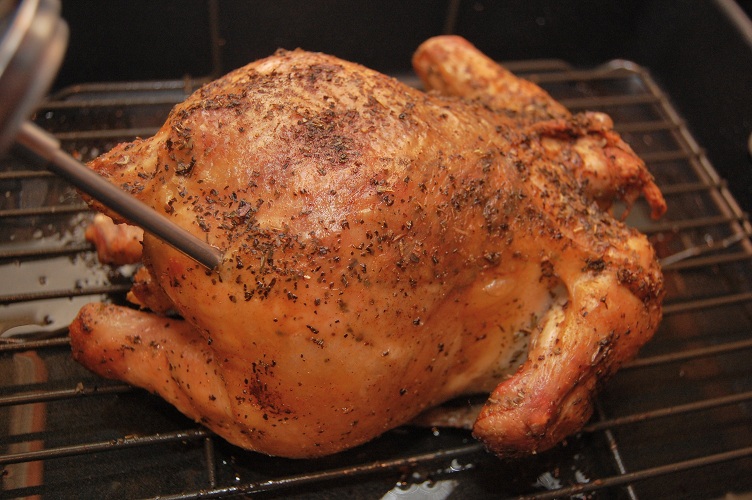
Has anyone else noticed how crazy expensive chicken is getting?  I’ve gotten to the point that I’m doing my weekly meal planning after I go to the grocery store, just because I can’t bring myself to buy chicken if it’s not on sale.  Boneless skinless breasts haven’t been marked down lately, but whole chickens were, which is how I ended up with a bird that needed roasting.  Never roasted a whole chicken before, but I’m always up for a culinary adventure.  So armed with some advice and a recipe that I sort of followed, I whipped up this beauty for dinner tonight:

I think I did reasonably well for my first attempt.  The meat was incredibly tender, practically falling off the bone.  The flavor was good too, but not anything to write home about.  Alethea gave it two thumbs up though and it’s hard to get her to eat chicken that’s not in a nugget form, so I will definitely need to try this again.

So that was our day of new things.  What about you?  Have you done/tried anything new lately?  A new food, a new hobby, a new route to work?  Is there something that people would be surprised to learn that you’ve never done?  Or have you ever based your menu choices off of a piece of children’s literature?  Please, do tell!

How to Candy Nuts with an Eight Month Old

Have you ever seen a fancy restaurant salad with beautiful candied nuts and thought, “Wow! Bet those were hard to make!”  Well, I always thought so too until a friend told me the truth.  They are neither complicated, difficult or time consuming to cook.  In fact, they are so easy that this afternoon I whipped some up while simultaneously entertaining my almost-eight-month-old.

Here’s how it went:

Step 1: Distract eight-month-old with piece of lettuce

She’s a sucker for anything food related that she’s allowed to put in her own mouth, so the lettuce was a big hit.

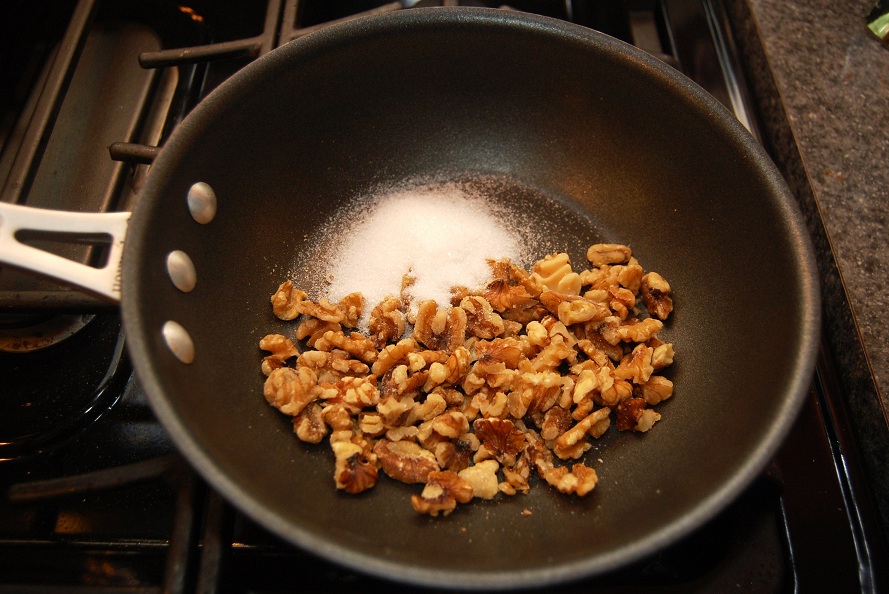
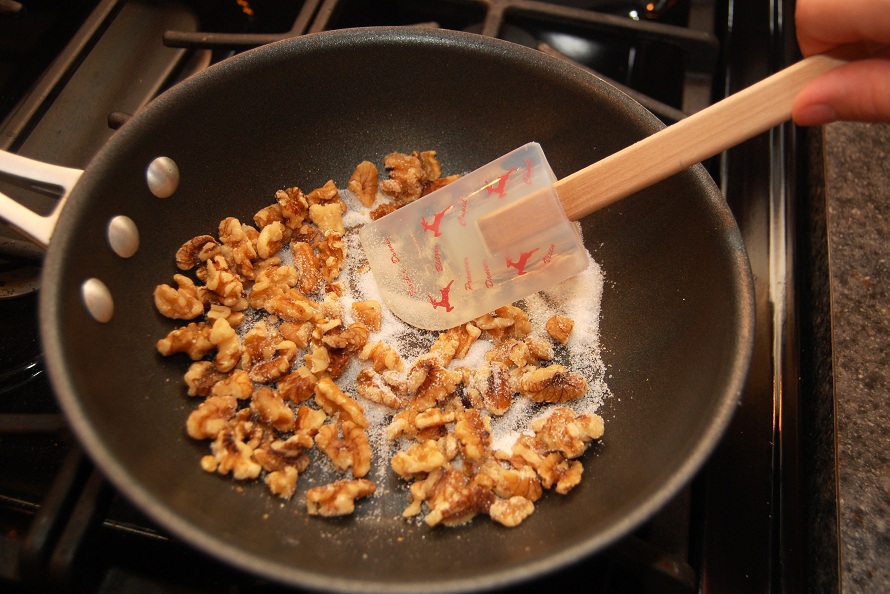
Step 2: Combine nuts and granulated sugar in a small non-stick skillet

Use a ratio of 1½ to 2 tablespoons of sugar for every half cup of nuts.  (I went with walnut pieces this time, but it works equally well to use whole or sliced almonds or pecans as well.)

Step 3: Cook over medium-high heat, stirring occasionally

While I wouldn’t necessarily advise trying to potty train a toddler while cooking these (speaking from previous experience, you may end up with a burned mess), they don’t need to be constantly watched.  Just a periodic stir will do nicely.

In fact, you can do this step while simultaneously completing the next one, which is:

Step 4: Take hilarious picture of eight-month-old imitating a rabbit

Isn’t she goofy!?

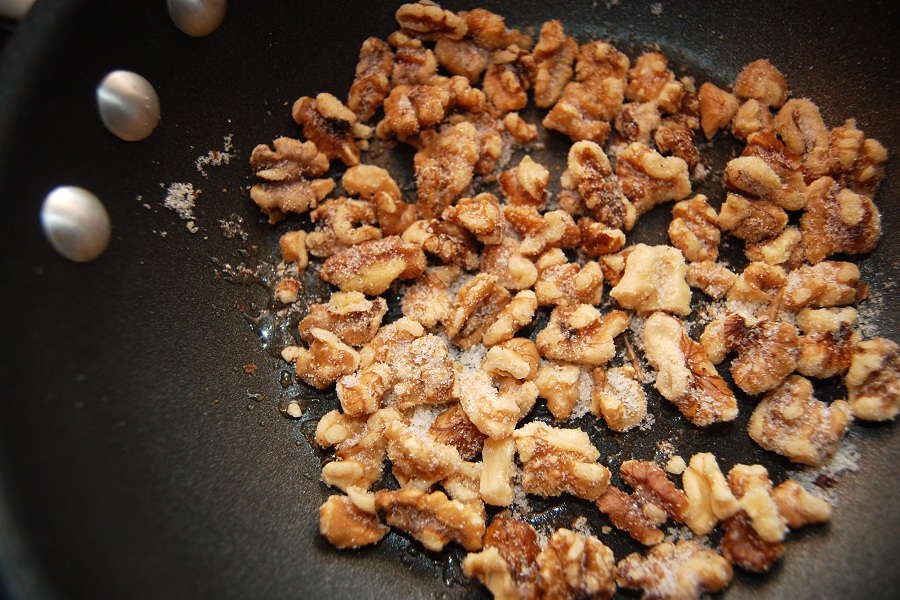
Step 5: Continue stirring occasionally until the sugar begins to melt

This takes about 8-10 minutes.  After sugar begins to melt, reduce heat to medium.

Stir constantly until sugar is fully melted and coats the nuts (about 1 more minute).

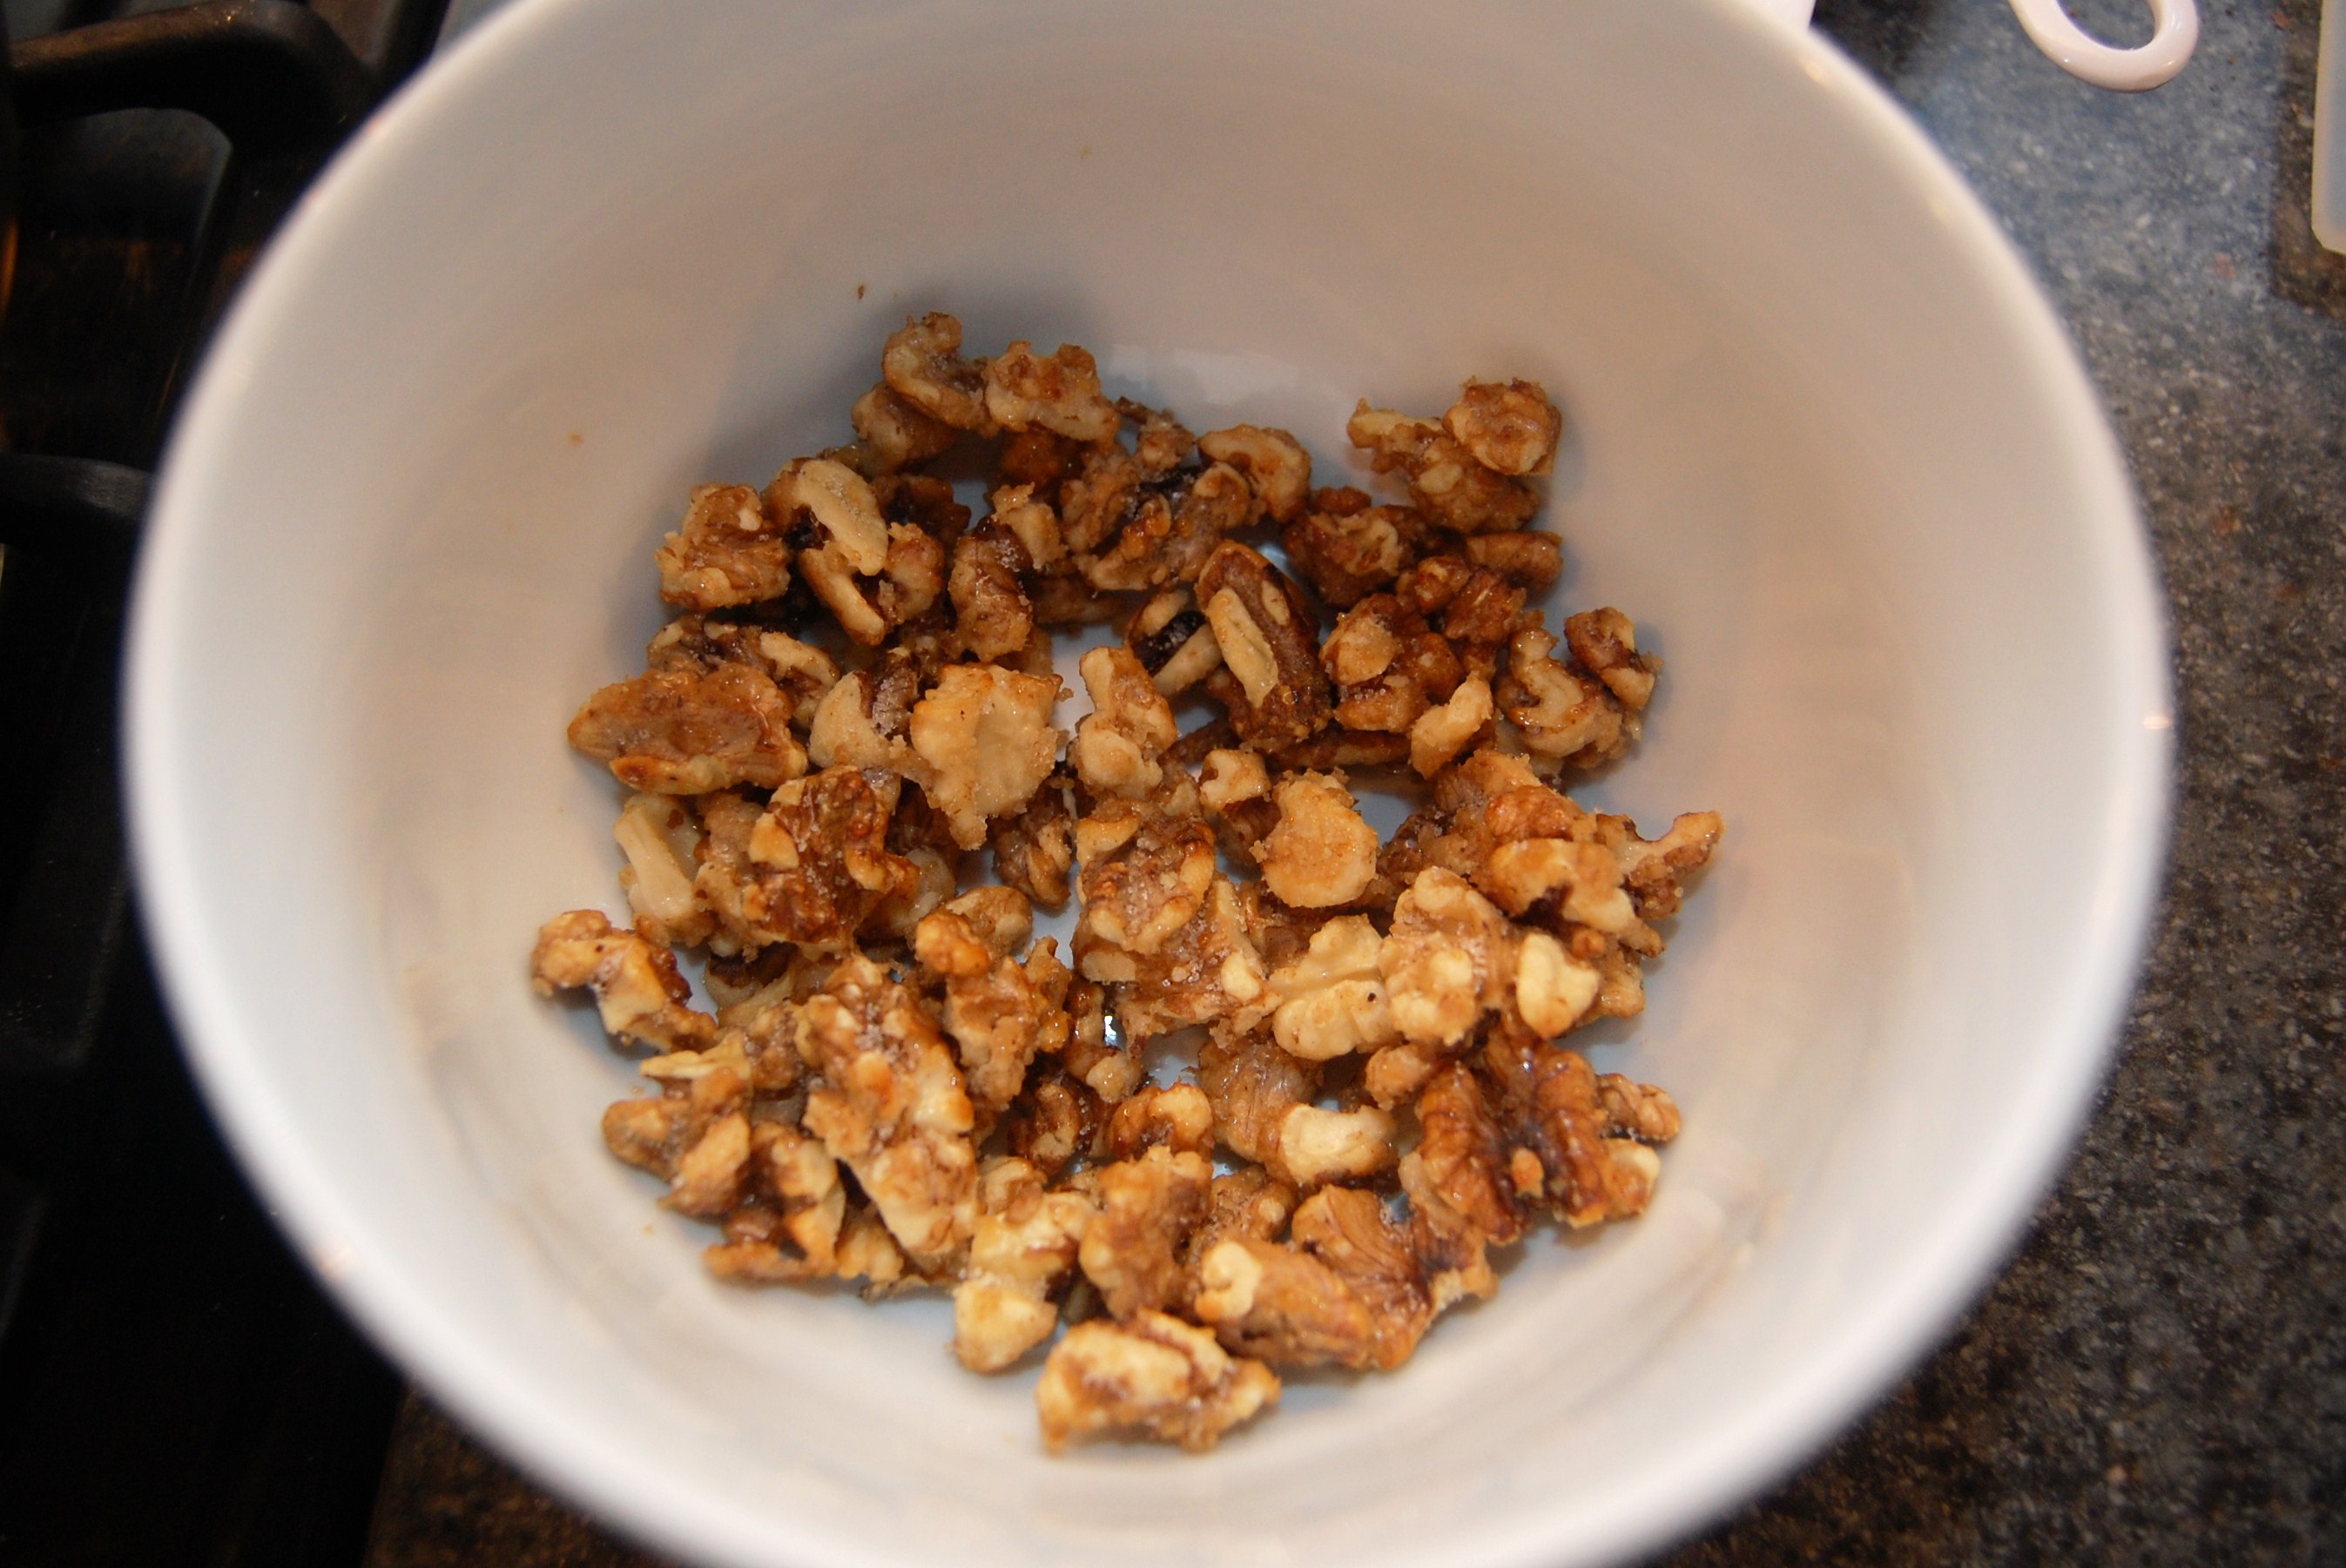
Step 6: Immediately remove from heat and transfer to a dish or cookie sheet

It’s best to stir once every couple of minutes until they are cool to avoid clumping.

Step 7: Clean-up kitchen, beginning with the bunny… er… baby on the floor

As you can see, the lettuce served its purpose nicely.

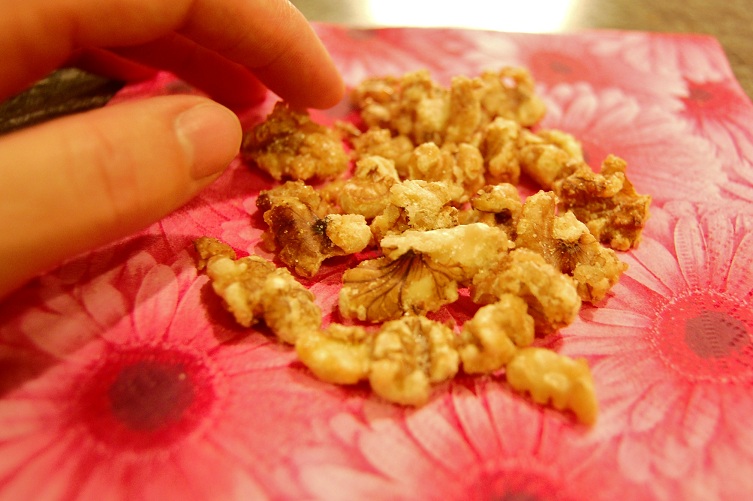
Step 8: Enjoy!

The finished nuts are perfect to top your morning oatmeal, dress up your afternoon yogurt, be the finishing touch on a salad at dinner or to eat anytime as a tasty treat all by themselves.

Don’t forget to store leftovers (if there are any!) in an airtight container.

Bon appetit!

A Refreshing Summertime Dessert

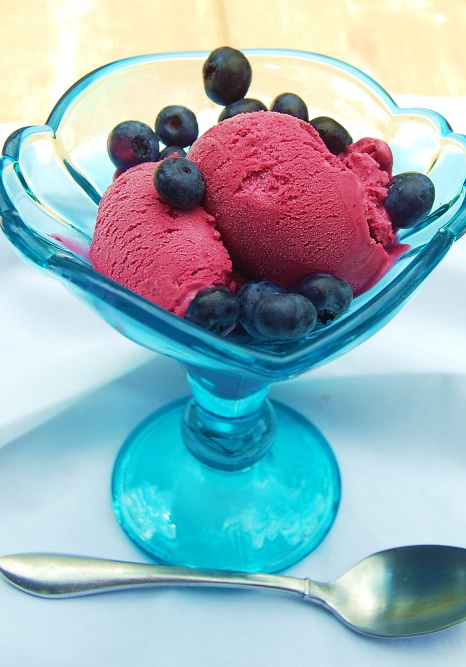
When we were recently at my grandparent’s house, my grandmother, who is a culinary wiz, whipped up some Blueberries and Cream Ice Cream.  It was TO DIE FOR!

Even better, I realized the recipe was from a Williams Sonoma cookbook that I already own.  But just in case you don’t also happen to have their ice cream cookbook, you can find the recipe here.  And you really should check it out, because if you like blueberries and you like cream, you’ll love this simple-to-make ice cream.  It tastes like a mound of tart berries floating on a cloud of whipped cream.  (And if you don’t like blueberries and cream, then I can only suggest therapy.)

If I haven’t yet convinced you to run out and buy the ingredients, here’s my final sales pitch:

Blueberries and Cream Ice Cream:
Alethea Tested, Alethea Approved

The Best Carrot Recipe Ever

Tonight I made our family favorite meal: crispy onion chicken with mashed potatoes, rolls and Carrots Marsala.  Yum!  Alethea wouldn’t touch the chicken or mashed potatoes, but she filled up on two rolls and three helpings of the carrots.

So just in time for Thanksgiving, here is the best carrot recipe ever, which is easy, tasty and even my ‘picky about veggies kid’ will devour.

Carrots Marsala (serves 6-8)
1 lb baby carrots
1/4 cup Marsala wine
1/4 cup water
1 Tablespoon olive oil
fresh ground black pepper, to taste

In a medium sauce pan, combine all ingredients.  Bring to a boil, cover, reduce heat and simmer for 15-20 minutes until carrots are tender.

My Favorite Soup – A Recipe

For my birthday a couple weeks ago (ack, I’m 29!) Peter gave me this immersion blender:

Tonight I used it to make my favorite soup and man, did it ever make this recipe so much easier.  No more transferring hot soup batch by batch into the blender and ending up with a huge mess in the kitchen.  All it took was a few seconds with my new toy and the soup was ready to eat.  I love it!

I was going to take pictures of how good this soup looks in the bowl, but since our camera battery is dead and I couldn’t find the charger, you’ll have to take my word for it.  It’s such a pretty shade of orange!

Sweet Potato and Red Pepper Soup
2 red bell peppers (about 8 oz), seeded and cubed
generous 4 cups diced sweet potatoes
1 onion, roughly chopped
3 large garlic cloves, minced
1 1/4 cups dry white wine
1 1/4 quarts (5 cups) vegetable or chicken stock*
Frank’s RedHot sauce
salt and freshly ground black pepper

* I usually use chicken stock for the flavor, but to make the soup vegetarian, use vegetable stock.

Put the red pepper, sweet potatoes, onion, garlic, wine and stock into a large sauce pan or stock pot and bring to a boil. Lower the heat and simmer for 30 minutes or until all the vegetables are soft.  Transfer the soup in batches to a blender (or use a handy immersion blender!) and process until smooth.  Season to taste with hot sauce, salt and pepper.  Transfer to individual bowls and garnish with a dash or two (or ten) of hot sauce.

Peter and I enjoy this with lots of hot sauce, but you can tone it down if you like.  It’s fantastic served with crusty bread or Roasted Garlic Triscuits.