It’s Tuesday, Y’all. We have a fresh several inches of snow on the ground. And a Tuesday in January with a blank slate of a world outside my door sounds the like perfect time to revive Tips And Tricks Tuesdays. Now, I’m not promising that I’ll be writing a TATT post every week, in fact, I’m pretty sure that’s not gonna happen, but I think it was a shame to let them die out entirely, so in the spirit of a new year and new beginnings, here we go…
Back in October I decided a main floor half-bathroom facelift was going to be my next home project to tackle. First order of business… paint. Now, I already knew I wanted to paint the room gray. And I already had quite a few shades of paint to choose from because I’ve used five different grays in various rooms in my house and I’ve got samples of a bunch more. So here’s how I got from a slew of possibilities to actual color on the walls.
 Bathroom Painting Tip #1:
Don’t assume because you like a paint color in another room of your house (or in someone else’s house) that you’ll like it in your bathroom. Since bathrooms tend to be small and often have limited natural light and sometimes poor overall lighting, it’s almost guaranteed that the color will look significantly different when applied in that context. At about 22 square feet, with a single overhead light and one small window, our bathroom is no exception.
 Bathroom Painting Tip #2:
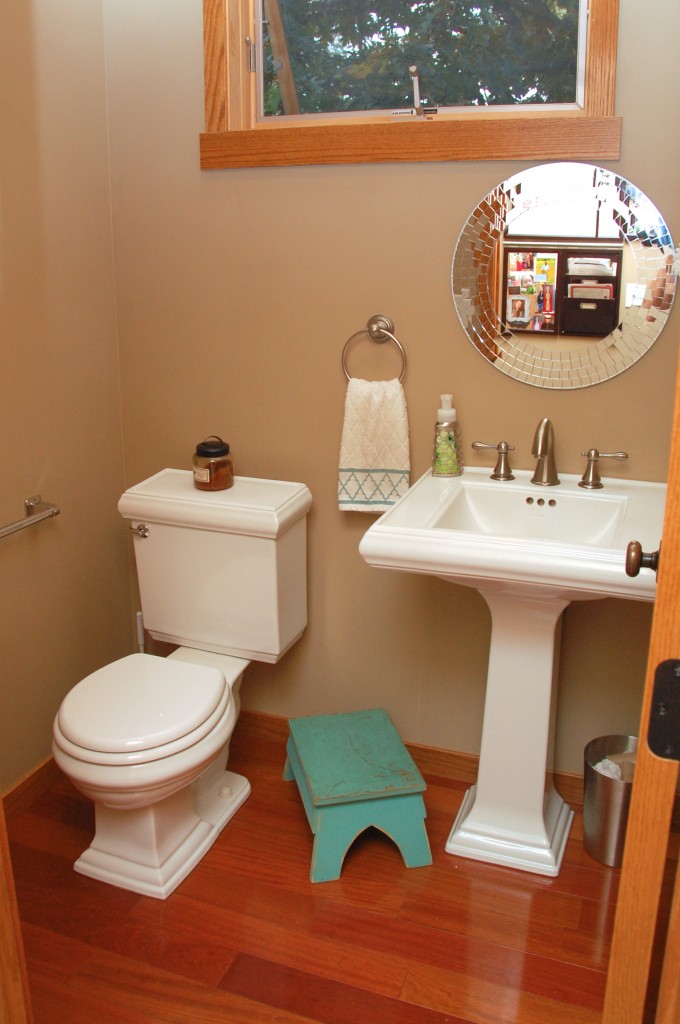
Do try out different colors on your wall before committing to a color. If you happen to have leftover paint from another room, great! If not, for just a few dollars, you can buy a test pot of any color under the rainbow from your local home improvement store. It is so much better to spend a few dollars narrowing down your color choice, than to spend $20 or $30 on a gallon of paint you can’t stand. (Bonus tip, if you like a color from a brand the store doesn’t carry… like if you want a Behr color, but you are at Lowes… just ask at the paint counter. They almost always have the color in their computer and can mix it for you regardless of what brand it is.)
 This is the step when you realize that SW Proper Gray (left) that you love in your daughters’ south facing bedroom, looks very cold in the light of a north facing window. And that SW Versatile Gray (right) that was perfect in the low light of your guest room closet, looks rather drab when confronted with even a small amount of natural light. And thus, you, or rather I, end up with Sherwin Williams Functional Gray (center), because, for this room, it’s just right.
Bathroom Painting Tip #3:
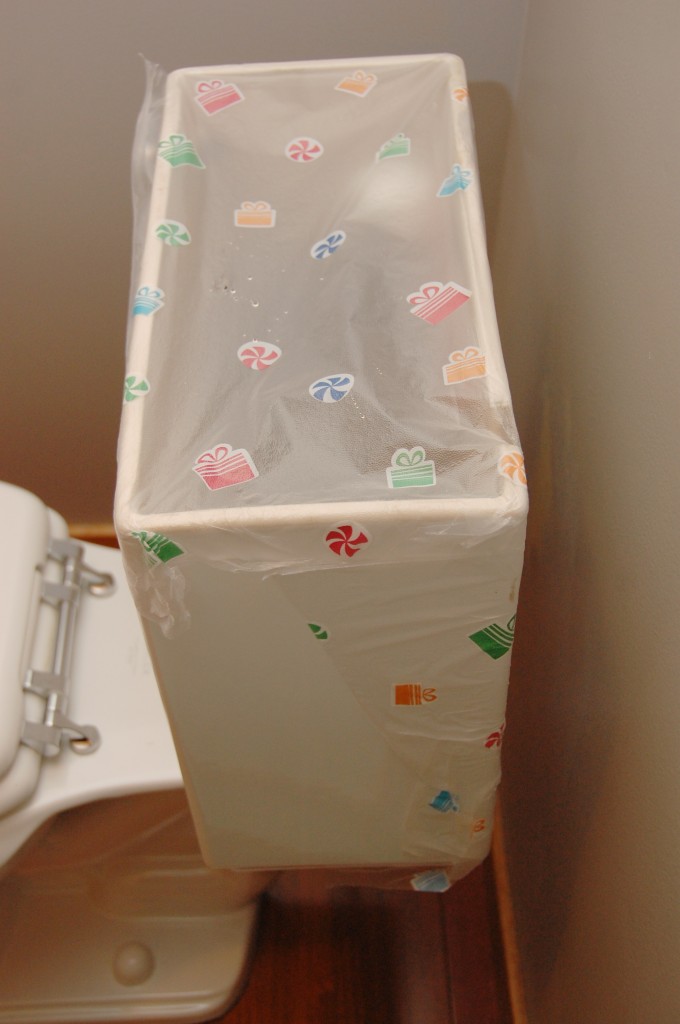
Don’t be intimidated by working around the toilet. Yes, you might have to imitate a Circ De Soleil contortionist as you cram yourself into a cramped corner or two to paint behind it, but take the tank lid off and cover the back of the tank with Glad Press ‘N’ Seal wrap and you can slop around all you need to in order to get the job done. (Also be encouraged that if you still do get a bit of paint somewhere on the porcelain, it can be wiped right off with a damp cloth. No harm done.)
 Bathroom Painting Tip #4:
Do realize that by changing the wall color, you may be irresistibly inspired to make other changes in the room. Since changing the wall color, I’ve also changed one small thing (the soap pump) and one big thing (the overhead light, which, okay, I admit, I ordered and Peter actually installed, but whatever).
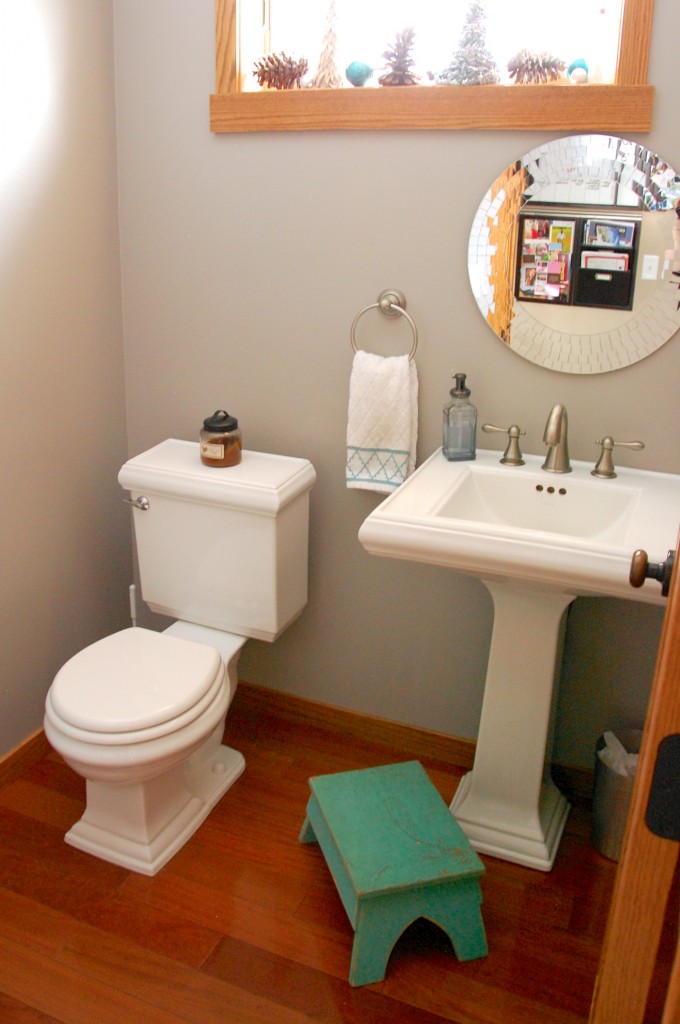 I’m scheming about some other changes, a shelf for storage, some sort of art on the walls, and maybe a faux linen paint treatment if I get up the nerve to try it, so photos of those and of the new light will be coming your way as soon as I launch into my 2014 Home Improvement to-do list. Stay tuned!

You rock Ms. Elise!
You do too, Ms. Jo!
is that a Target soap pump…if so we have the green and bronze one in one of our basement bathrooms.
Yup, it’s from Target. I’m so in love with their current line of bath accessories, I just had to get it. Even after purchasing it, I sort of gaze lovingly at that display any time I go by. The green one was really pretty too!