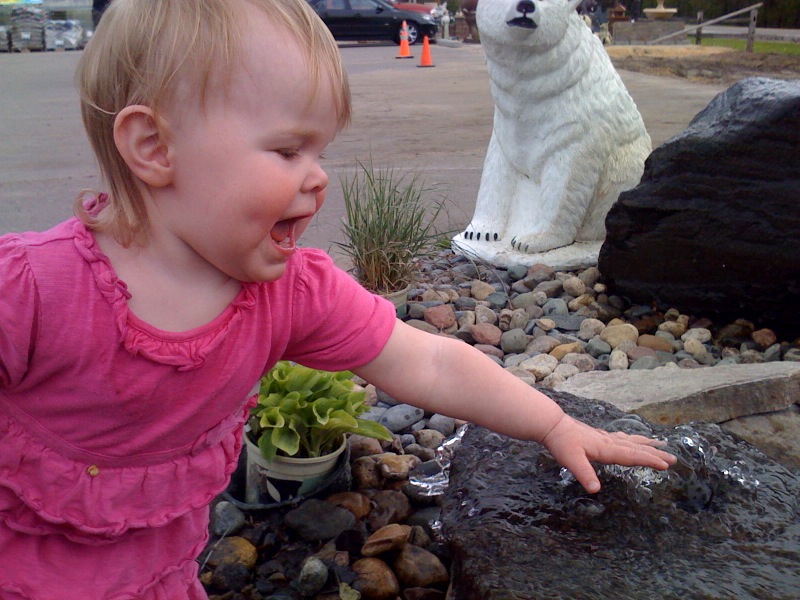
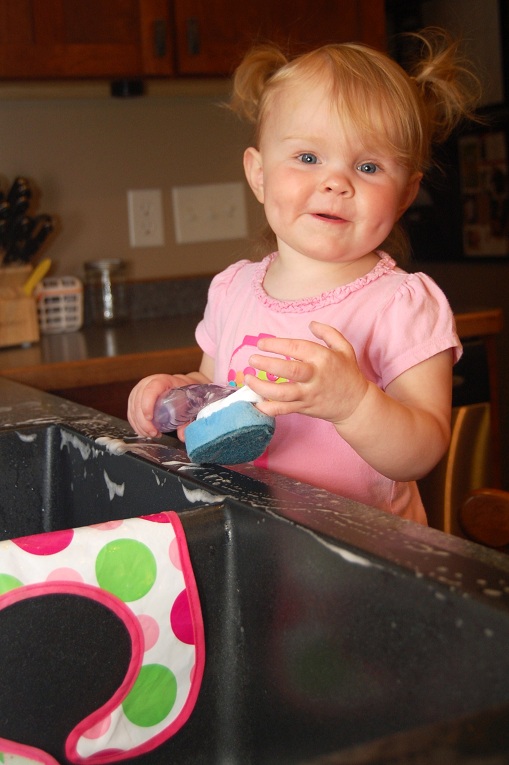
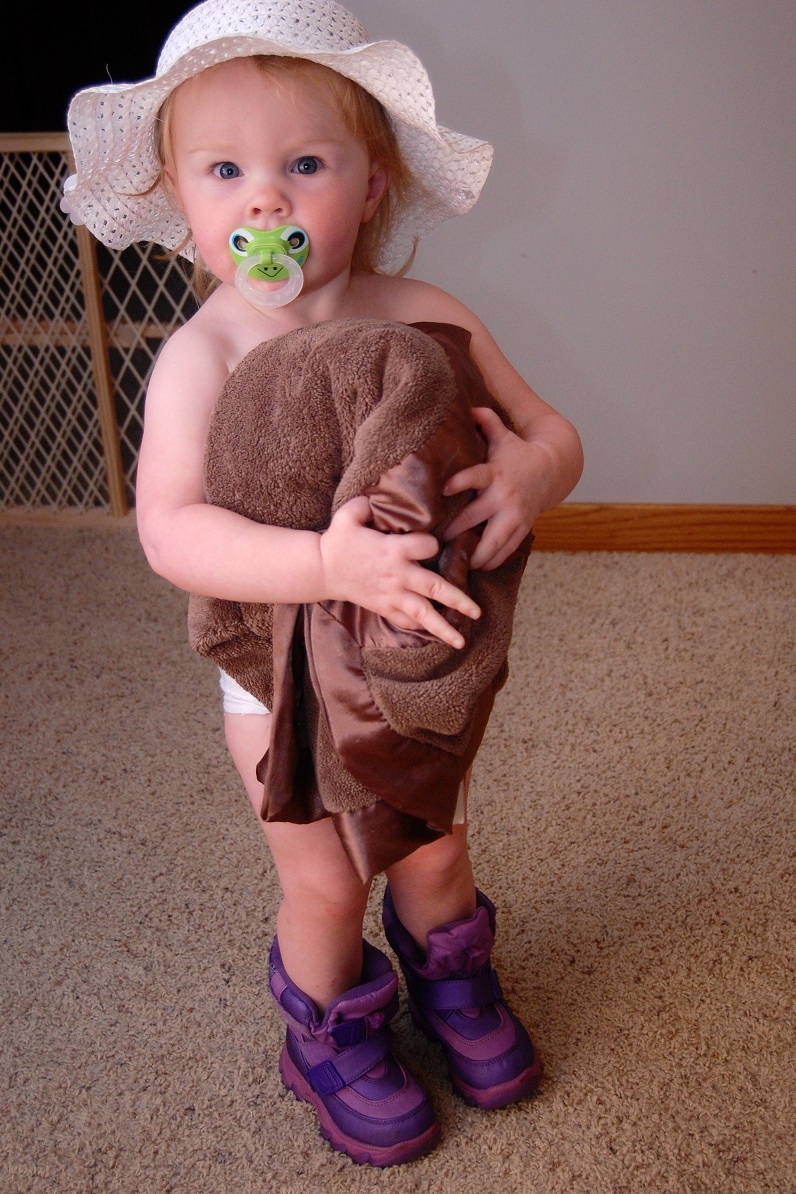
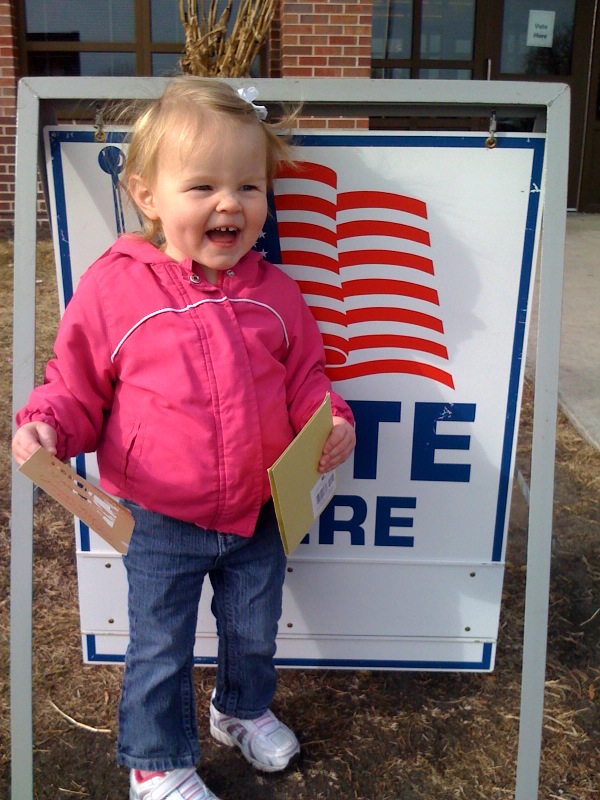
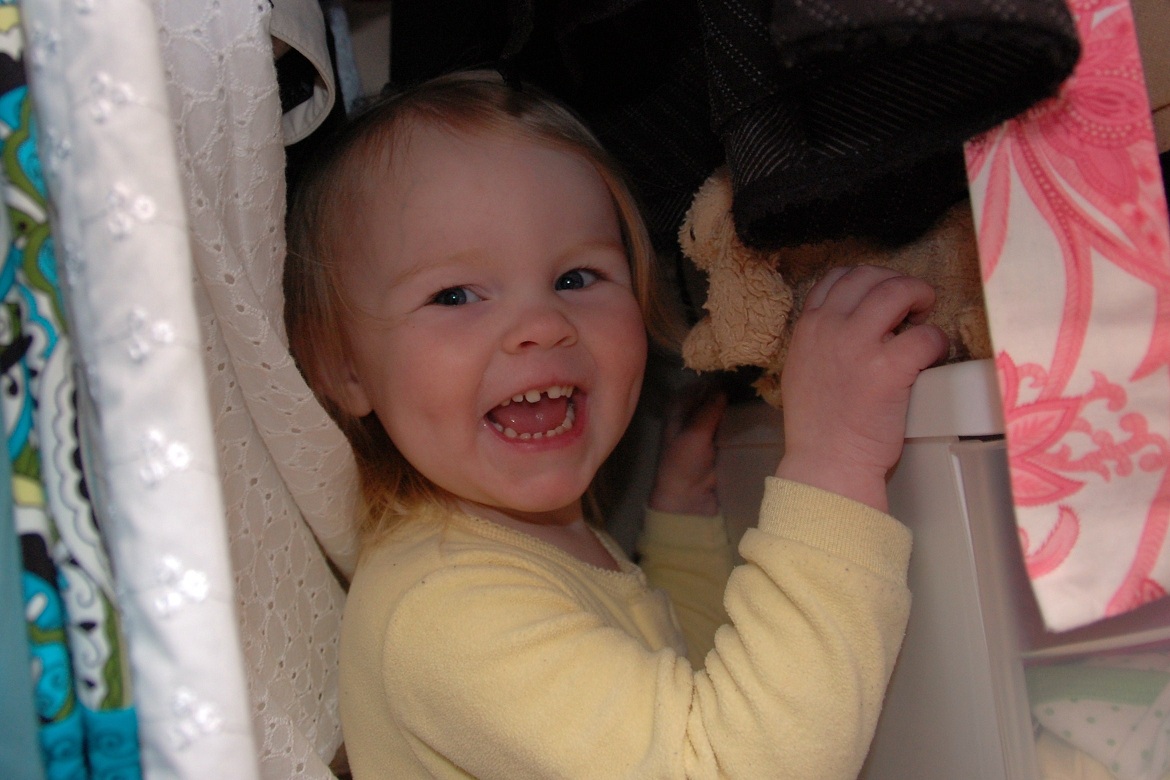
Happy Birthday, Alethea!

Won’t you please, be my, be my baby,

My one and only baby,

Be my, be my baby,

Be my baby now, whoa-oh-oh-oh,

I’ll make you happy, baby, just wait and see

For every kiss you give me, I’ll give you three

Oh, since the day I saw you,

I have been waiting for you,

You know I will adore you…

’til eternity

Happy 3rd birthday, Alethea Margaret!!!

We love you so much!

Hugs and kisses,

Mommy & Daddy

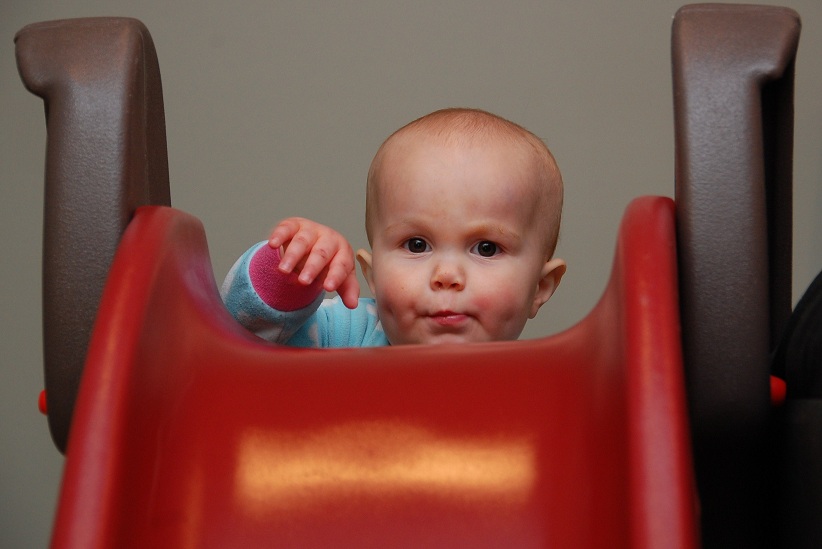
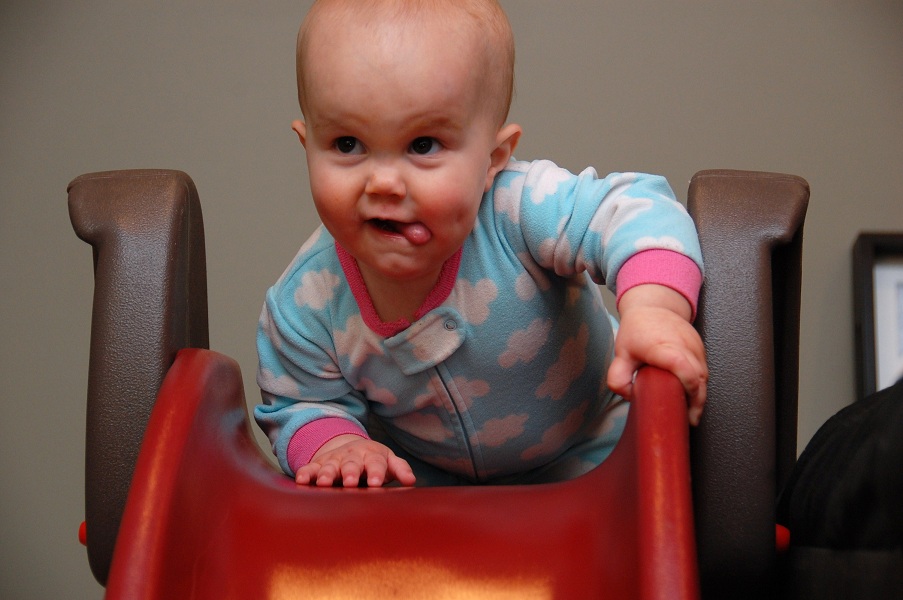
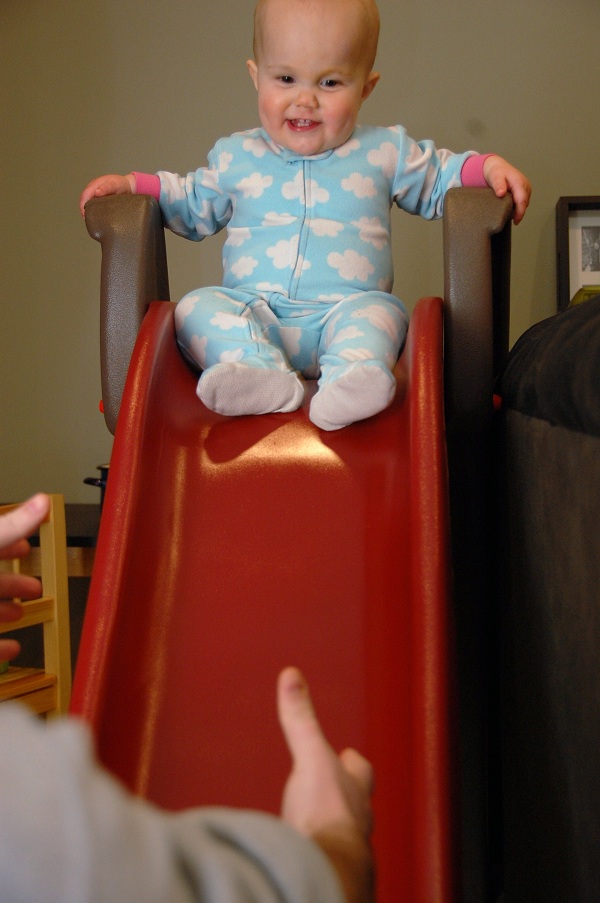
Guess Who?

Someone in our house can now climb to the top of the basement slide ALL BY HERSELF and then goes down the slide ALL BY HERSELF.

Gives Mommy a little heart attack every time she does it.

A Cheap Parenting Moment

Okay, so I know Peter and I aren’t the world’s cheapest parents.  We didn’t cloth diaper, we bought brand new nursery furniture and we (a.k.a I, Elise) have been known to splurge on unnecessary kids bed and bathroom decor items on occasion.

However, we did recently have a pretty spectacular cheap parenting moment.

Everyone, I’d like to you meet…
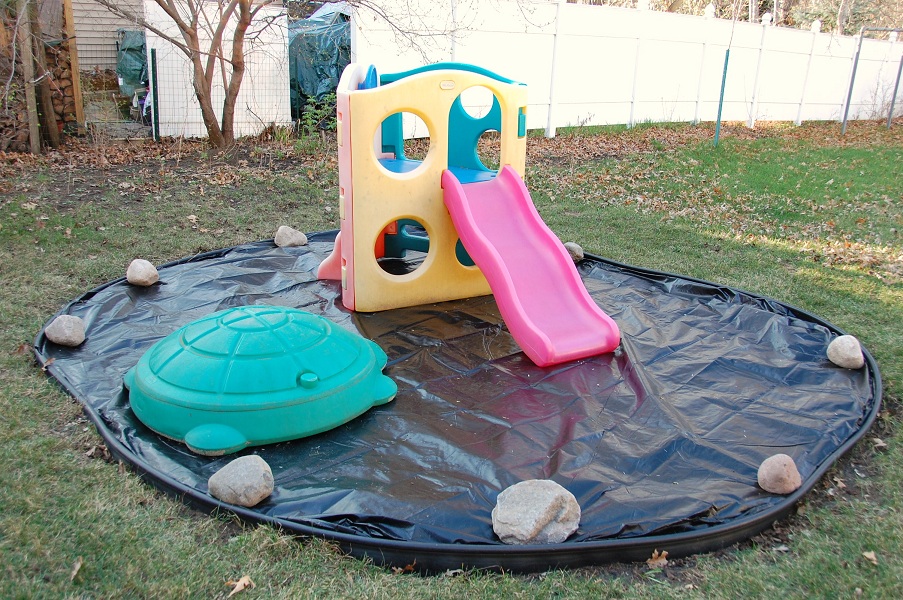
Our new backyard playground!  (Deluxe Rainbow play system, this is not.)

When we moved in, this spot in our yard was supposed to be a rain garden.  However, the house having been vacant for nearly a year previous to our purchasing it, the rain garden had essentially become a weed garden.
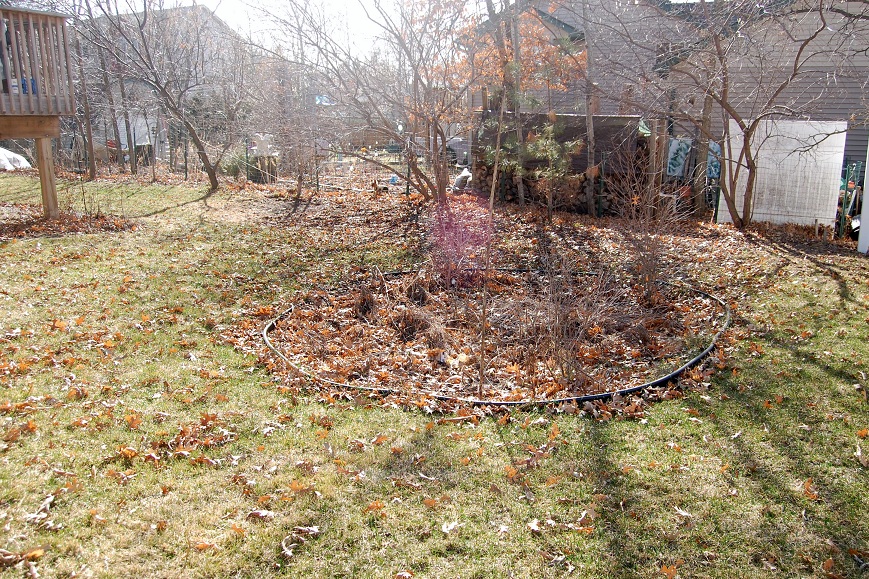
This is a picture from 2010.  Lovely, isn’t it?

Anyway, a couple years ago we dug up all of the worthwhile vegetation and planted it elsewhere thinking we’d make this into a fire pit area.  The front yard landscaping ended up taking priority though, so we kinda let the fire pit idea go, which might not have been the most brilliant plan, because weedy area, minus the few good plants holding things back, equals SUPER weedy area.  So this year before the weeds could get out of hand again, Peter decided to put a tarp down over everything.  And since we needed something to hold the tarp in place, we figured we’d use what we already had on hand to make it a little play area, just for this year (hopefully).

And what did we have on hand?  Well, that brings us back to our cheap parenting moment.  We had a found-by-the-side-of-the-road Little Tykes play structure and an also-found-by-the-side-of-the-road turtle sandbox.  Uh, huh, that’s right.  Someone actually left this beauty out for the taking.
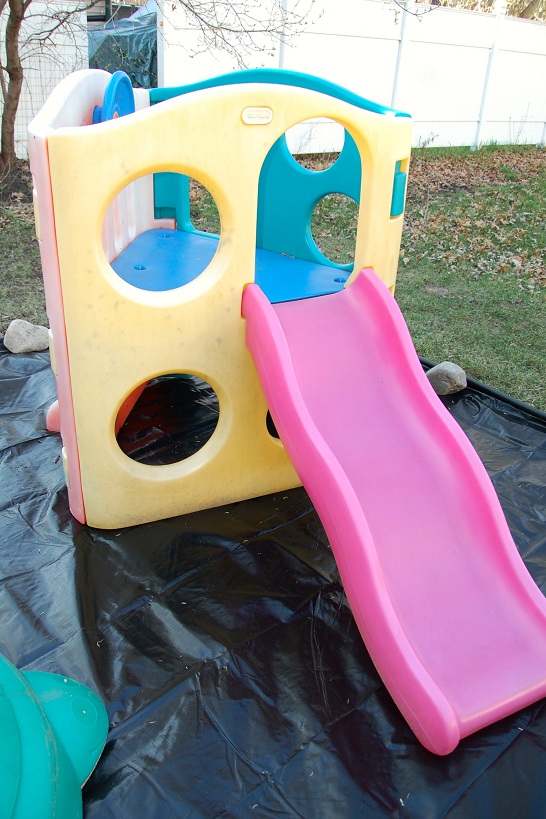
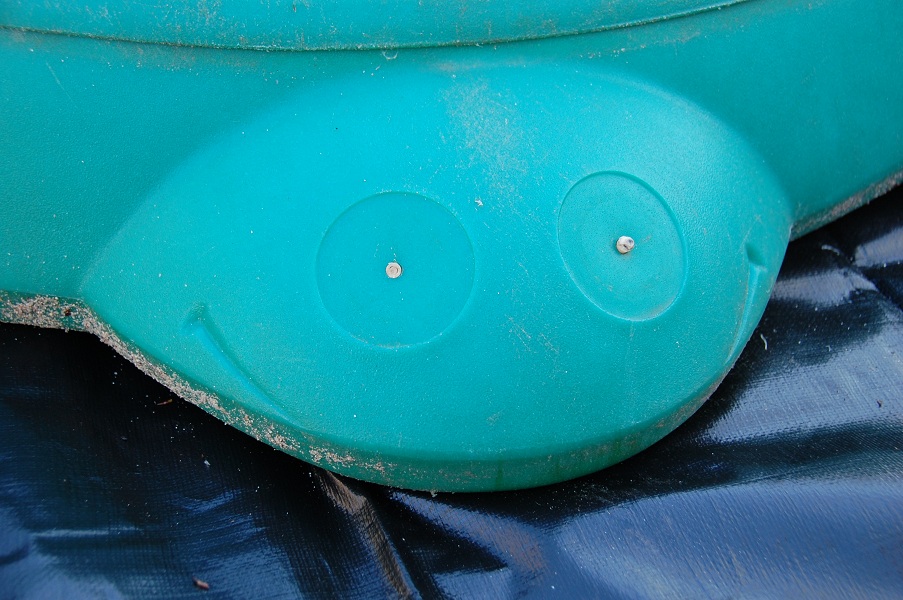
I’m not exactly sure how the whole cheap-parent point system works.  Anyone know if we qualify for some bonus points since our turtle doesn’t even have his eyes anymore?
Naturally, the girls think their new play area is the best thing ever.  Alethea is always begging to play in the backyard now.  And Lydia?  Well, she gets her ‘I’m big stuff’ face every time we help her climb up into the play structure.
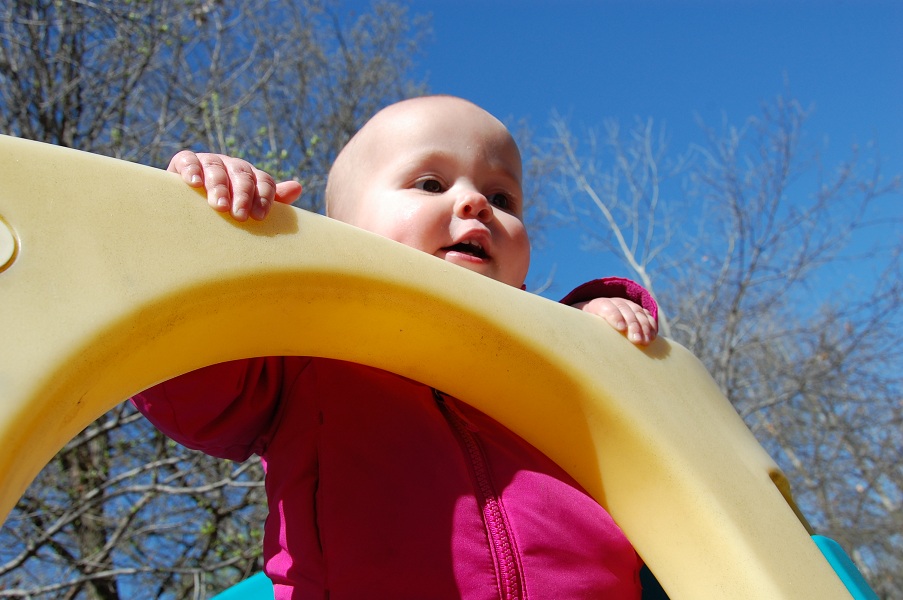
I have to admit, seeing grins like that for the price of a tarp and a little manual labor, makes me think I should try the cheap parenting thing more often.  Makes me and my checking account feel all warm and fuzzy inside.

Dyeing Easter Eggs

I have many fond memories of my brother and I dyeing eggs every Easter at my grandmother’s house.  We were true artists, with egg shells for canvases.  I recall trying various techniques, like dipping in multiple colors, wrapping them with rubber bands or sticking stickers on them before dipping them, dripping or even rubbing food coloring on them.  True, some of them we took a step or two (or three or four) too far and they ended up awful shades of mottled brown, but some of them were quite beautiful.  My grandmother was sweet enough to humor us well into our teenage years, always making a big batch of hard boiled eggs and glorious shades of dye each Easter for our yearly experiment, even though she firmly declared that the most gorgeous eggs where the ones you put into only one color and just left there!

But where’s the fun in that?!

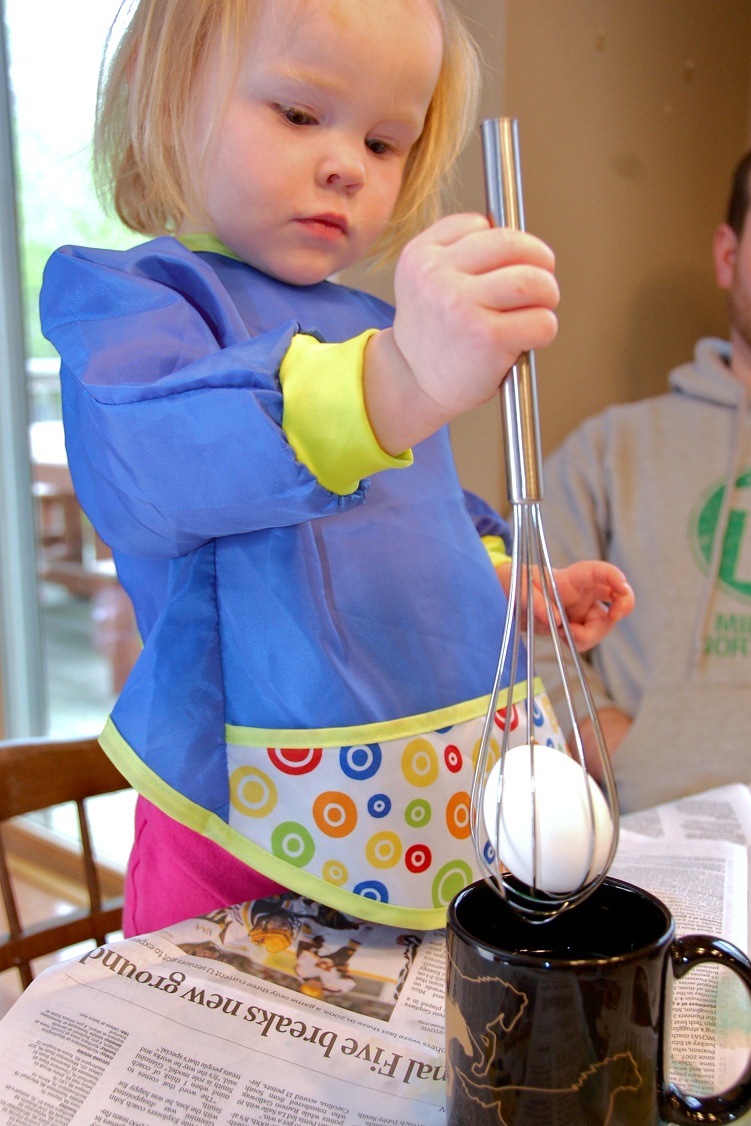
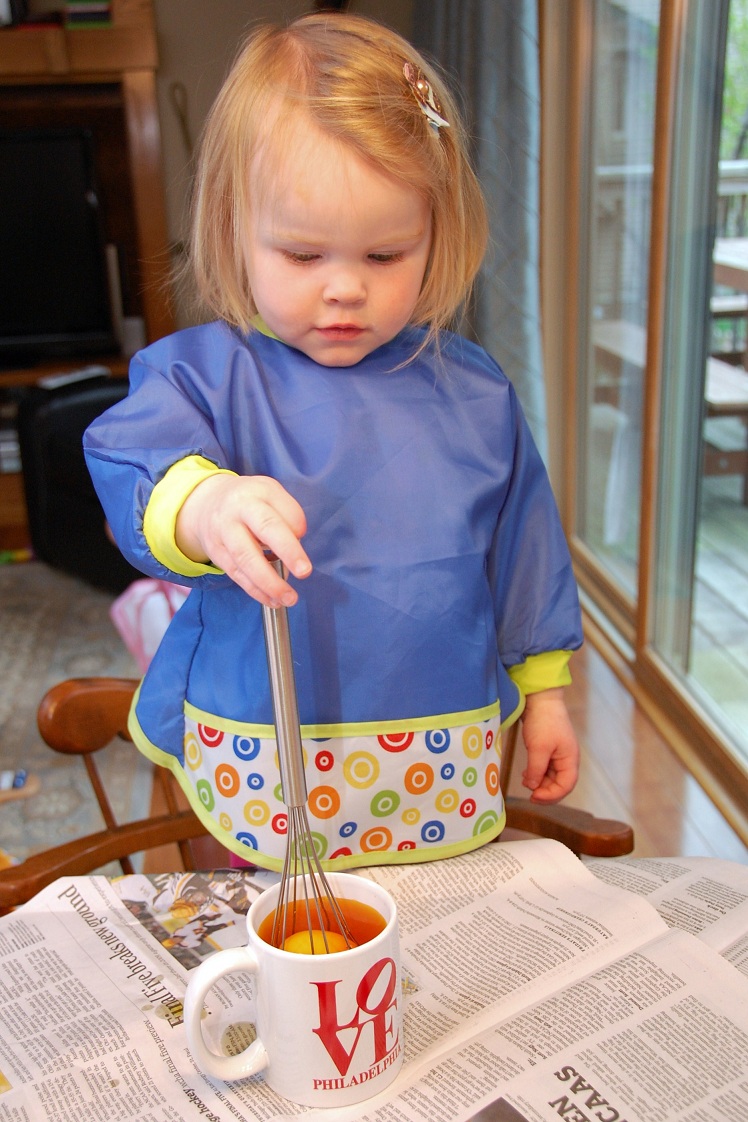
So, this year, with much excitement, I prepared for my girls’ first annual egg dyeing event.  Being the mess-a-phobe that I am, I was a little concerned about the project, but then I found a terrific tip on Pinterest – instead of using spoons to move the eggs in and out of the dye, put the egg into a wire whisk.  The whisk forms a little protective cage around the egg so that your toddler can swish and dip and take the egg in and out to their heart’s content!

Thanks to that little tip, Alethea absolutely loved egg dyeing, because she could do it all by herself.  She kept saying, “Another egg, please!”

As you can see, she took her task quite seriously…

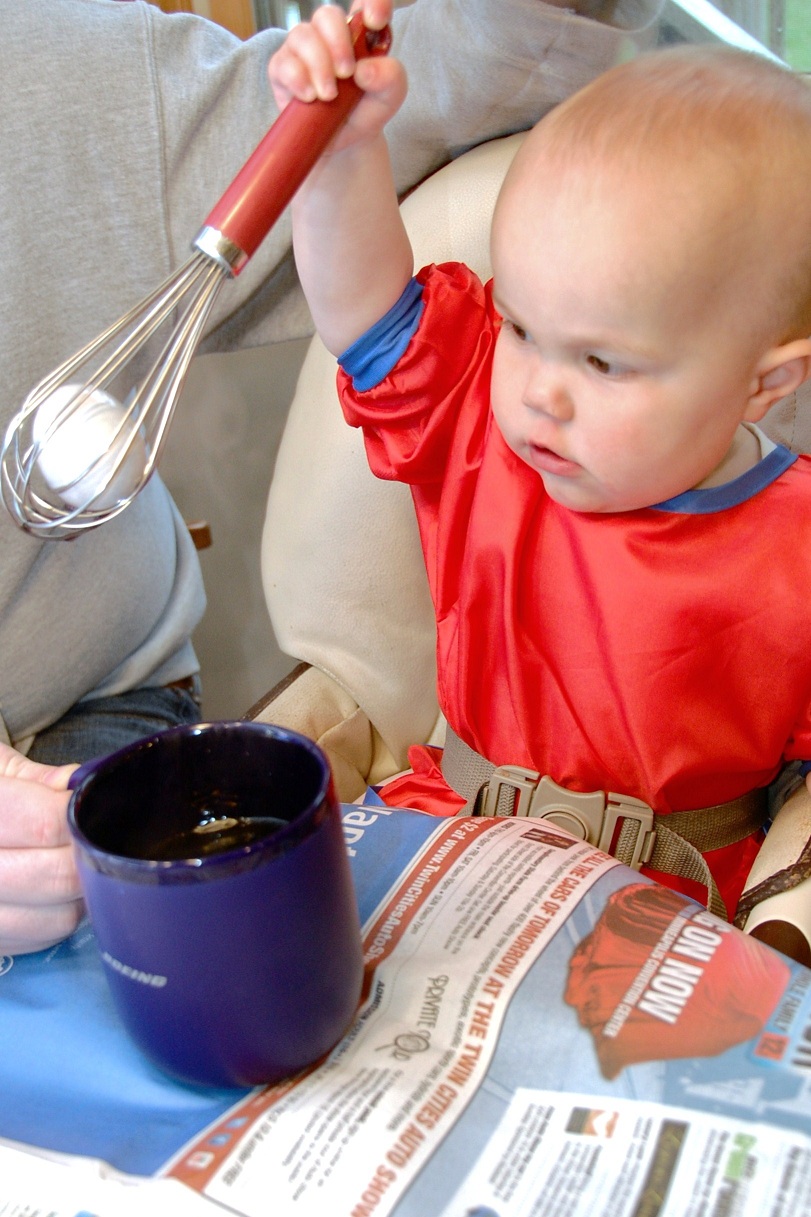
I think we’ll probably use the wire whisk technique for years to come.  It’s virtually fool-proof, as long as your child understands that the goal is to keep the egg in the water.  If, however, your child for some reason thinks that it is more fun to dip the egg into purple dye and then madly wave the dye covered egg/whisk combo around in the air, the egg will still be unharmed, but be prepared to wash purple spots out of your husband’s favorite blue jeans.

Poor Lydia had her egg dyeing privileges revoked after just one egg and was downgraded to an empty plastic cup with eggless whisk.  Oh well, there’s always next year, Sweetheart!

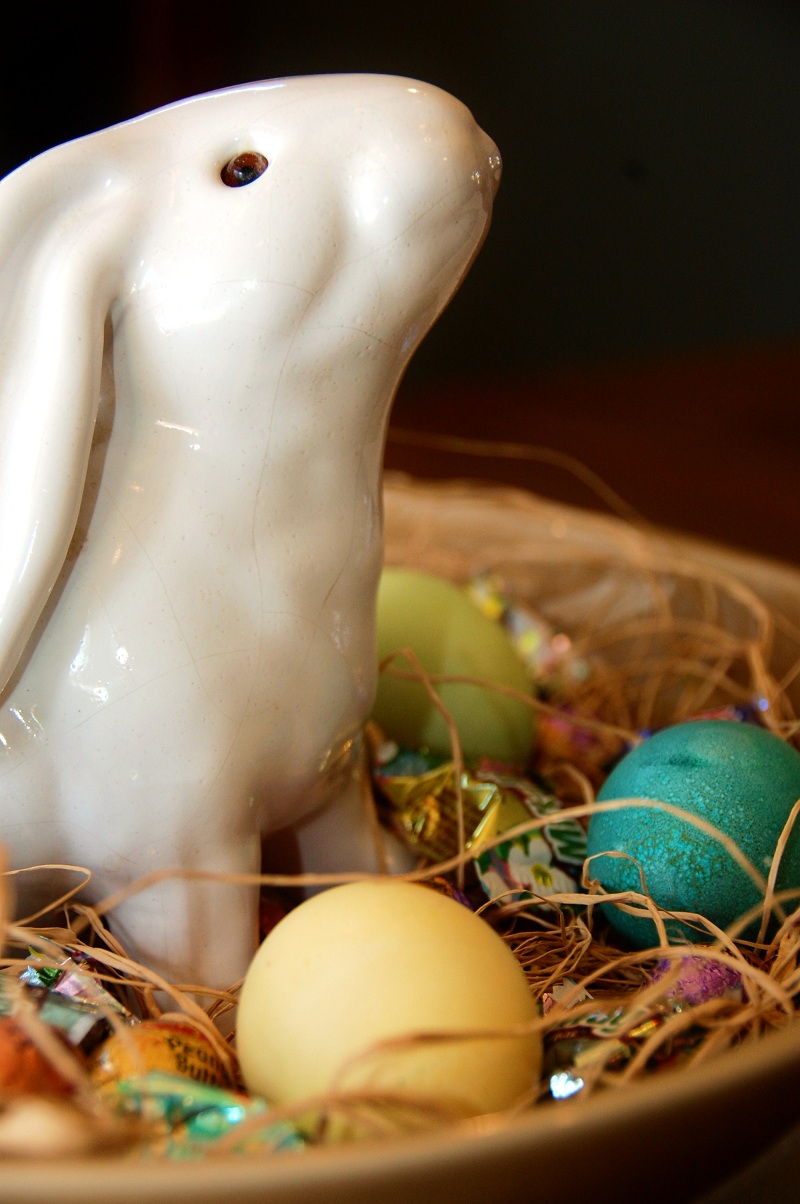
In the end we had a dozen pretty eggs to complete my Easter centerpiece.  And yes, I did a bit of experimenting with the food coloring, but I think my favorite egg of the day was Alethea’s first yellow one that she worked on for a long time.

I guess maybe Grandma was right after all… the plain bright ones are the best!