Good news! We (almost) have a new fence! They are putting the finishing touches on it as we speak, or rather, as I type. Since it’s been a while since you saw anything on the outside of the house, I thought maybe I’d do a little “that was then, this is now” progress report.
A little info on the “then” pictures… it was spring of 2010 and even though we’d moved into our house nearly a year and a half before, it was the first time we’d really paid attention to the outside of our house. (I’d like to say it was because we’d been so focused on upgrading the inside of our house, but it was really mostly because our firstborn showed no inclination to sleep for the first nine months of her life.) So spring 2010 I finally got outside and took pictures.
Now let’s play our little then and now game, unless you don’t like that one, then you can play “Where’s Alethea”, which is sort of like “Where’s Waldo” only probably easier. How many times can you spot her?
“The Bean” (aka front yard flower garden) THEN:
and NOW:
Steps forward: flagstone path, rocks, plants, pots, mulch. Also seating added this spring (just one chair pictured, but we have two; pictures coming once more plants are in bloom).
Steps back: I lost a LOT of plants this past winter. The weather was really harsh. I even lost several daisies. Yes, daisies. They’re pretty much weeds, but somehow they are dead.
Plan for 2013: plant annuals in pots and replace dead perennials, re-mulch.
Front side yard THEN:
Front side yard NOW:
Steps forward: cut down or trimmed back a lot of overgrown trees and a plethora of weeds. Fence posts are in.
Steps back: now that there aren’t bushy trees covering much of the lawn, you can see the huge bare spots.
Plan for 2013: finish fence (nearly there) and for sure put down grass seed, cross your fingers for a sprinkler system.
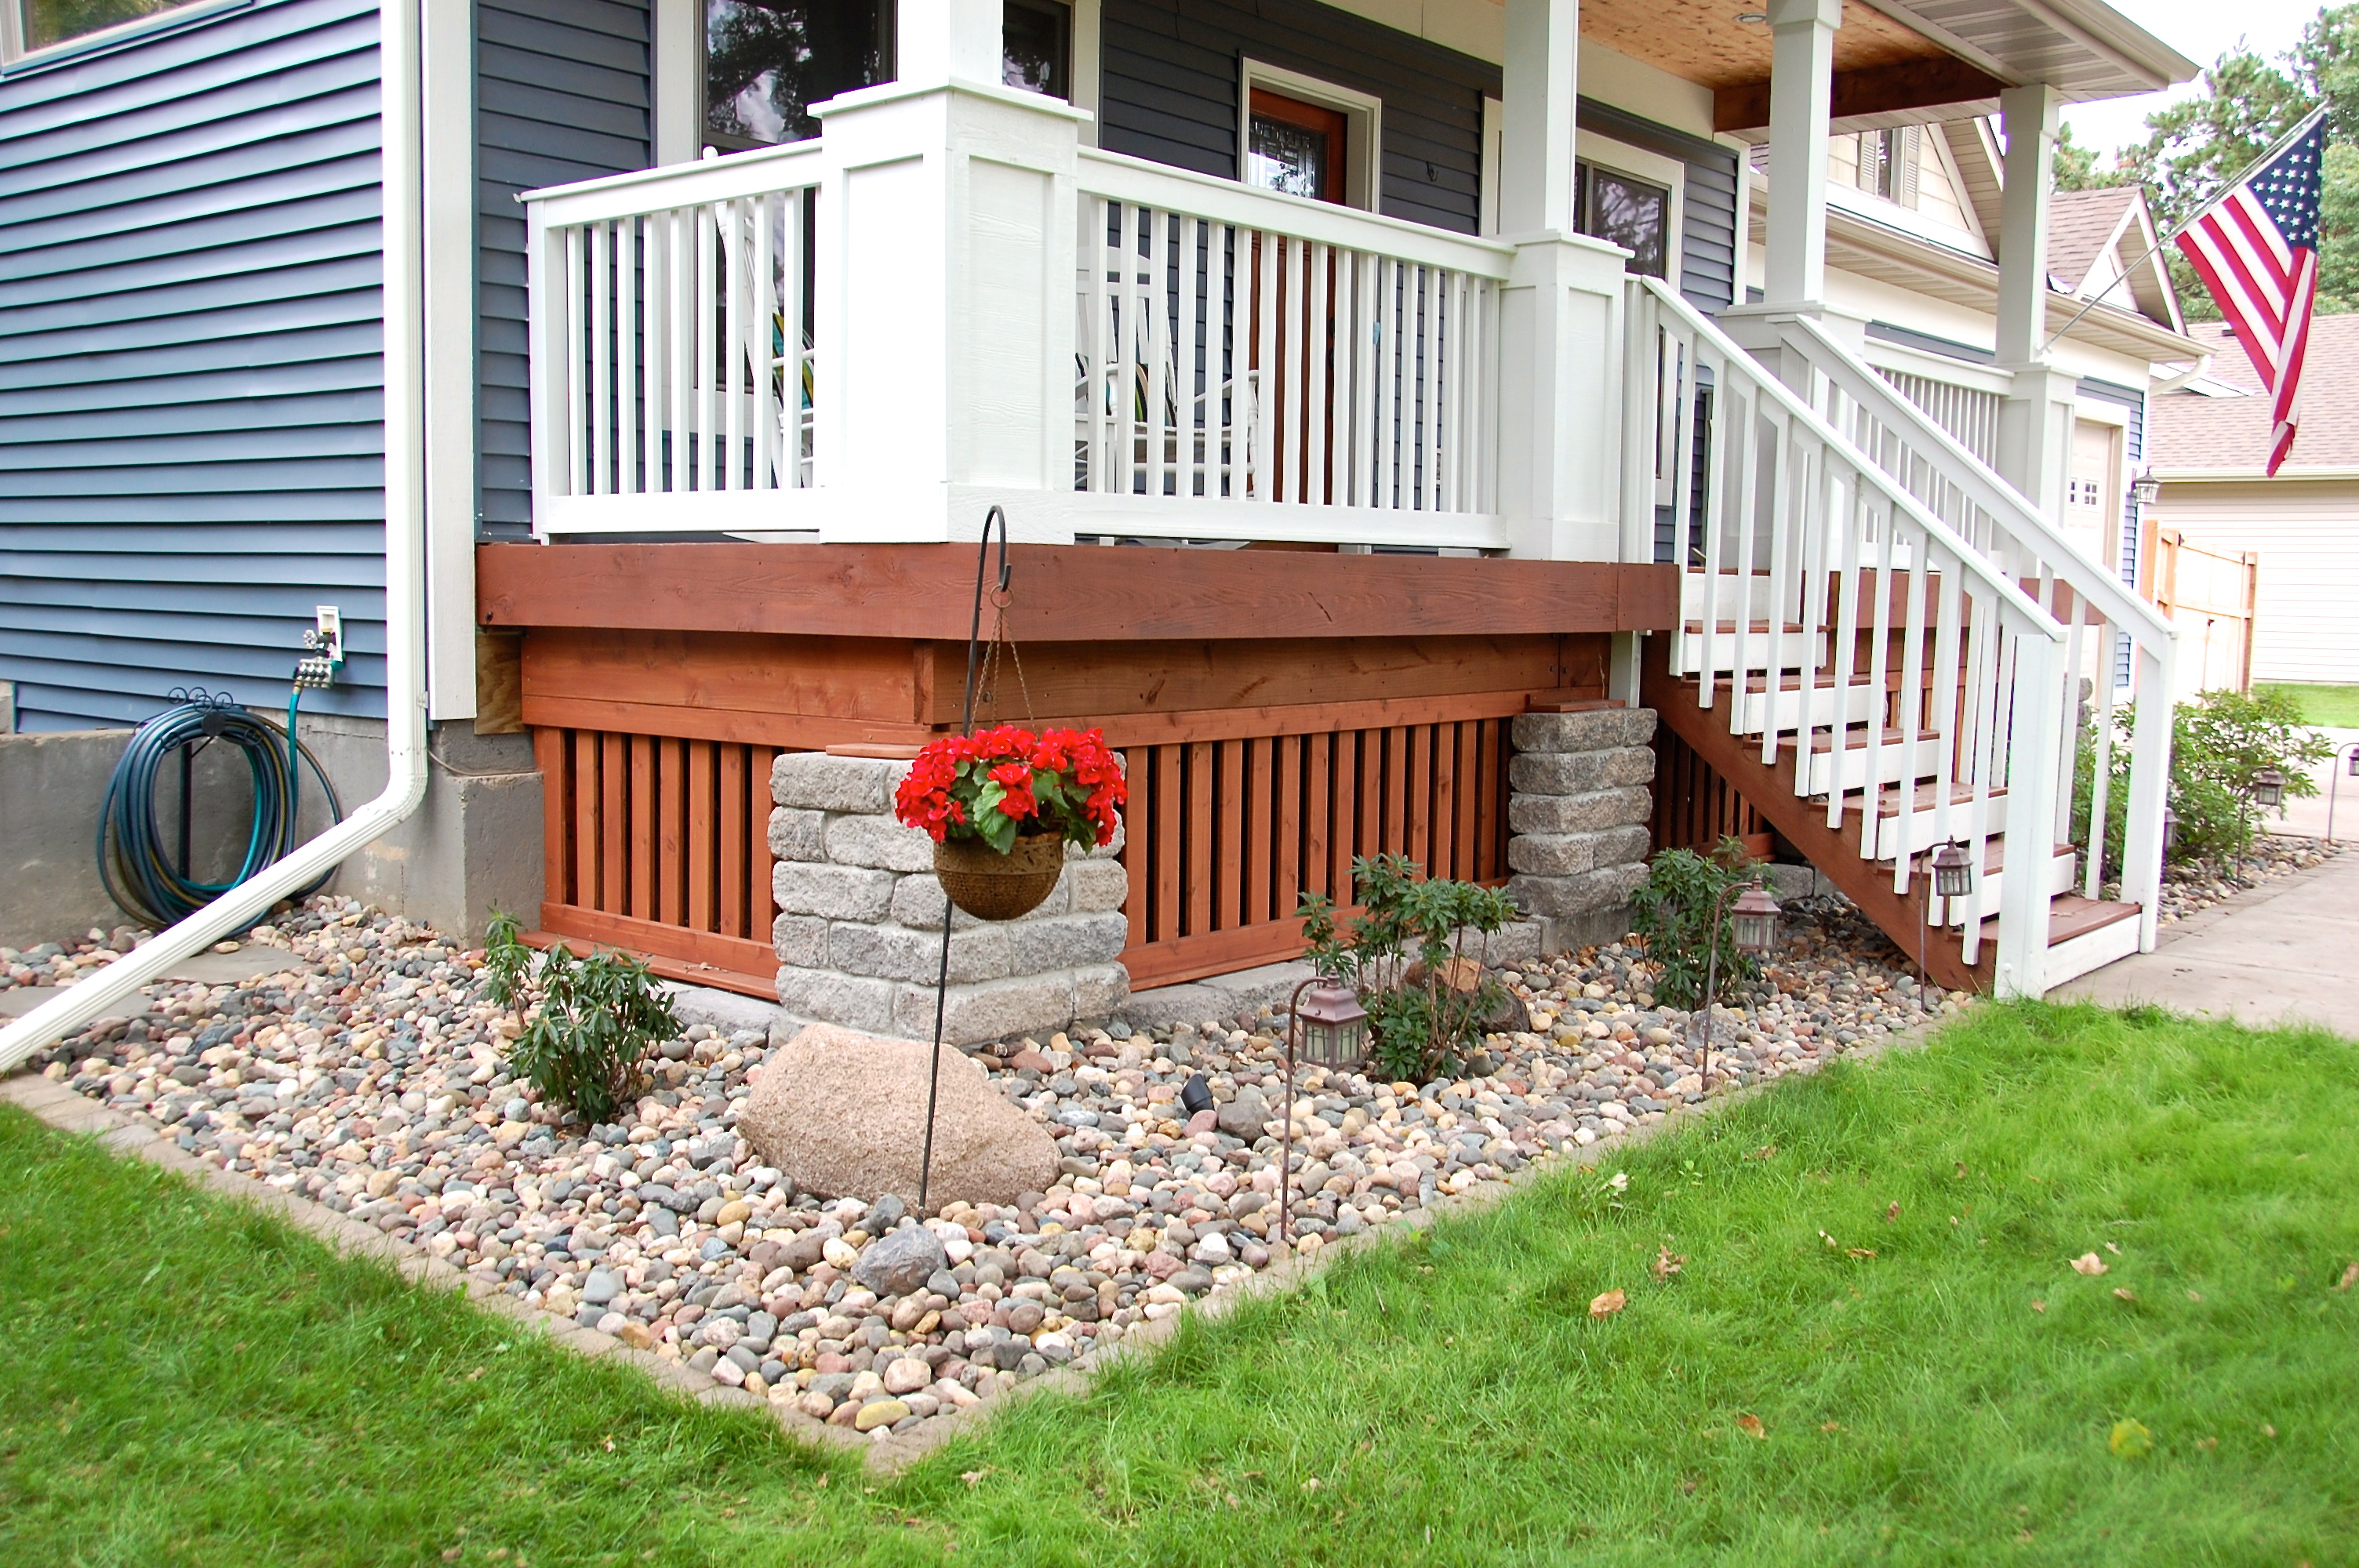
Front porch THEN:
Front porch NOW:
 Steps forward: Where to start… as most of you know, this was our summer project last year and we basically did a whole DIY porch facelift, including, paint, stain, masonry, and building the screen around the bottom.
Steps back: Zero!
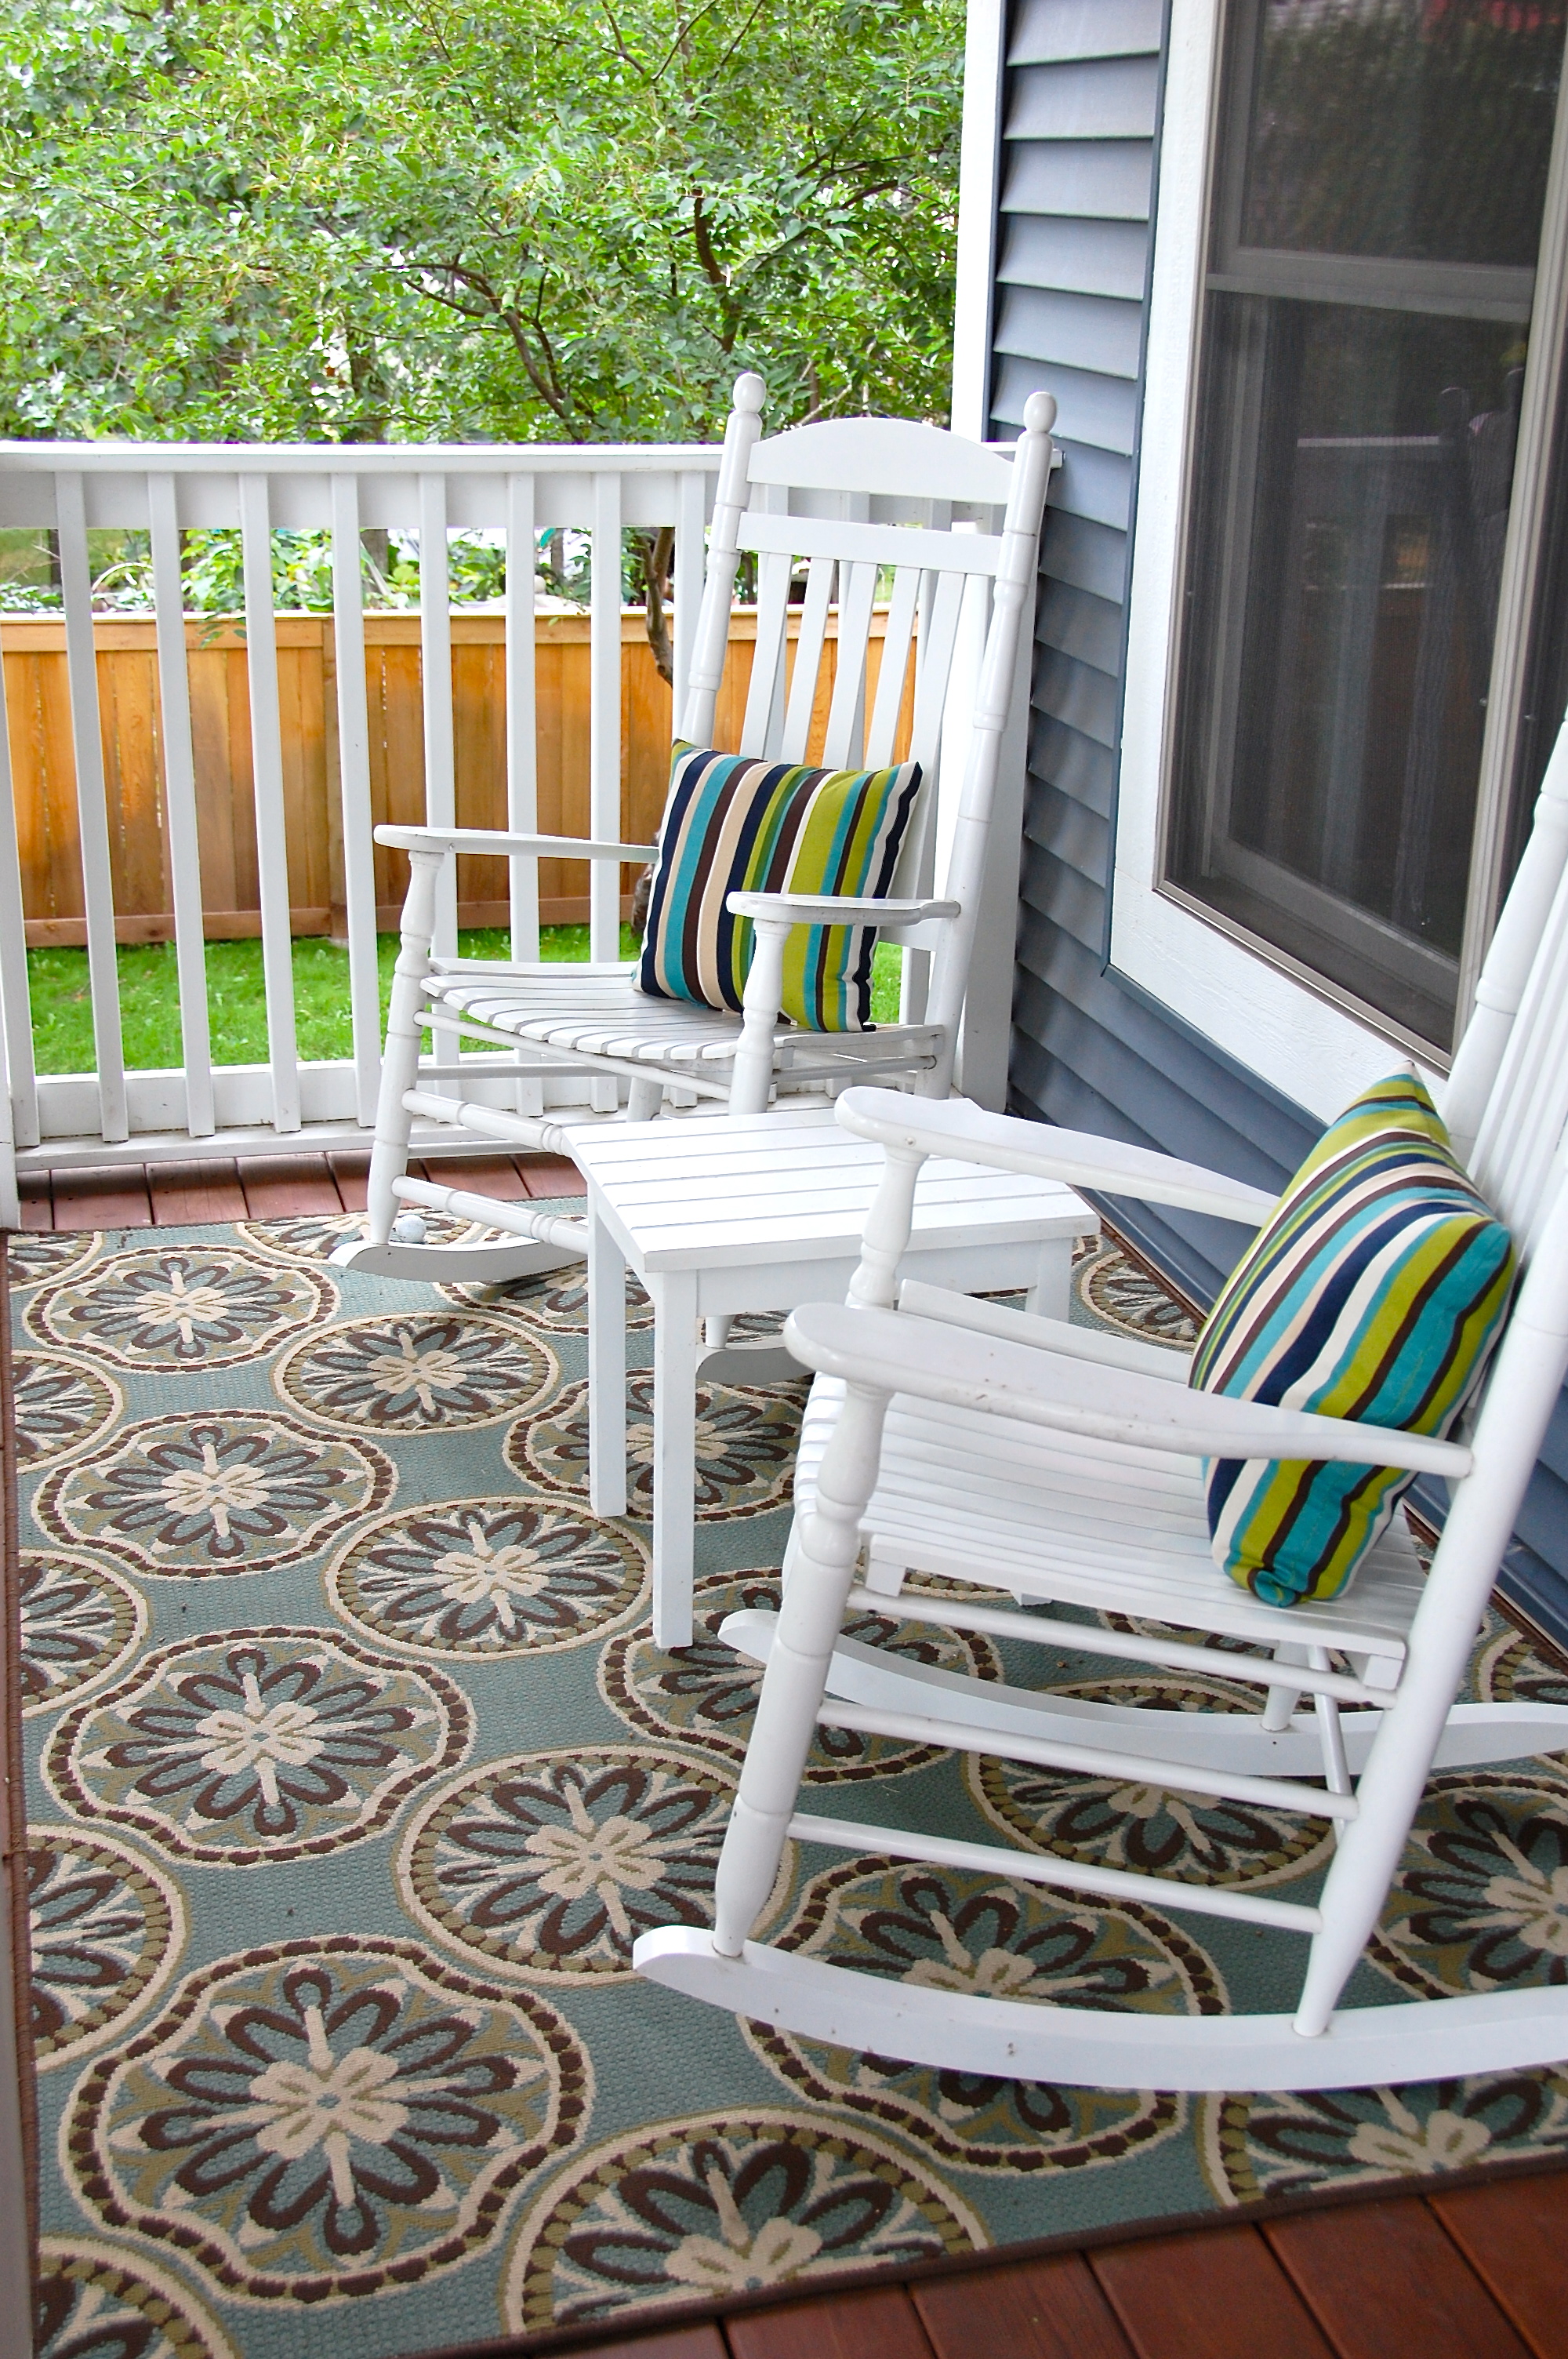
Plan for 2013: Replace lilies on the left side of the porch (pictured) with azaleas to match the right side (not pictured), plant hanging basket for shepherds crook, possibly get new pillows for front porch rockers that are a better match for the rug we got last year. Oh, and finish taking down the Christmas lights. *Sheepish Grin*
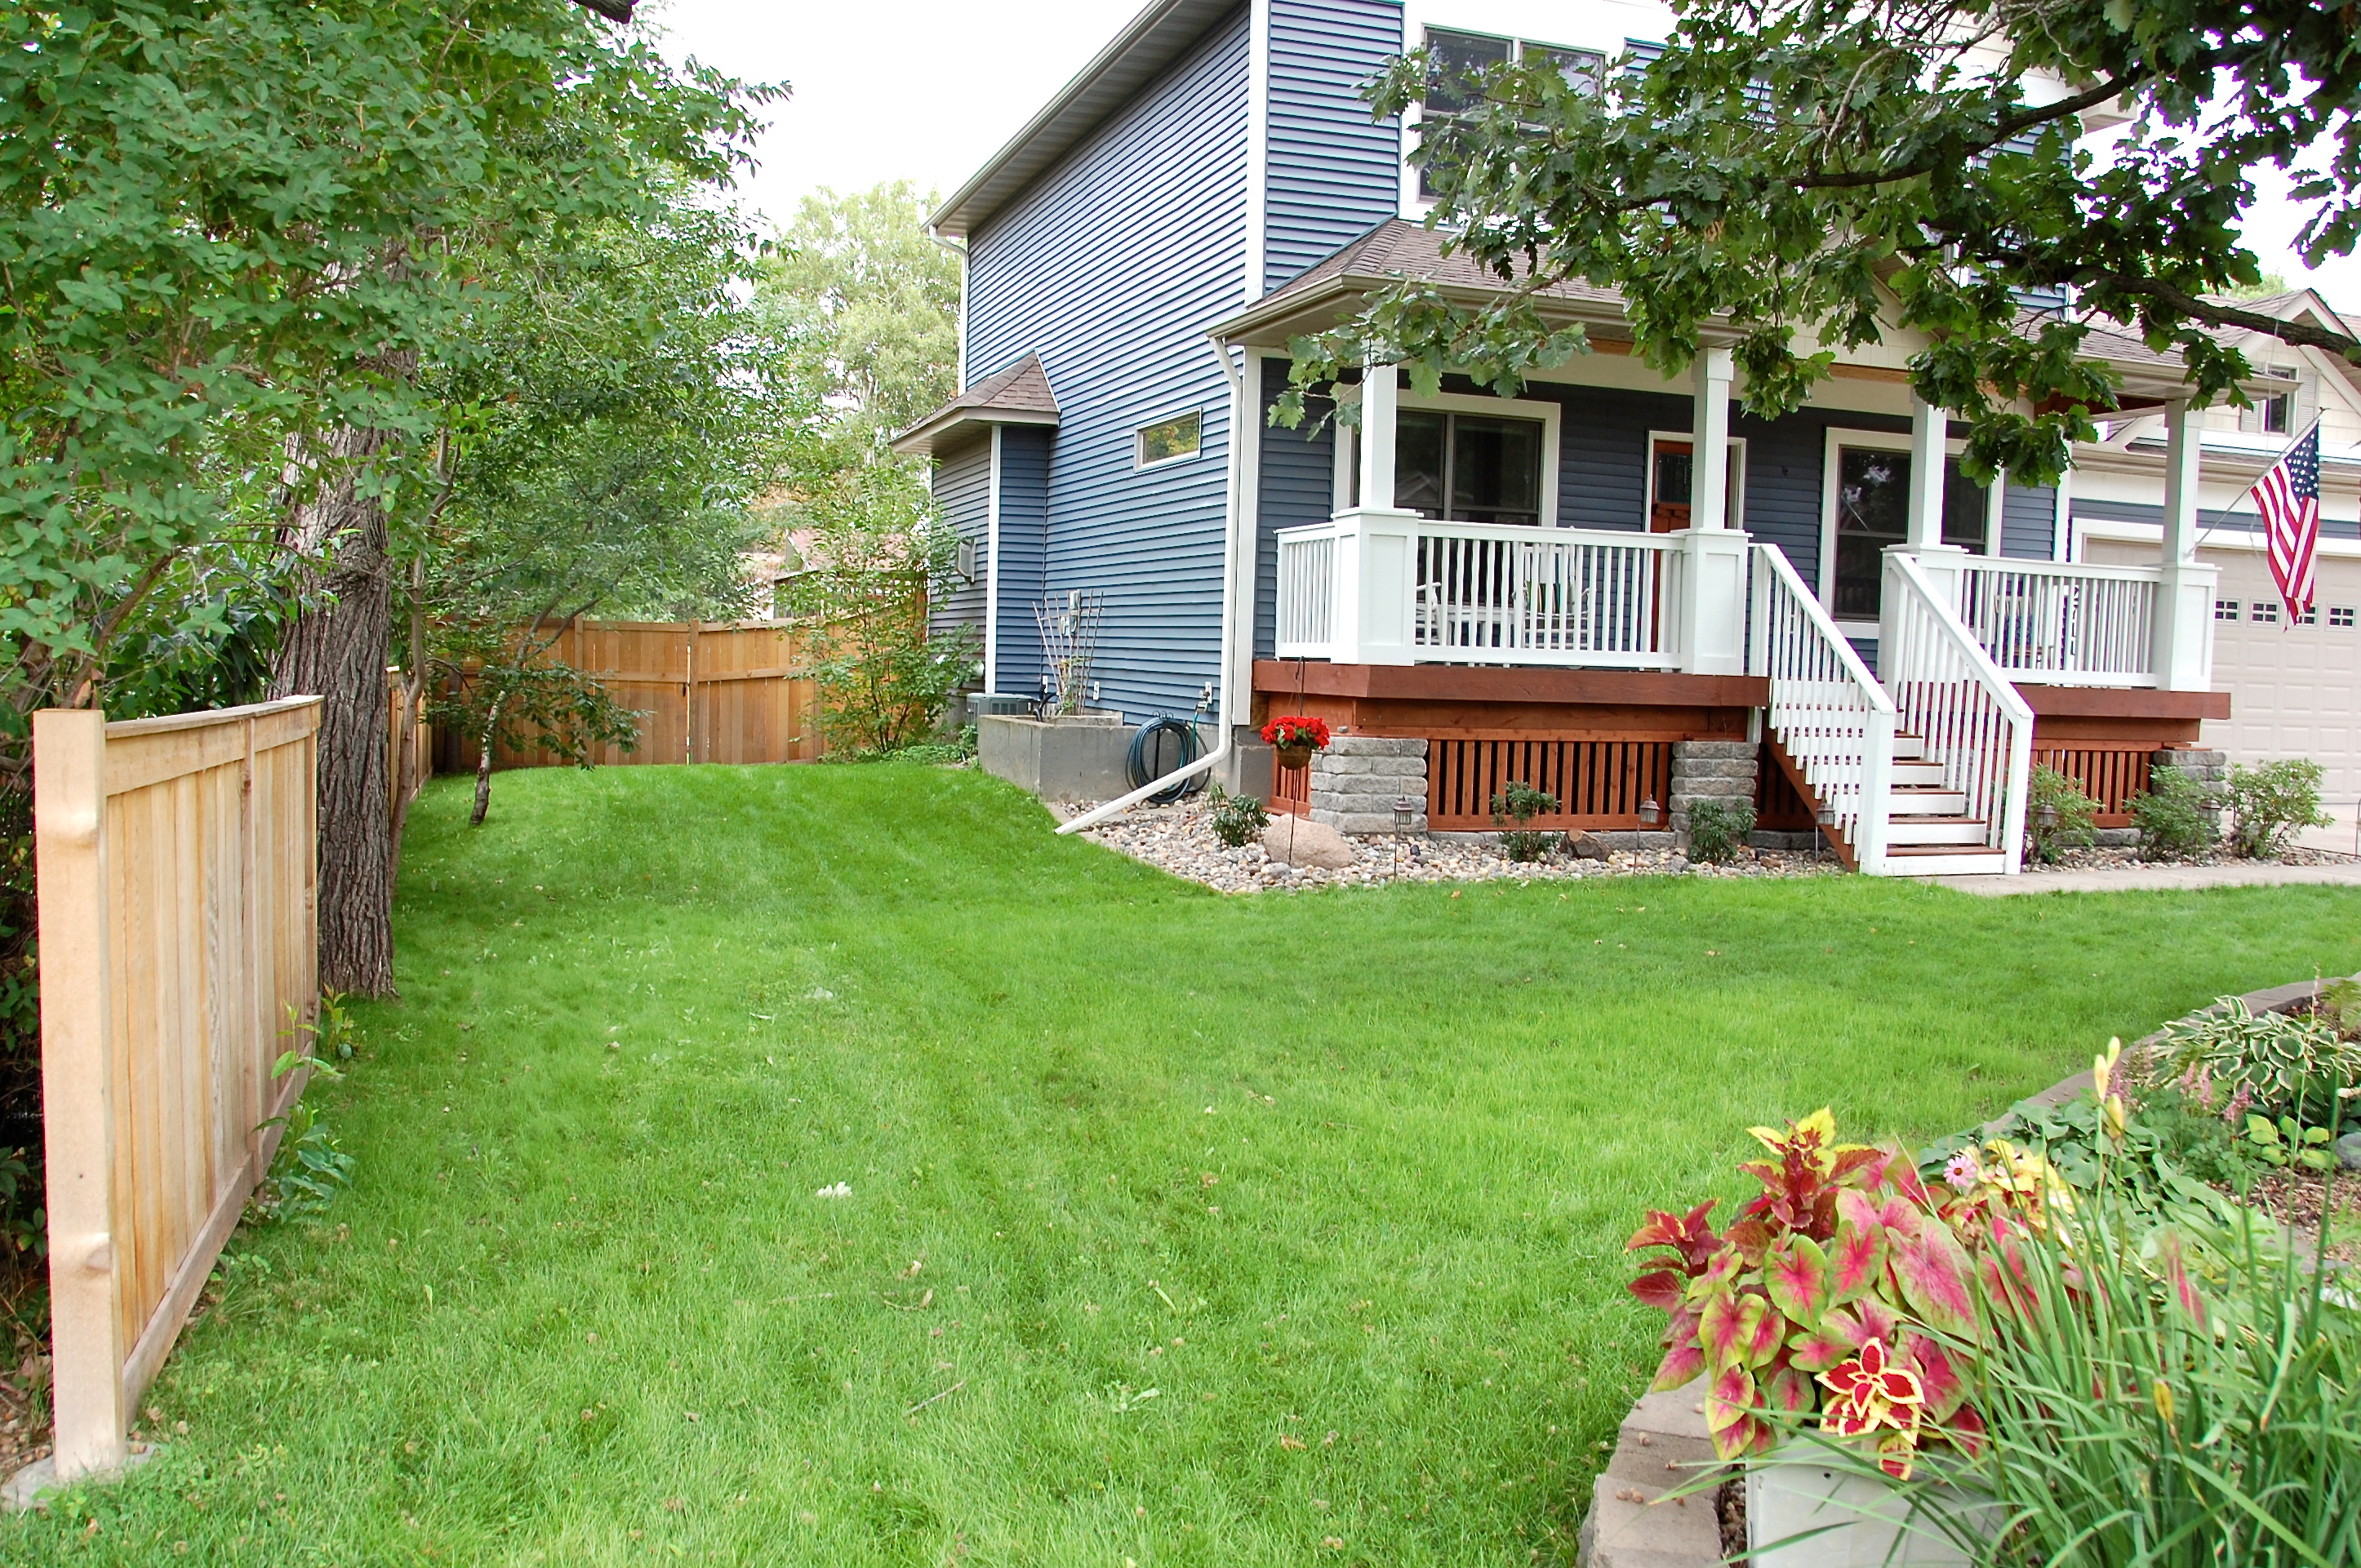
Side yard THEN:
Side yard NOW:
Steps forward: Absolutely none.
Steps back: Everything is completely overgrown, out of control, a big hot weedy mess. It looks much worse even than when we moved in.
Plan for 2013: Rip everything out and start over (transplanting any salvageable plants), possibly add a magnolia tree (my current horticultural crush).
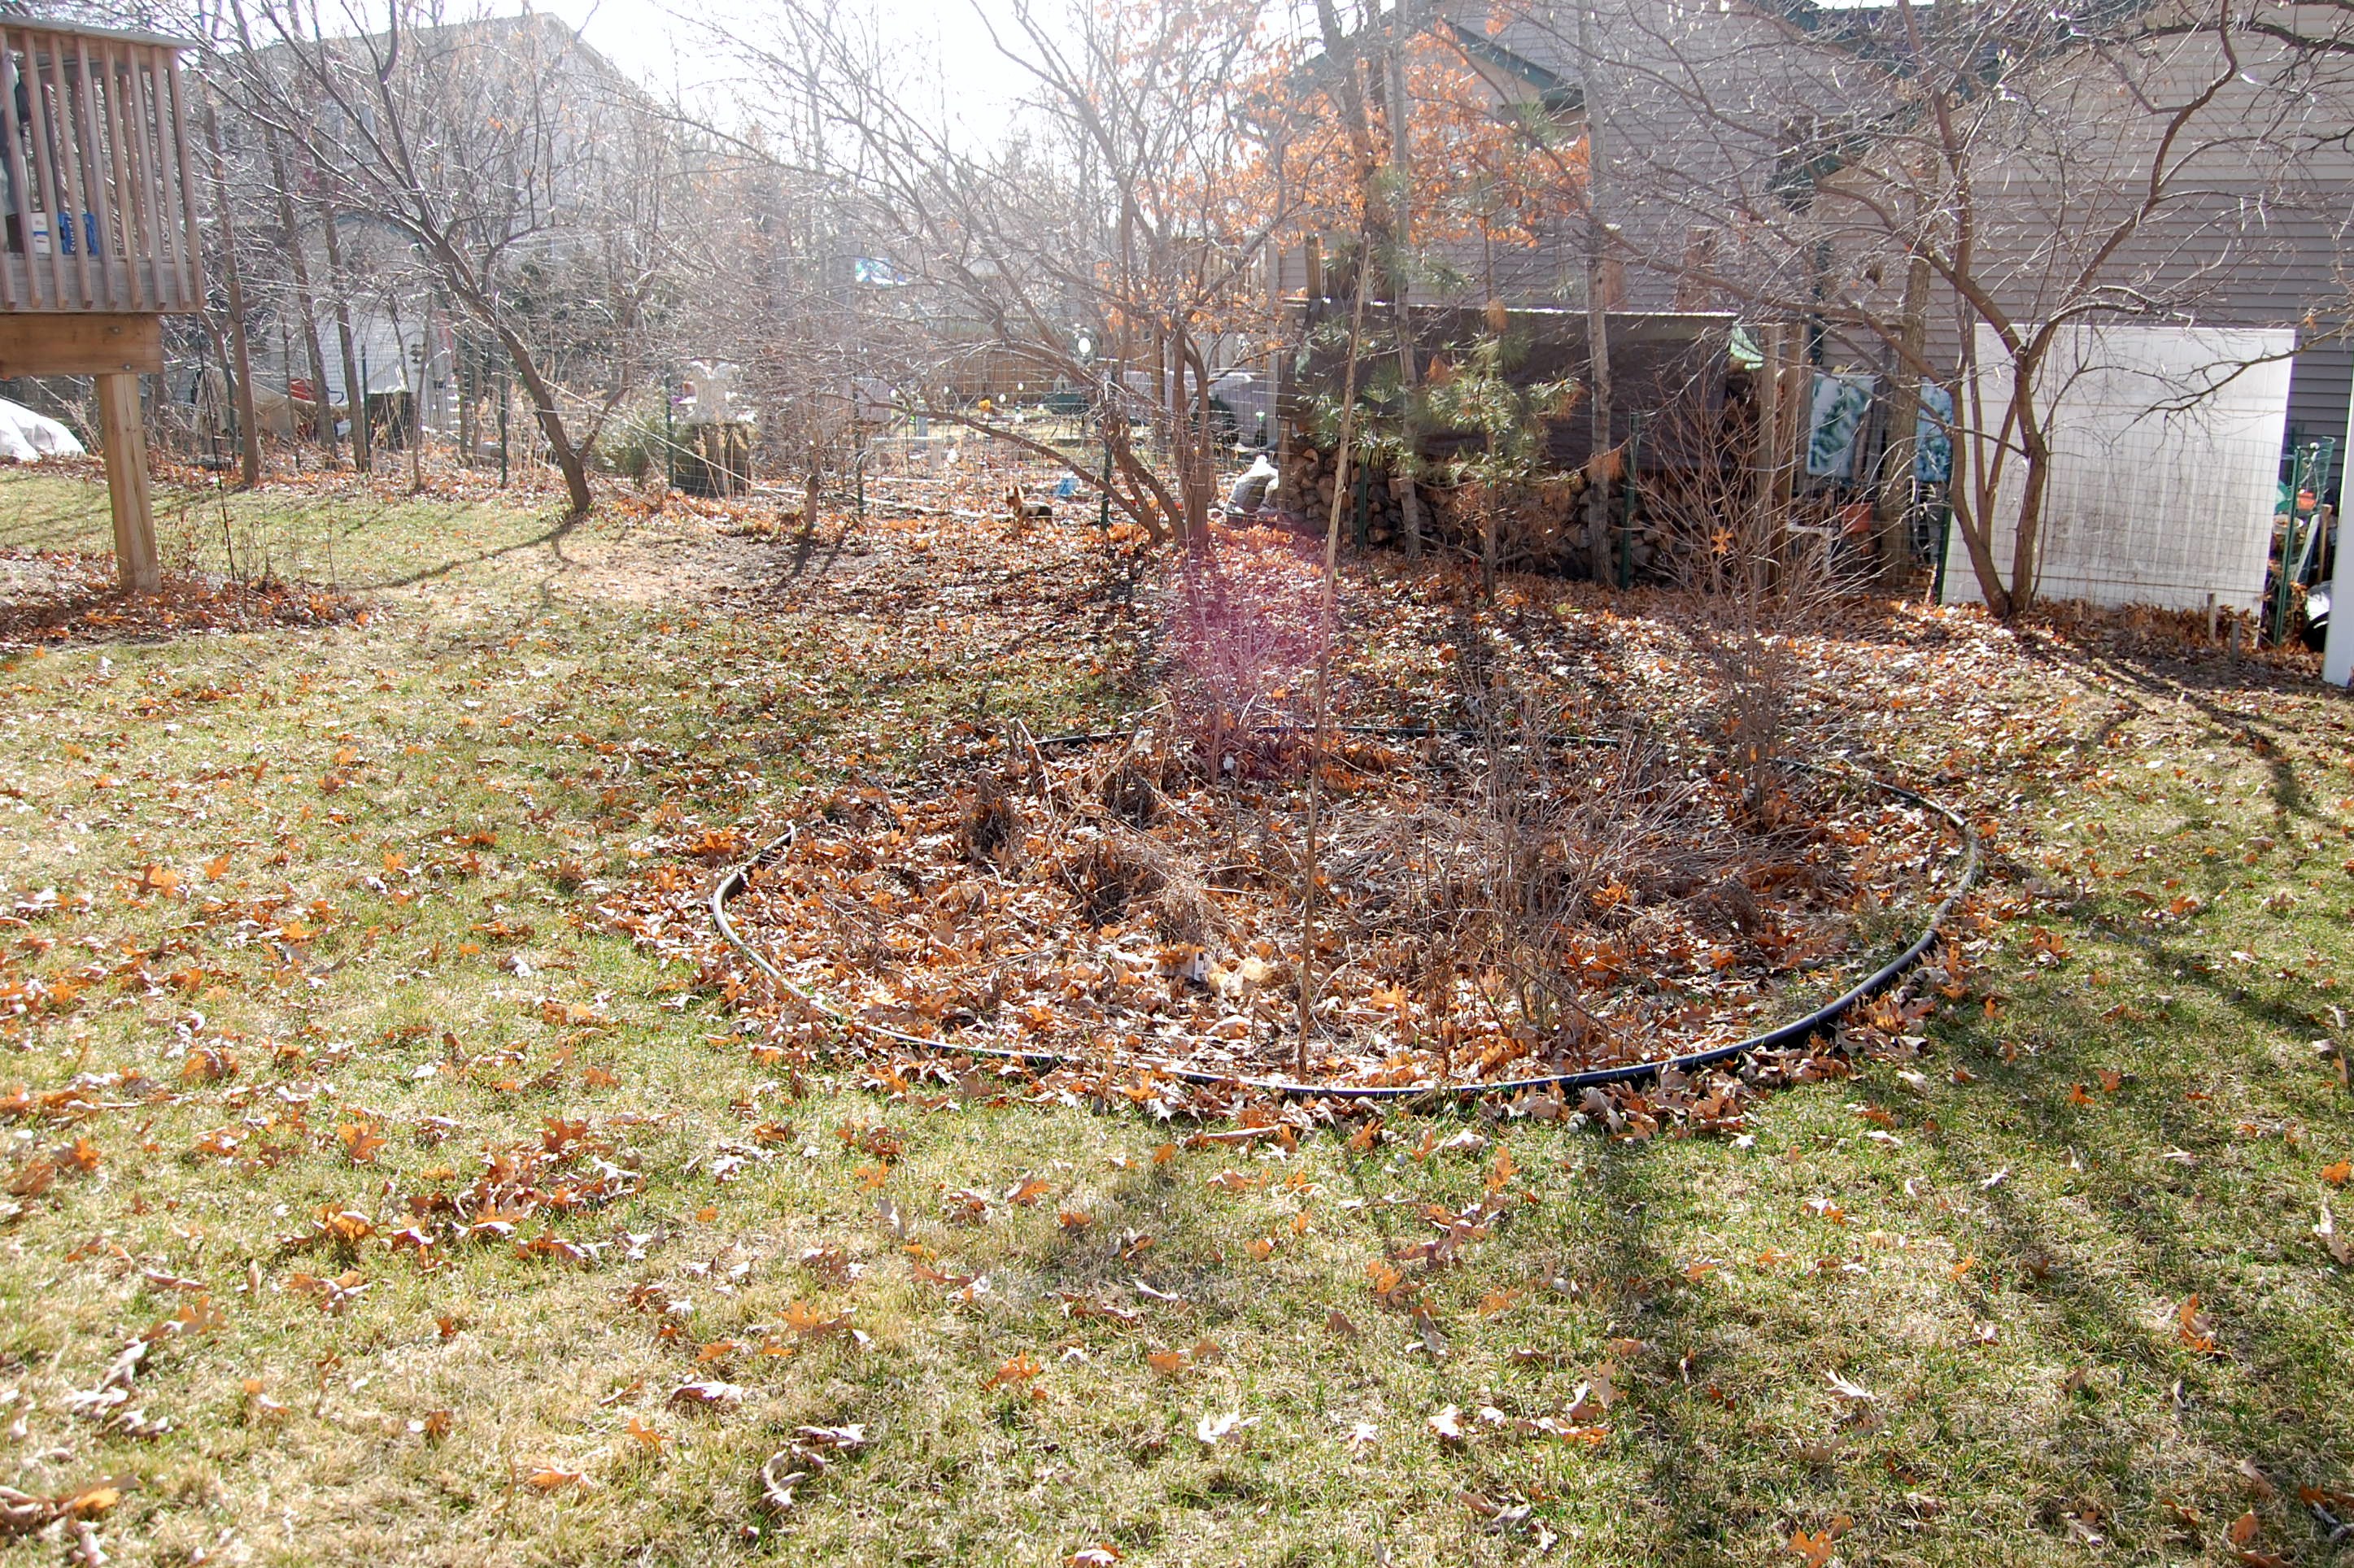
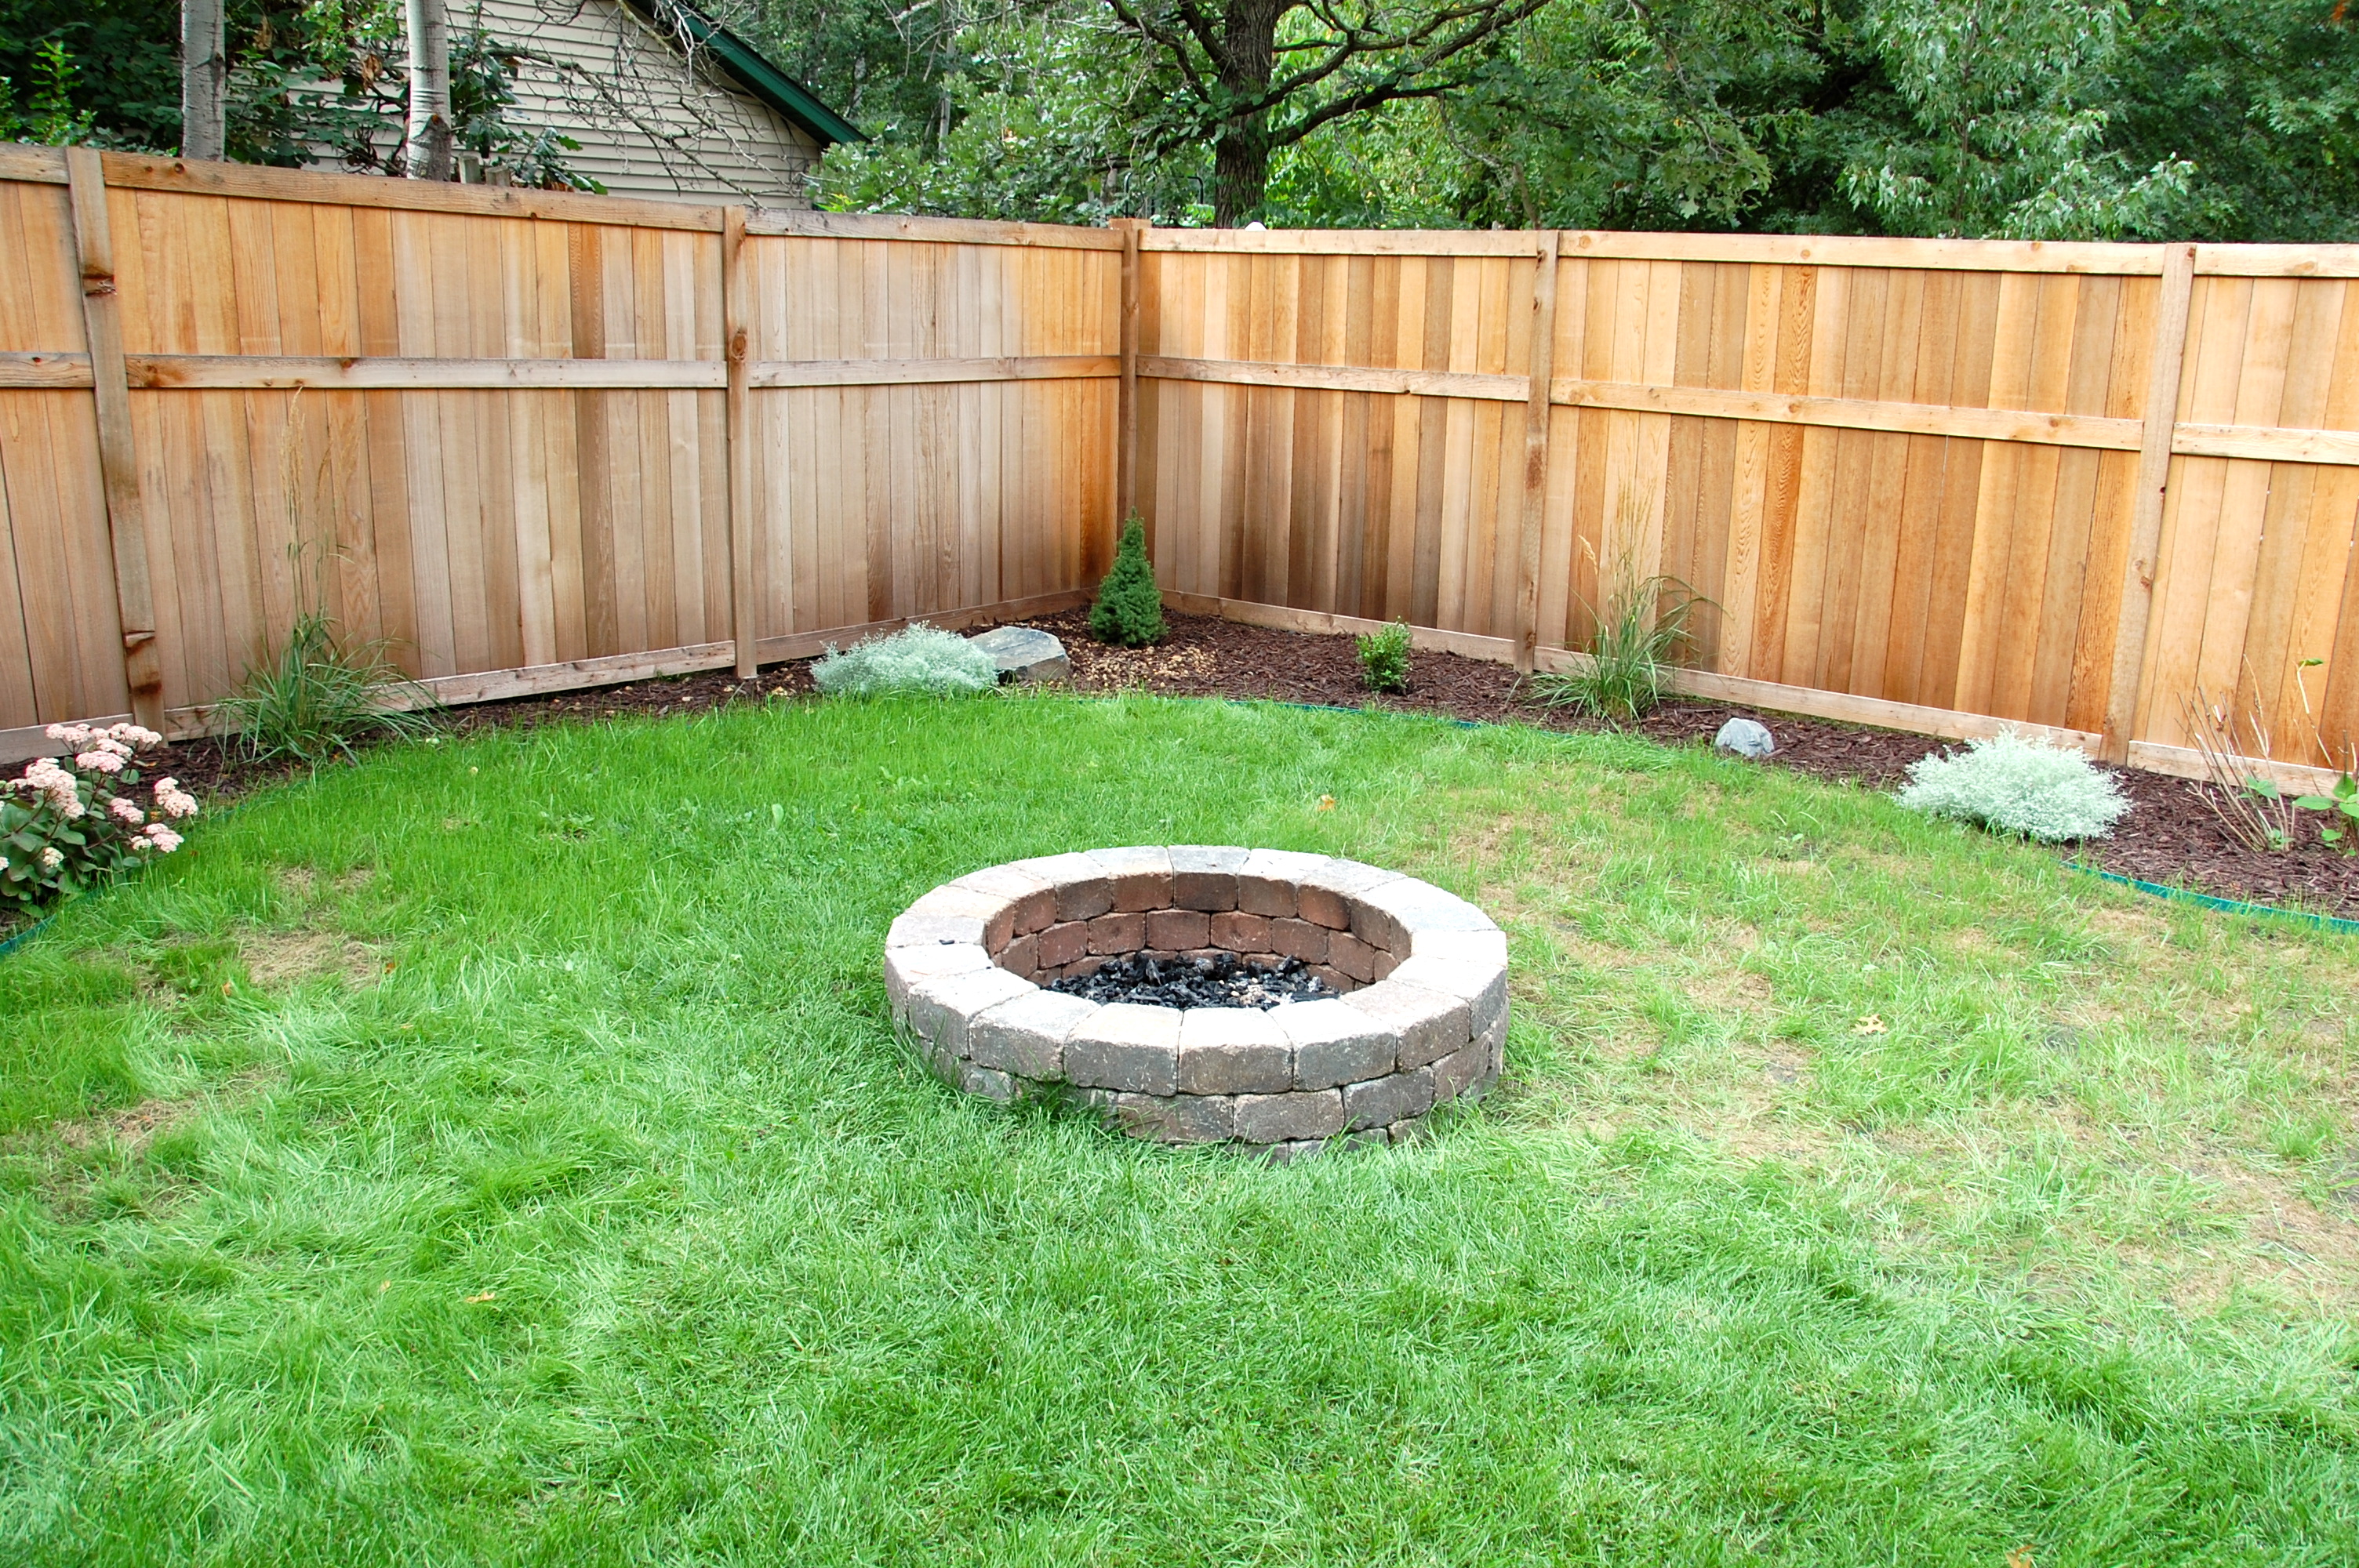
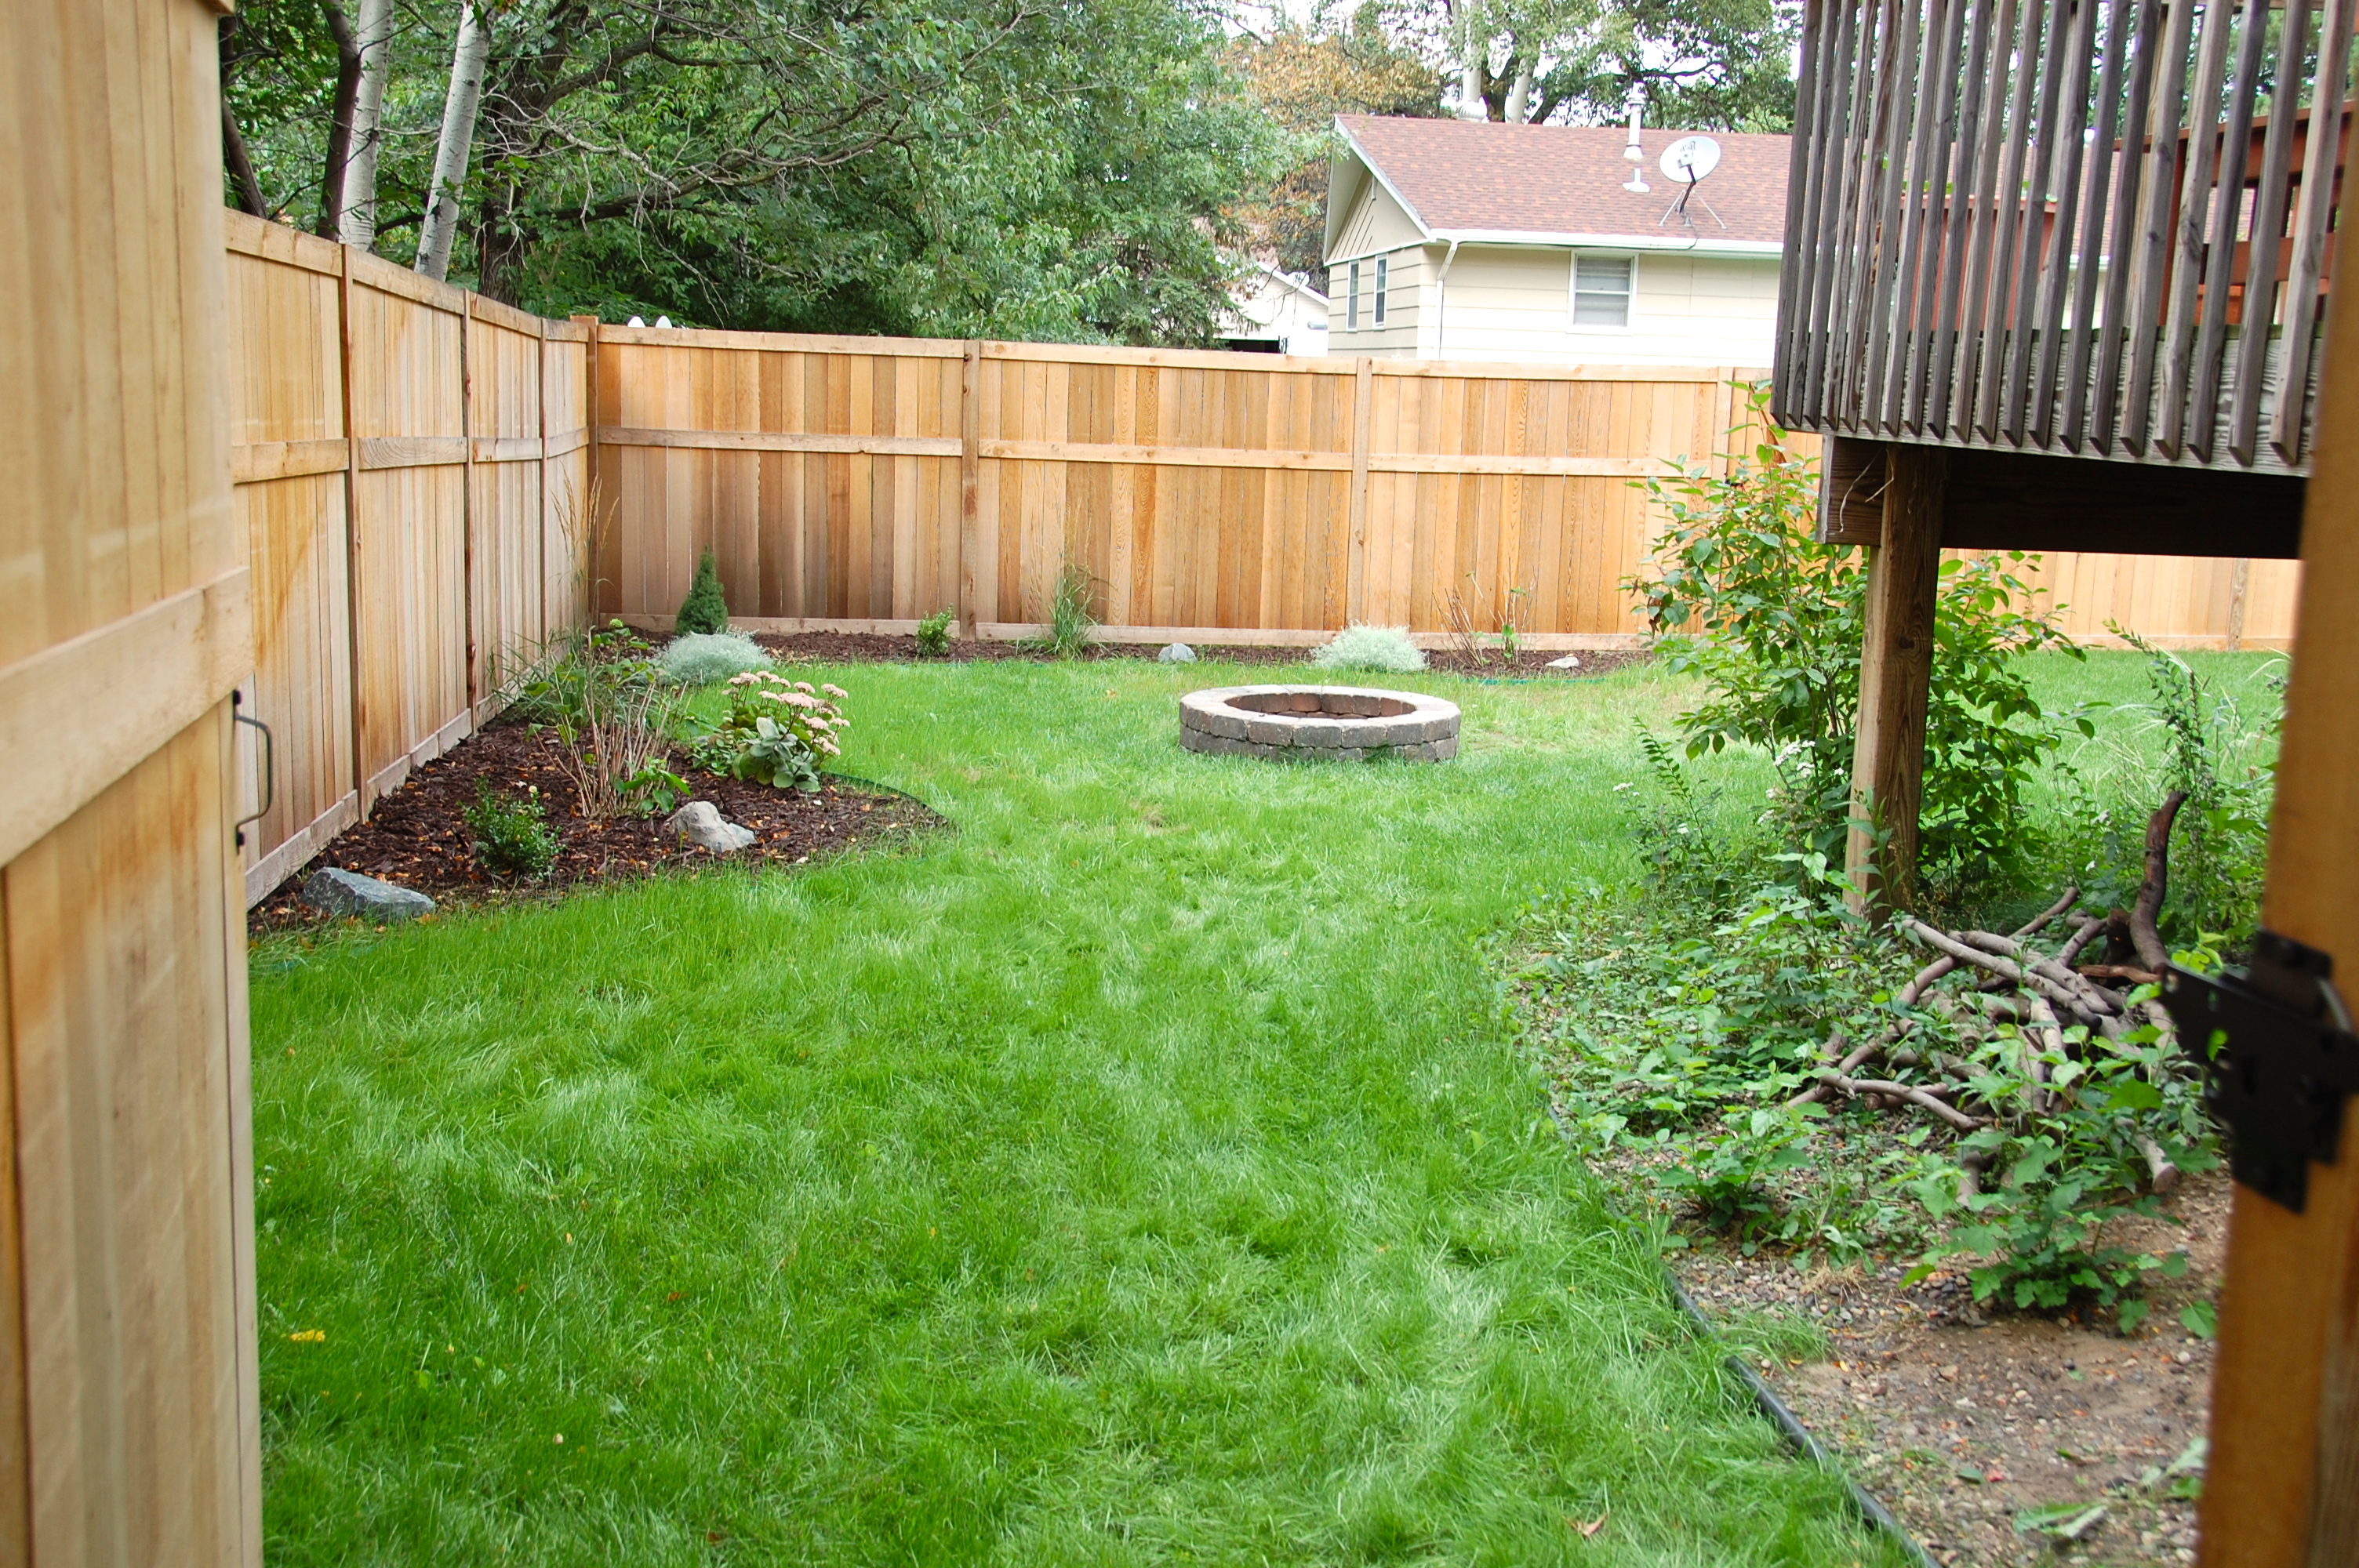
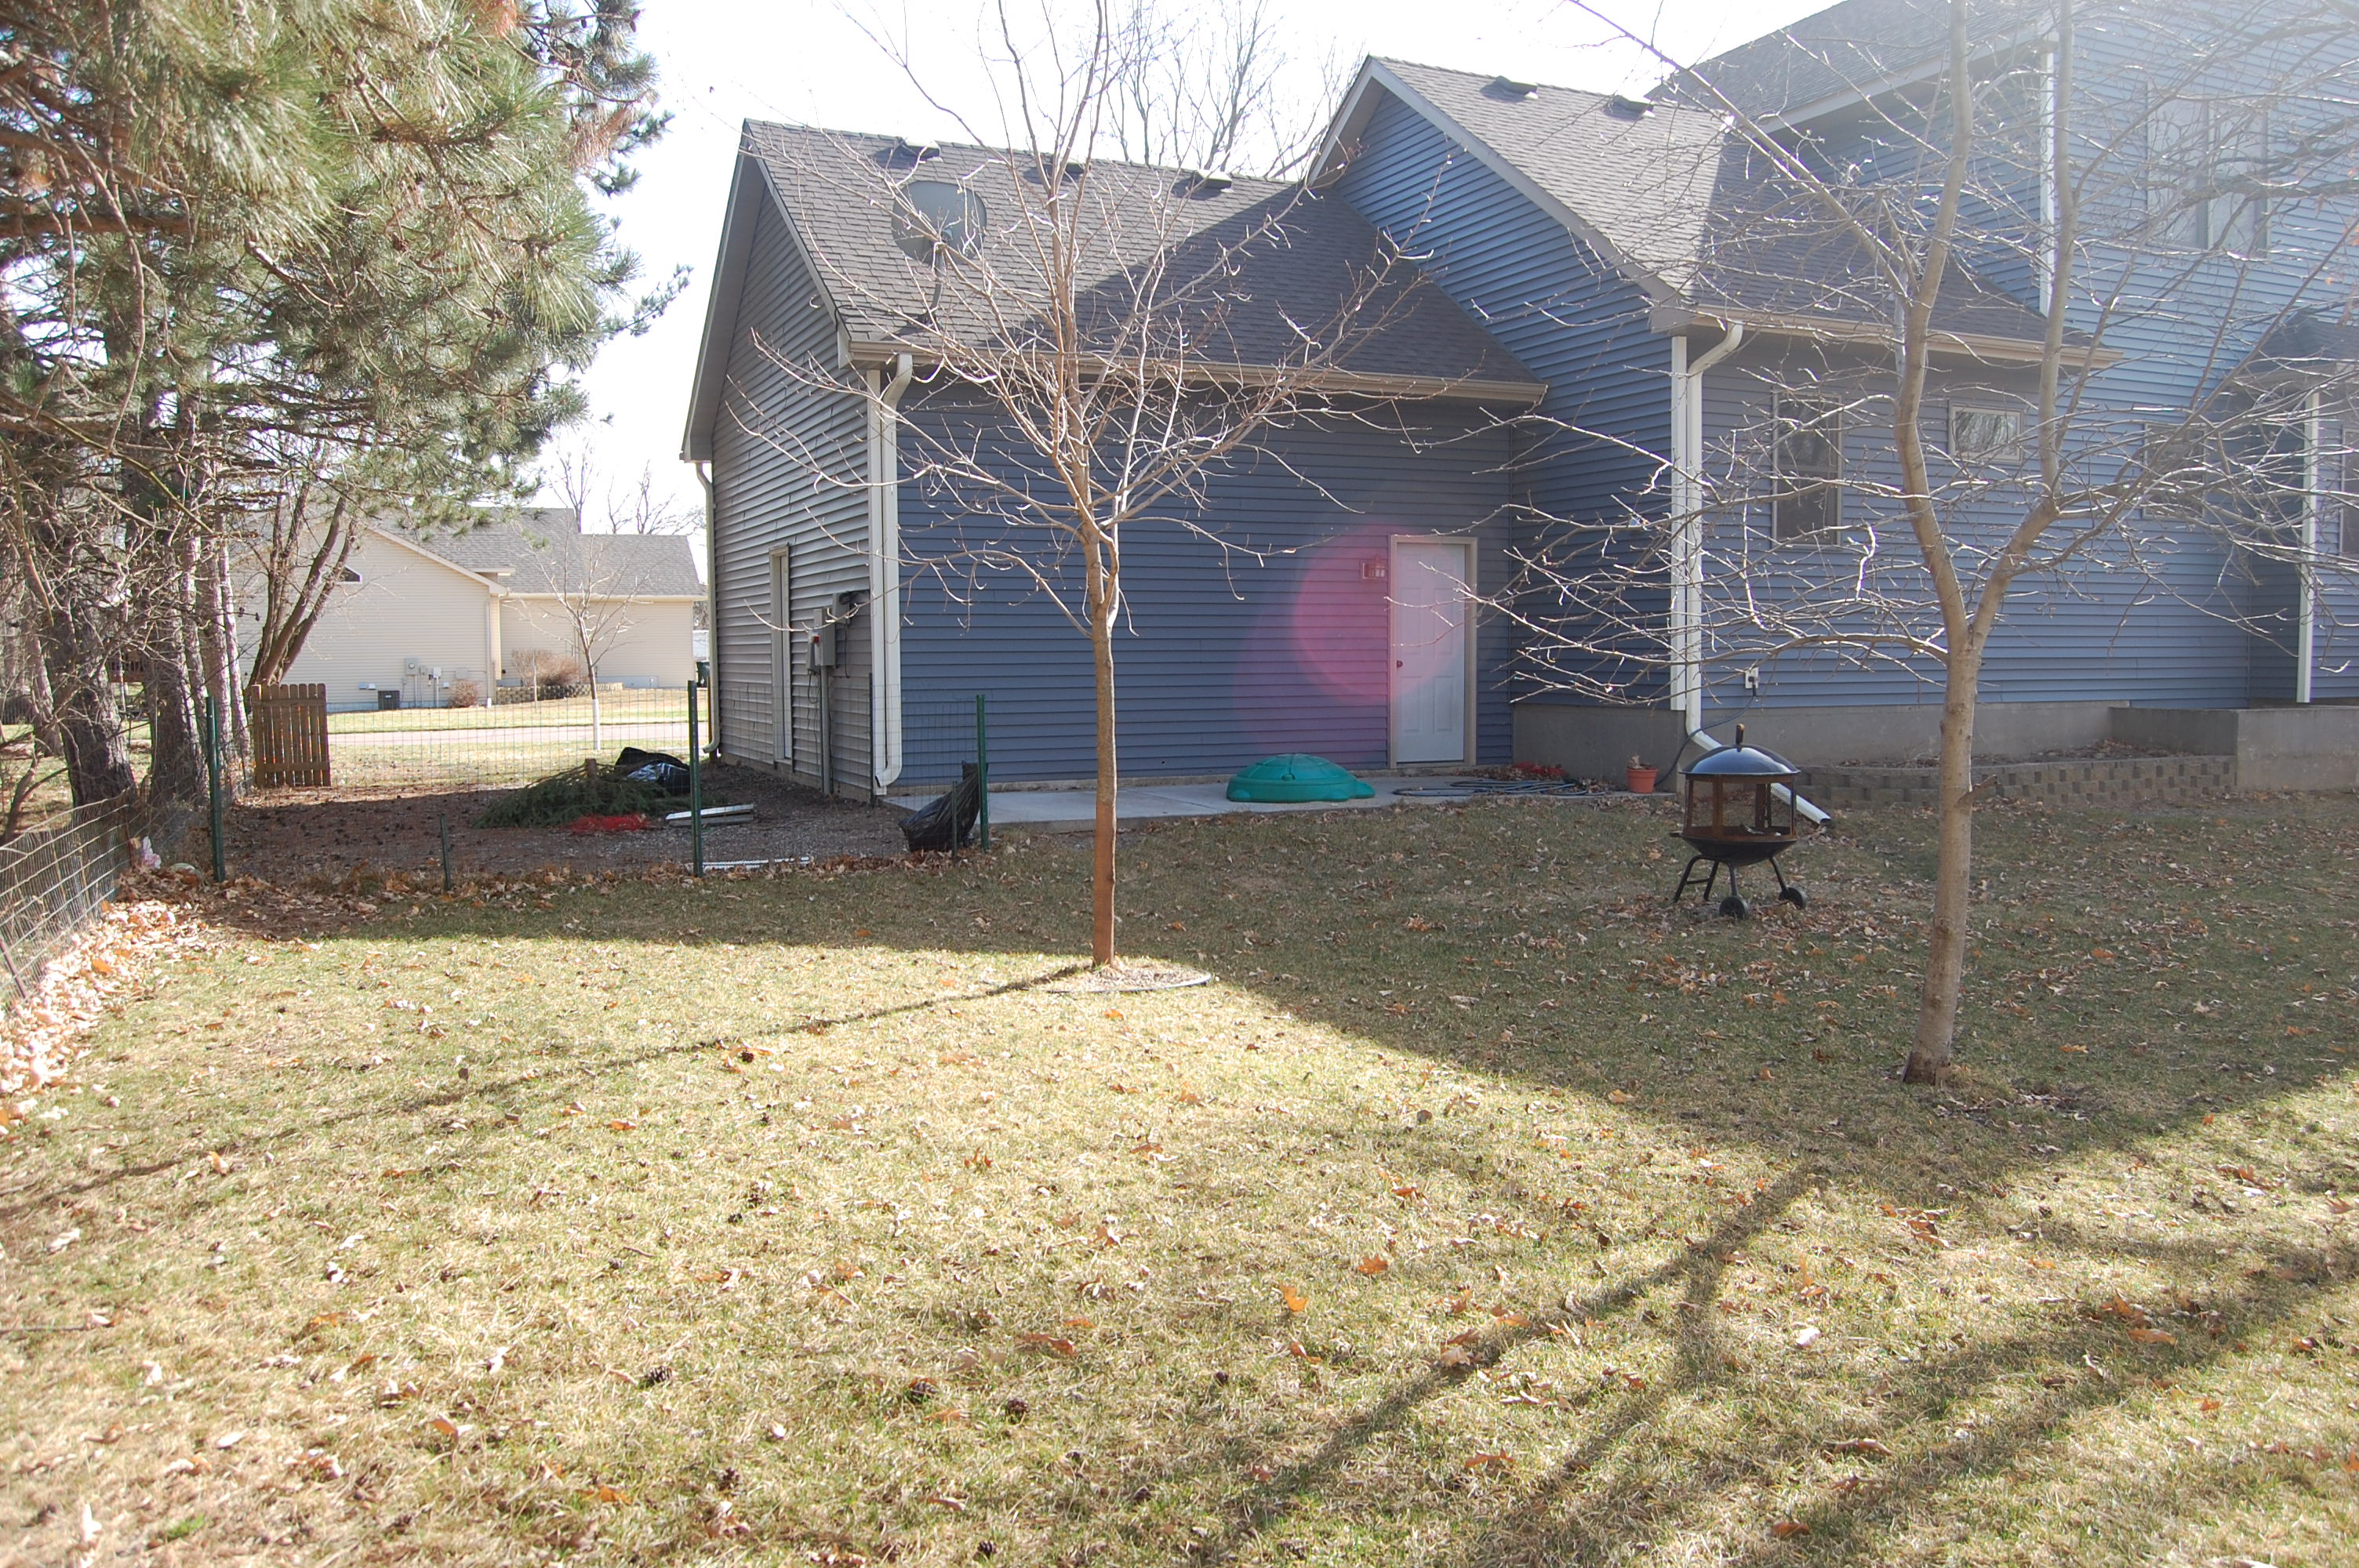
Back yard corner THEN:
Back yard corner NOW:

Steps forward: weedy, mostly dead rain garden removed, trees trimmed back to make room for fence, dirt from post holes used to fill in former garden, plastic landscape edging removed.
Steps back: piles of brush and debris yet to be cleared and the grass, it’s sooo bad back there. Also, our turtle sandbox and little tikes play structure (aka our found by the side of the road playground) are now homeless.
Plan for 2013: finish fence, grow grass, possibly add some sort of permanent fire pit. Build a bigger wooden sandbox elsewhere in the yard, dispose of turtle and maybe give away the play structure as well (except that the girls have suddenly become more interested in playing with it recently, so we’ll see what we end up doing).
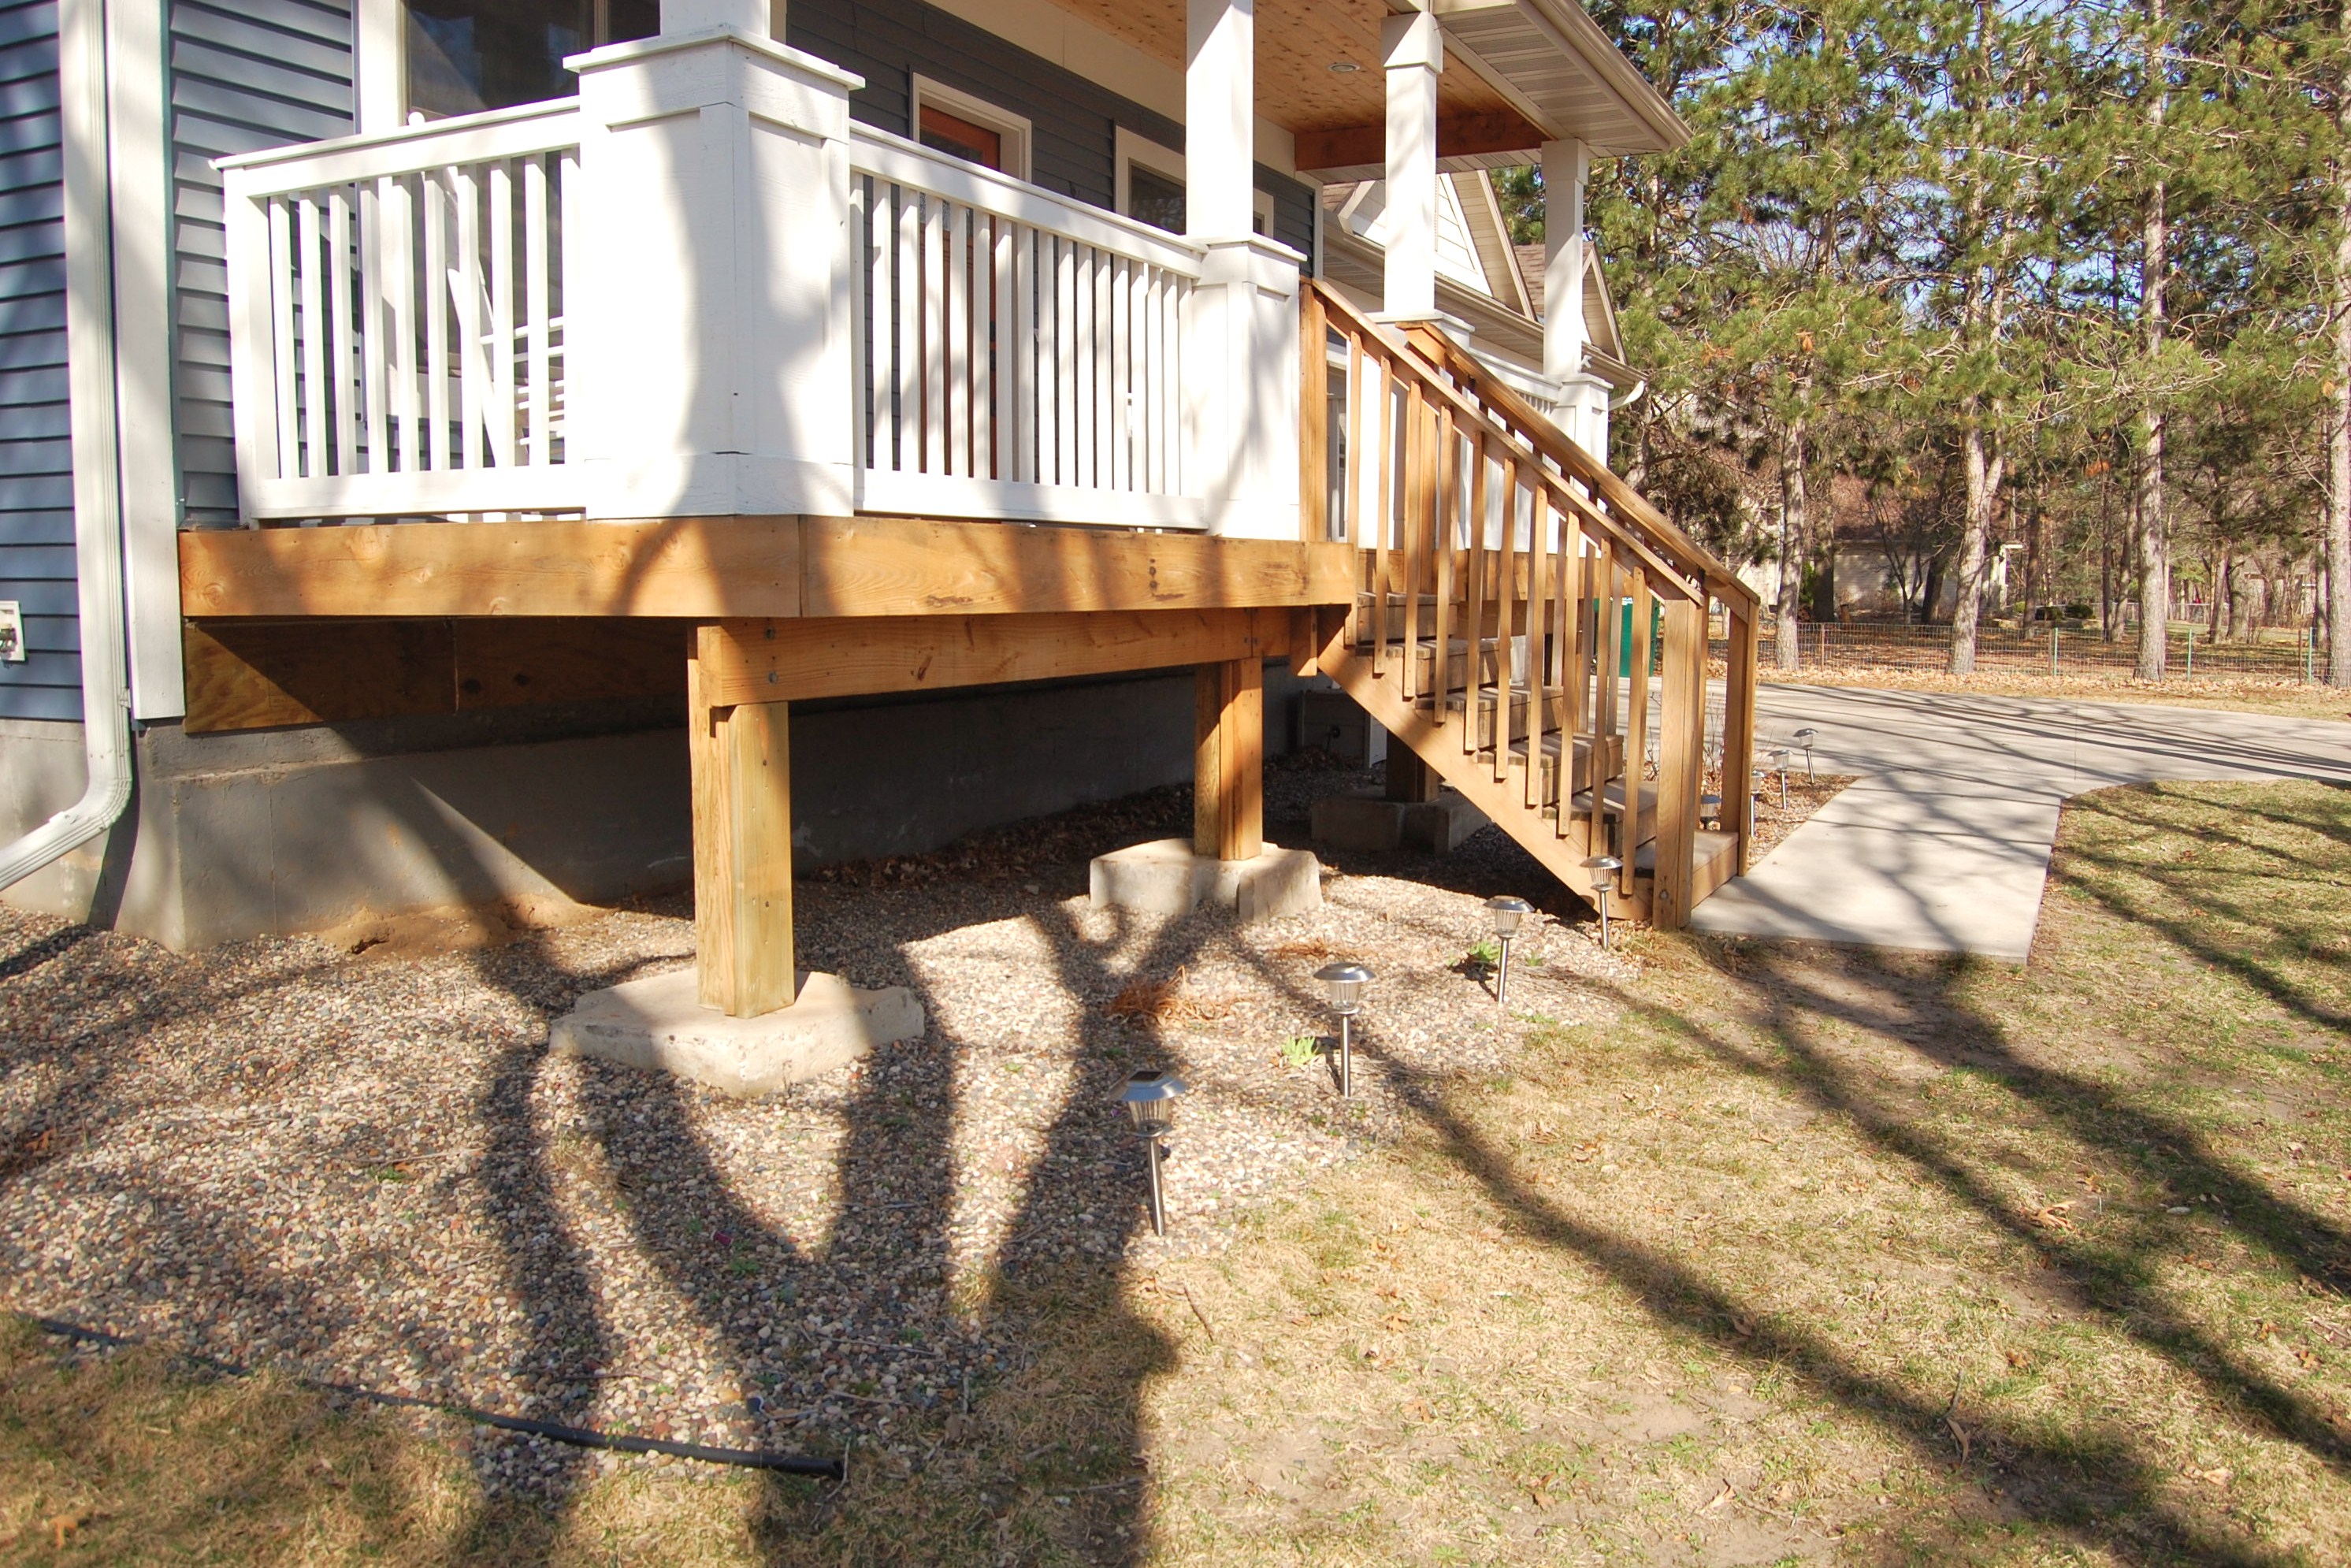
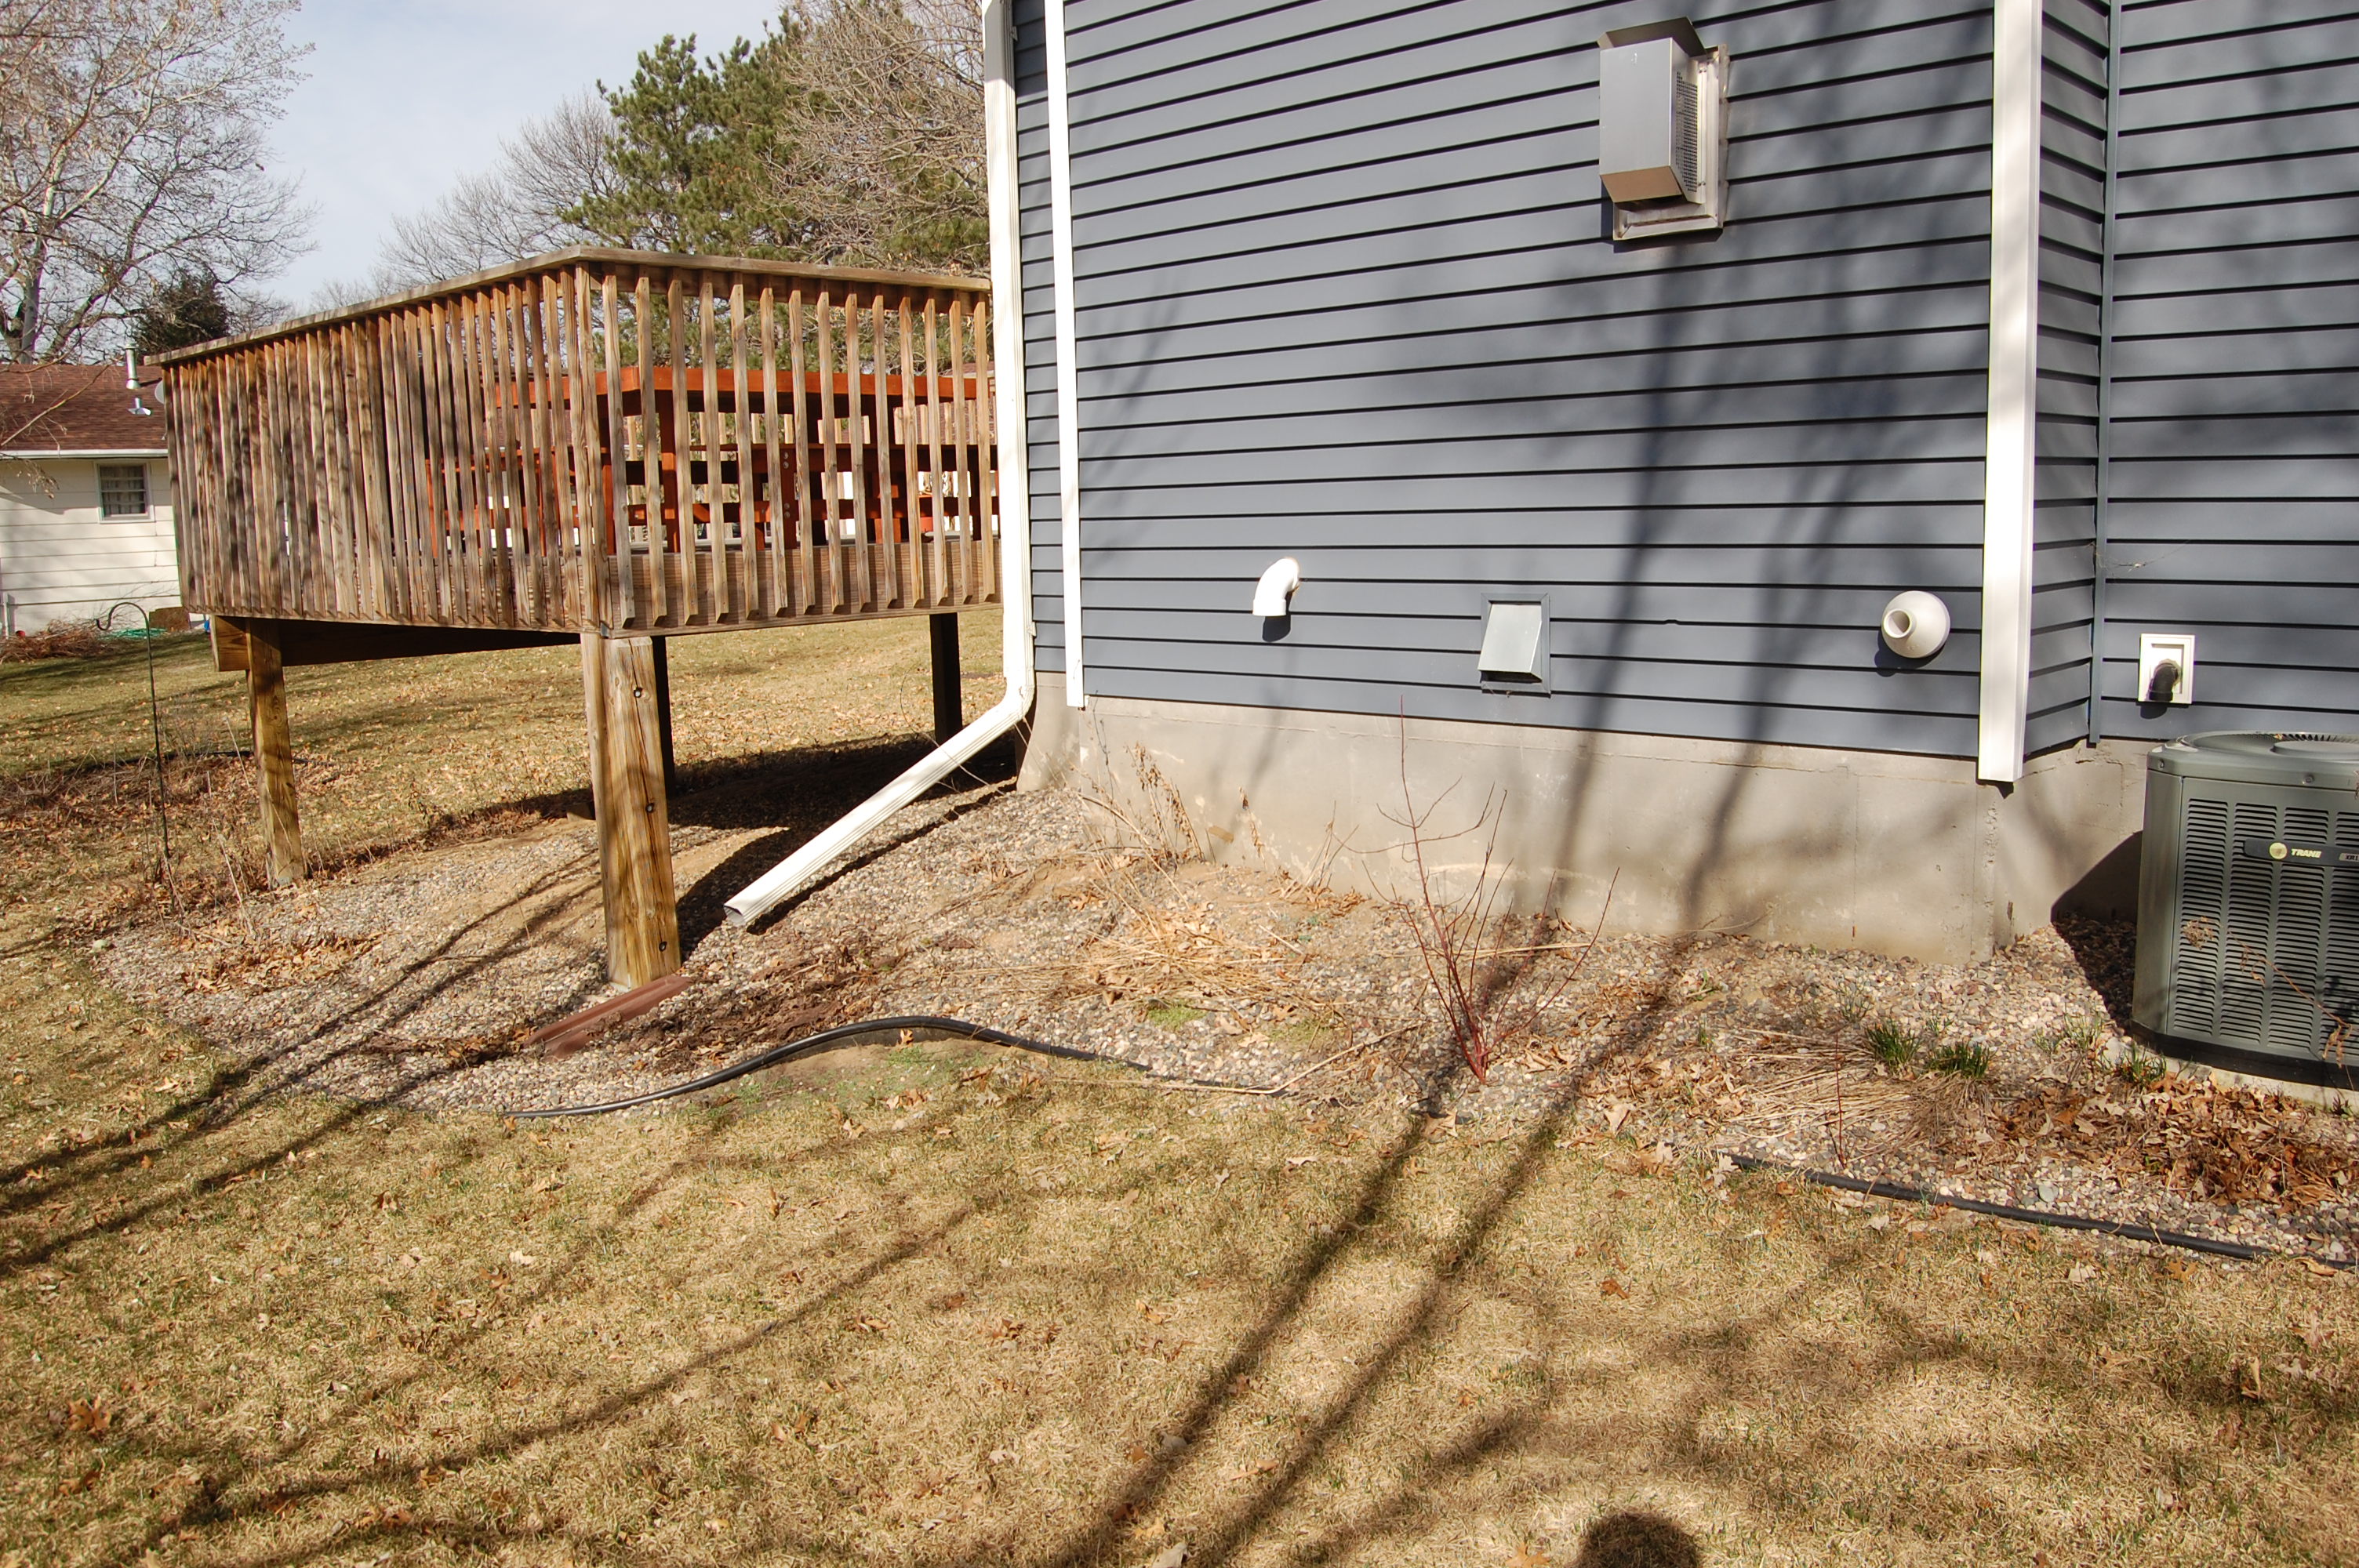
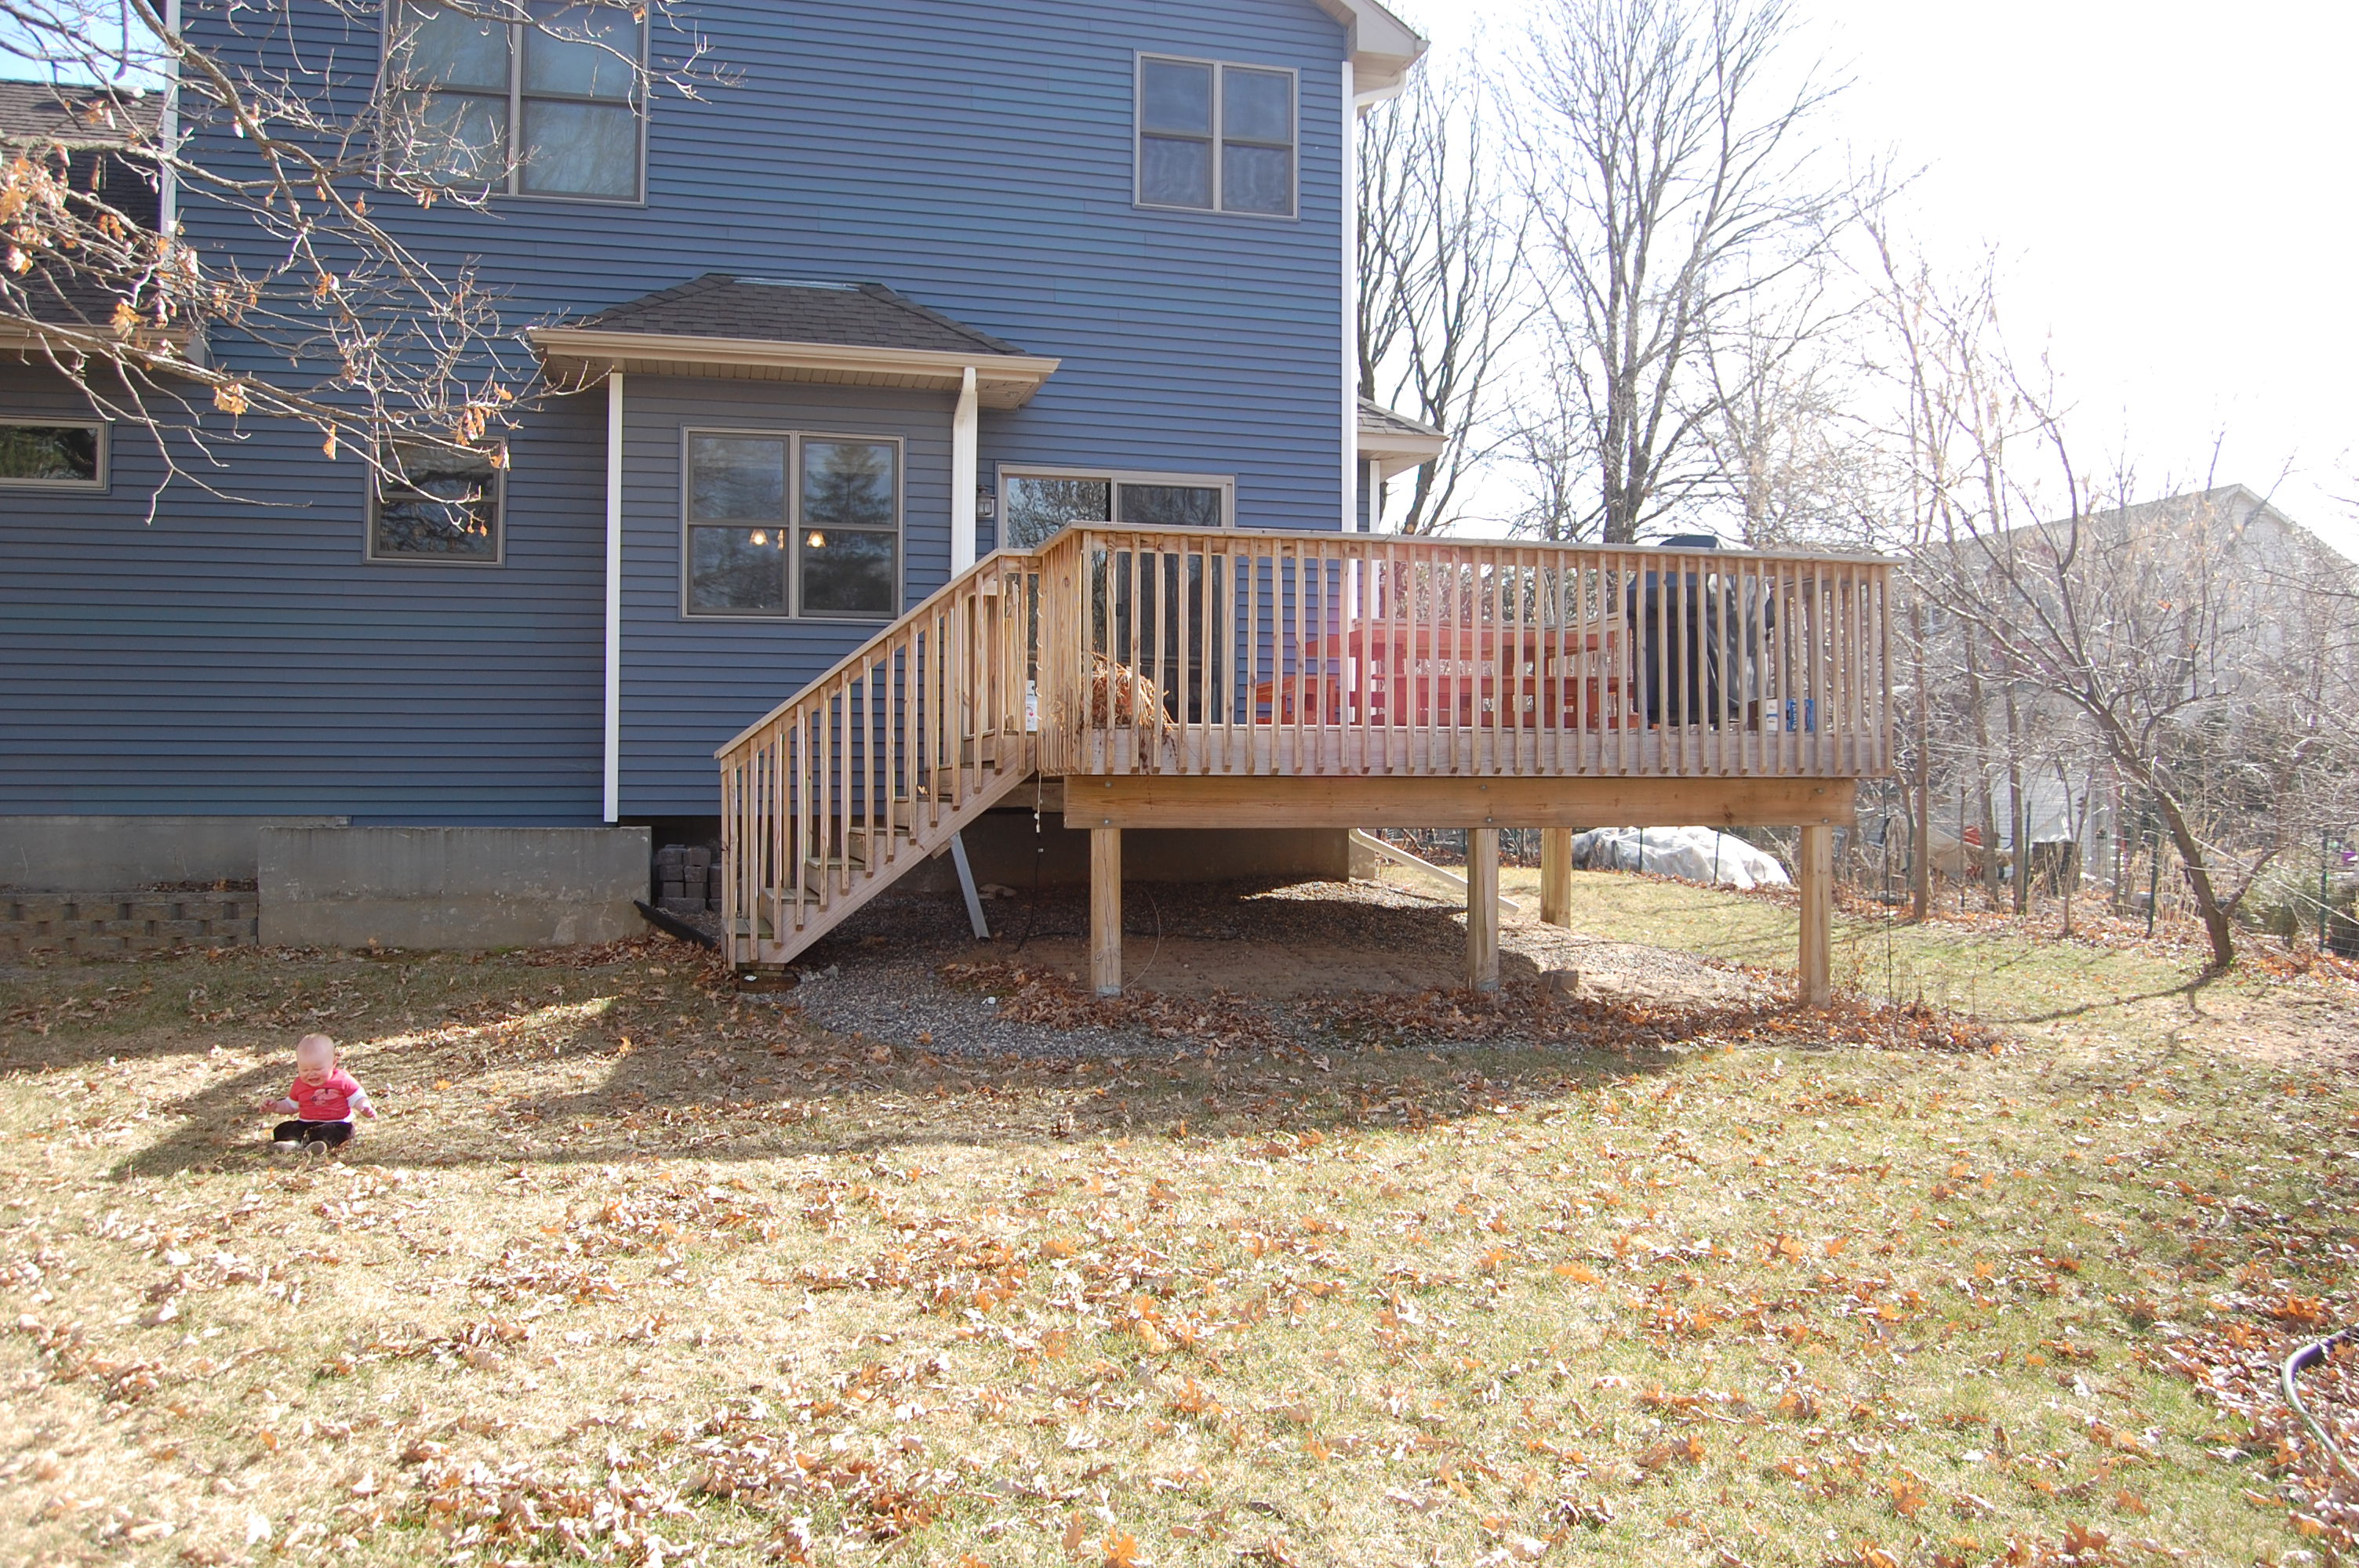
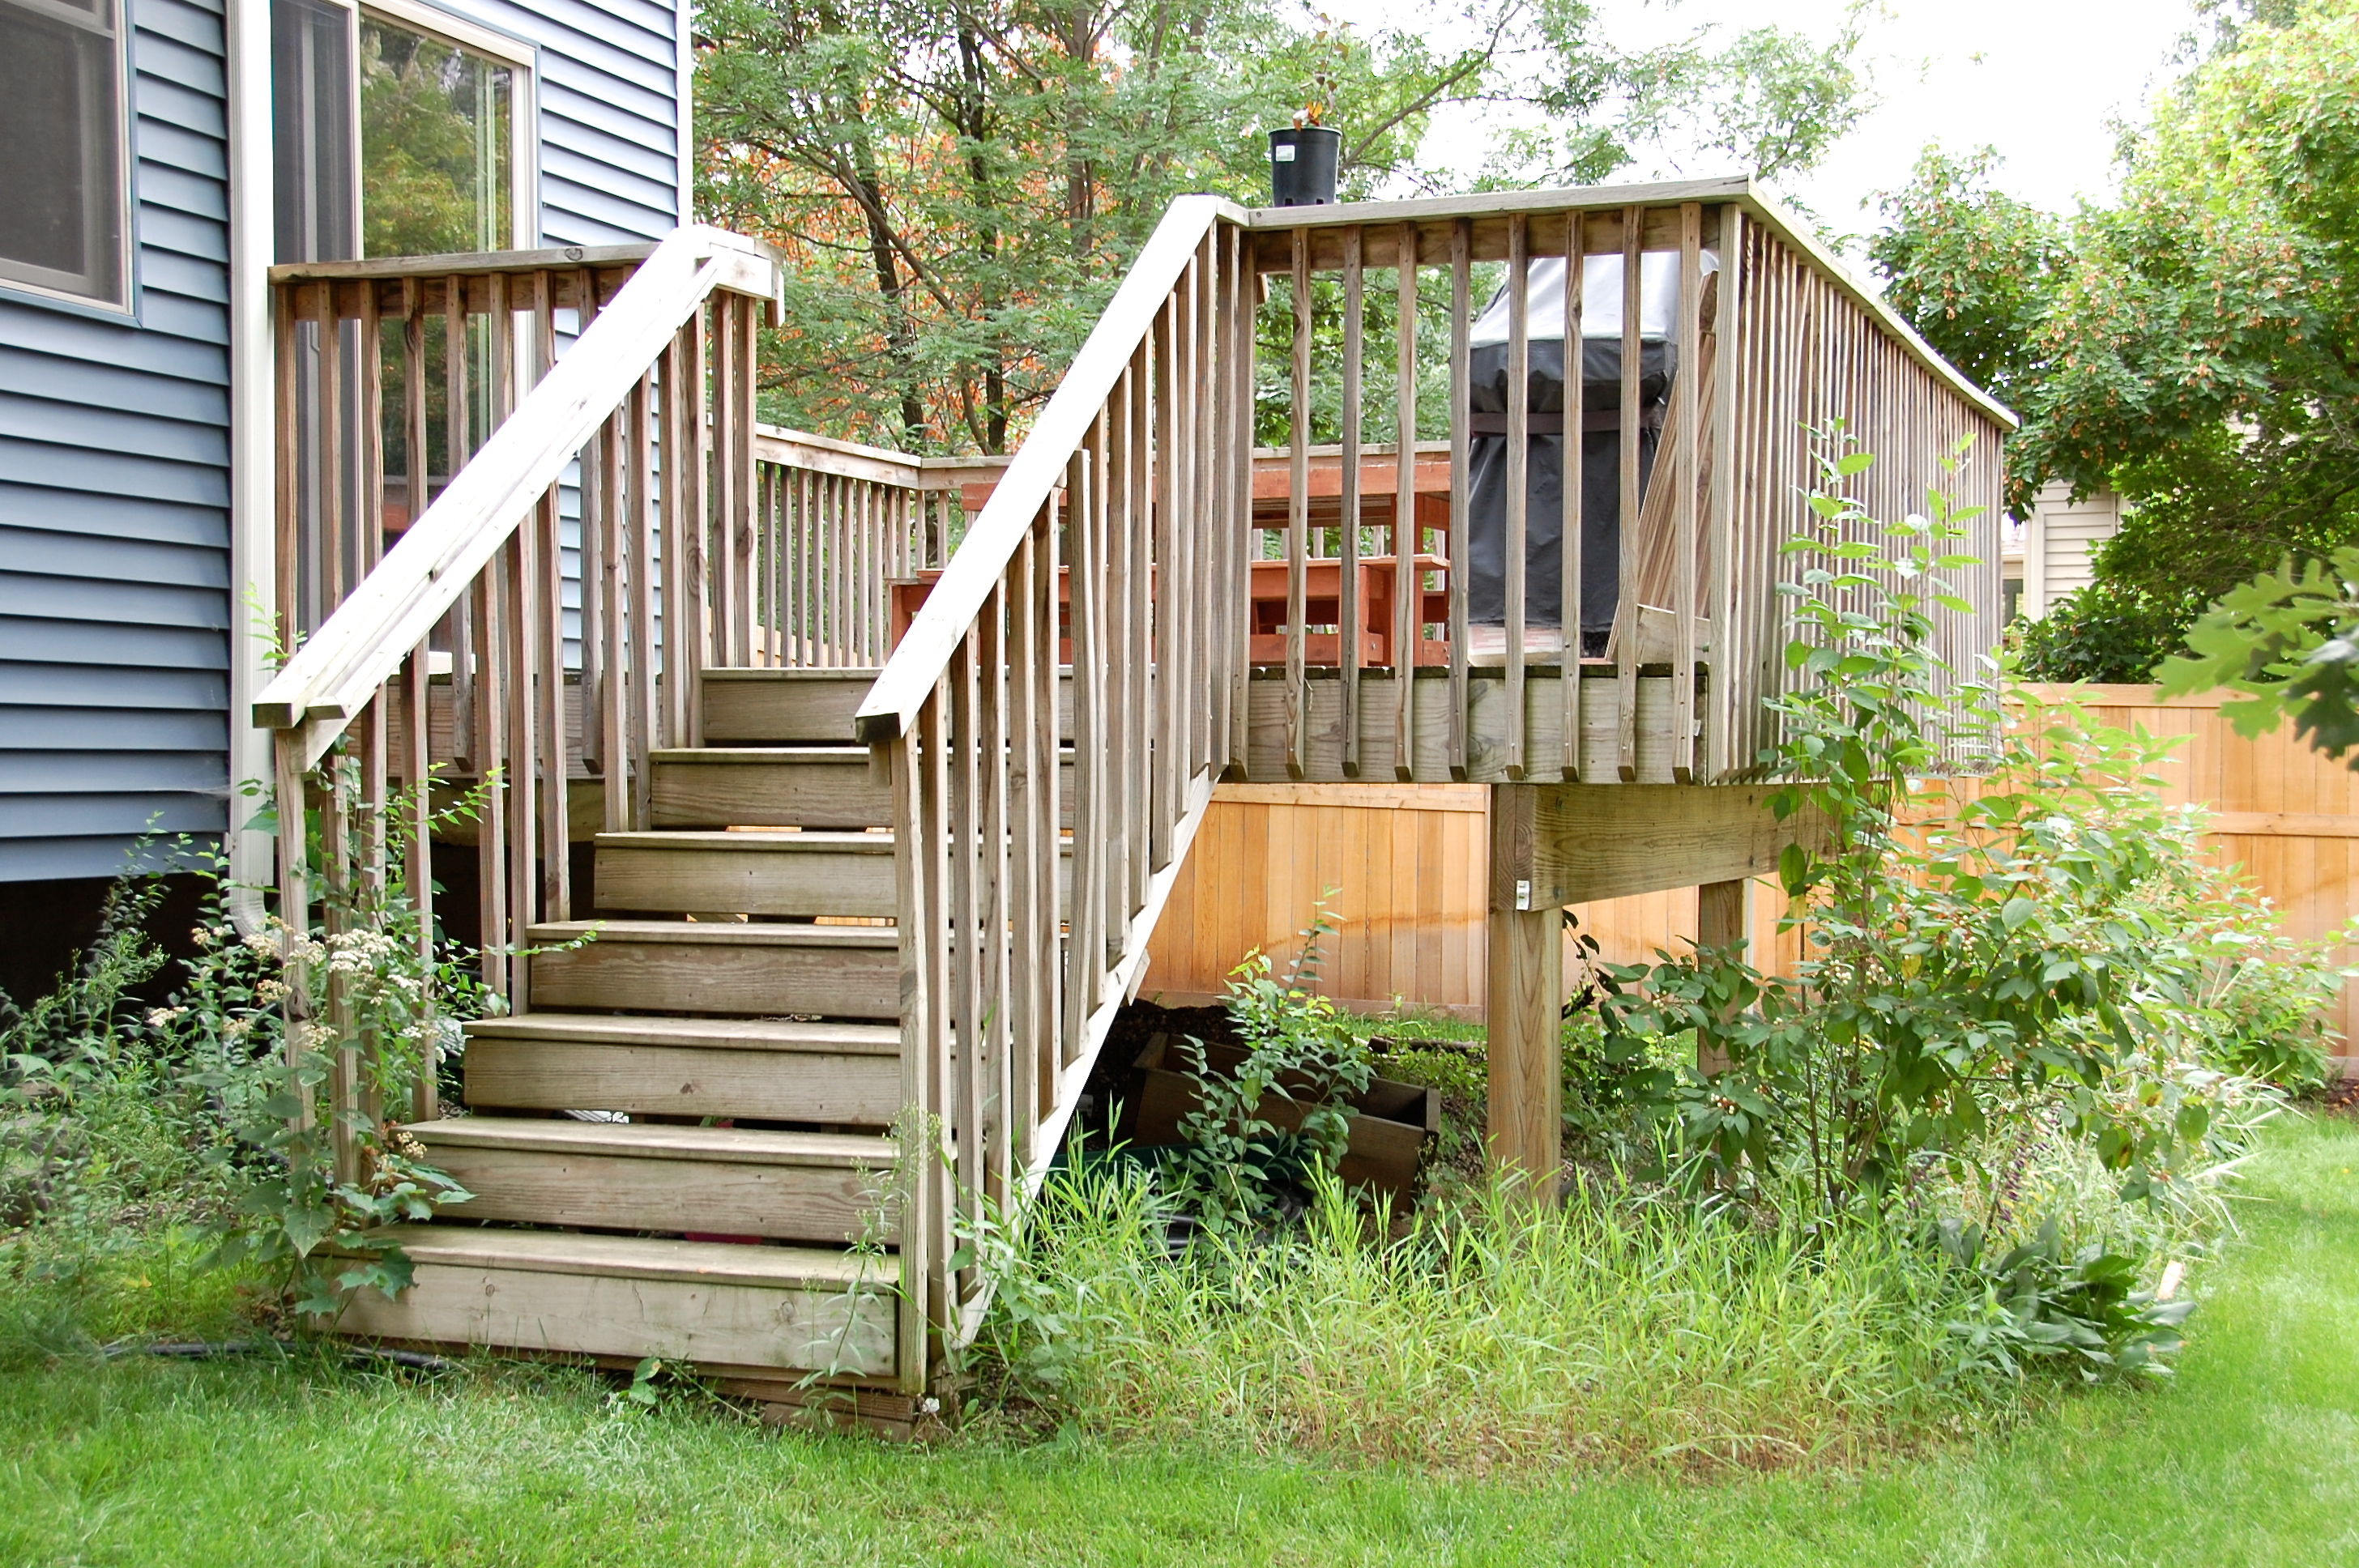
Deck THEN:
Deck NOW:
Steps forward: the two dogwood shrubs we transplanted from the rain garden are still alive and kicking.
Steps back: this part of our landscaping makes me want to cry. It’s covered in vicious stinging weeds and upstart maple trees that won’t die, no matter how many times I cut them back. Not to mention that underneath the deck is our current extra landscape materials storage (so not pretty). Oh and the deck is starting to rot and/or come apart in places. It needs to go.
Plan for 2013: make a new top for the outdoor table Peter built a few years ago, including adding a hole to hold a patio umbrella. Try to keep the weeds from taking over completely while we look forward to rebuilding the deck (maybe next year?!?!).
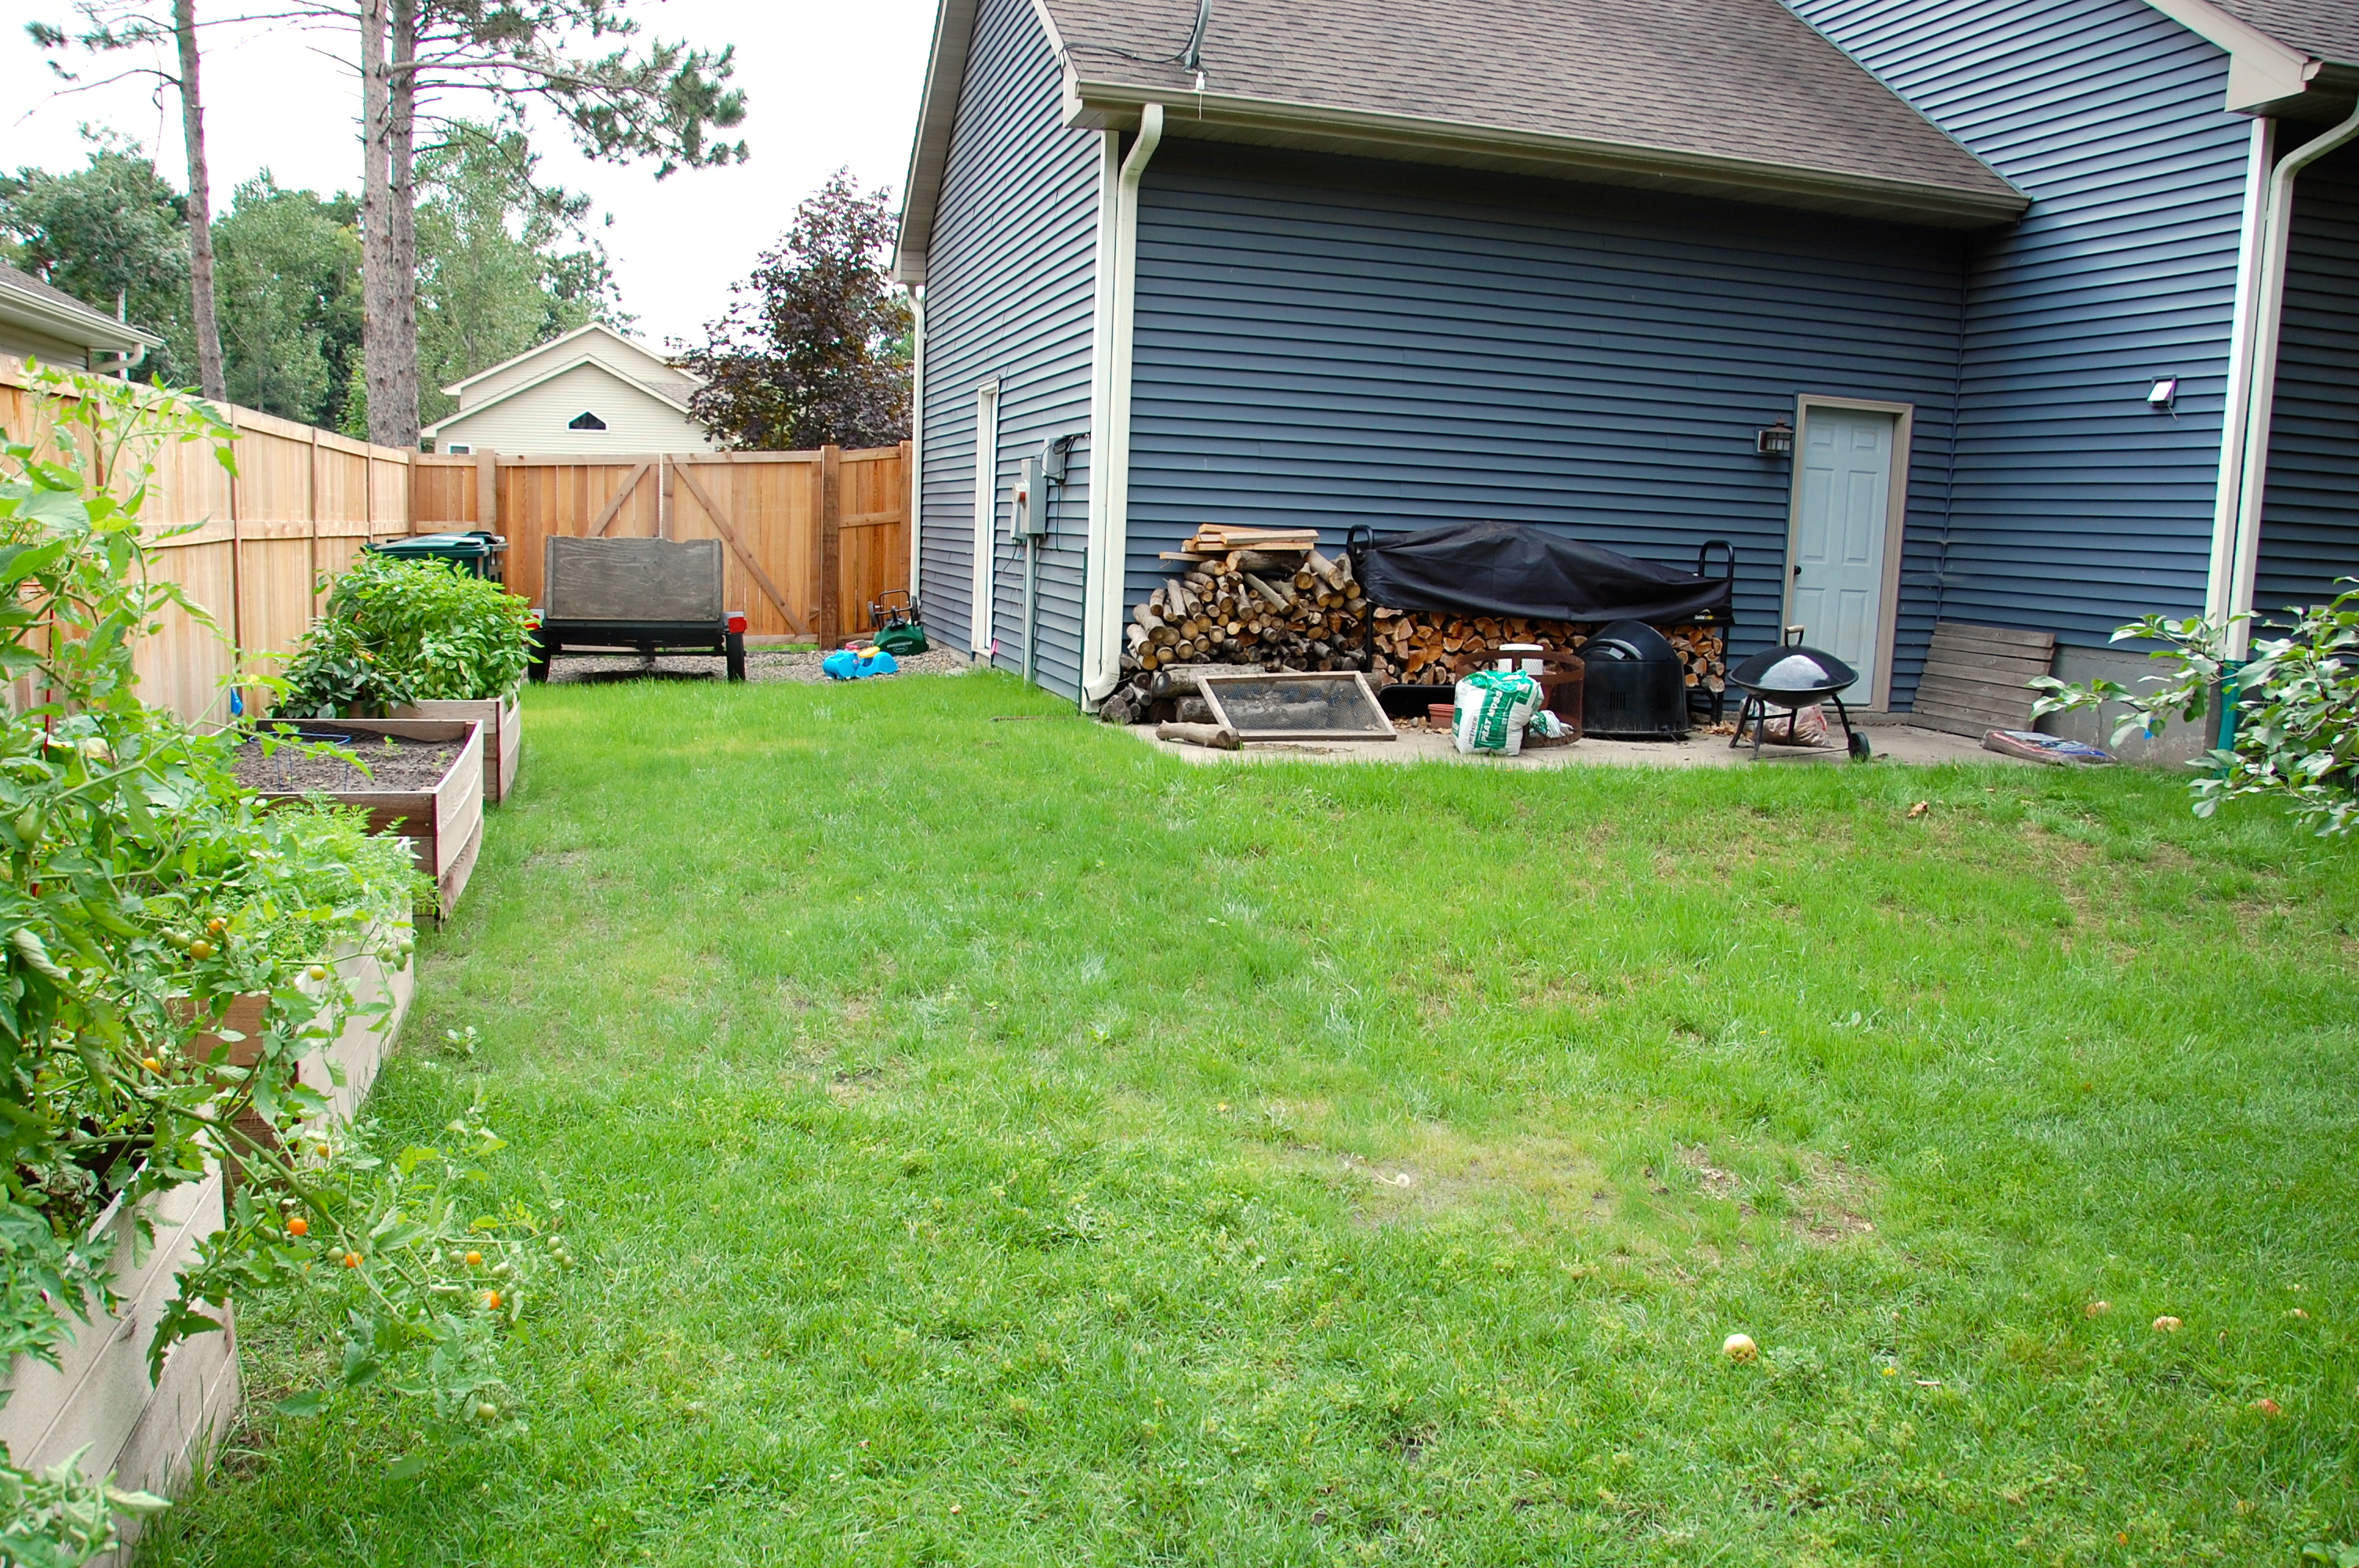
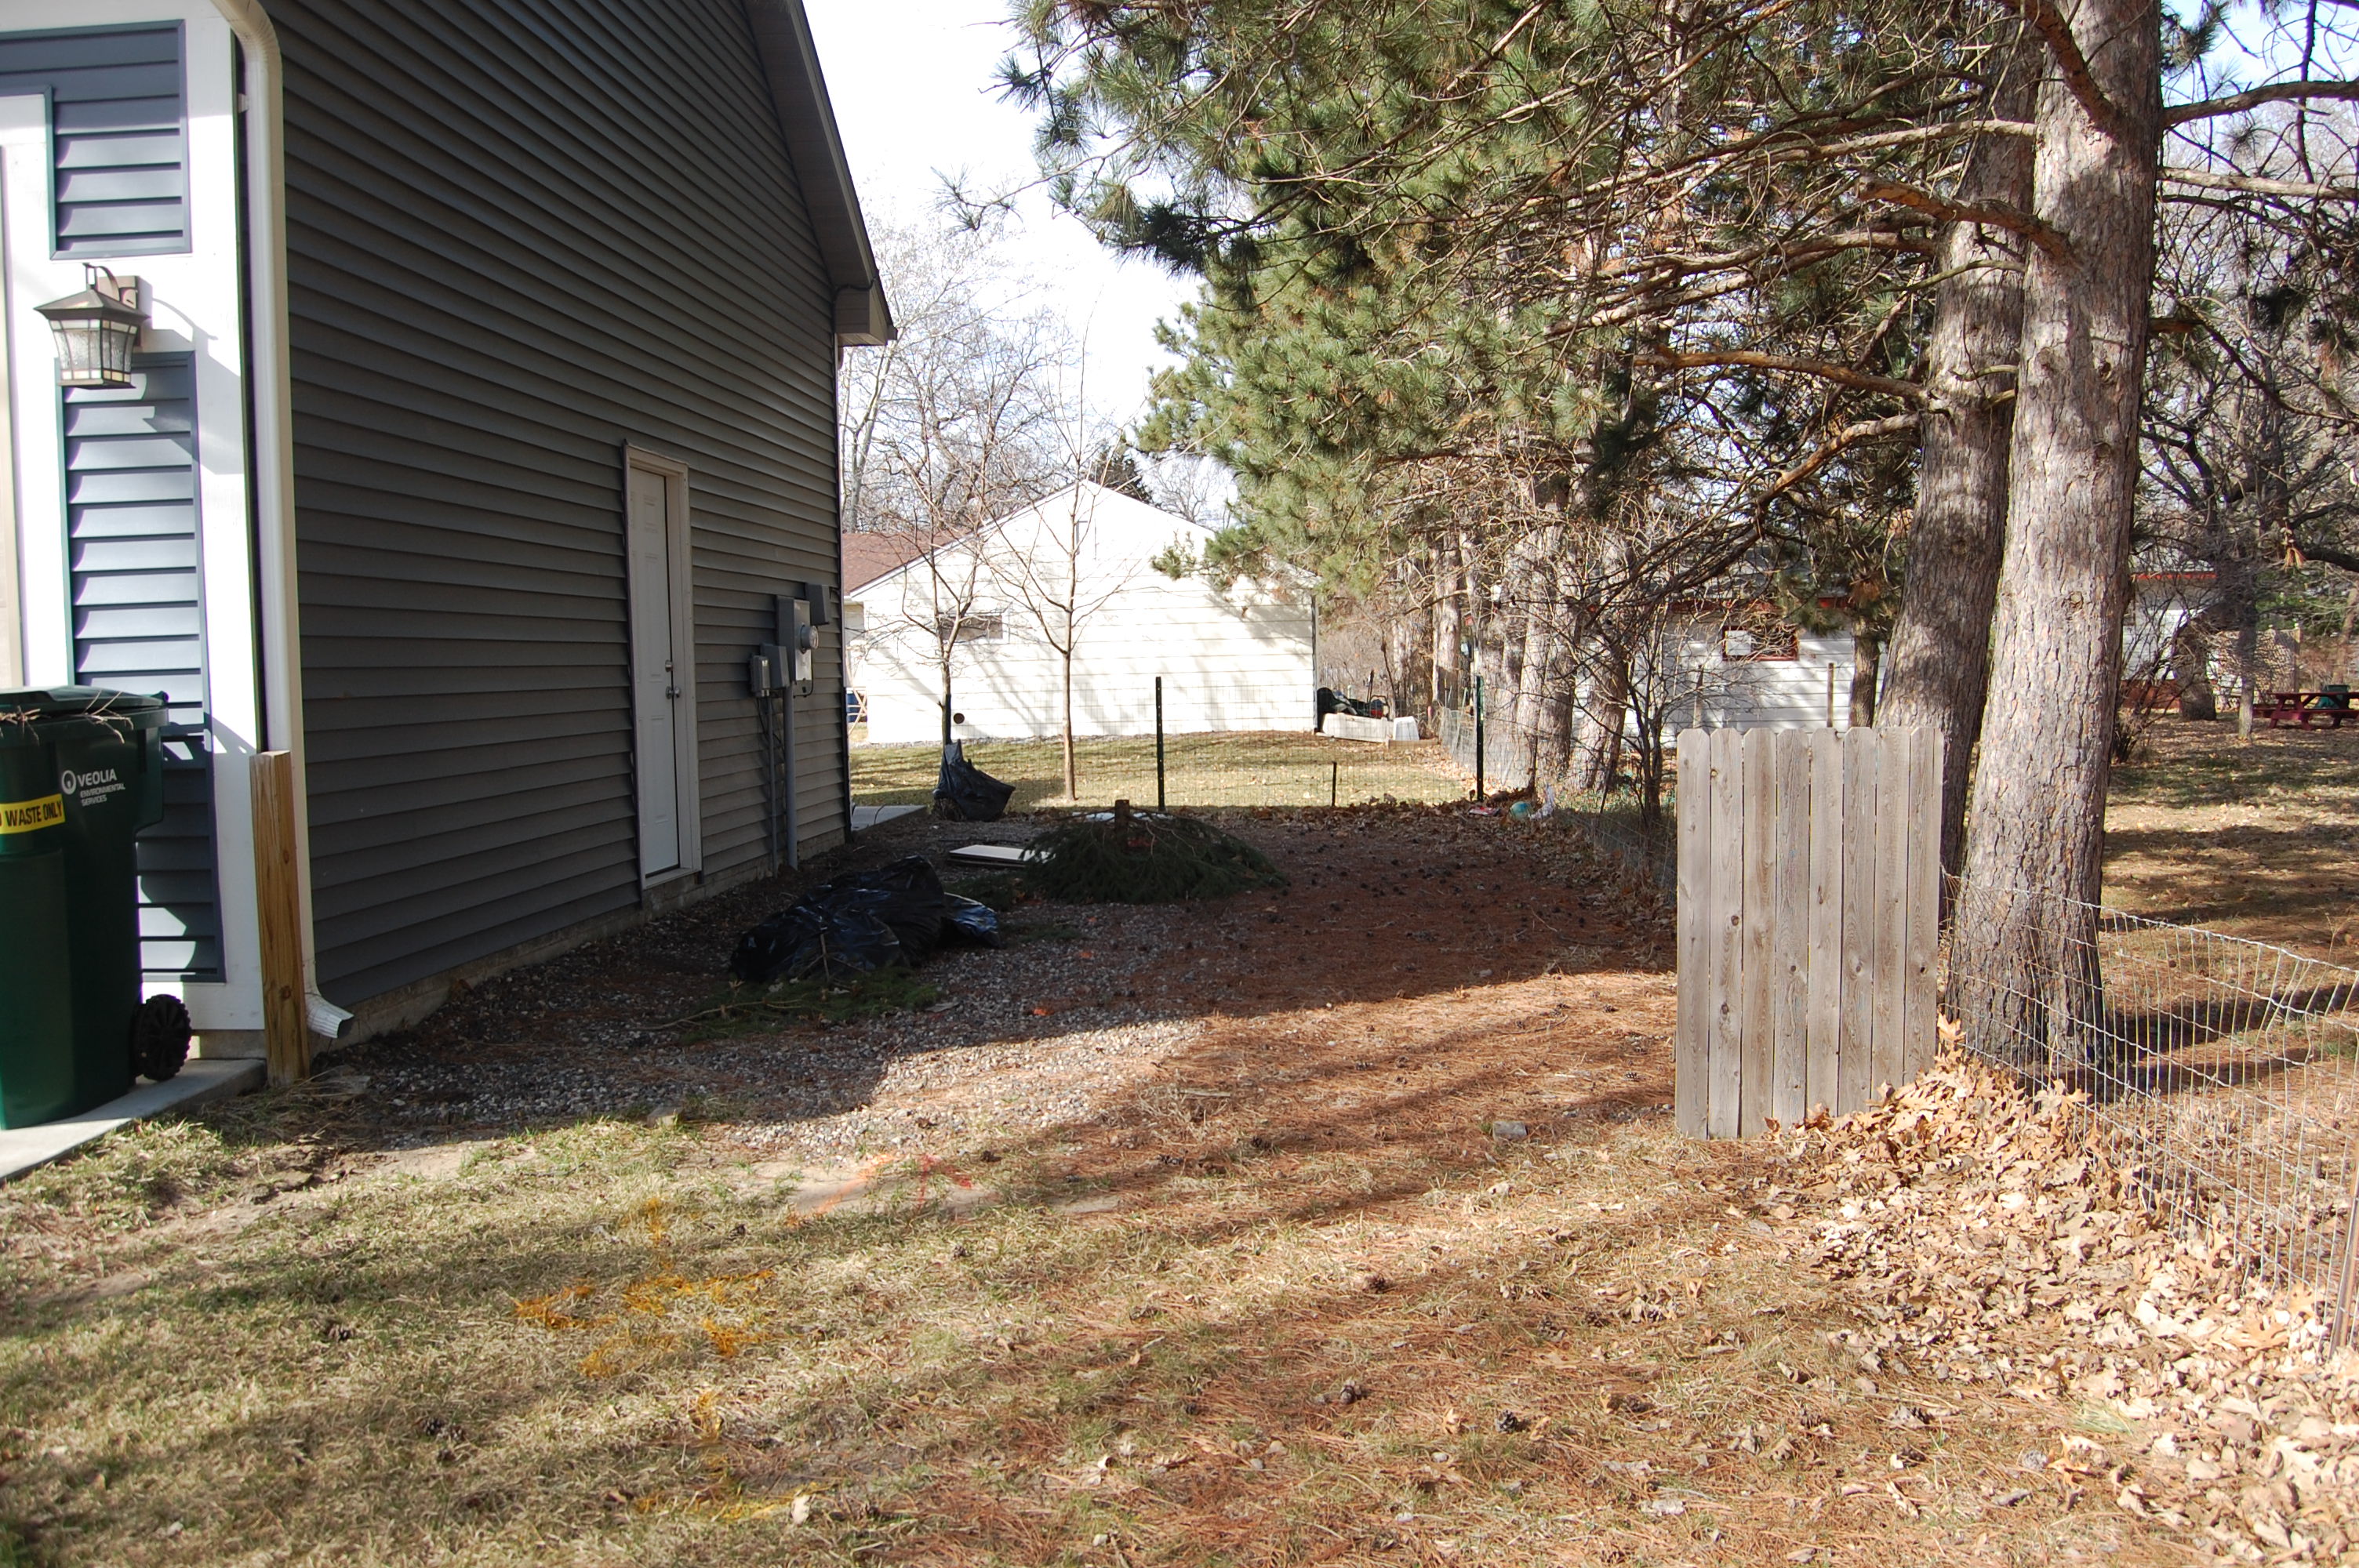
Back yard garden THEN:

Bonus THEN photo from September last year:
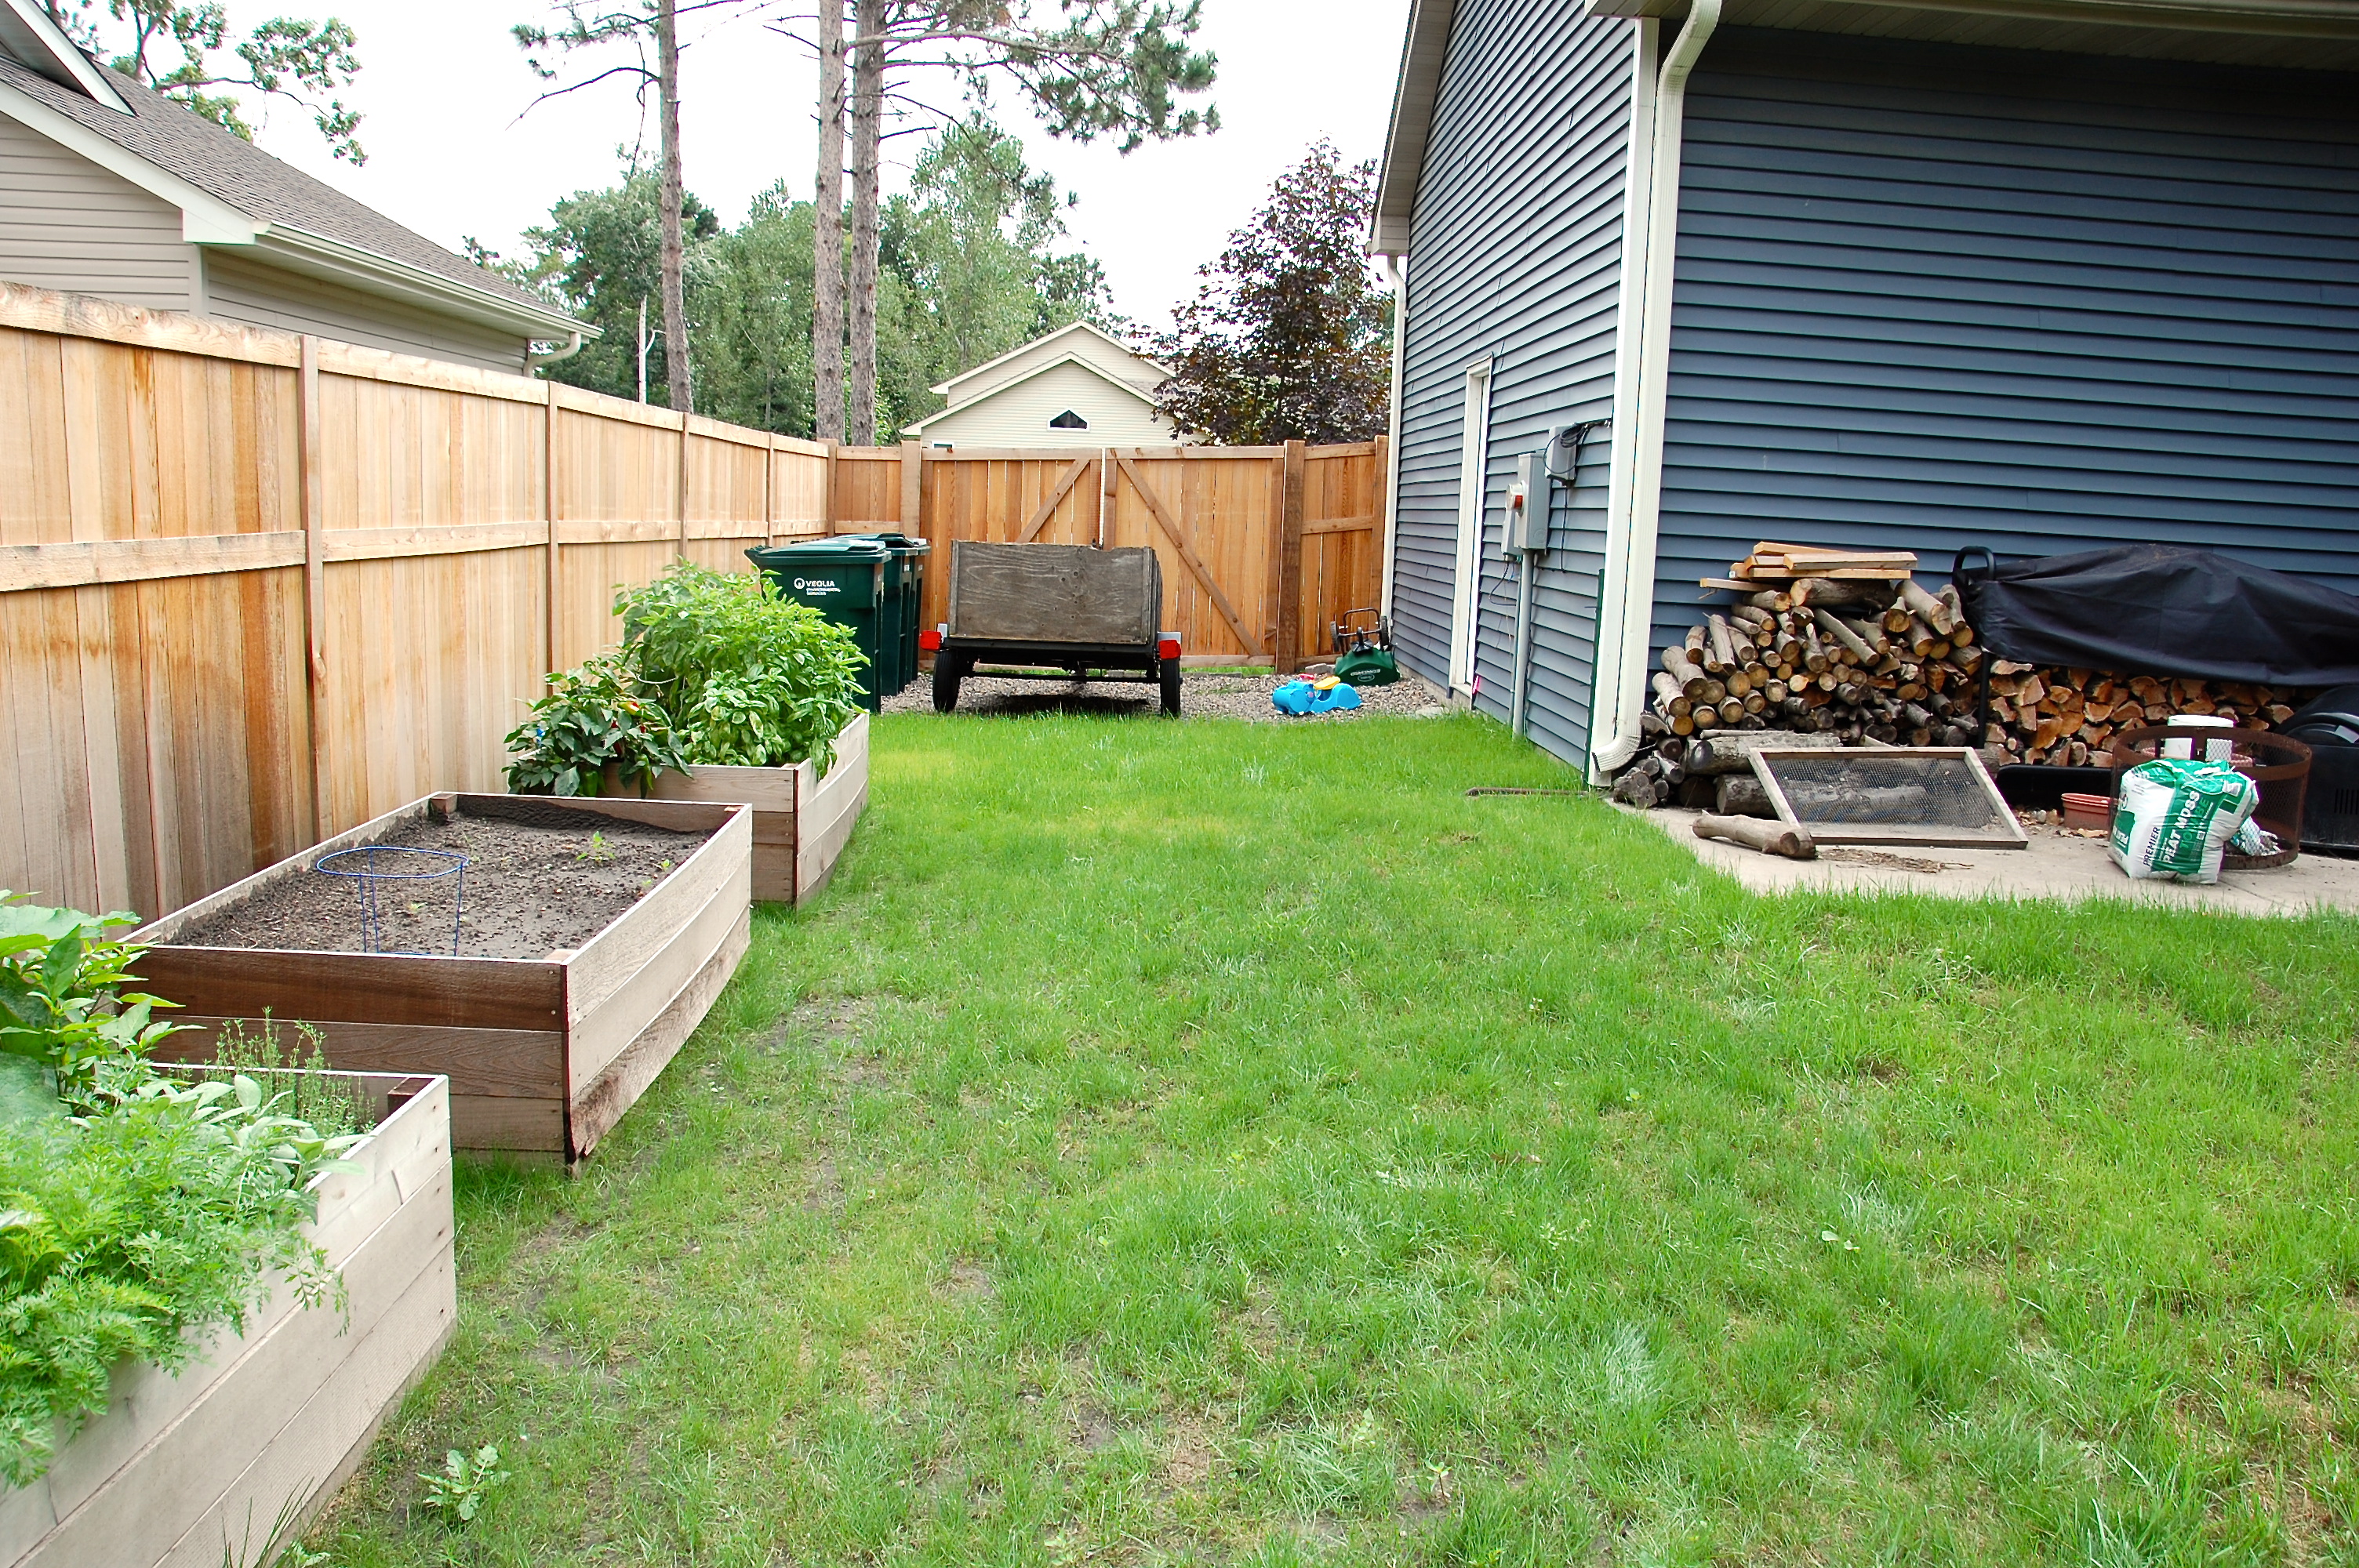
Back yard garden NOW:


Steps forward: this is probably the part of our yard that has changed the most since we moved in. Last year when they built the house next door they took down a lot of the pine trees that bordered our lot, and we took down the maple that was starting to grow into the apple tree, so this side of our back yard went from dense shade to full sun. So we’ve done tree removal, weed removal, moved rock, got a huge load of black dirt and leveled out the ground so the concrete patio isn’t sticking out.
Steps back: removing all the trees just before a hot dry fall meant the grass fried. Also have a maple stump and rock circle that have become an eye sore without the distraction of an actual tree.
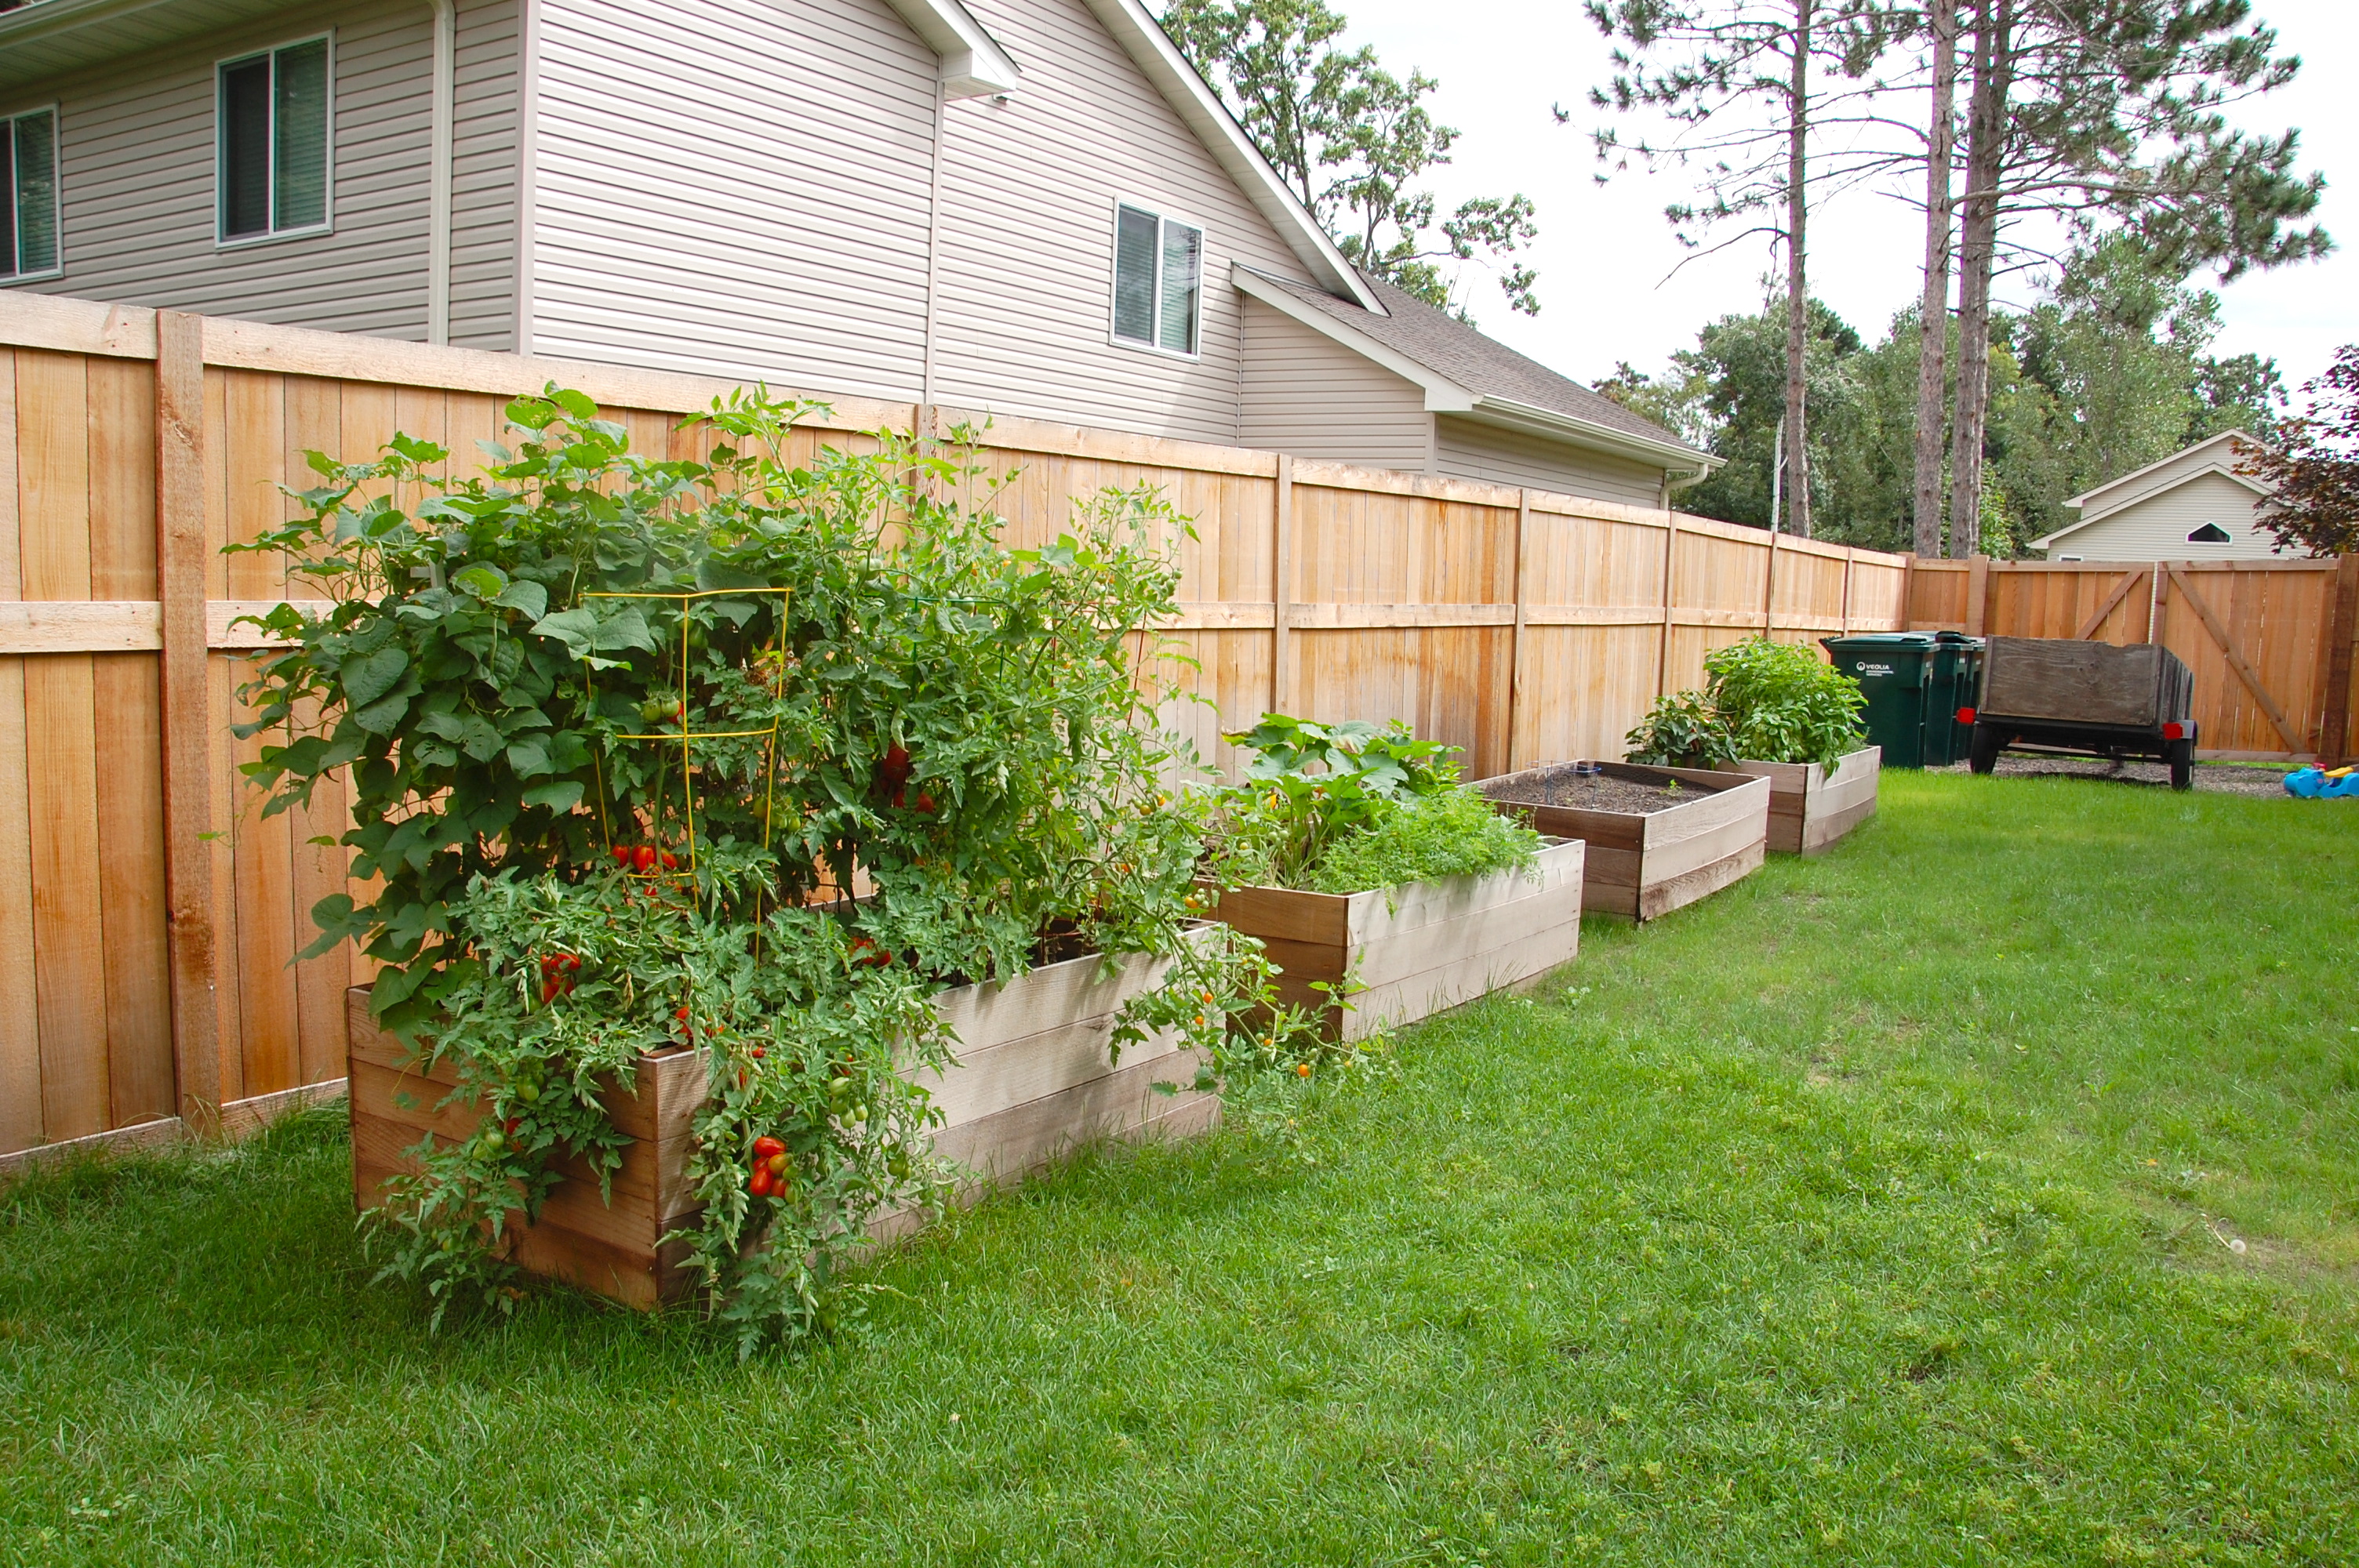
Plan for 2013: remove maple stump/tree circle, add raised garden beds along the side of the fence for a kitchen garden (hooray for full sun!!!), finish raking up loose rock next to the house into a smaller area to create a landing spot for the garbage cans just inside the fence, then grow lots of new grass!
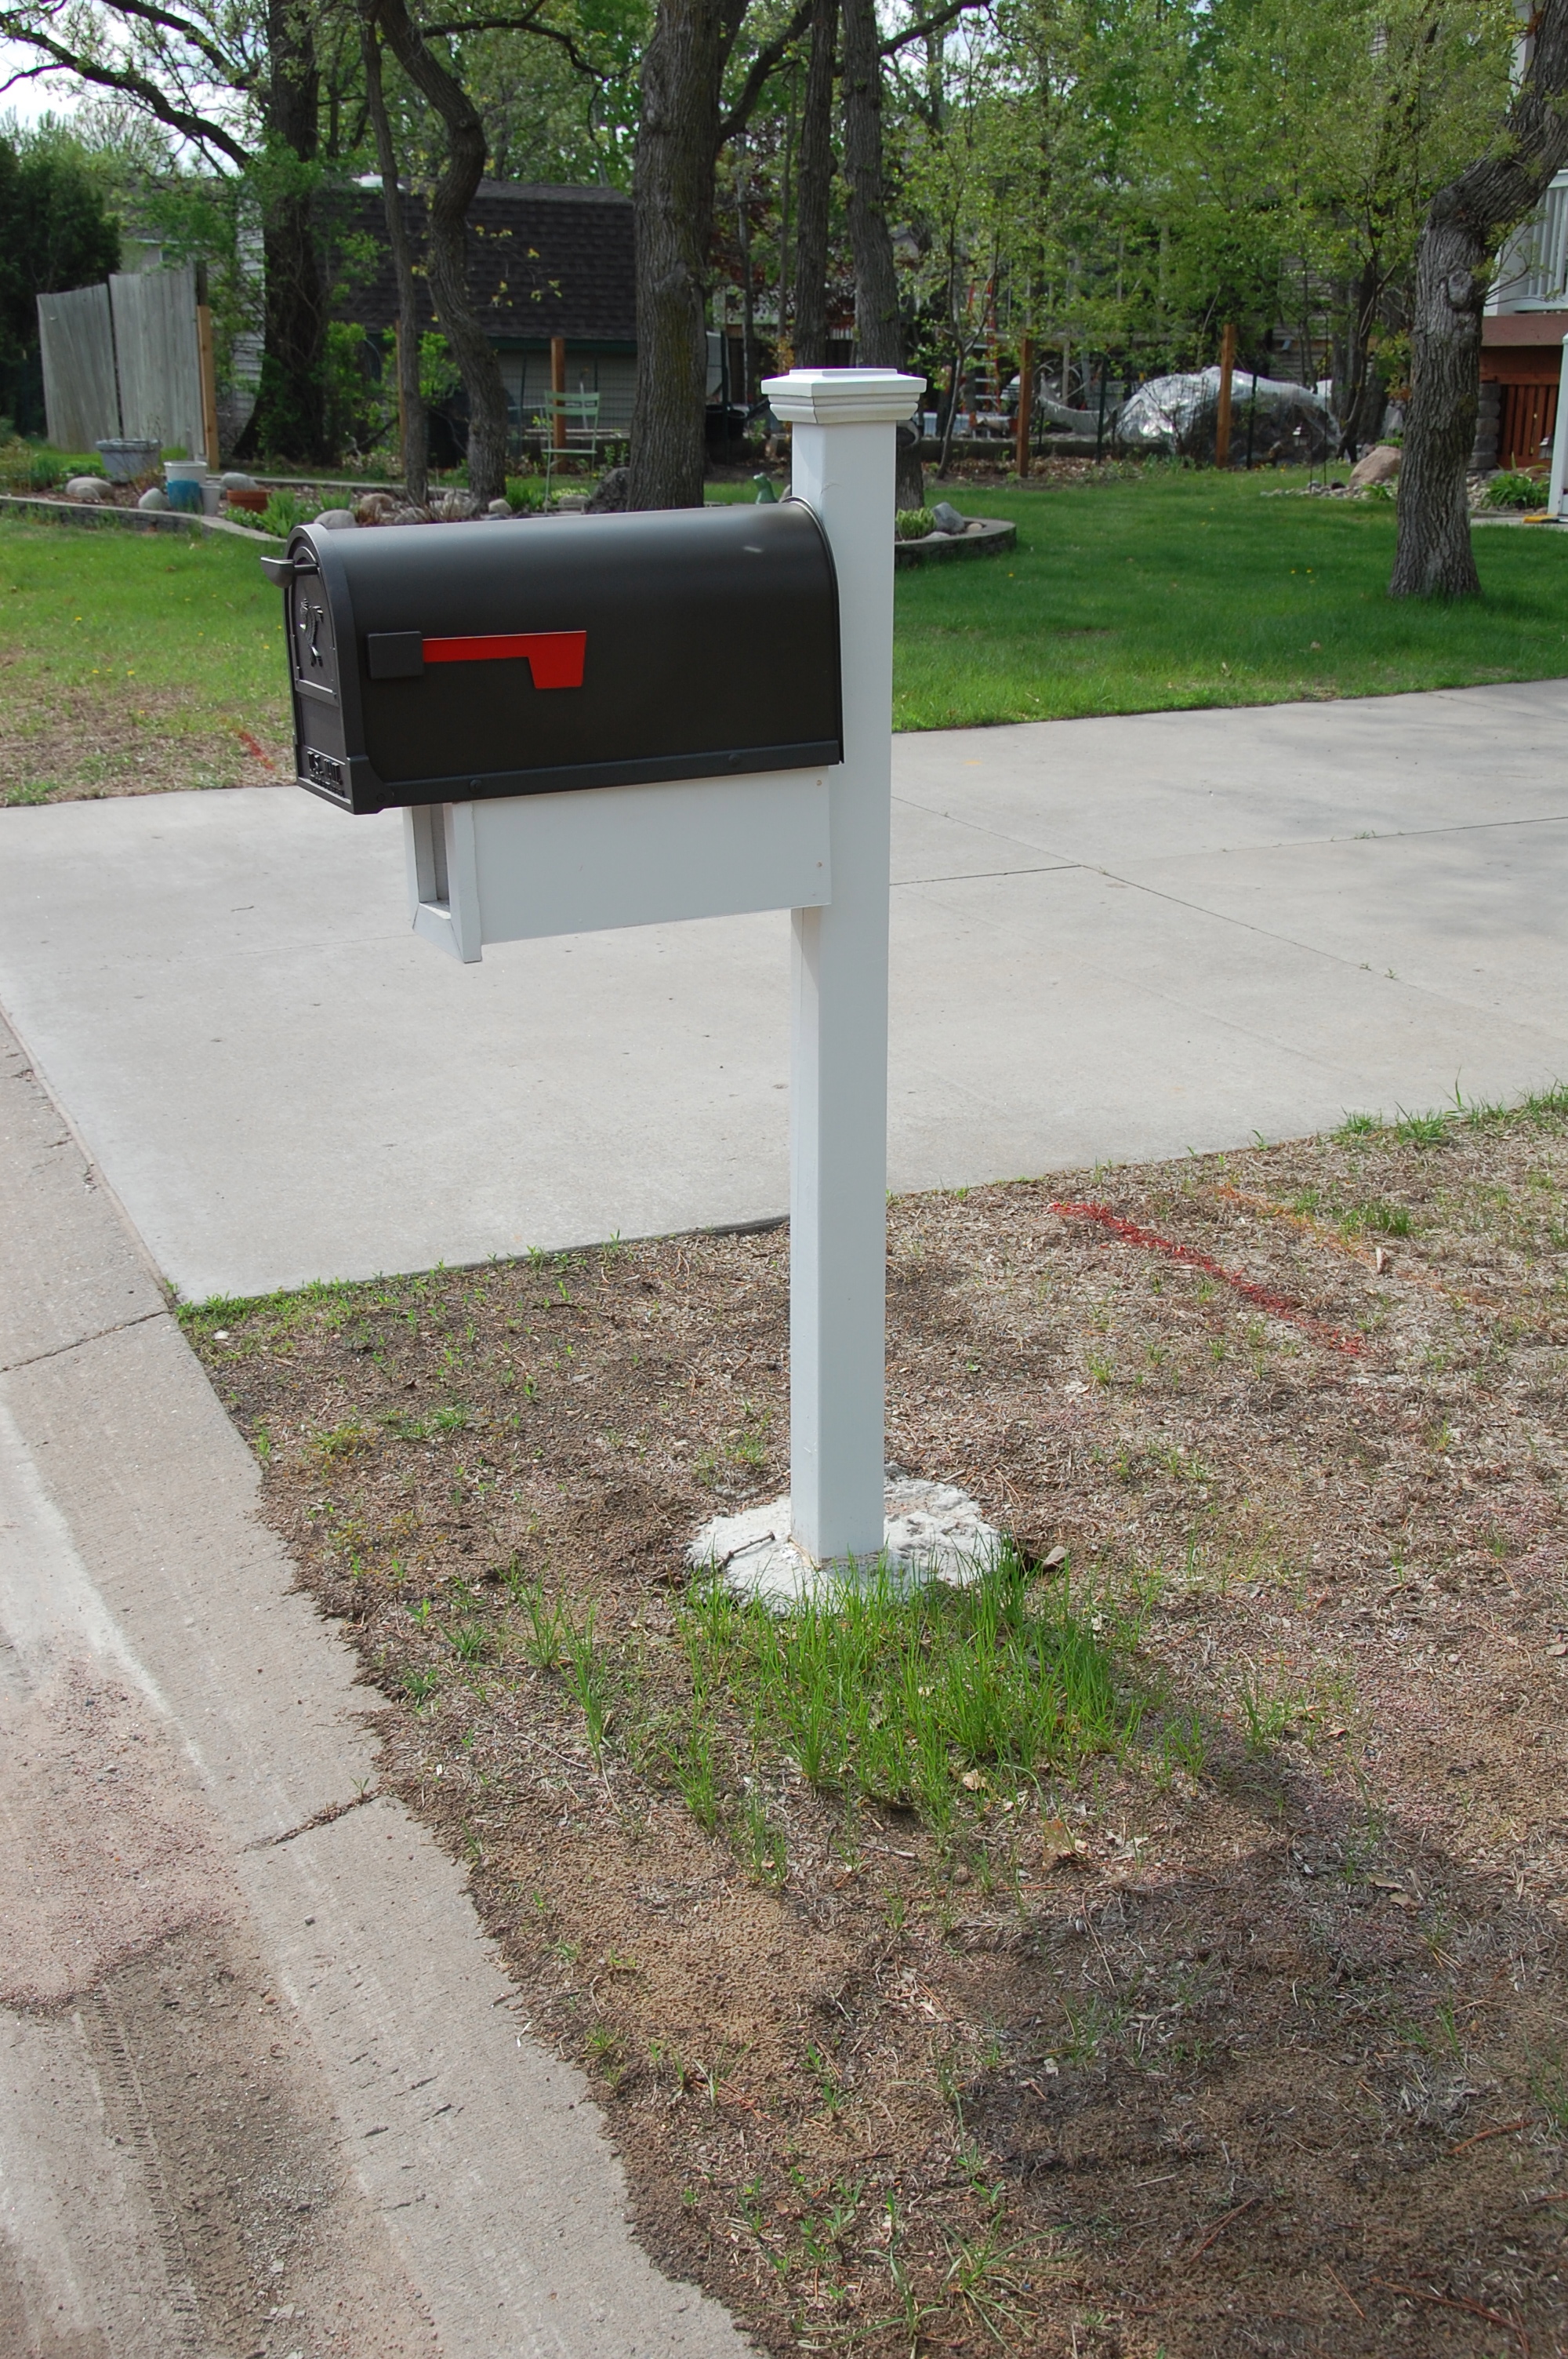
Mailbox THEN:
No picture available because it was inconveniently located several houses away.
Mailbox NOW: Steps forward: this was one of Peter’s fall projects last year. We let our new next door neighbors have our old mailbox location so that we could move ours in front of our house. Peter built the stand and newspaper box from scratch and then jackhammered through a layer of asphalt to pour concrete and set it up. Why is there a layer of asphalt just inches beneath our grass on that side? We don’t know, although it gives us a hint as to why we could never get grass to grow in that corner.
Steps back: discovering asphalt under our lawn… enough said.
Plan for 2013: jackhammer up the rest of the asphalt in the corner so I can plant some flowers ‘n’ things and make that corner worthy of the pretty, shiny, new mailbox.
So there you go. Looks like we are going to have a busy summer. And now that this is so long that no one will read to the end, I want to get outside and see how the fence is coming, so I’ll say TTFN and catch you later!

 In the front yard, I’ve finished planting my pots of annuals.
 And I also did a spring cleaning in the bean and added a few new perennials. It’s still not “done” (not sure a garden ever is done), but it’s definitely at a point when I can leave it for a few weeks to focus on Baby.
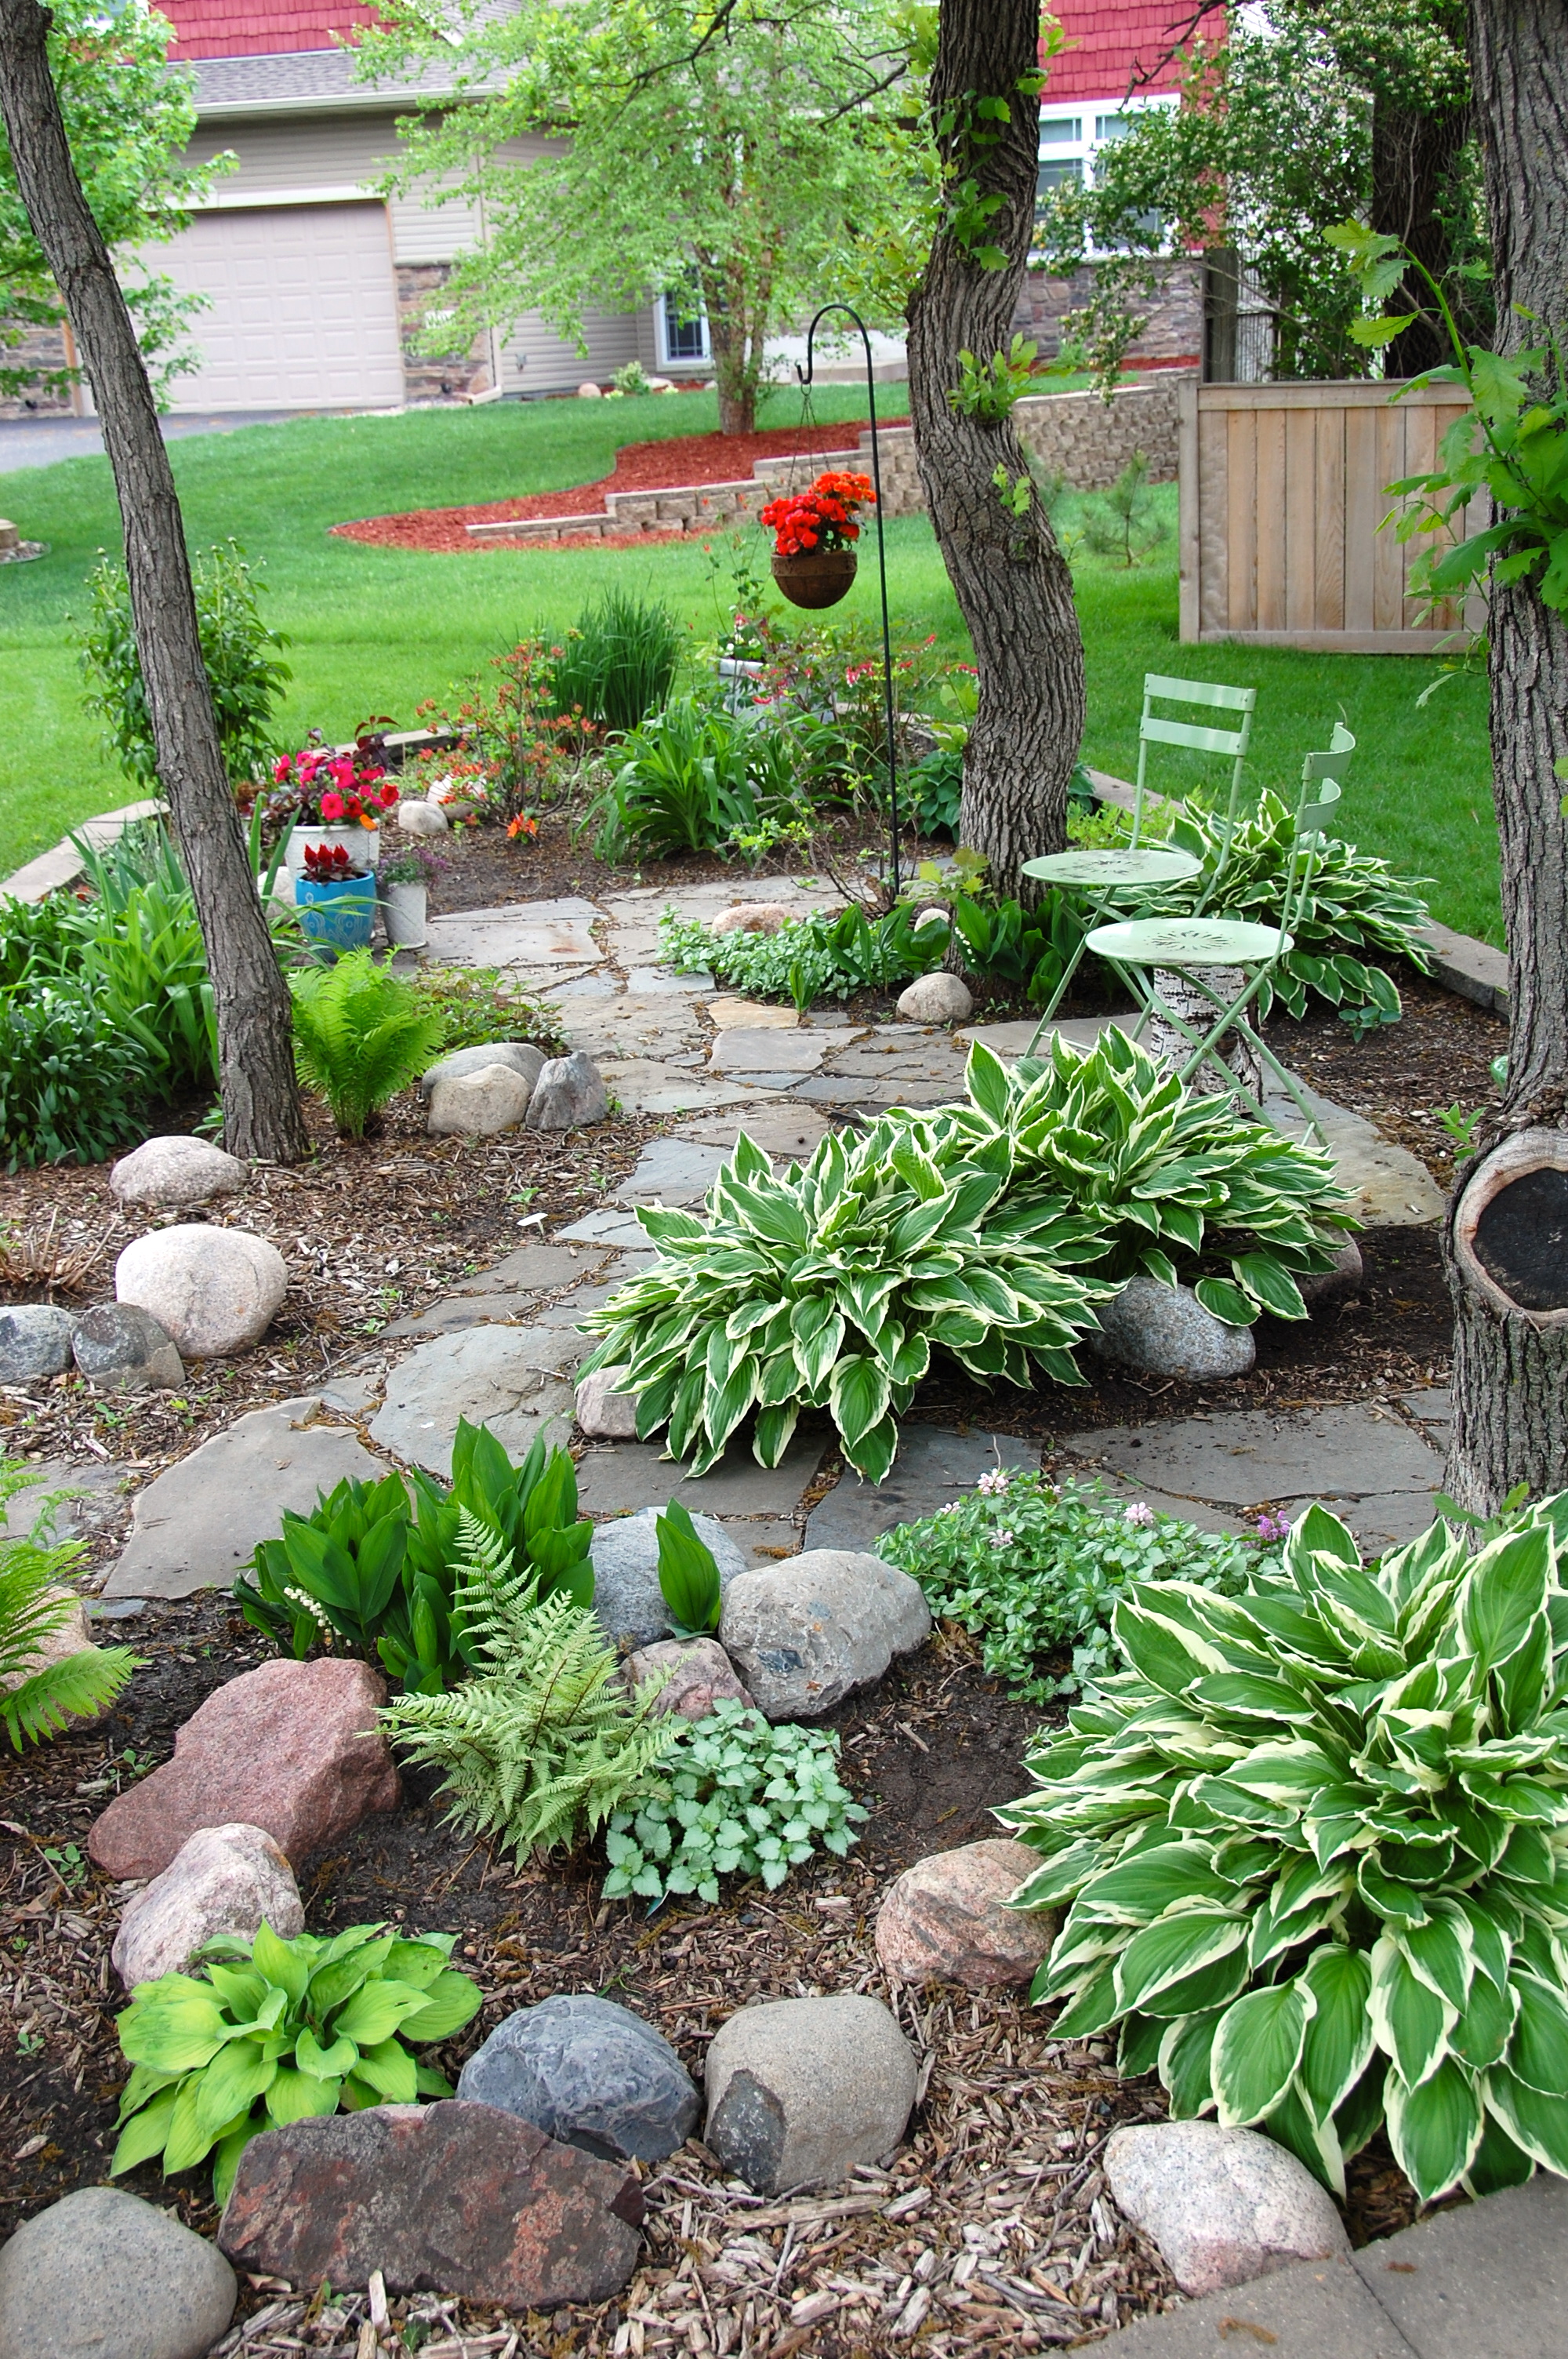 On the nursery prep front, my mom and I finished sewing the curtains and we also added a fun green patterned panel to the bottom of the existing crib skirt so that it hits the floor even when the mattress is up in the infant position.
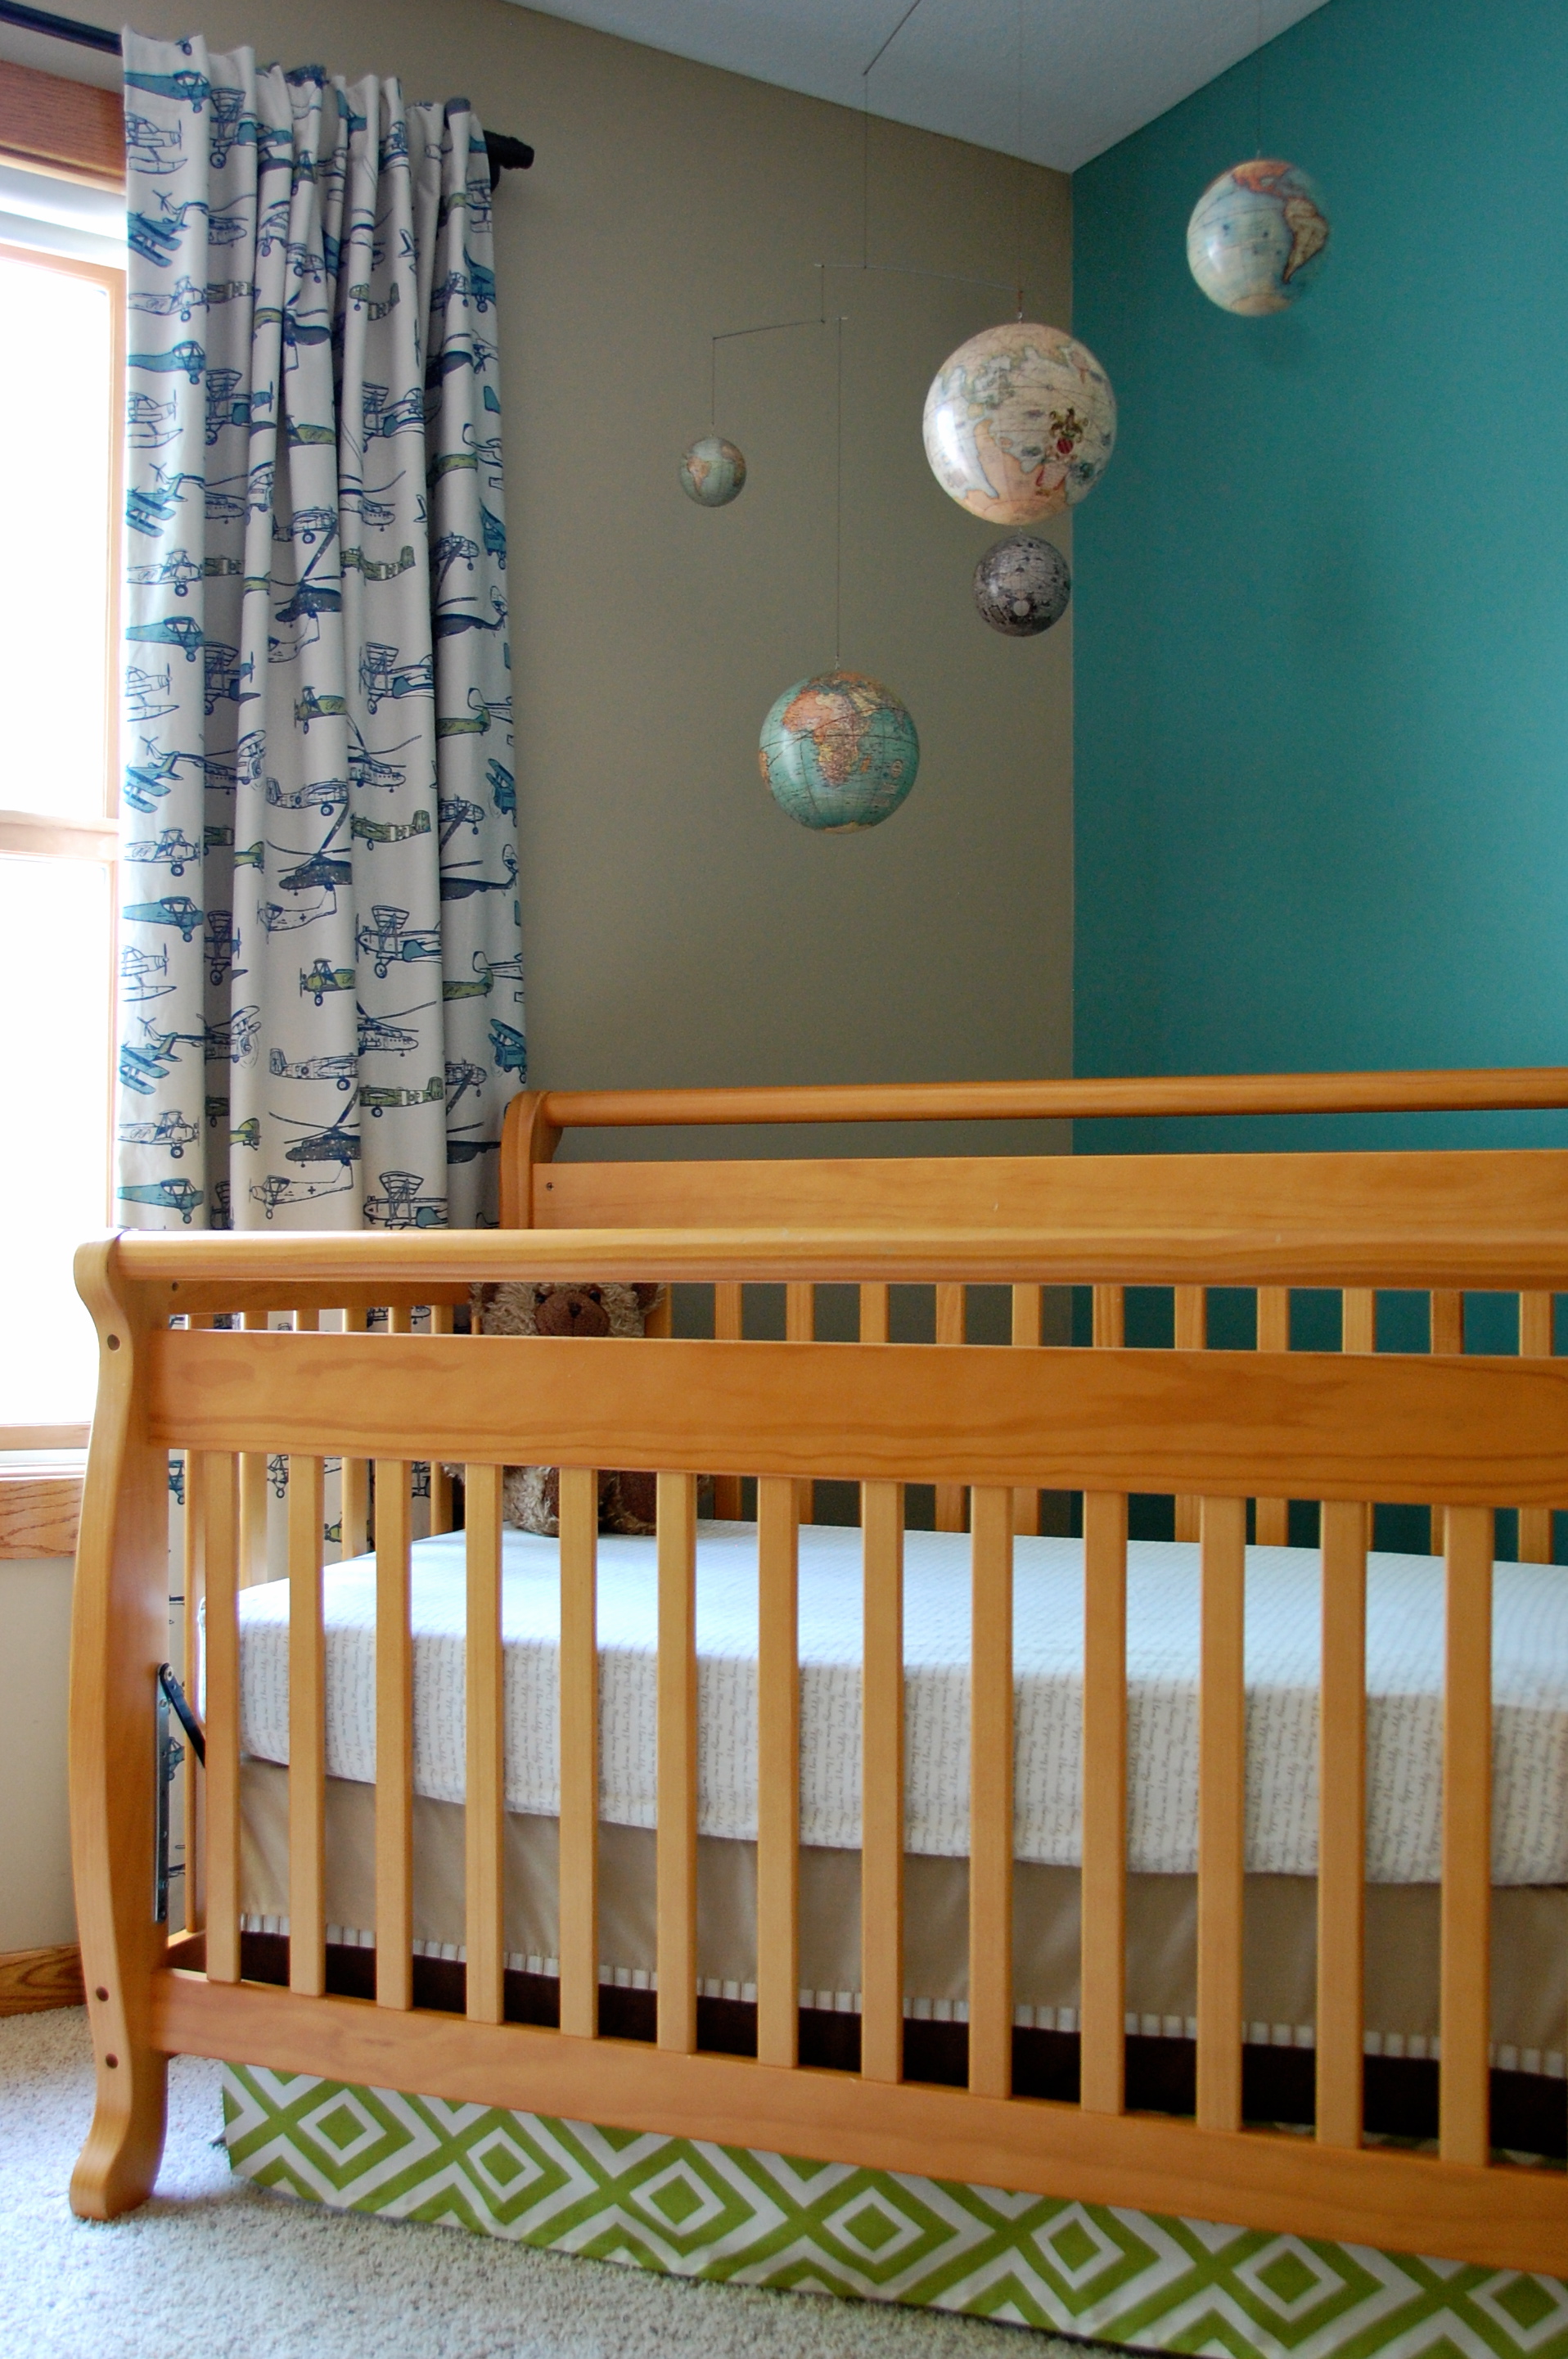 The girls and I have been out hitting up some garage sales. In addition to finding a great deal on the newborn sleepers we needed (Baby wardrobe complete!), I found these six 12×15 inch frames, including mats, at a sale for the lovely price of $2 each.
 As you can see from the nursery progress pic, the art wall isn’t done, but you’ll notice the beginnings of the art I’m working on photoshopping to go in the garage sale frames. (It’s not finalized and yes, the train is missing.)
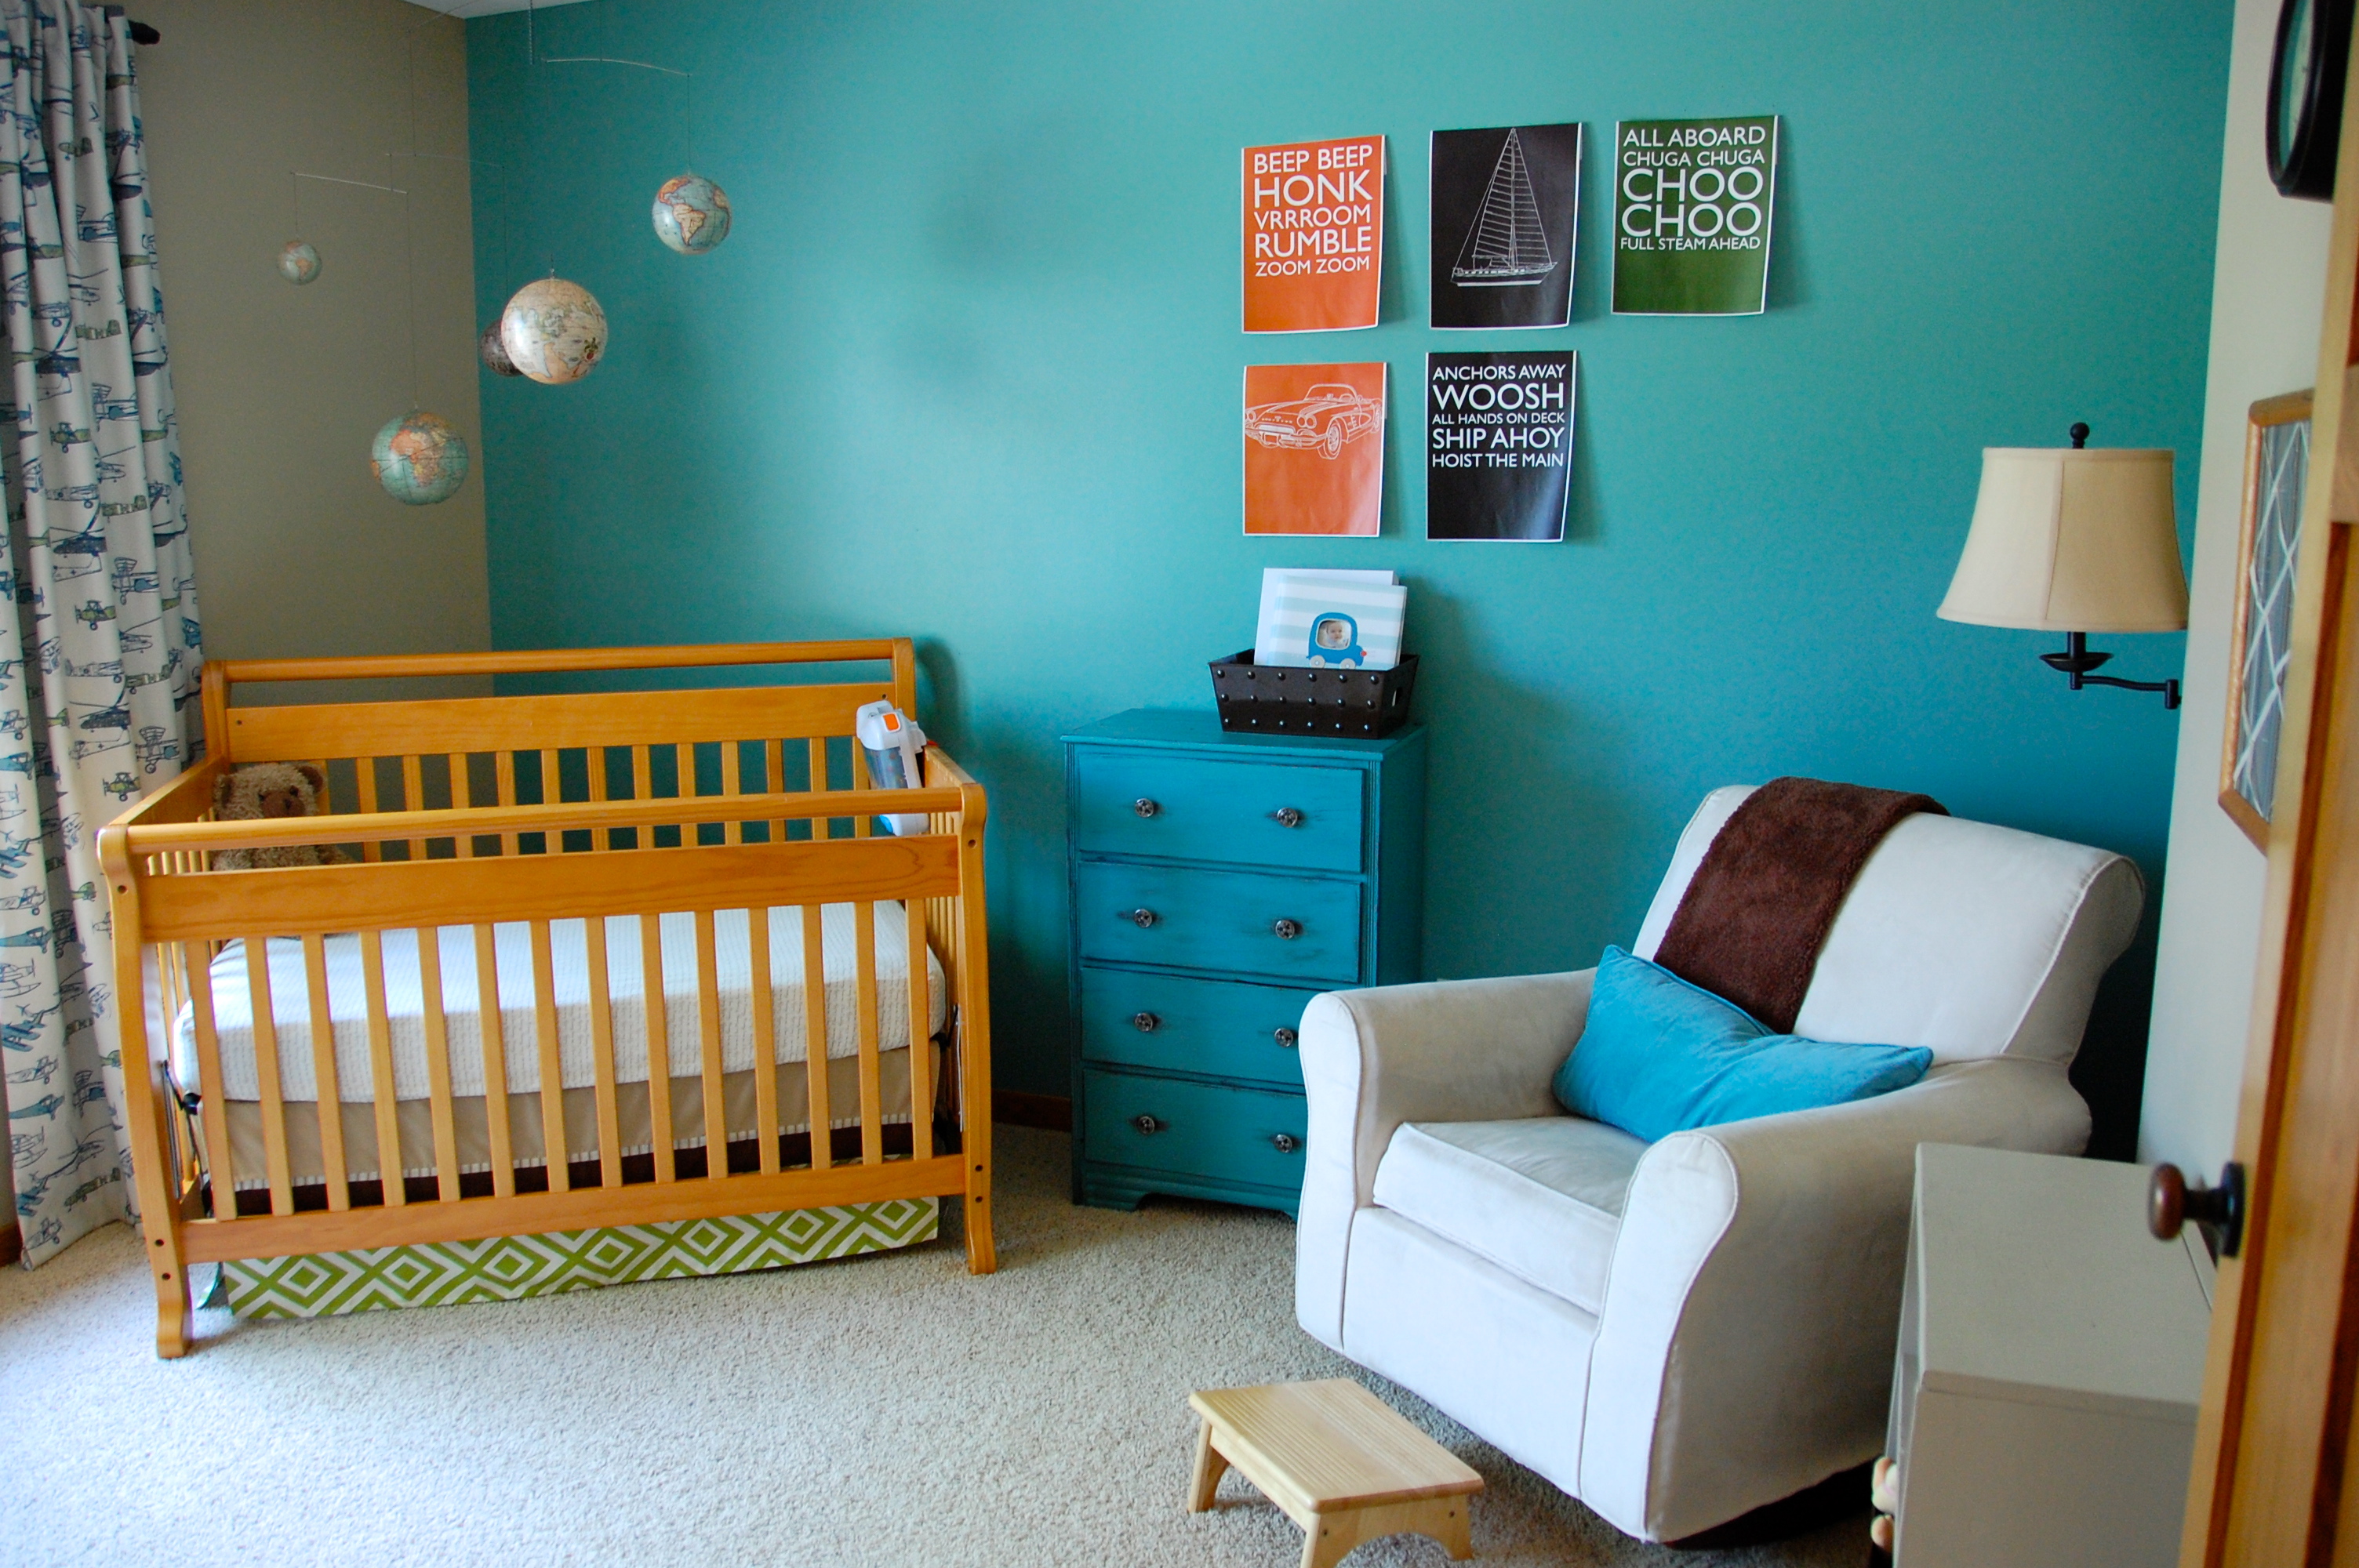 So admittedly, the nursery isn’t quite done, but the good news is that today we finally sold our extra vehicle that has been sitting around since we bought the Pilot a few months ago. Nice to have a clear driveway again.
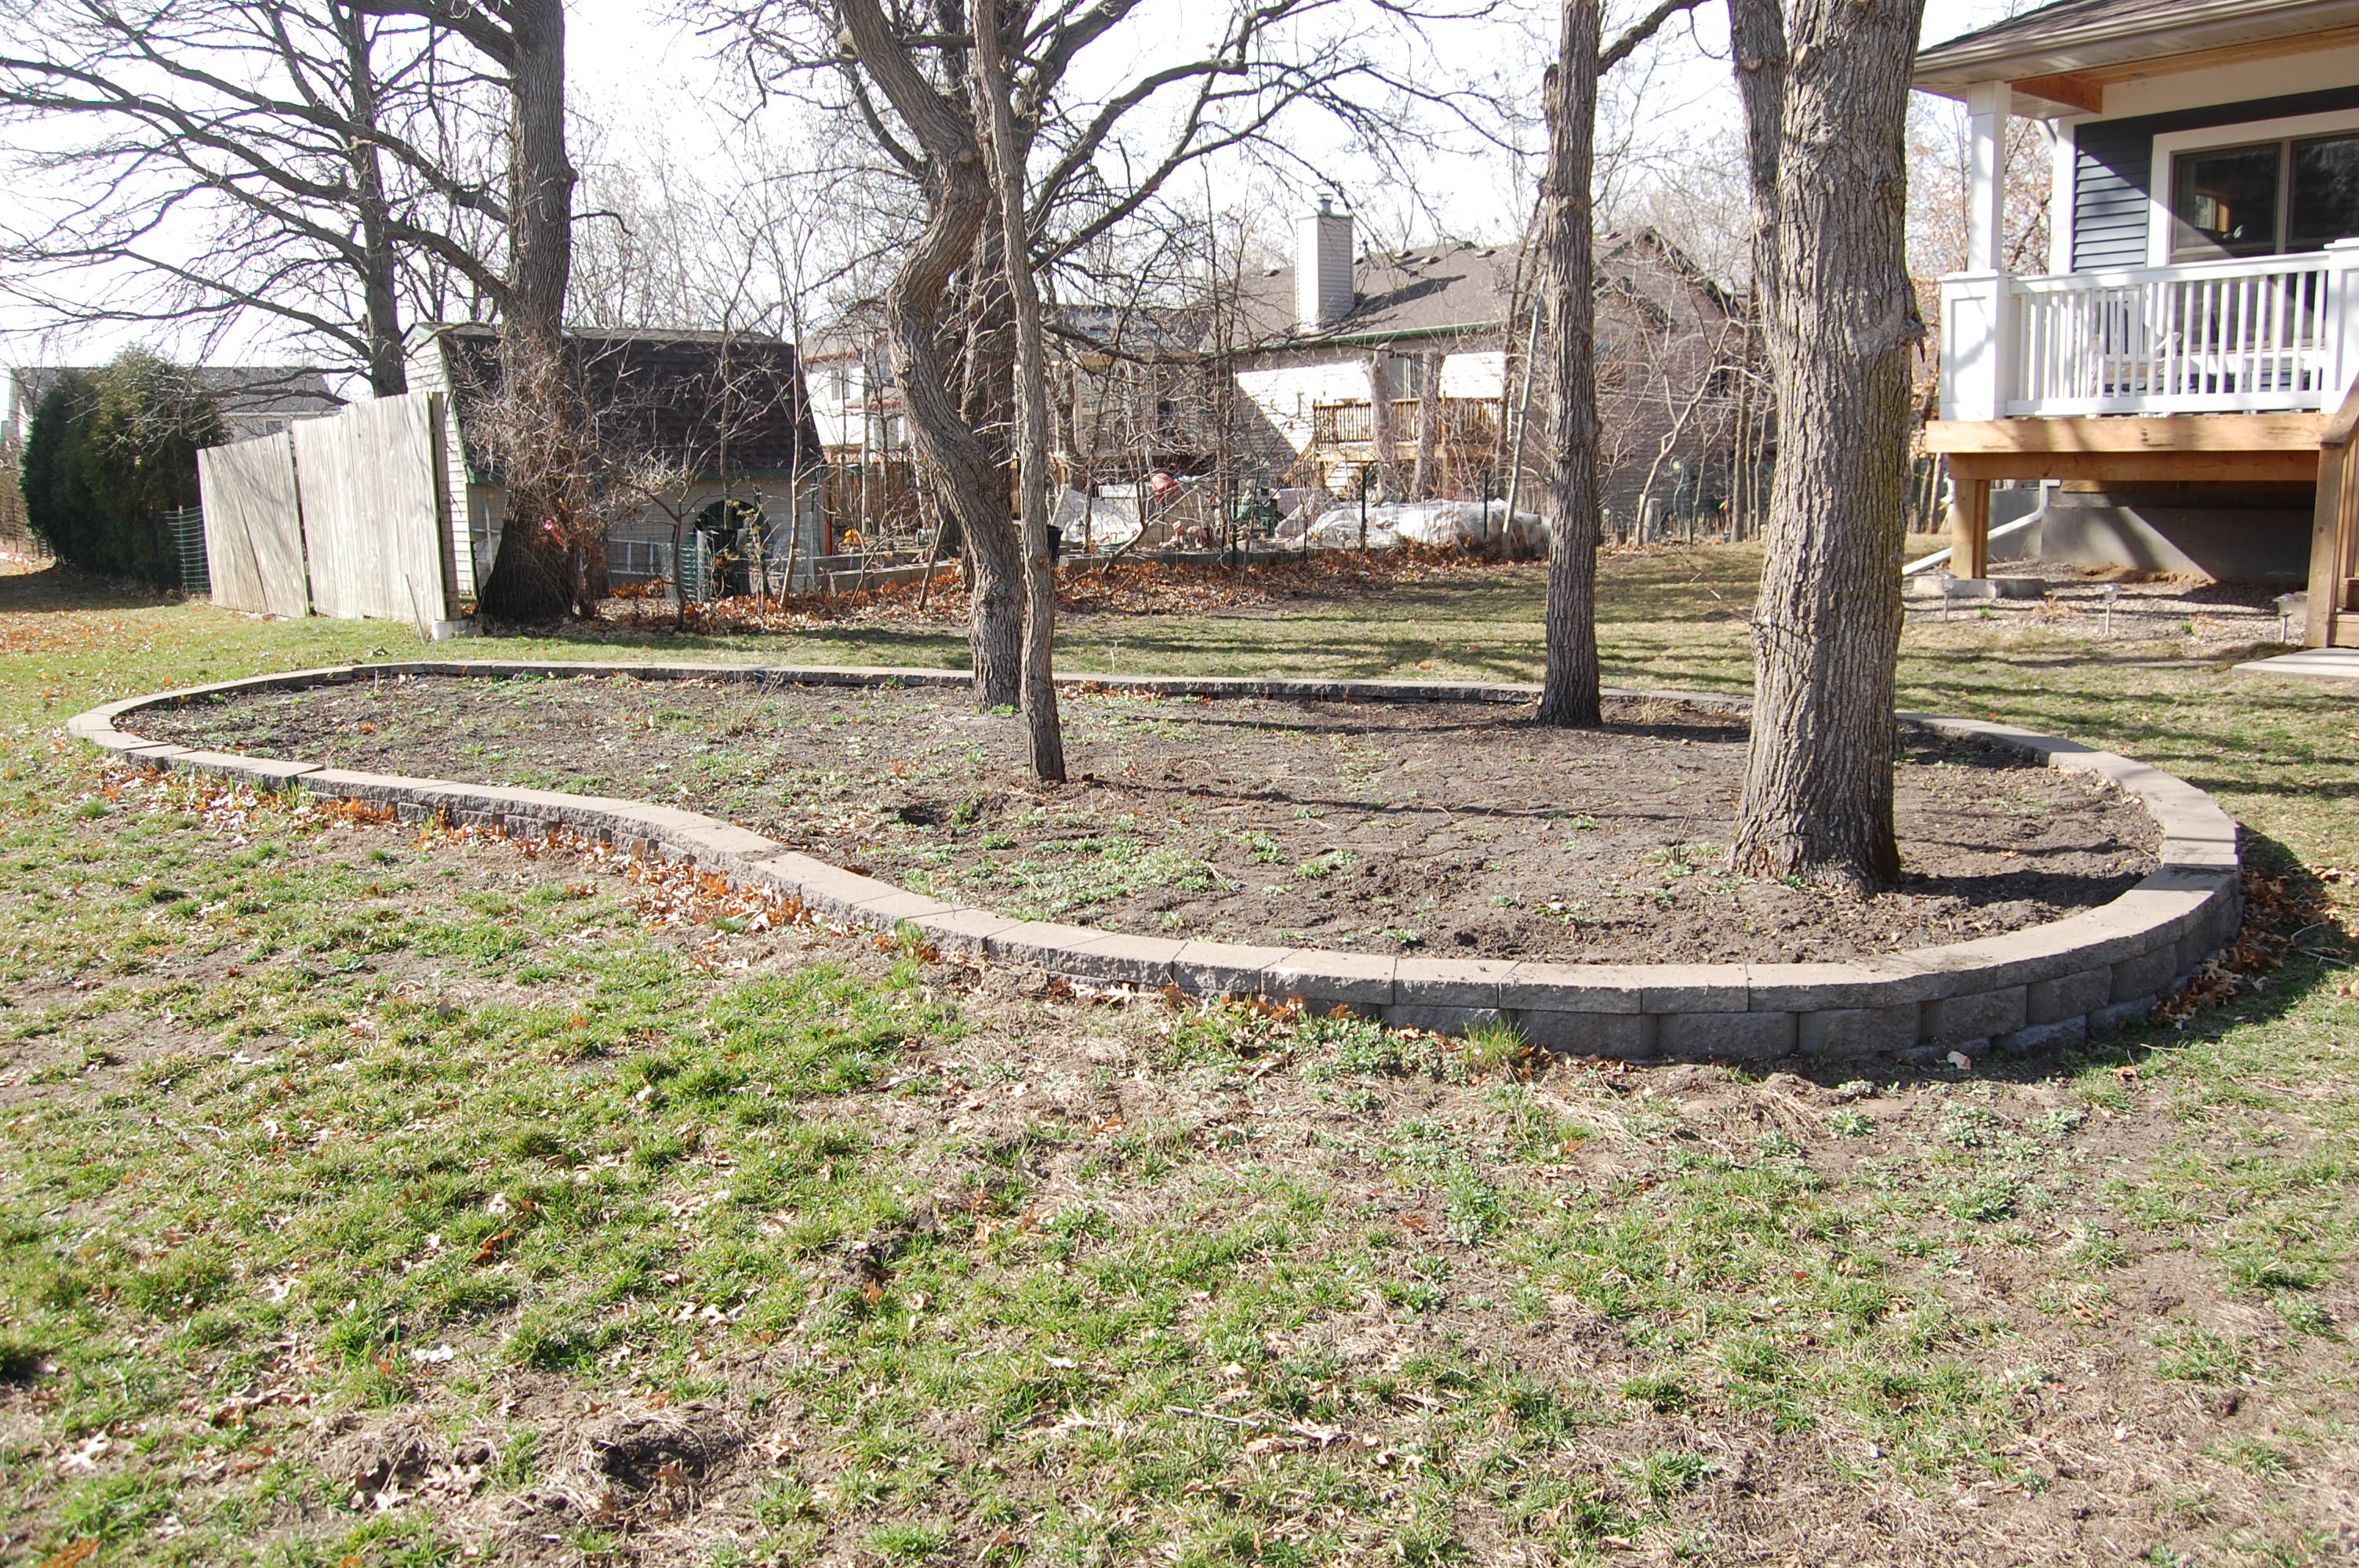


")