Have you ever seen a fancy restaurant salad with beautiful candied nuts and thought, “Wow! Bet those were hard to make!” Well, I always thought so too until a friend told me the truth. They are neither complicated, difficult or time consuming to cook. In fact, they are so easy that this afternoon I whipped some up while simultaneously entertaining my almost-eight-month-old.
Here’s how it went:
Step 1: Distract eight-month-old with piece of lettuce
She’s a sucker for anything food related that she’s allowed to put in her own mouth, so the lettuce was a big hit.
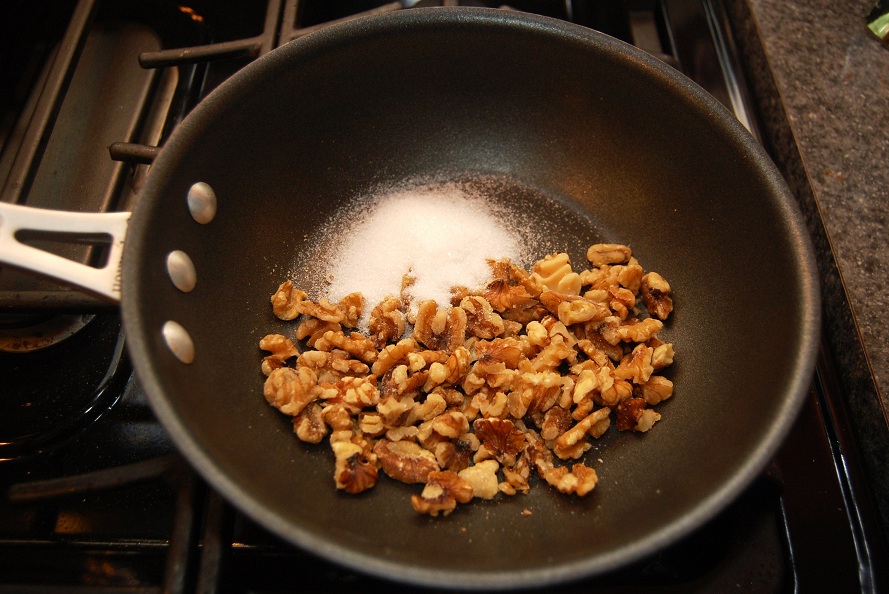
Step 2: Combine nuts and granulated sugar in a small non-stick skillet
Use a ratio of 1½ to 2 tablespoons of sugar for every half cup of nuts. (I went with walnut pieces this time, but it works equally well to use whole or sliced almonds or pecans as well.)
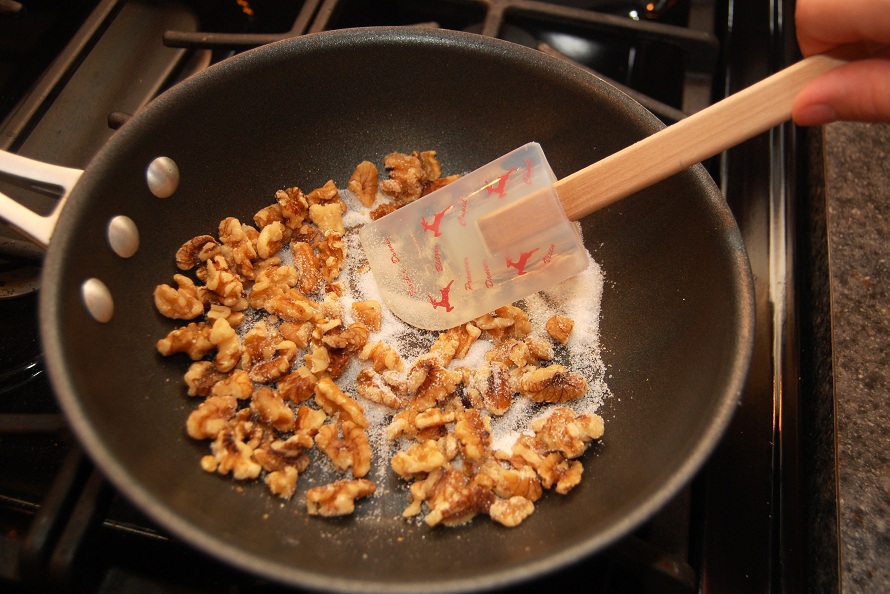
Step 3: Cook over medium-high heat, stirring occasionally
While I wouldn’t necessarily advise trying to potty train a toddler while cooking these (speaking from previous experience, you may end up with a burned mess), they don’t need to be constantly watched. Just a periodic stir will do nicely.
In fact, you can do this step while simultaneously completing the next one, which is:
Step 4: Take hilarious picture of eight-month-old imitating a rabbit
Isn’t she goofy!?
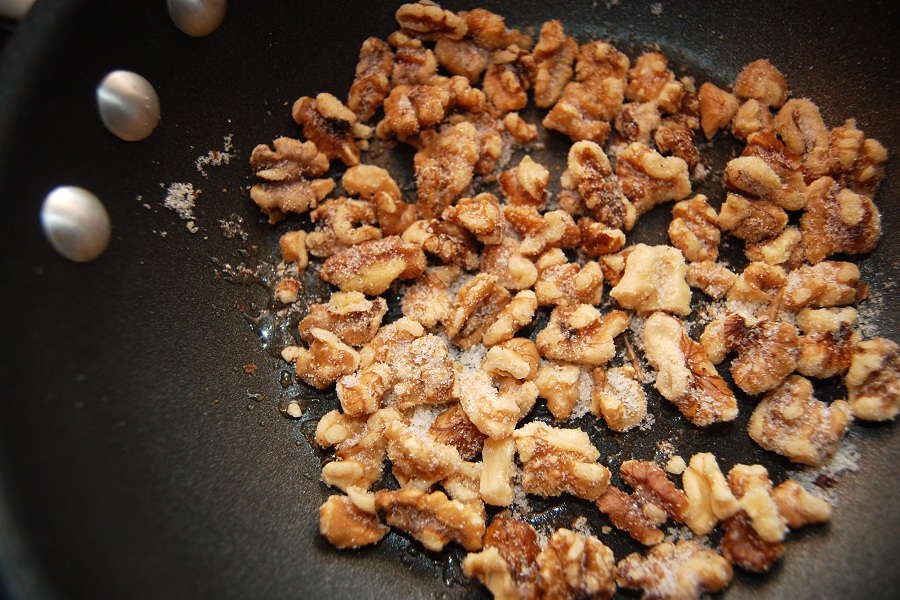
Step 5: Continue stirring occasionally until the sugar begins to melt
This takes about 8-10 minutes. After sugar begins to melt, reduce heat to medium.
Stir constantly until sugar is fully melted and coats the nuts (about 1 more minute).
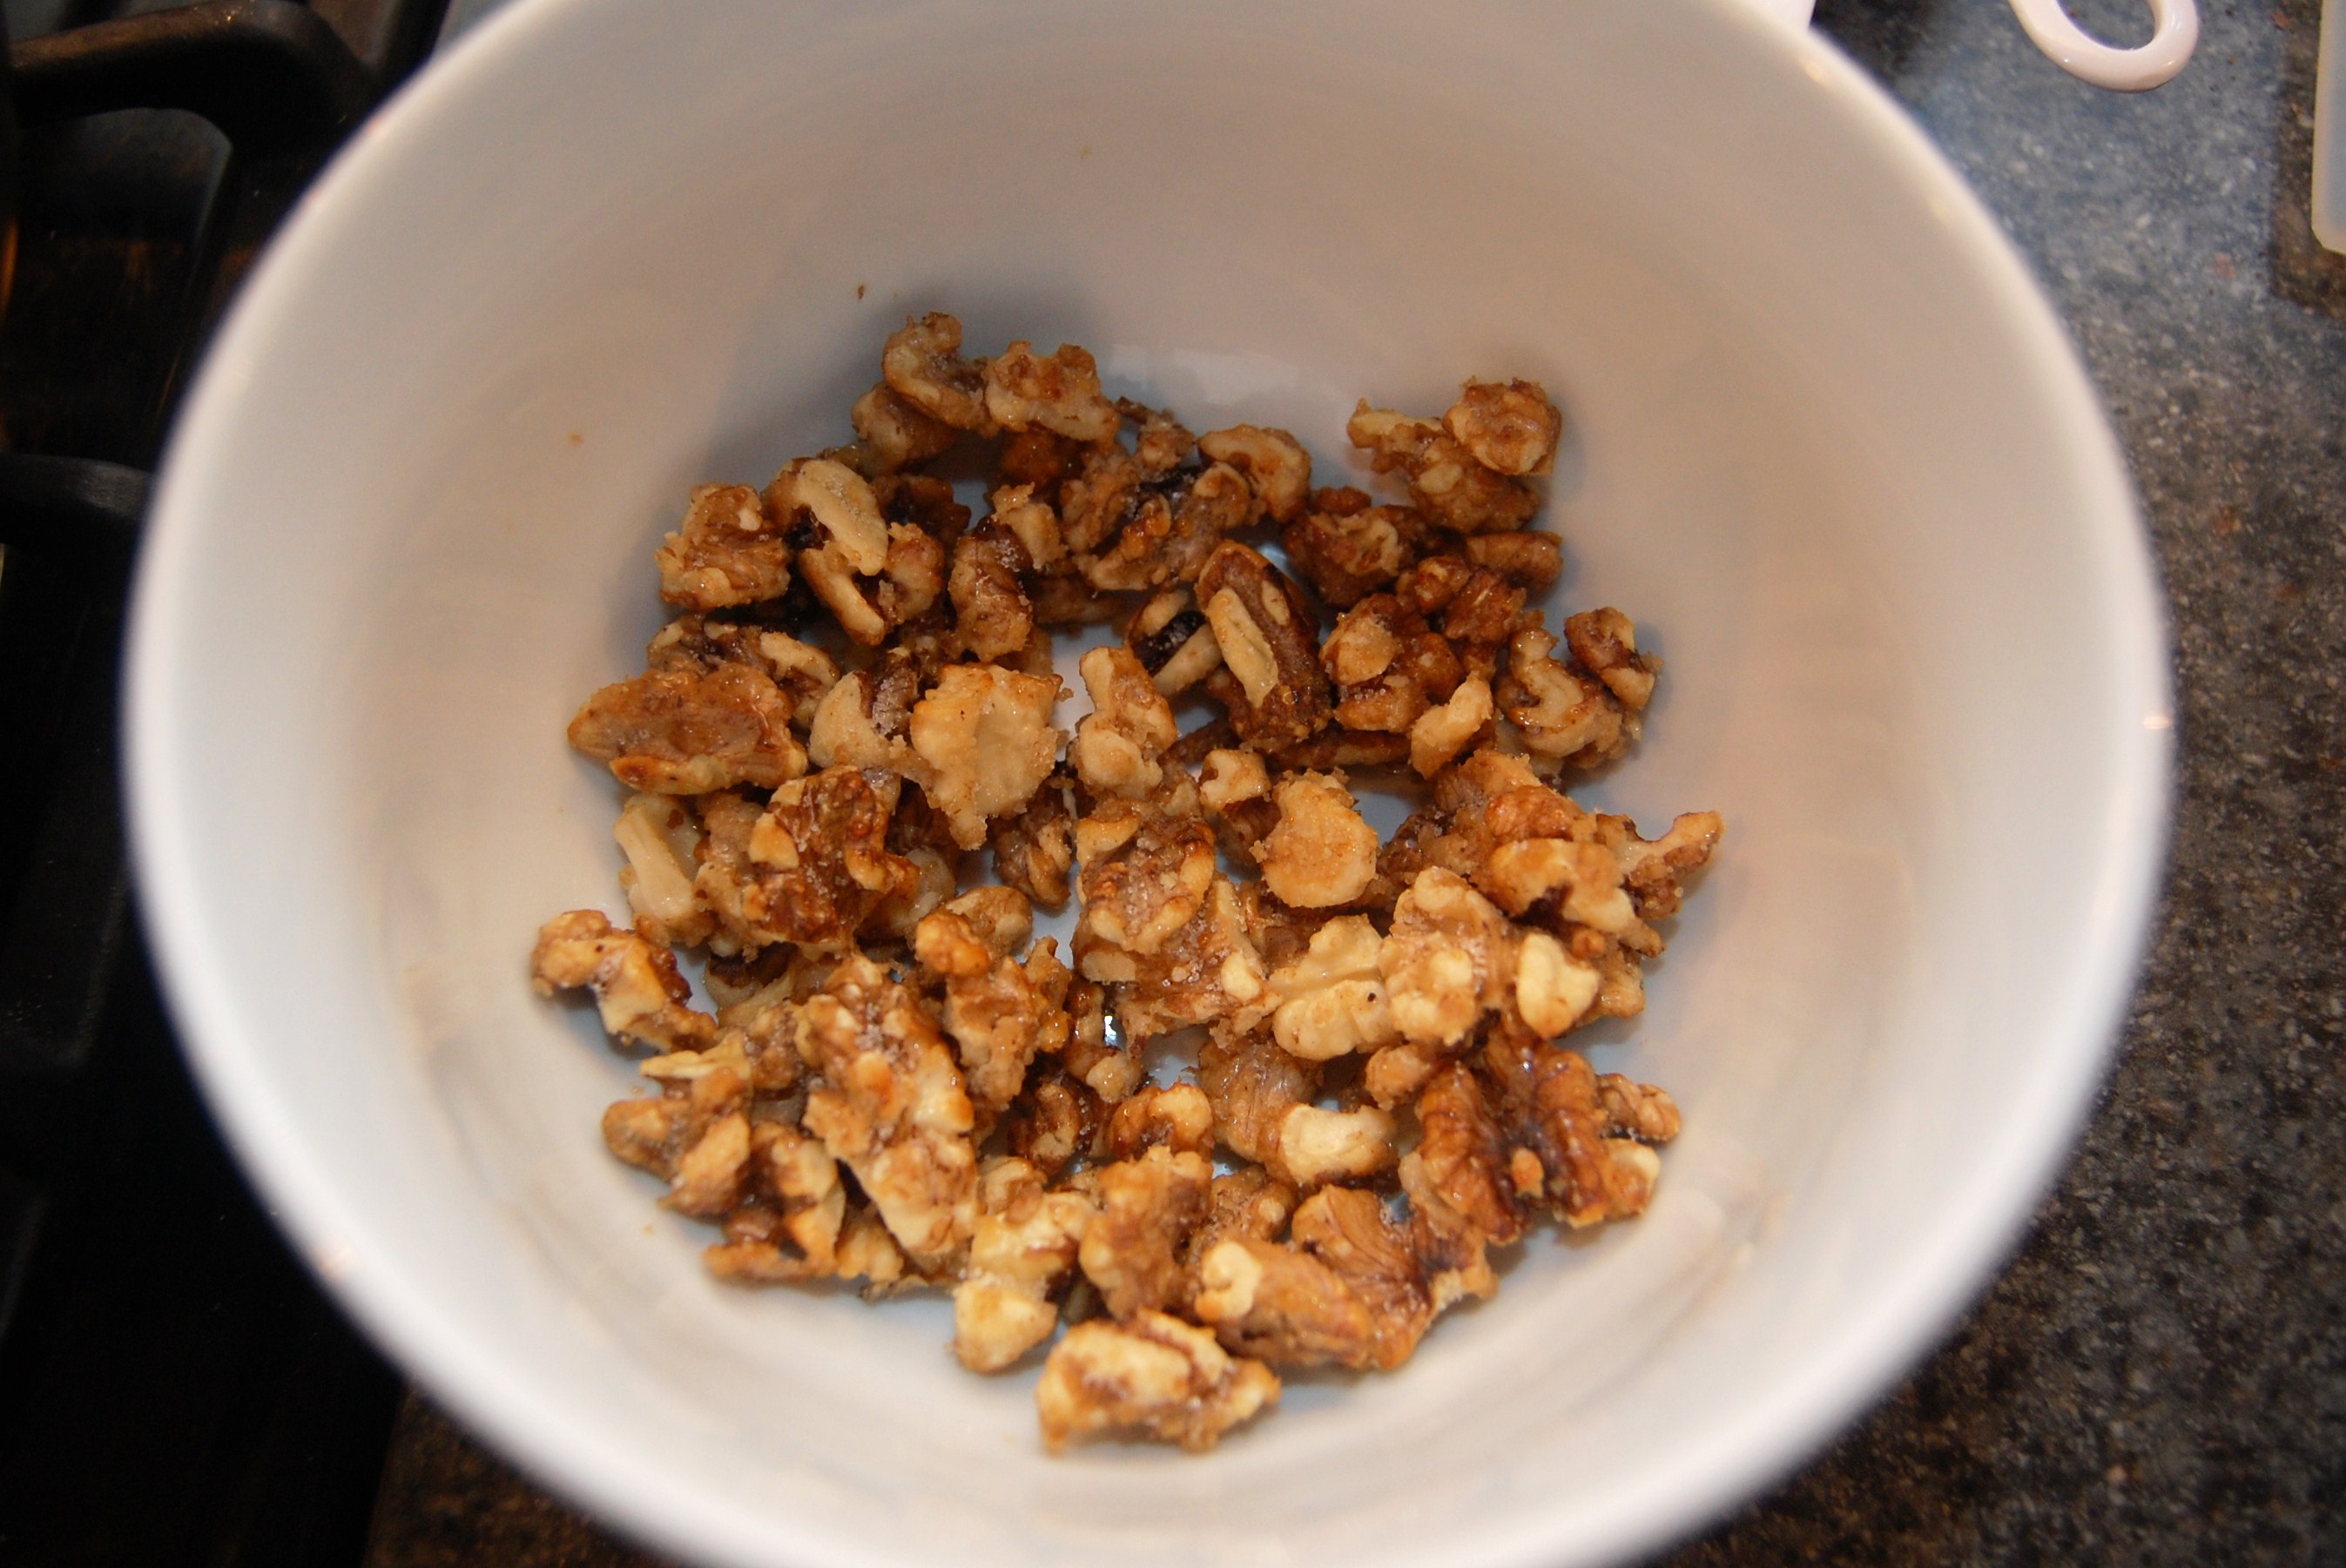
Step 6: Immediately remove from heat and transfer to a dish or cookie sheet
It’s best to stir once every couple of minutes until they are cool to avoid clumping.
Step 7: Clean-up kitchen, beginning with the bunny… er… baby on the floor
As you can see, the lettuce served its purpose nicely.
Step 8: Enjoy!
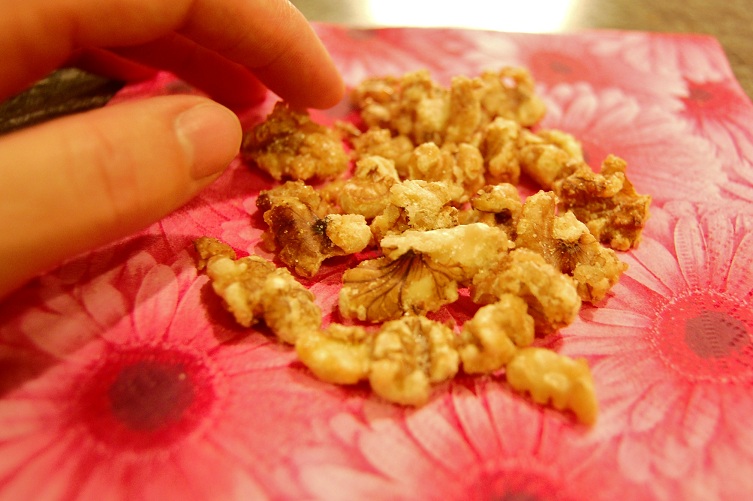
The finished nuts are perfect to top your morning oatmeal, dress up your afternoon yogurt, be the finishing touch on a salad at dinner or to eat anytime as a tasty treat all by themselves.
Don’t forget to store leftovers (if there are any!) in an airtight container.
Bon appetit!

