Now that Bobble Head Baby #3 (Bob for short) is on the way, I’ve gotten a lot of questions on what the room situation is going to look like for all the kiddos, how many bedrooms we have, and whether the girls are going to share a room. And the answer is, we have four bedrooms in our house, but only three of them are on the upper level, so yes the girls will be sharing a room and Bob 3.0 is going to have the nursery all to himself.
As to some ways we are trying to make the transition to sharing a room easier for the girls, here’s what we’ve done so far:
You may recall that back in January of 2013 we investigated different bunk bed options and ended up choosing a bunk bed that had a trundle underneath. Since we didn’t think Alethea was ready for navigating a top bunk, we assembled just the bottom bunk and the trundle and let the girls try sleeping in the same room.
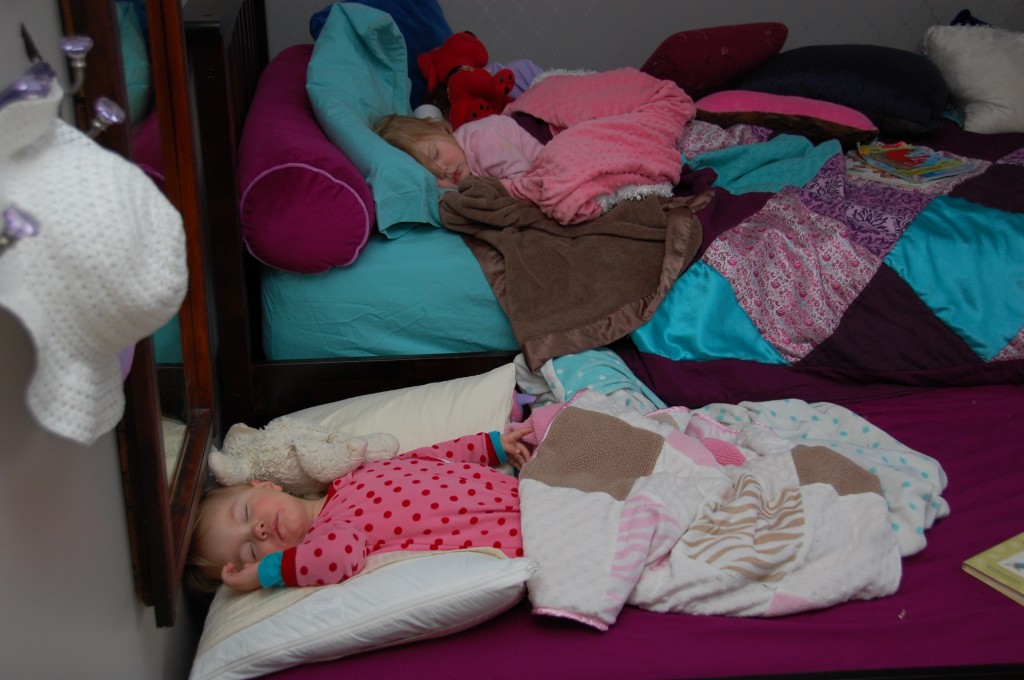 Despite the adorable sleeping kids picture, I’ll be the first to admit that Room Sharing Attempt #1 was an unmitigated disaster. The girls kept each other up until 10:30 or 11:00 every night and were unbelievably cranky the next day, every single day, for two weeks, until we abruptly ended the experiment and Lydia resumed sleeping in the crib. We tried again in the spring with similar results and after calling round #2 a failure, we agreed to shelve the whole rooming together idea until the possible future Bob 3.0 was in the works.
Fast forward a few months to after we found out Bob 3.0 was on his way, when Peter said to me, “We need to try moving the girls in together again.” To which I replied in a somewhat whiny voice, “Do we really have to?”
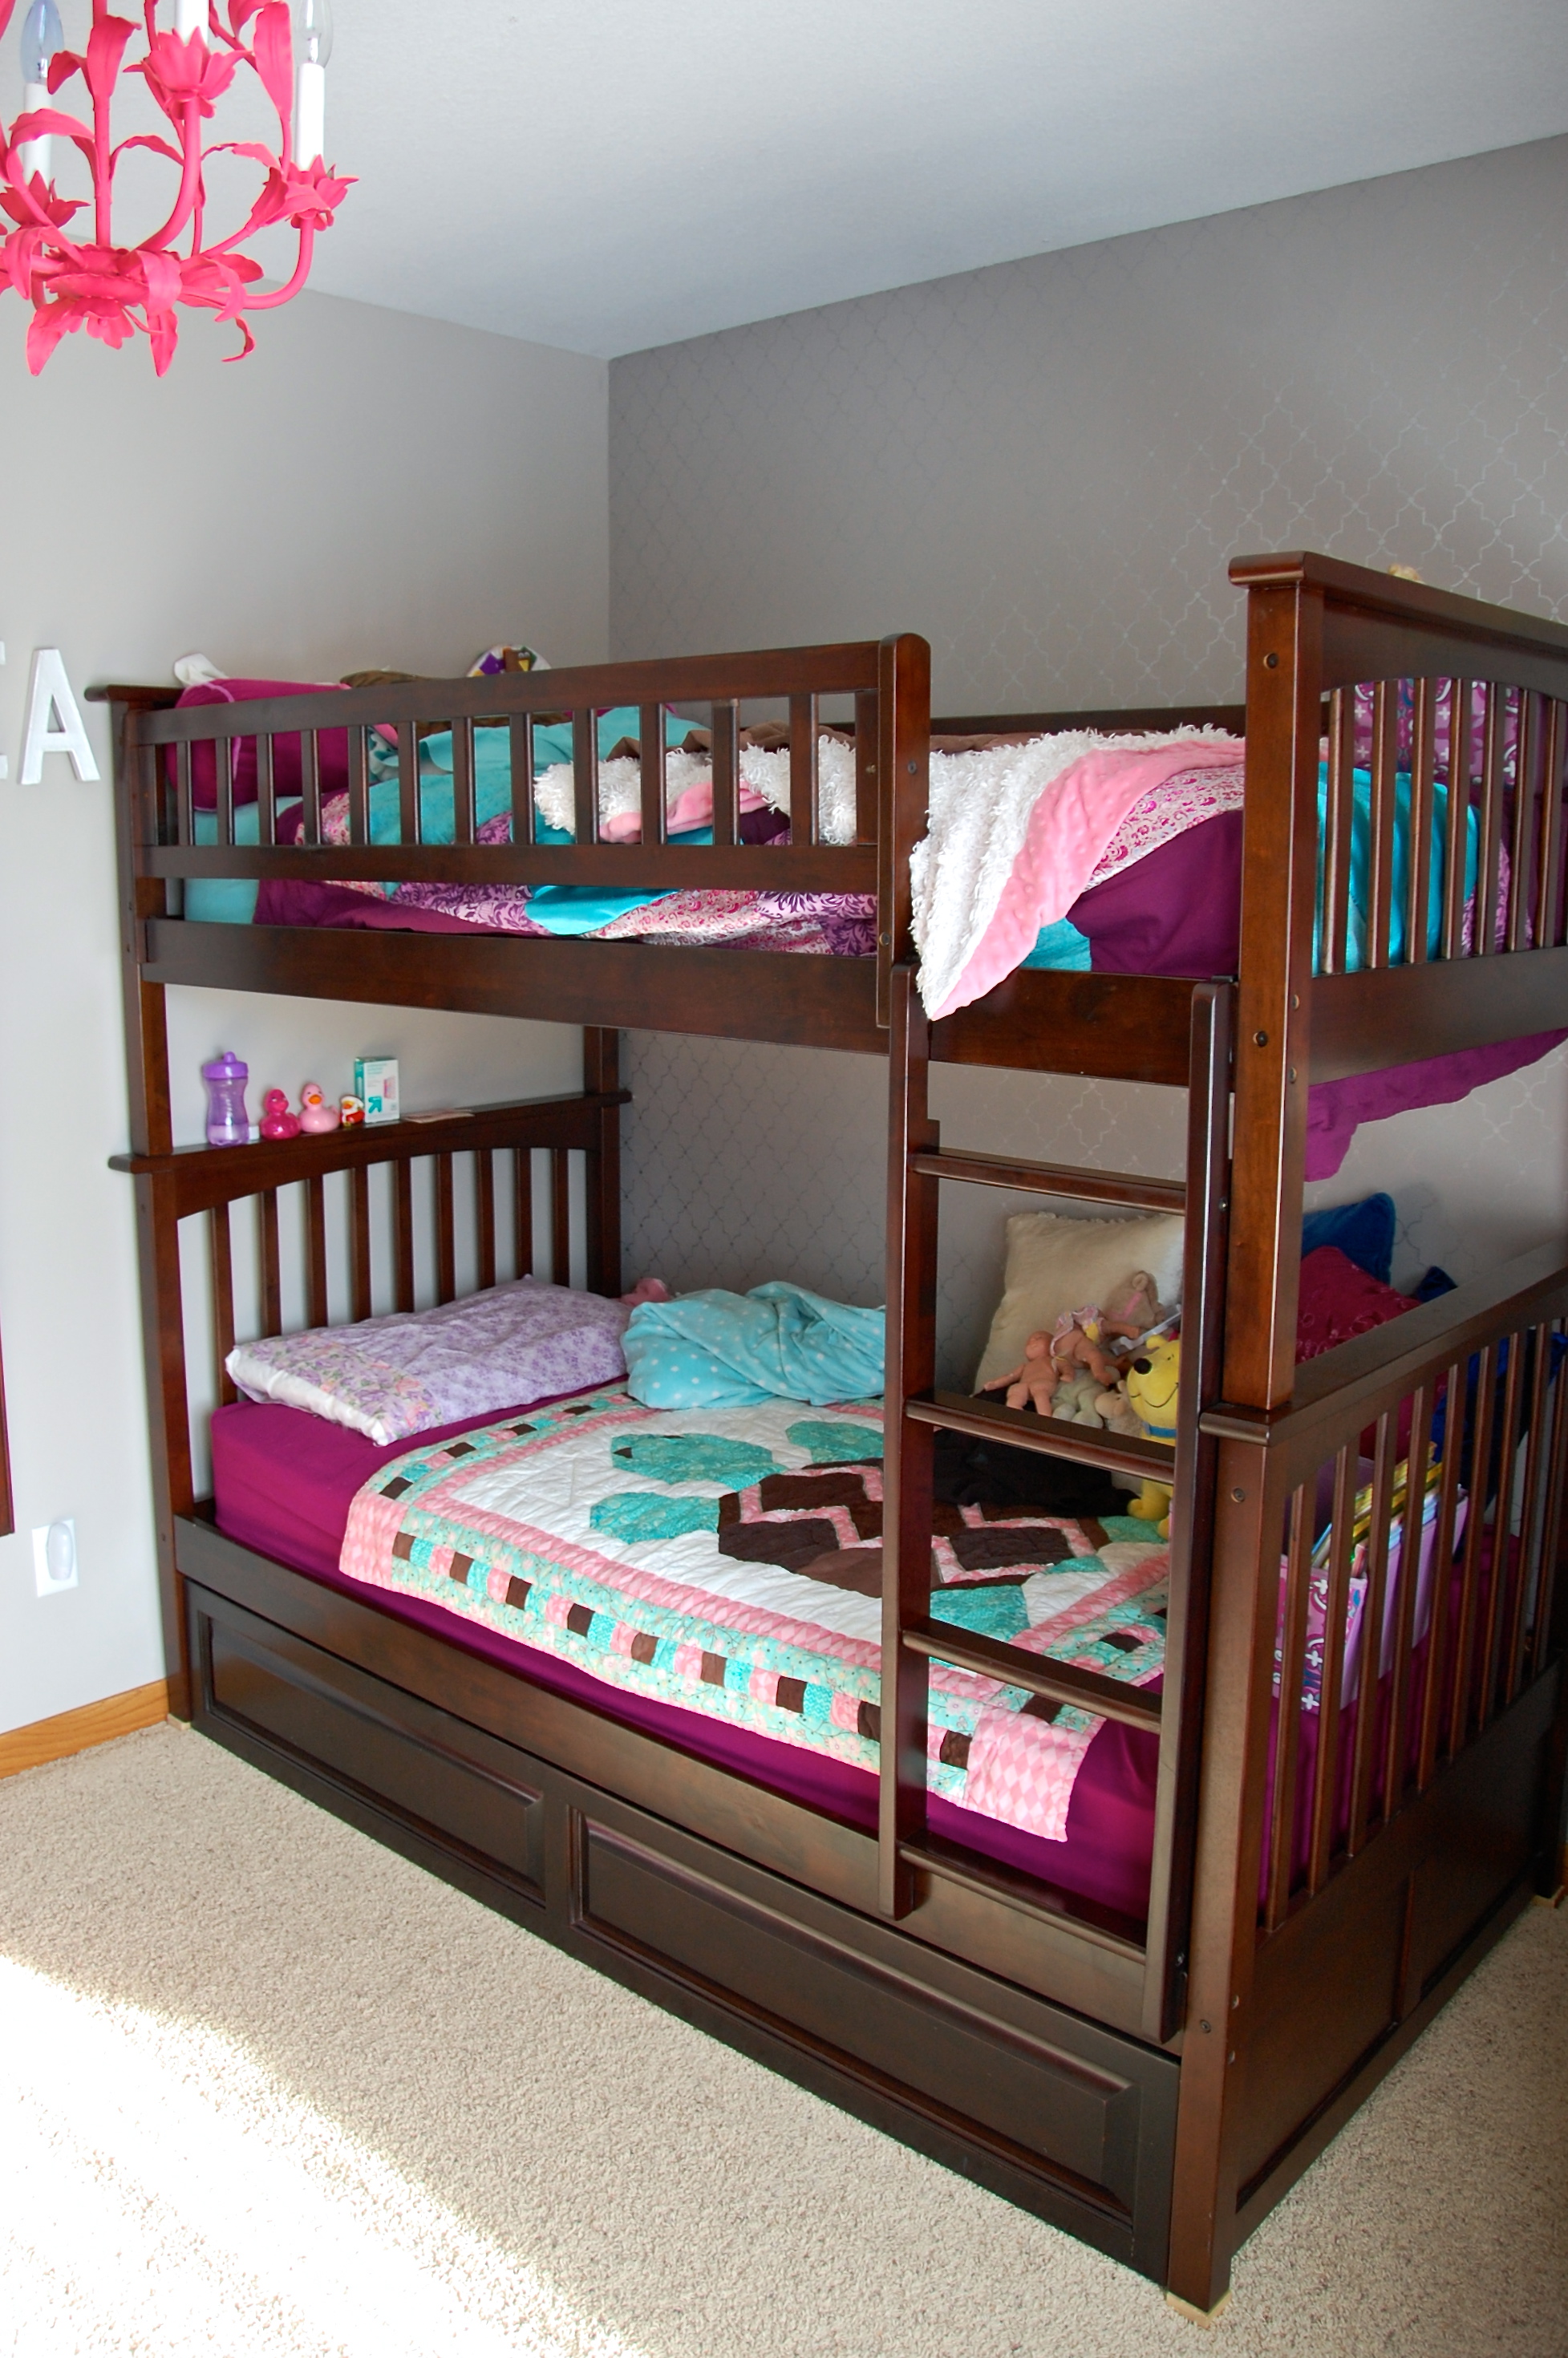
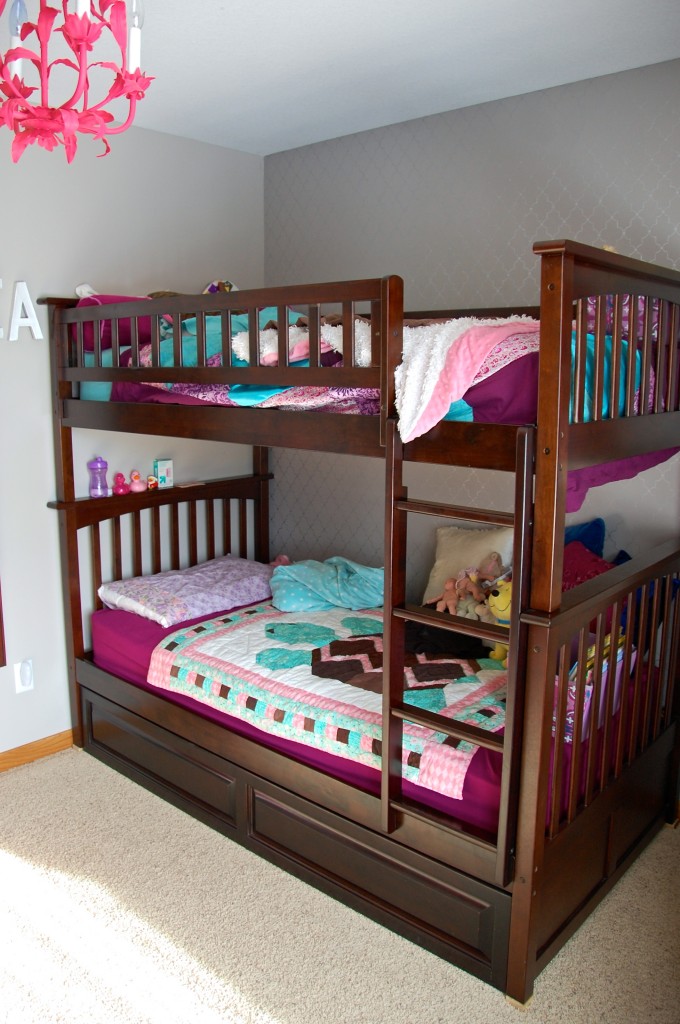
After discussing the pros and cons of bottom-bunk-and-trundle vs. top-bunk-and-bottom-bunk, and consulting with Alethea on whether she was interested in sleeping in a top bunk (she was… VERY) and whether she thought she would fall out (after confirming that there would be a railing on the edge, she observed, “If I’m rolling on my pillow and I roll up to the railing, I just won’t roll and further”), we decided to give the green light to the top bunk option.
 One of my preconditions about putting up bunk beds, was that we had to change out the ceiling fan for a non-moving light fixture. Fortunately, I’d bought a fantastic pink chandelier at a second-hand sale months ago, planning on using it in the guest bedroom.
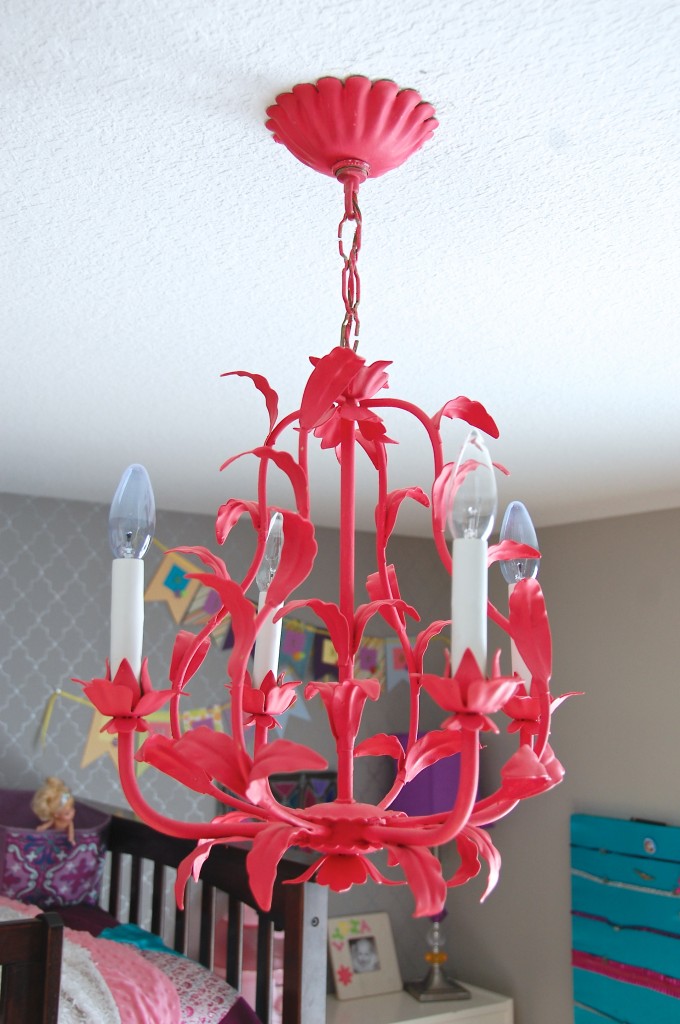 I still think it would have looked great in the guest room, but it’s very cute in the girls’ room too, and I’m pretty sure it’s safer than a fan they can reach from the top bunk. Admittedly, Alethea has asked on more than one occasion if she can swing on it, so there is the possibility that she may one day bring it crashing down in the middle of a trapeze performance, but thus far she has heeded our warnings and refrained from any acts of daring.
The girls began Room Sharing Experiment #3 in November, and it has been the most successful try thus far. Not completely without bumps, but it seems to have helped Alethea to have a space of her own, since Lydia is not allowed to climb up to the top bunk. Lydia herself is quite pleased to be a Big Girl who sleeps in a Big Girl Bed and will happily inform anyone who will listen that, “I don’t sleep in a crib, because cribs are for babies. I’m not a baby anymore.” She shows no inclination to return to the nursery and seems unbothered by the fact that another little occupant will shortly be residing there.
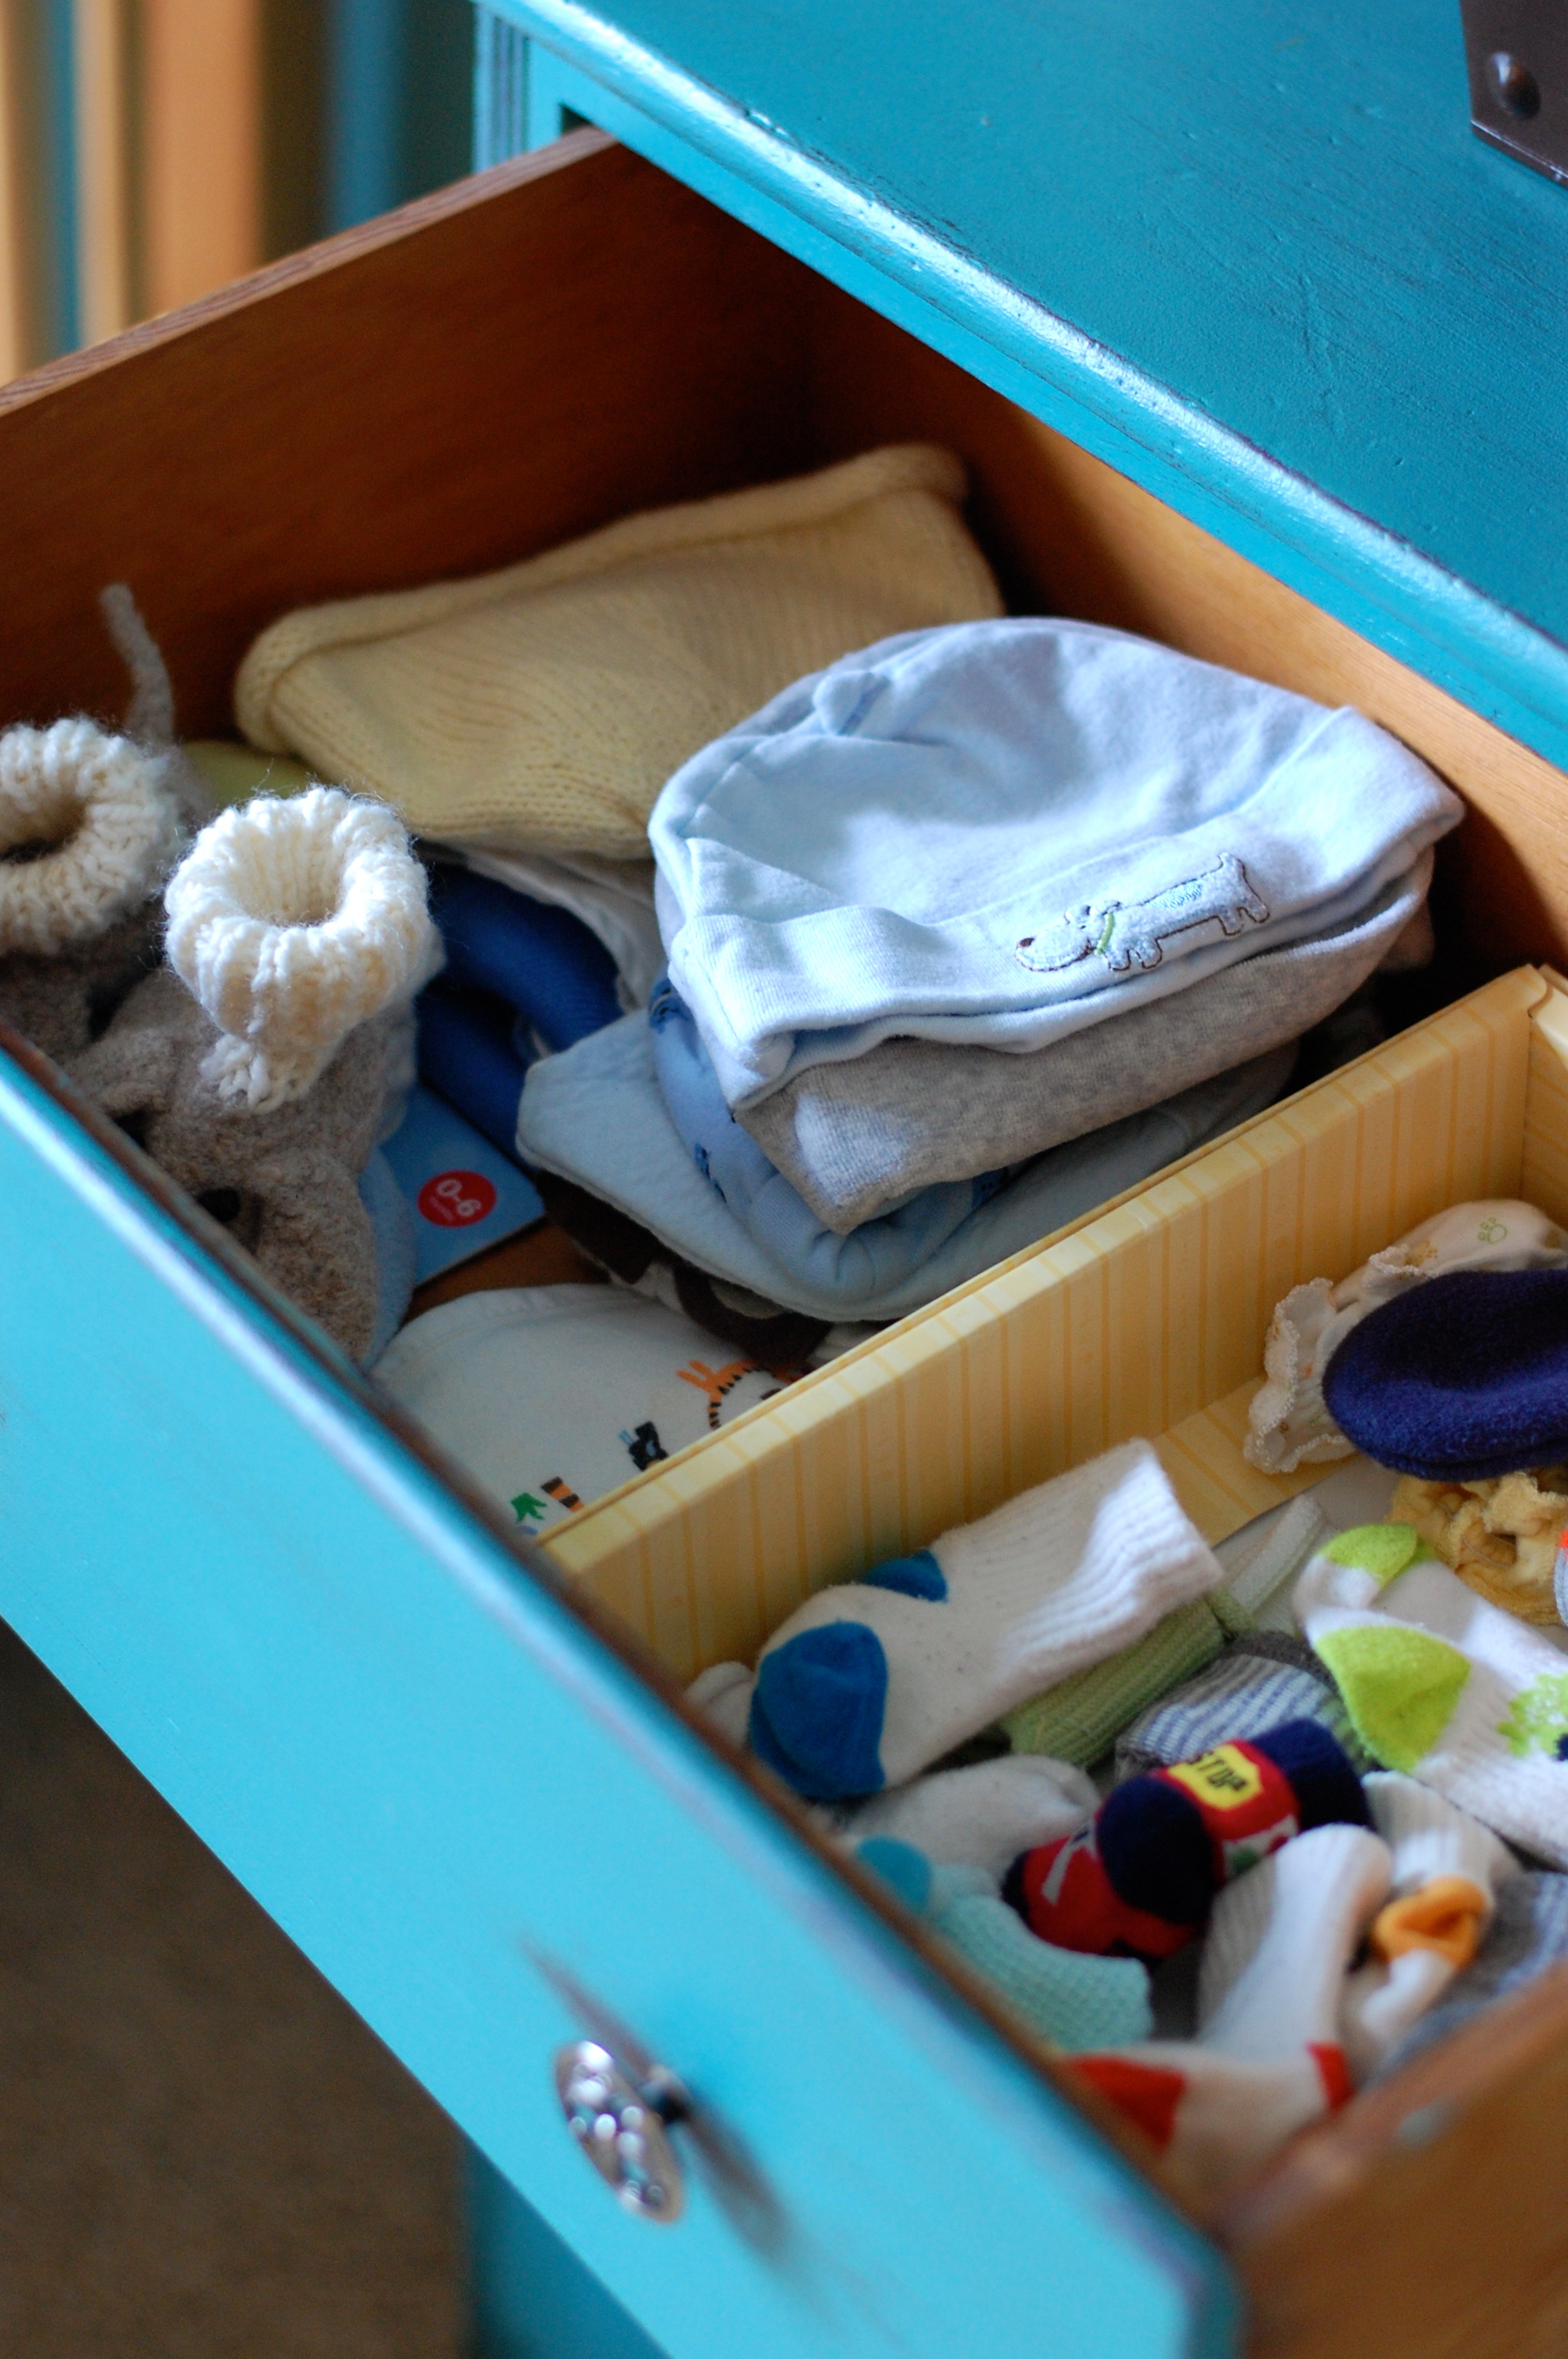
Having successfully arranged a bed solution, last week I moved on to the clothes. Fortunately the closet was big enough to handle both of the girls’ hanging wardrobes without any adjustments. For the dresser I found these nifty extra-deep spring-loaded drawer dividers on Amazon.
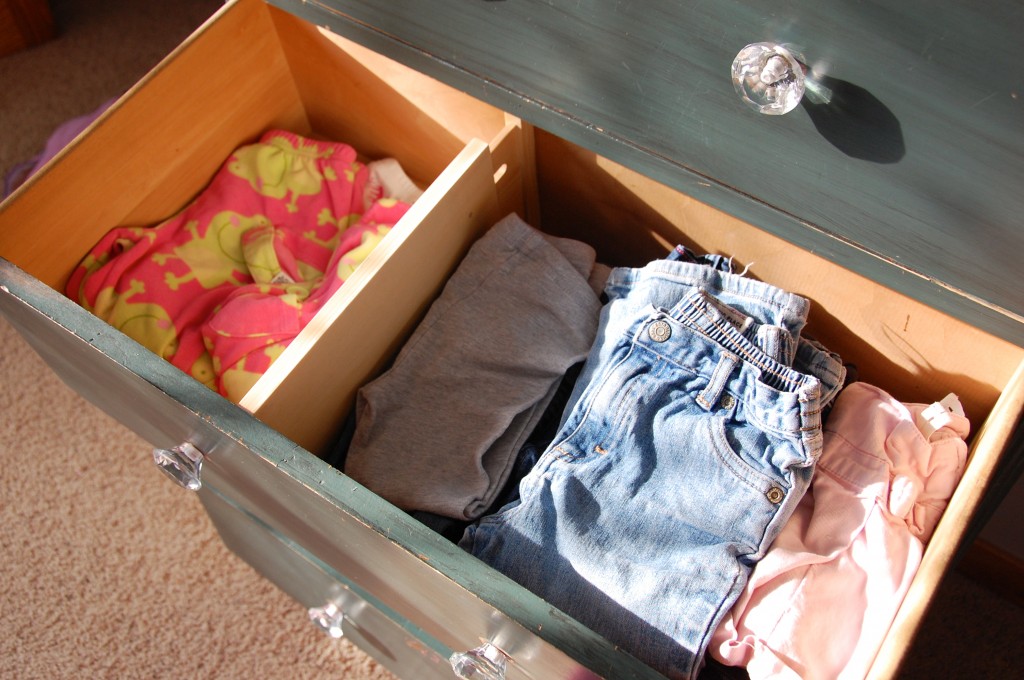
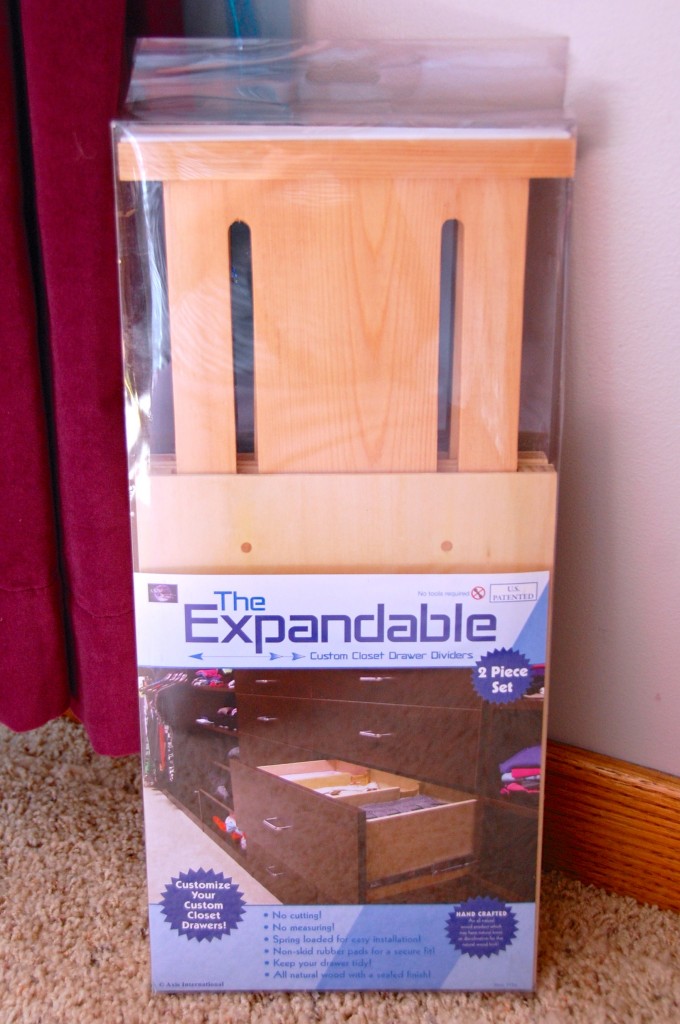 Installation was a breeze. I think it took me longer to get them out of the packaging than it did to get them into the drawers. And when I was finished each girl ended up with two dresser drawers, each divided in half, which is how I managed to condense the contents of two four-drawer dressers into just one.
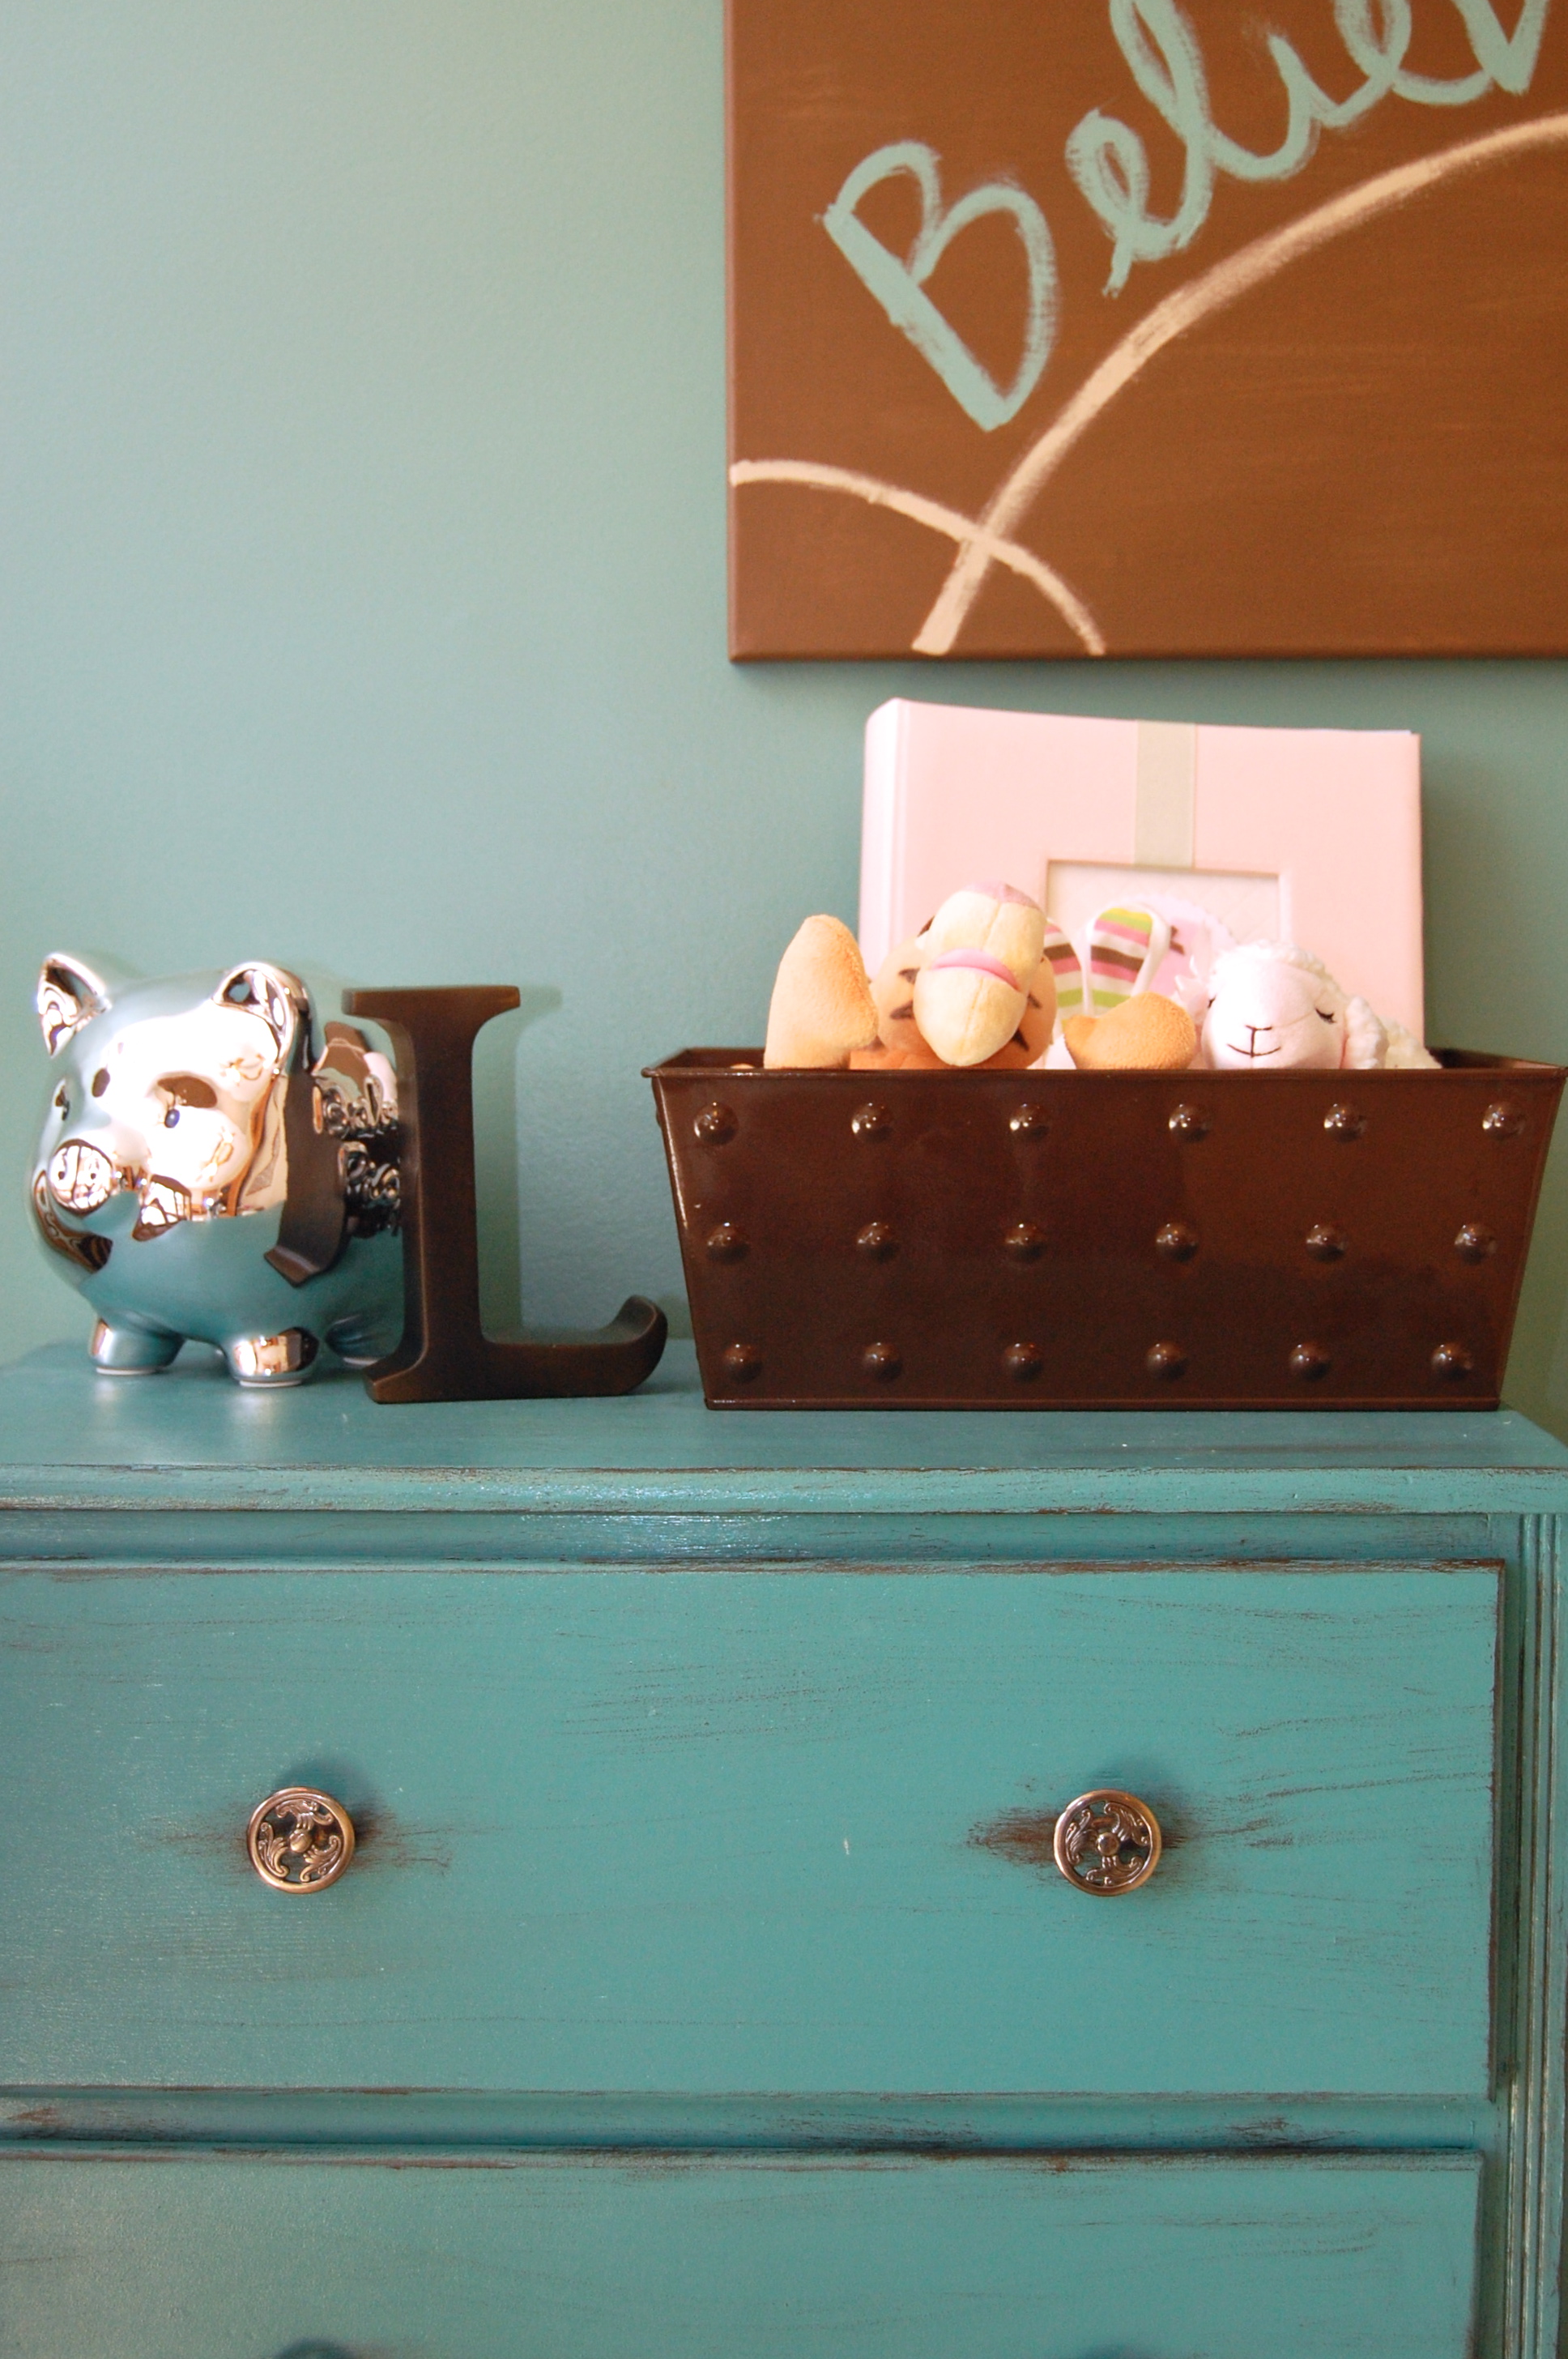
 We have a few other orders of business to attend to, like getting the lamp on the bookcase fixed, moving some of the girly accessories in from the nursery, and come summer, finding some sort of solution to the lack of fan since the room does get a bit warm, even with the air conditioning on, during the warmer months.
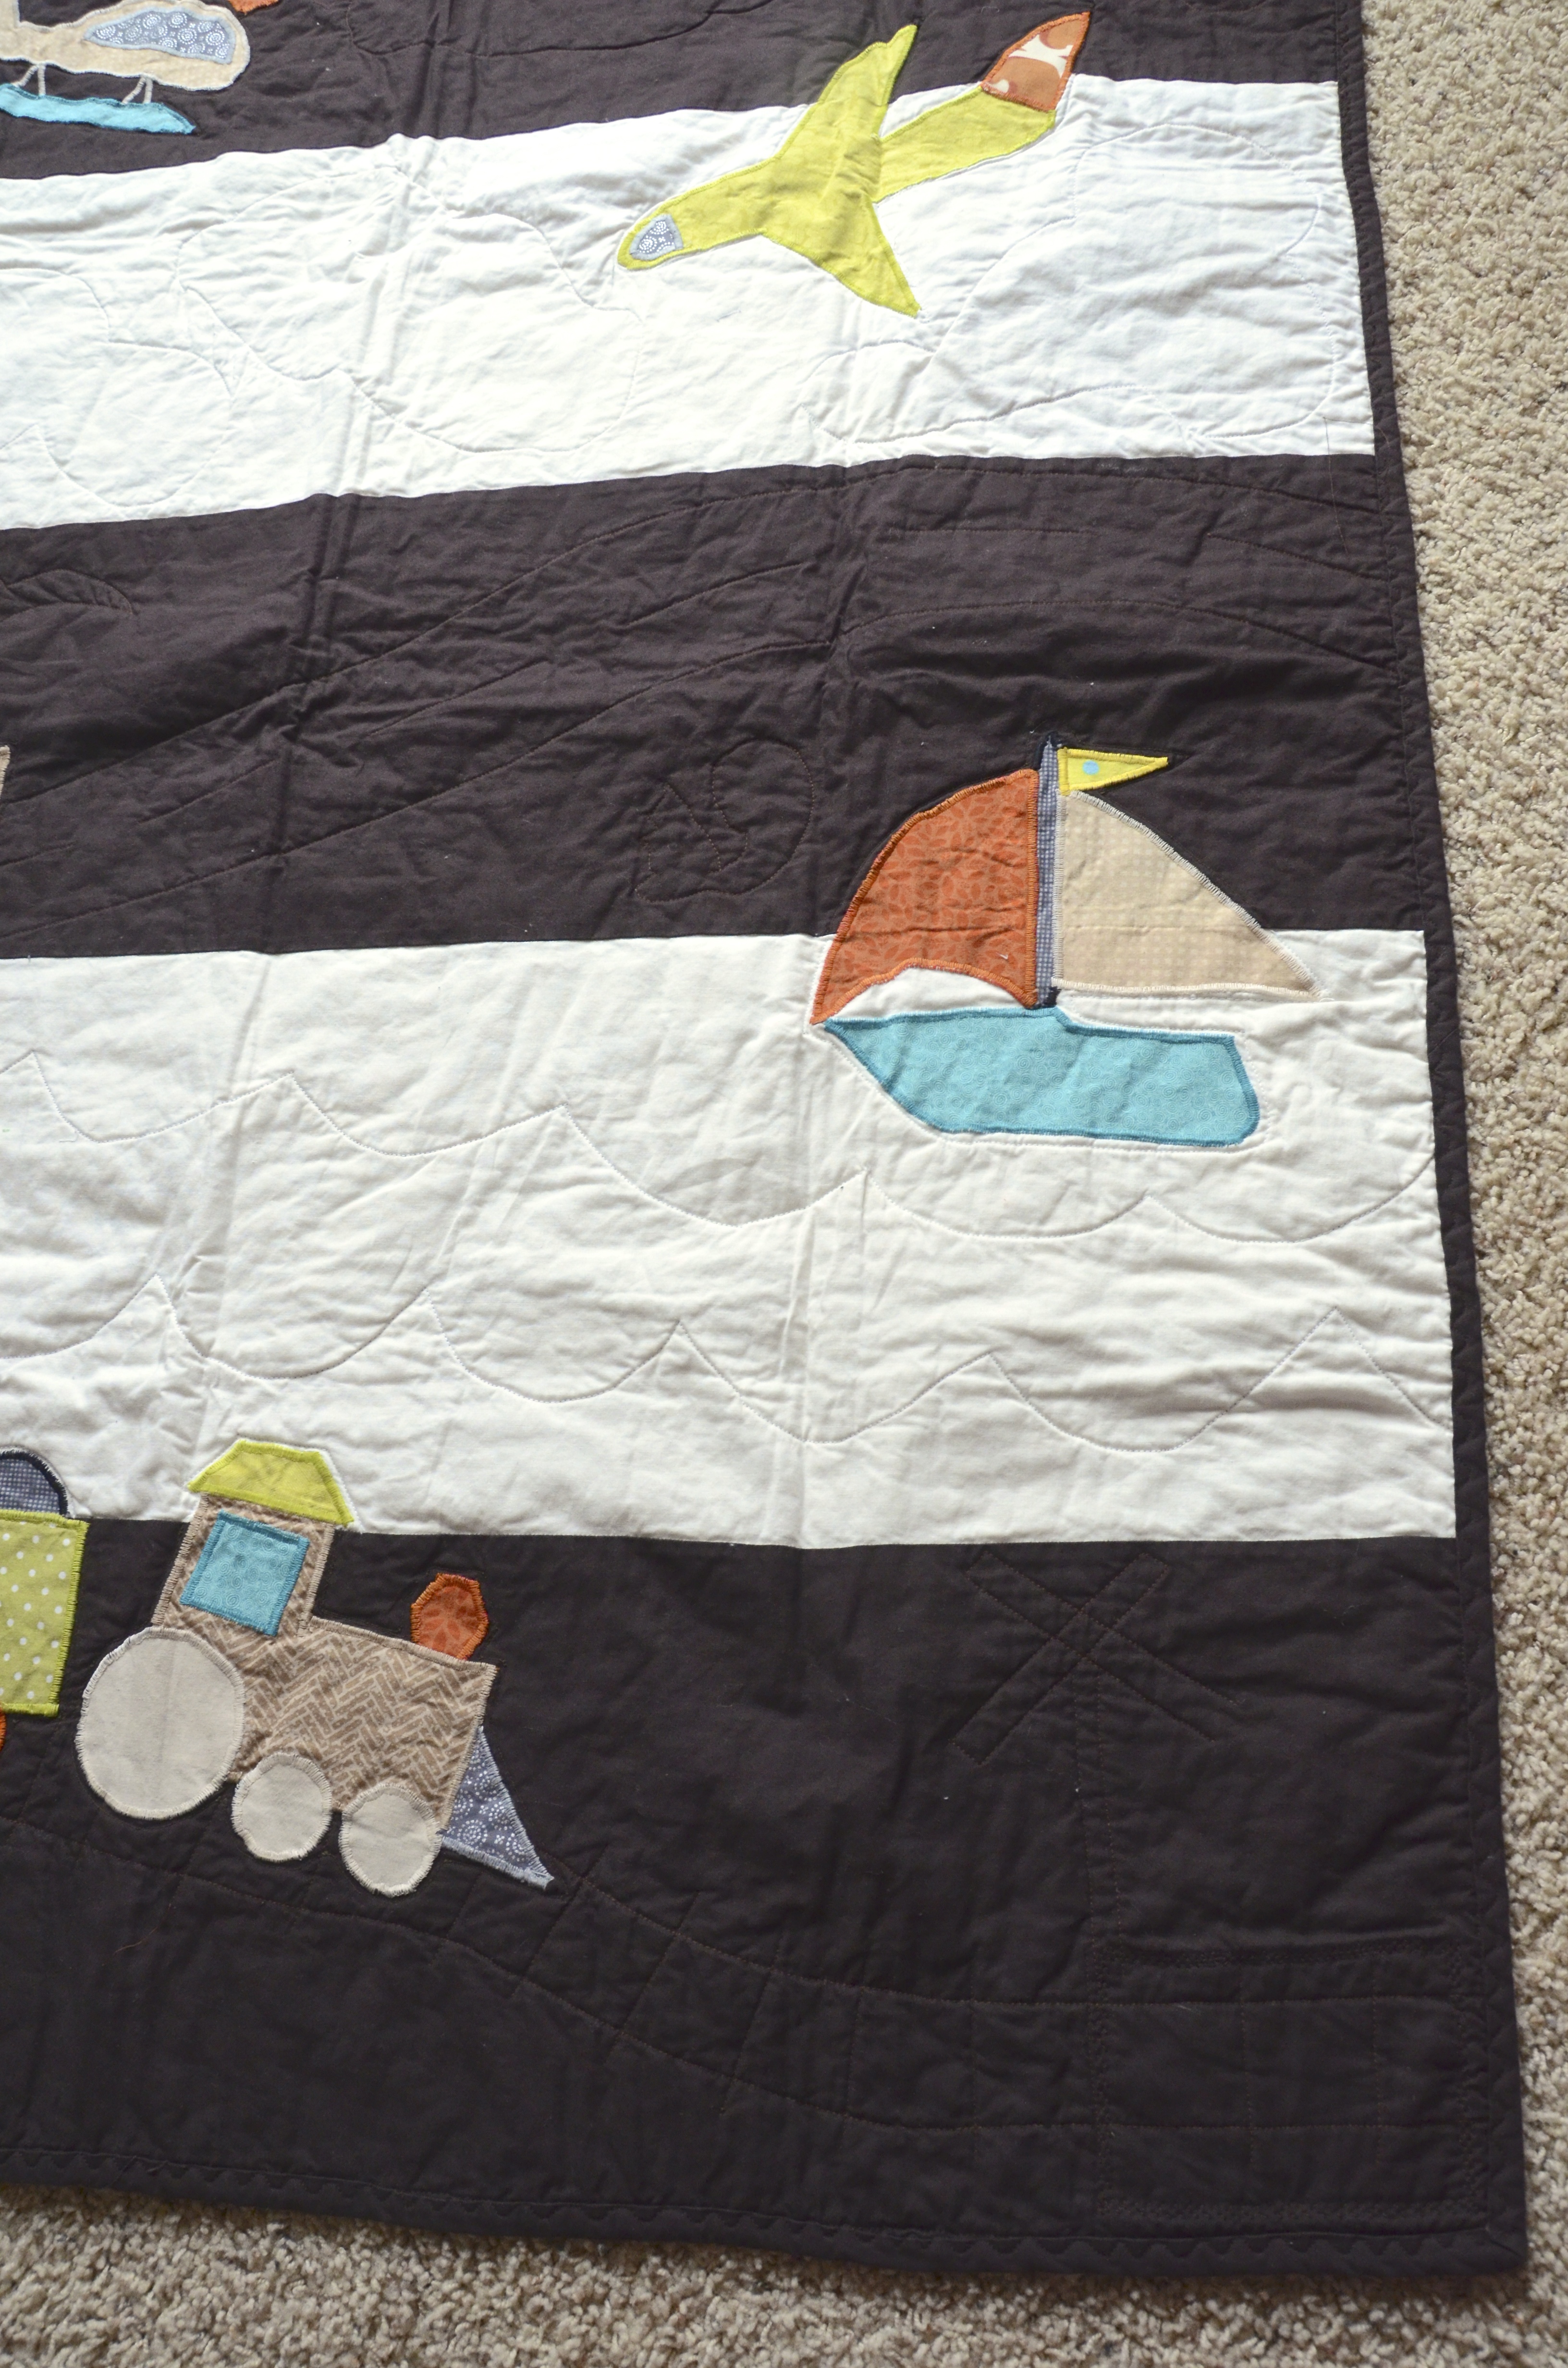
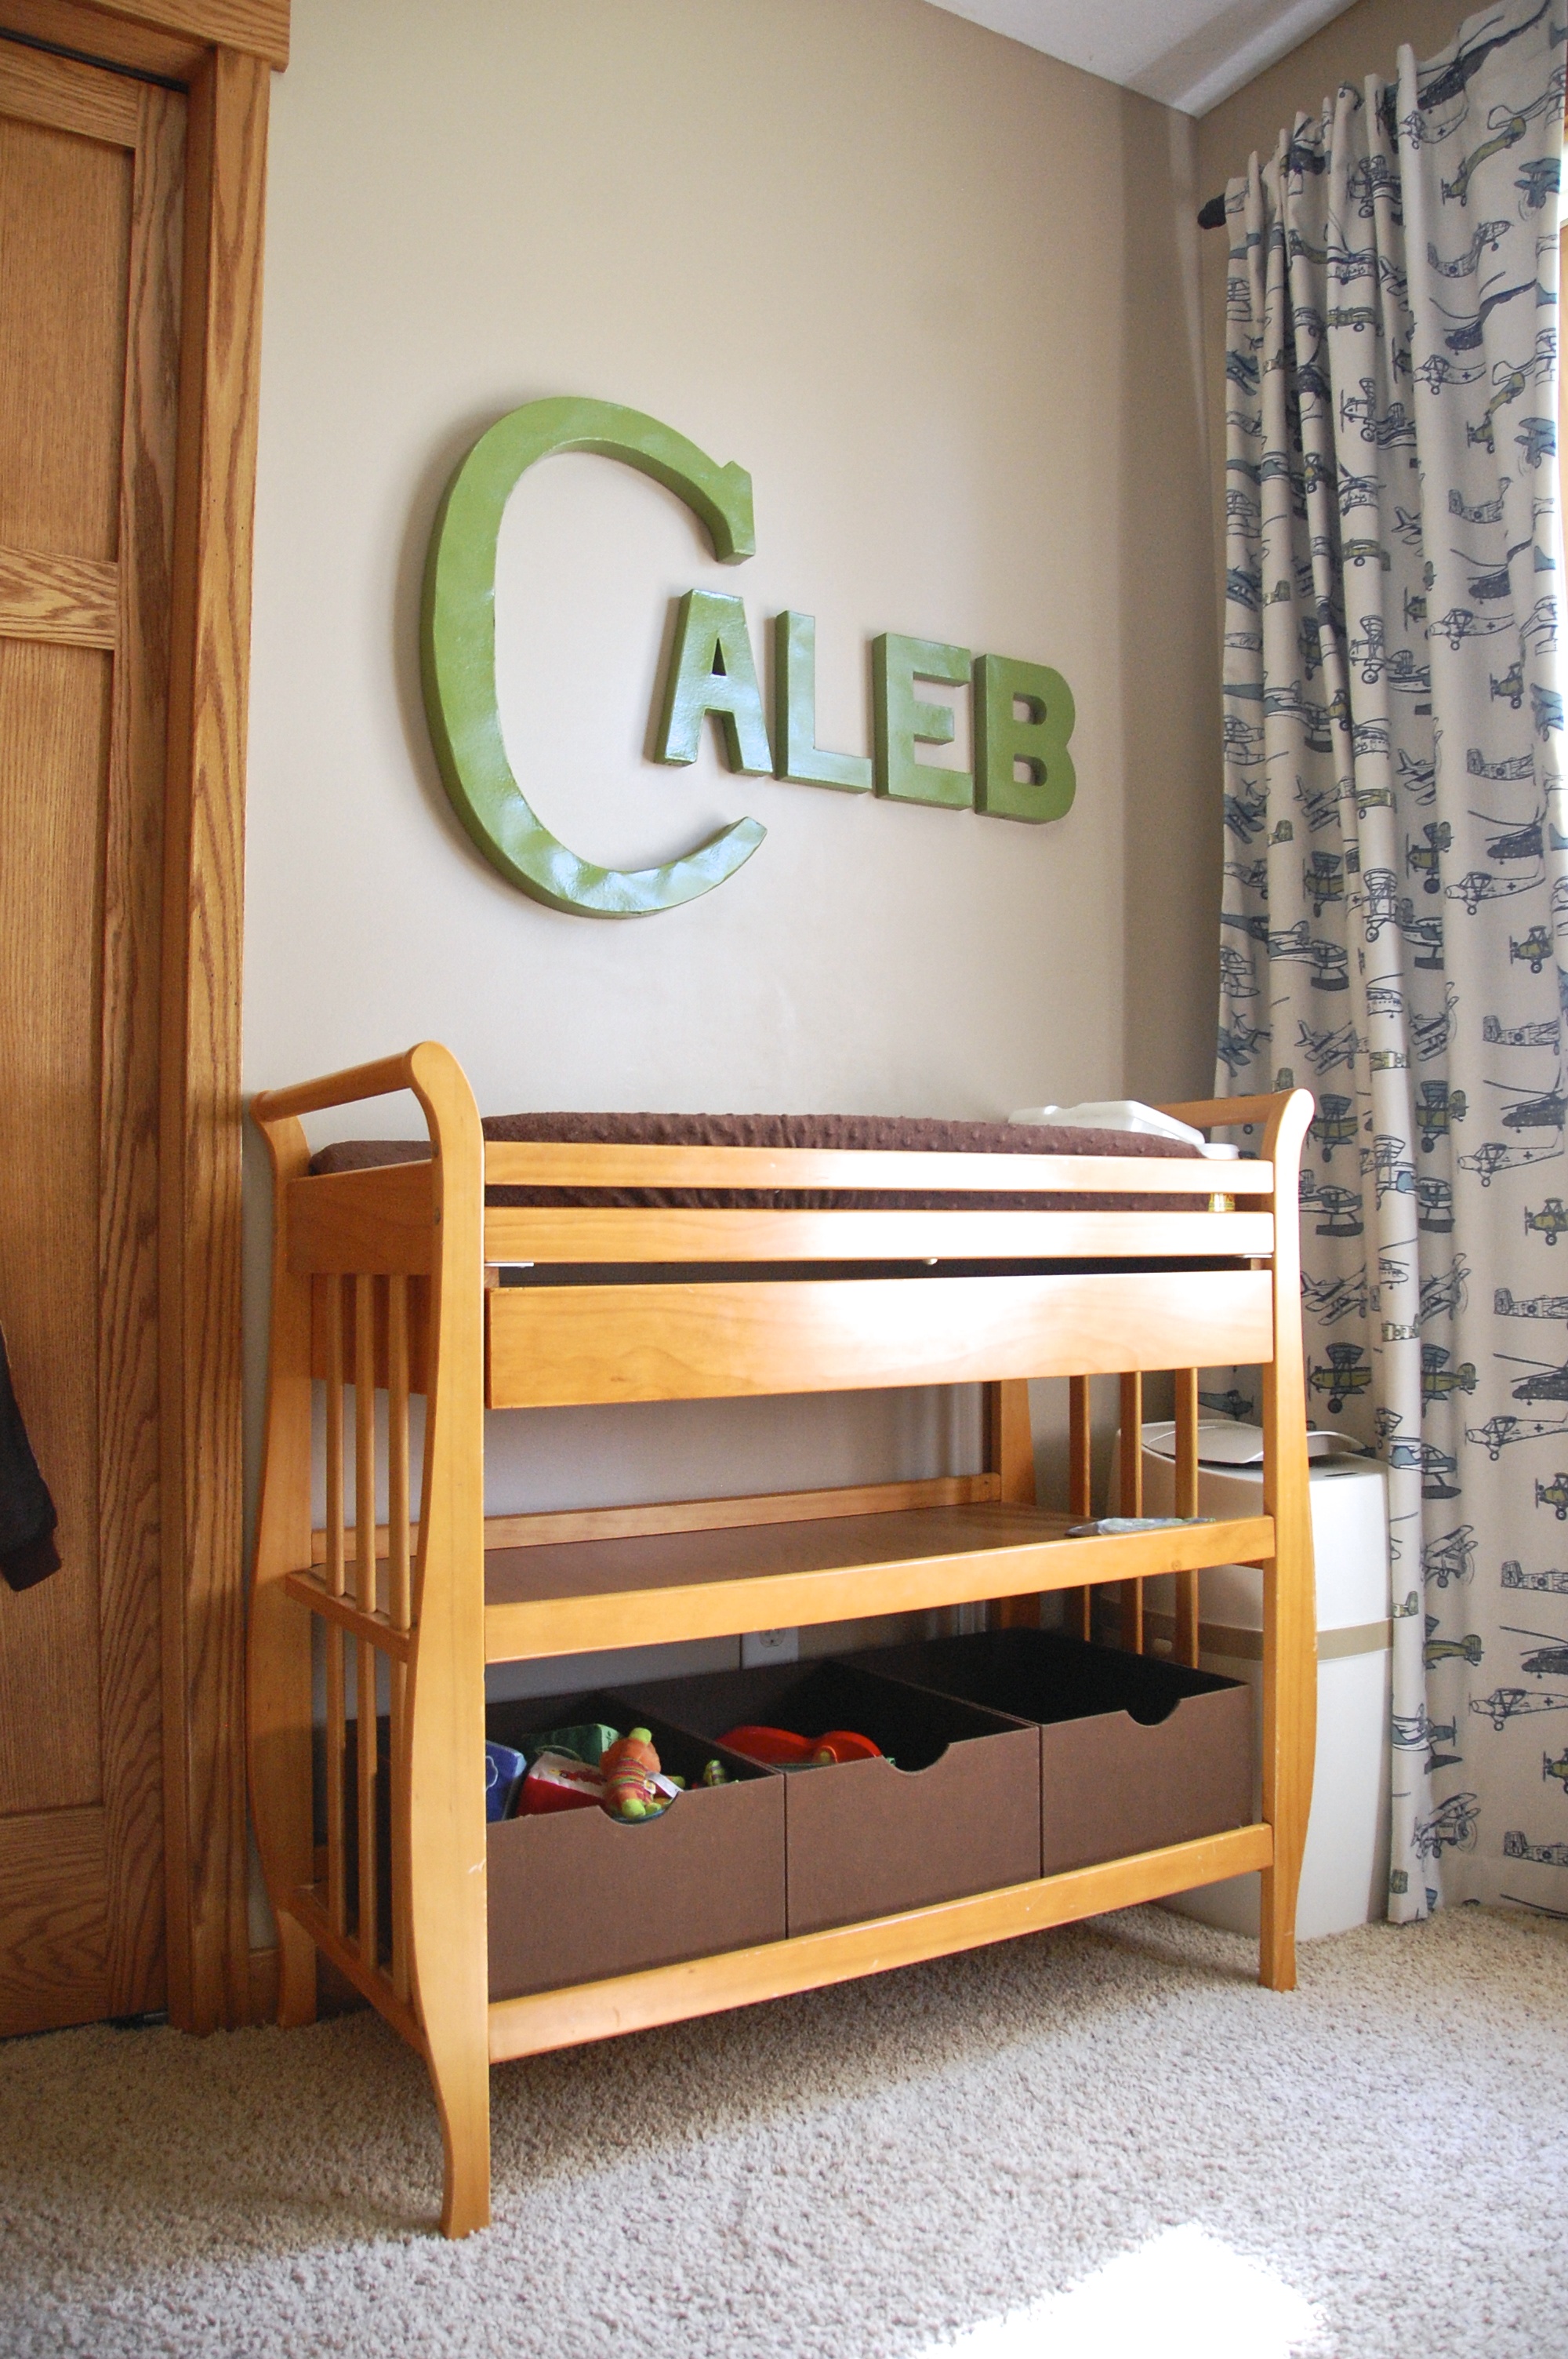
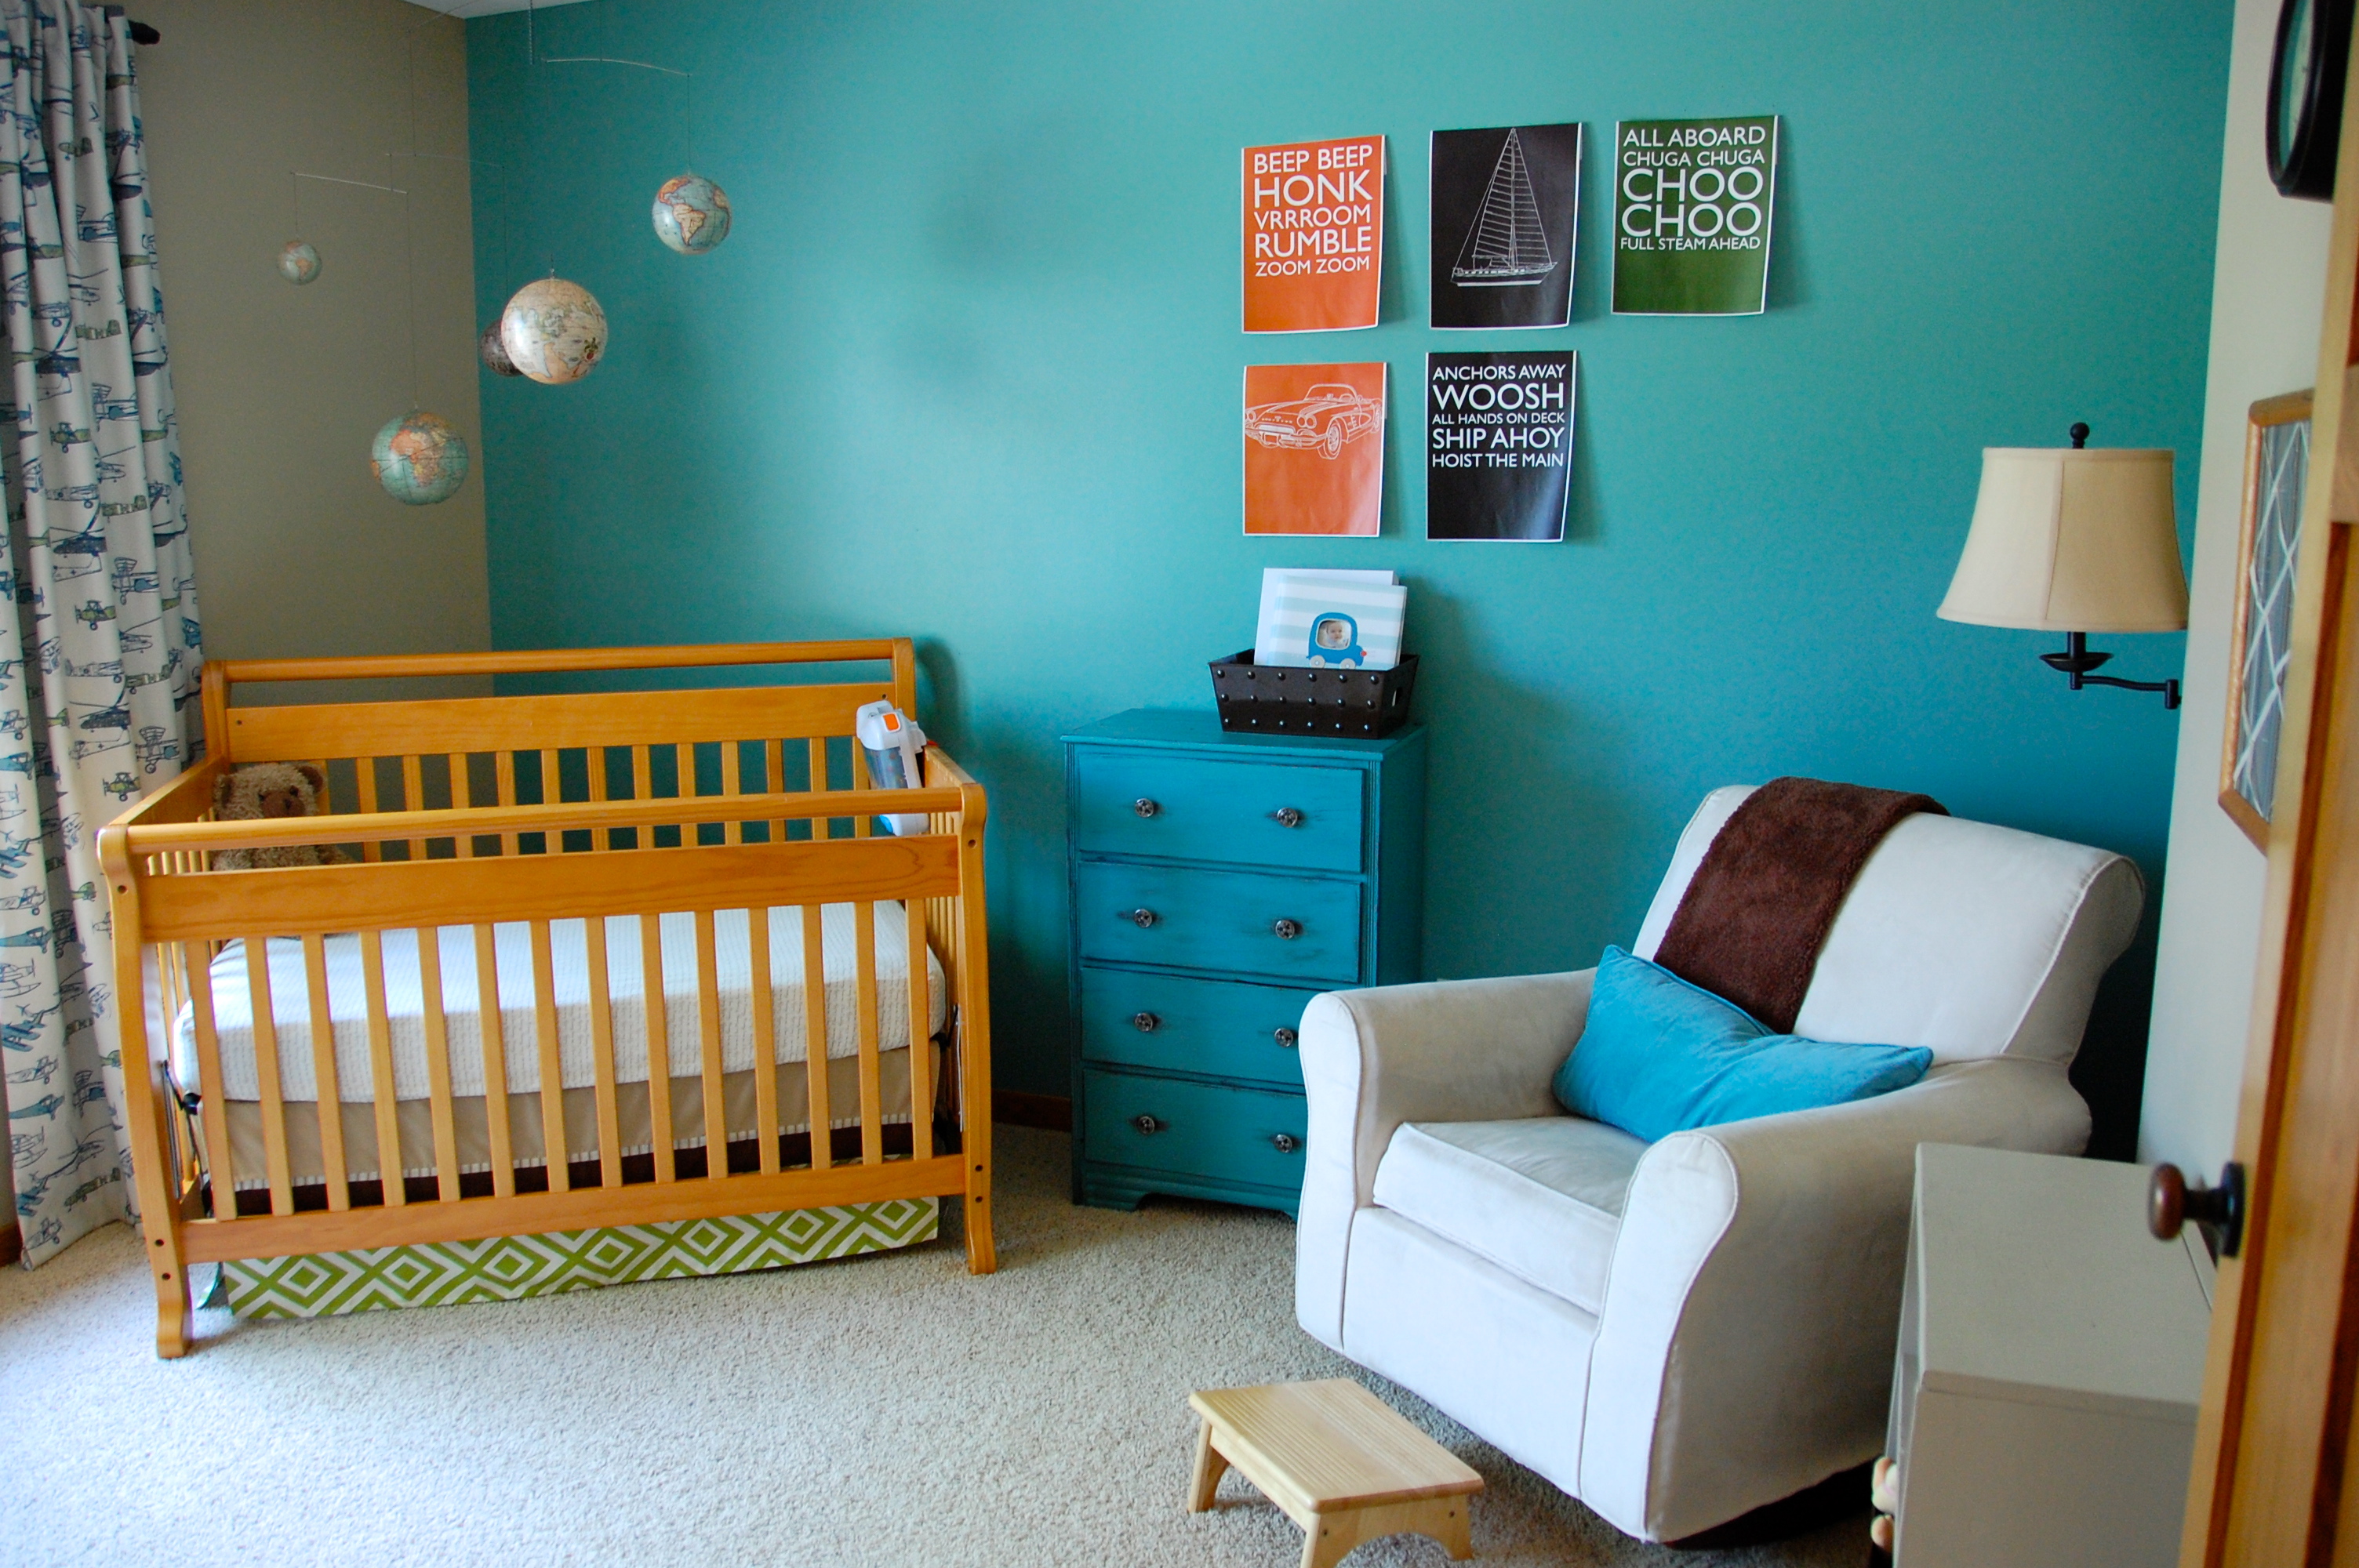
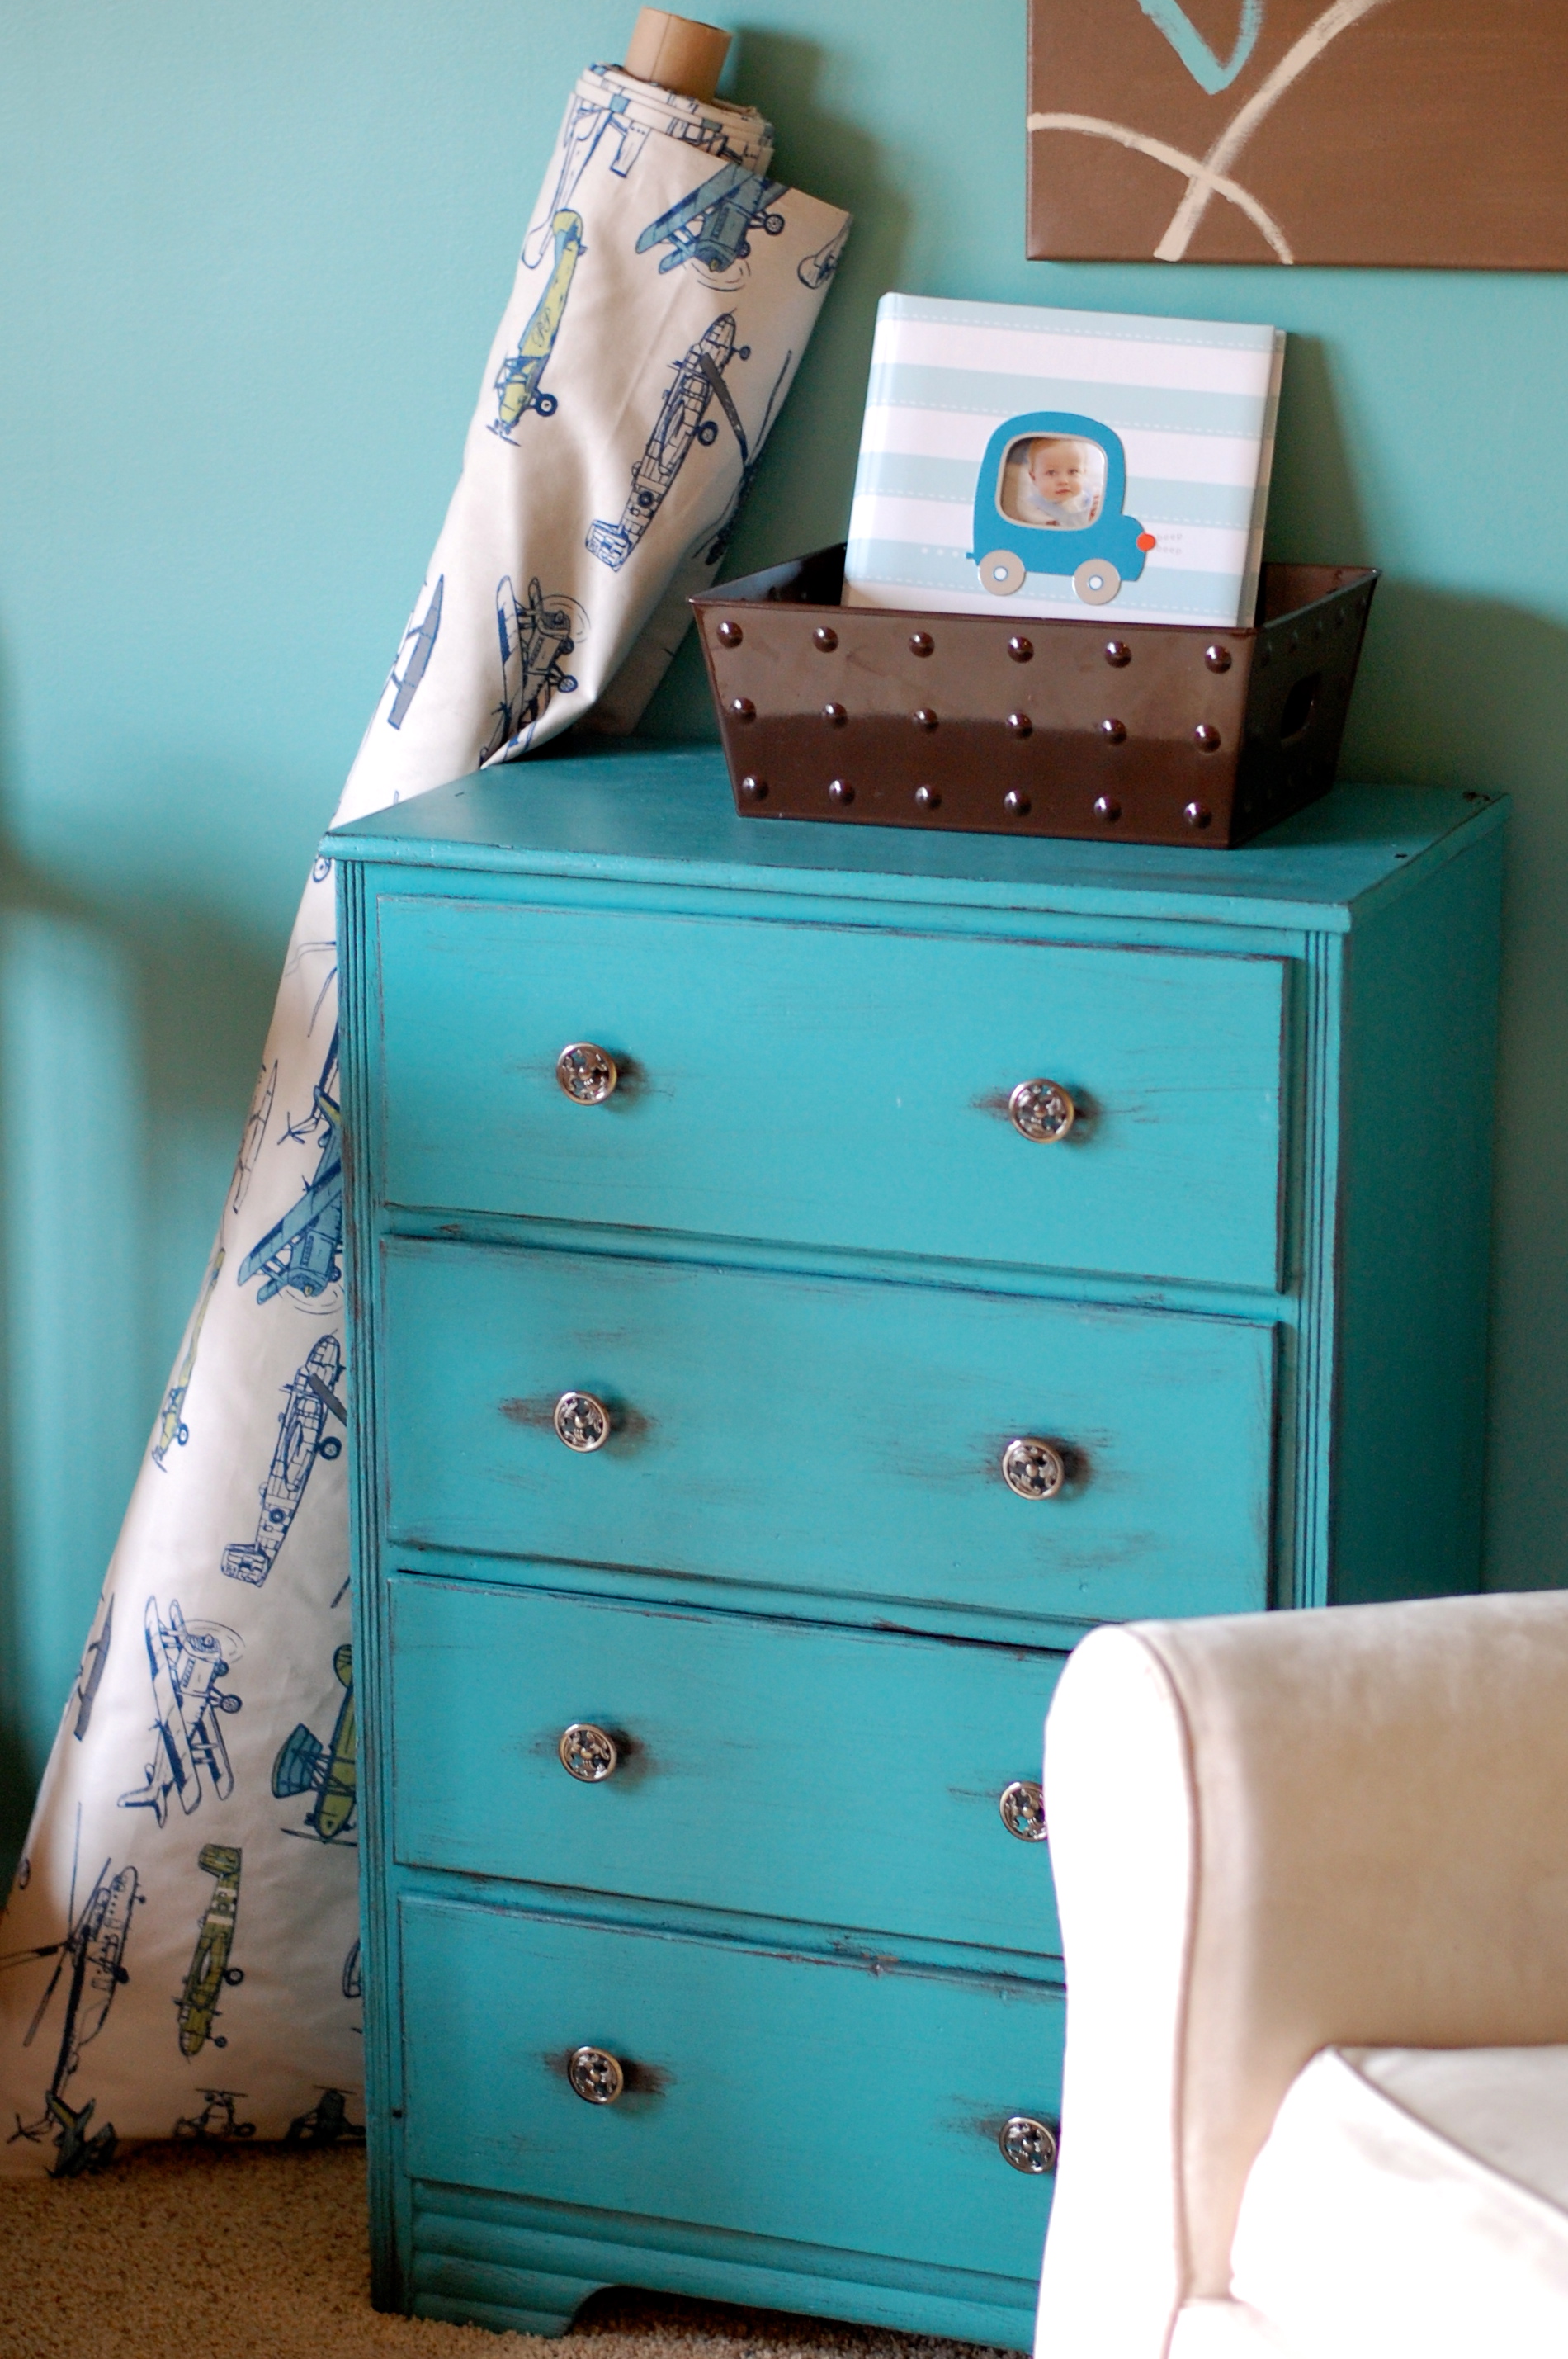
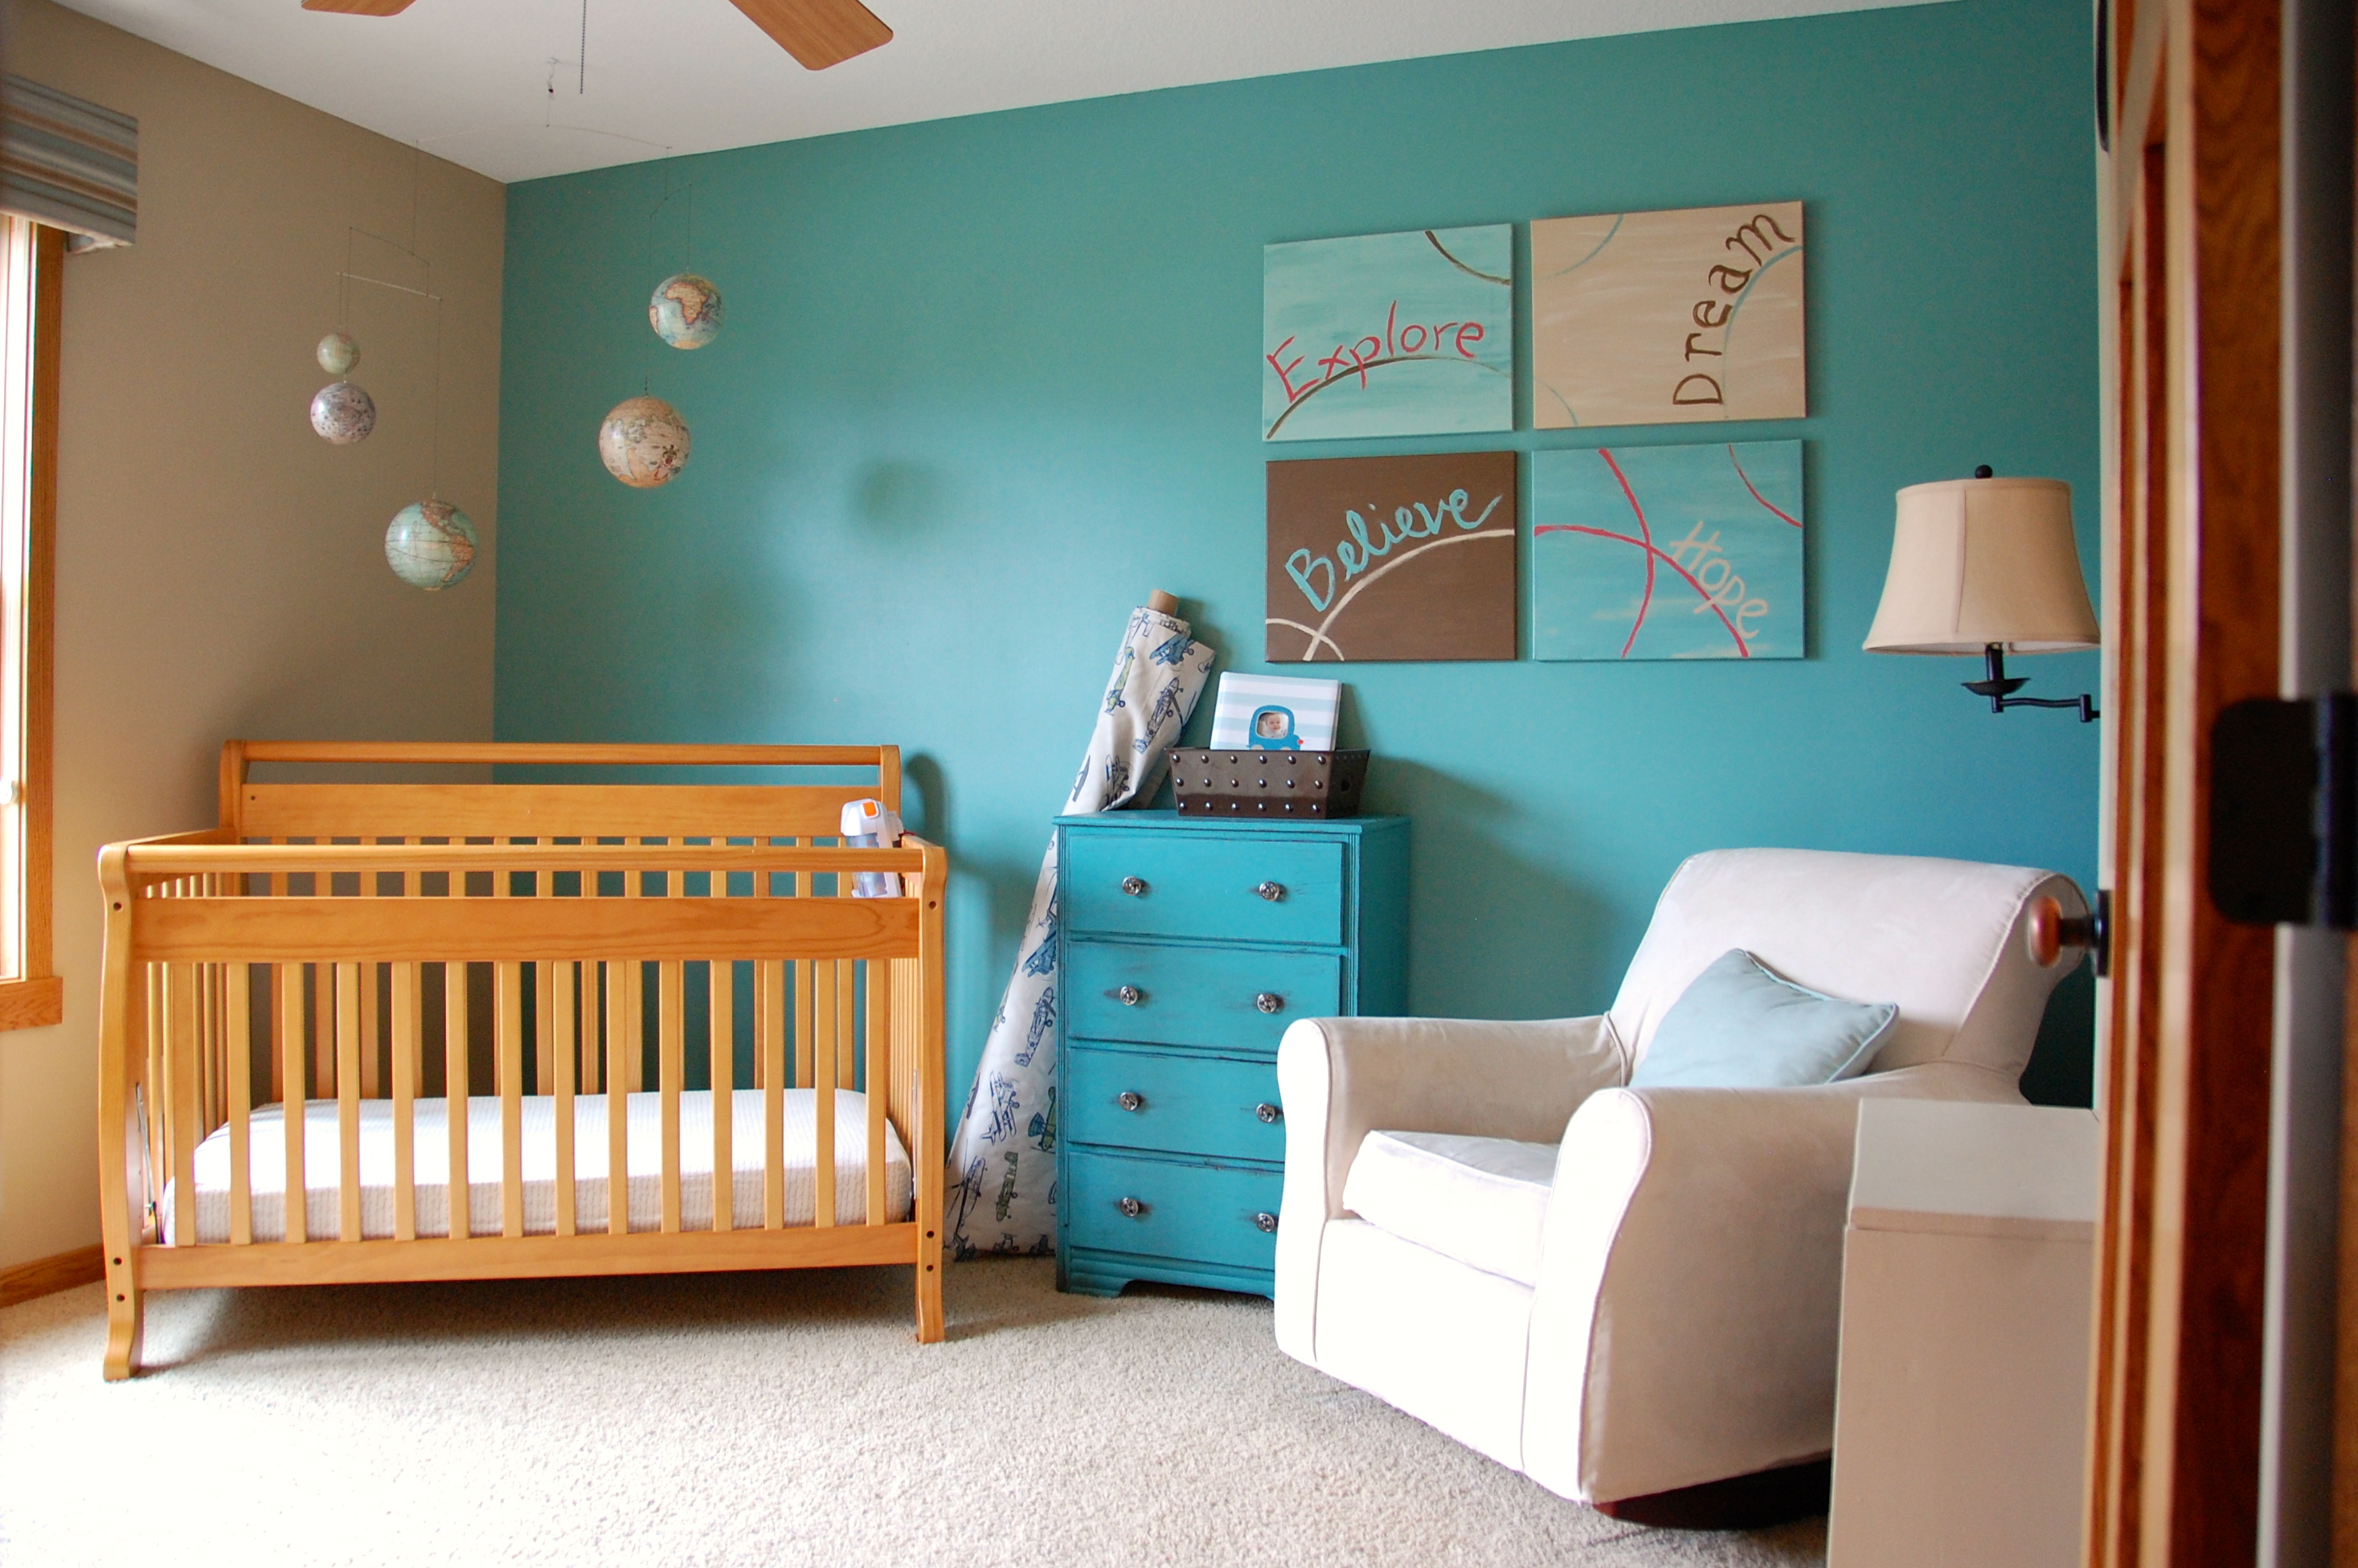
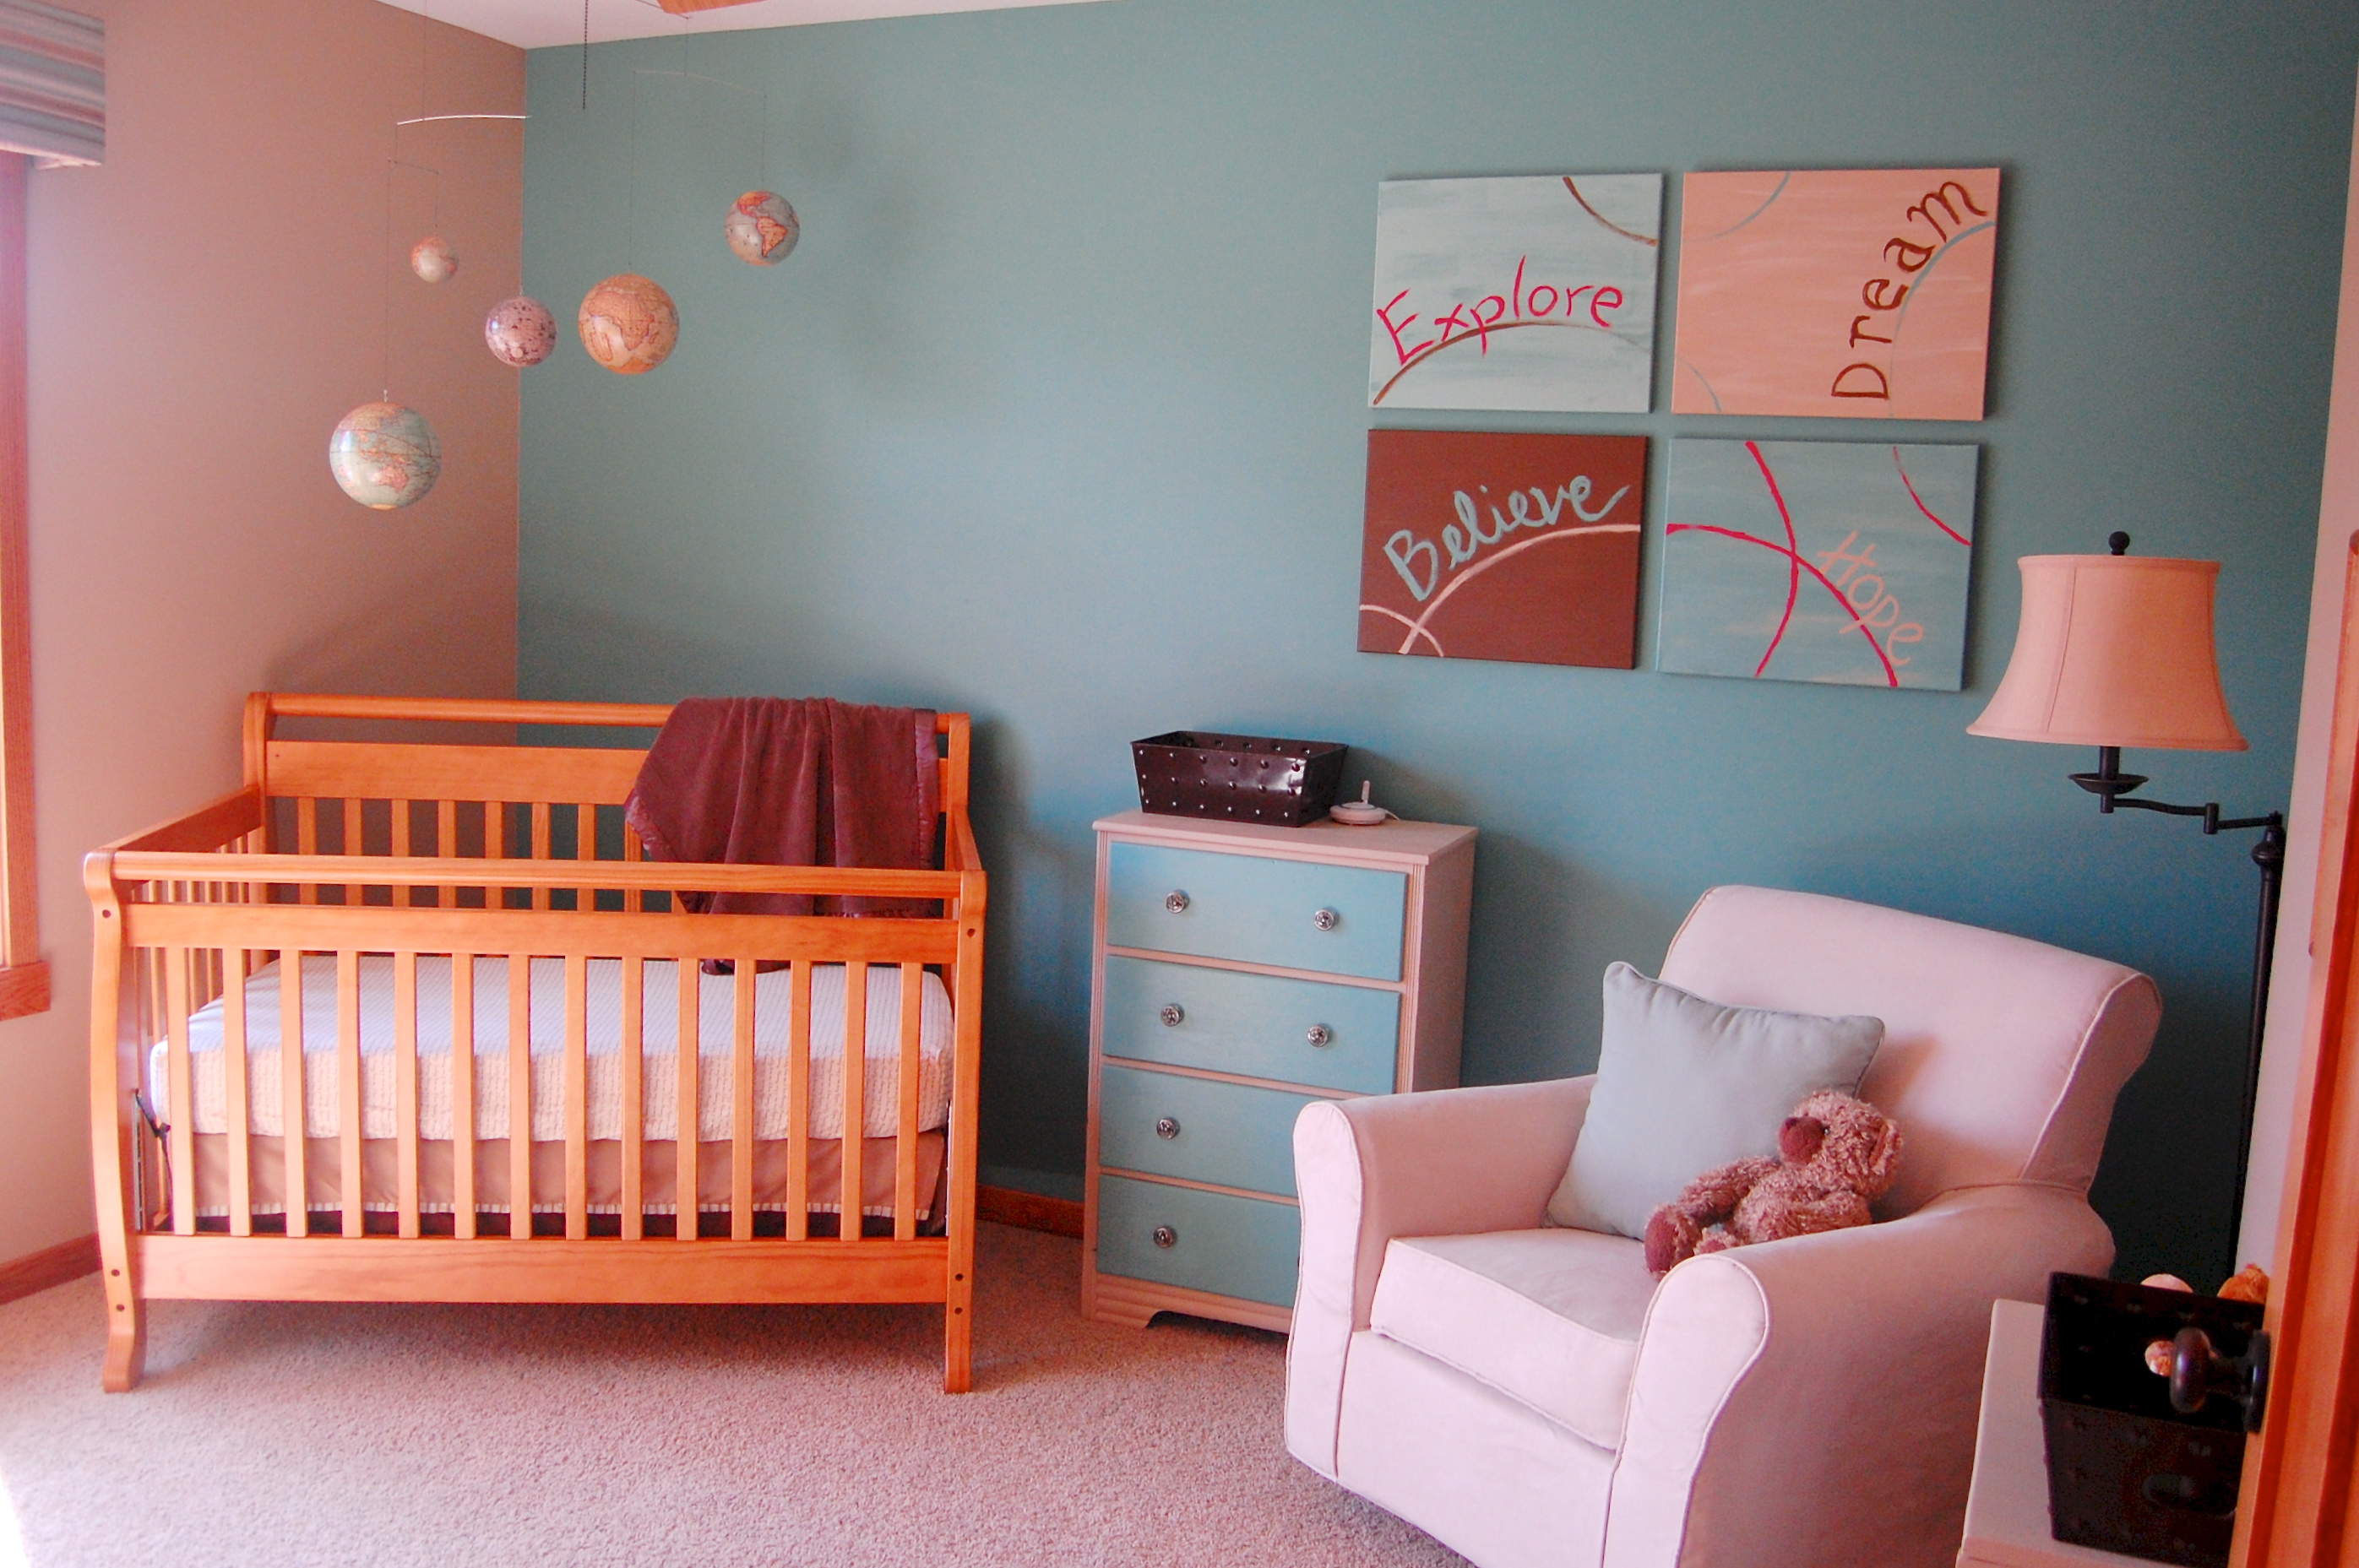
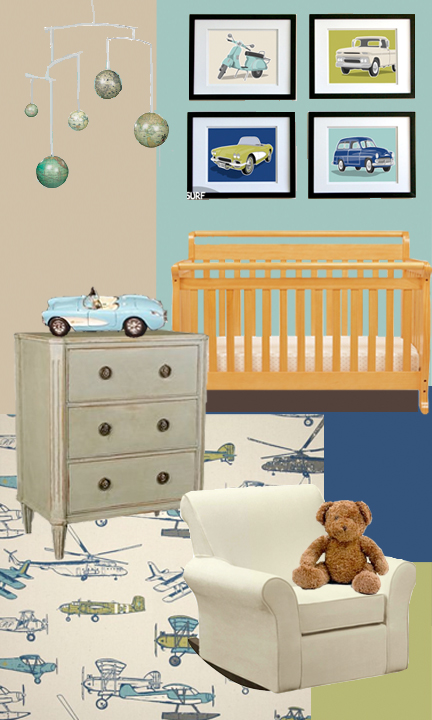
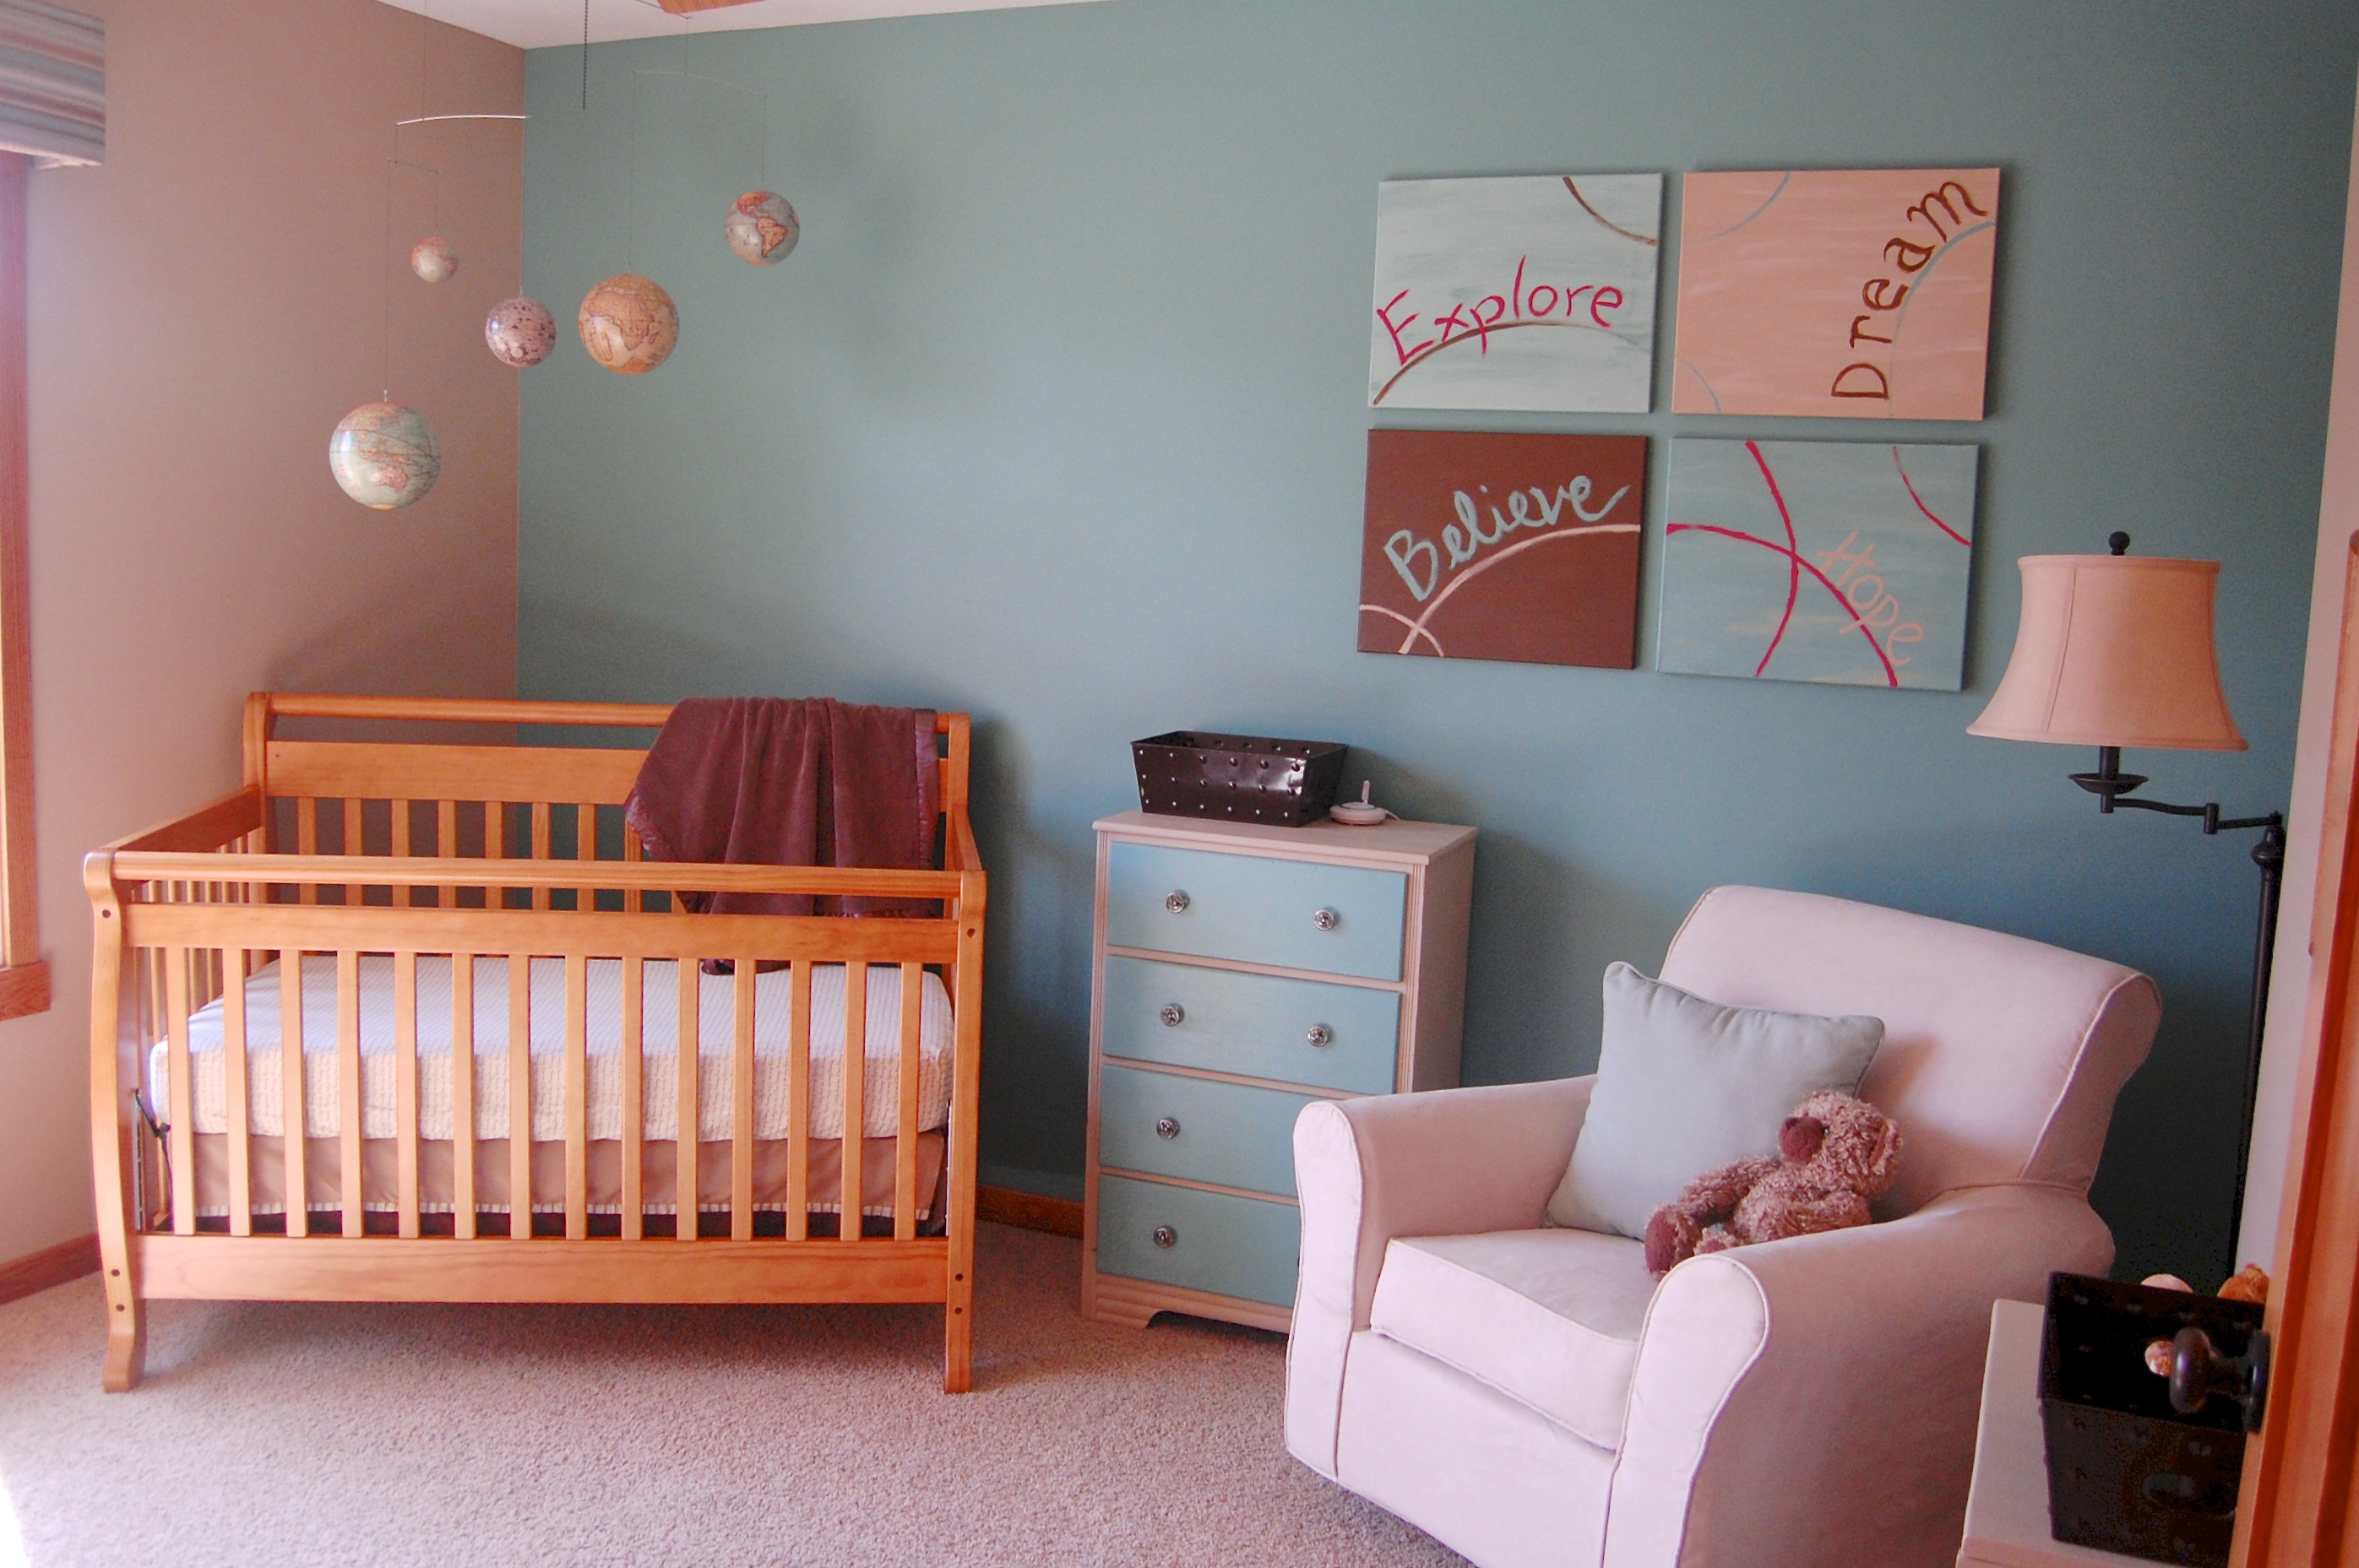
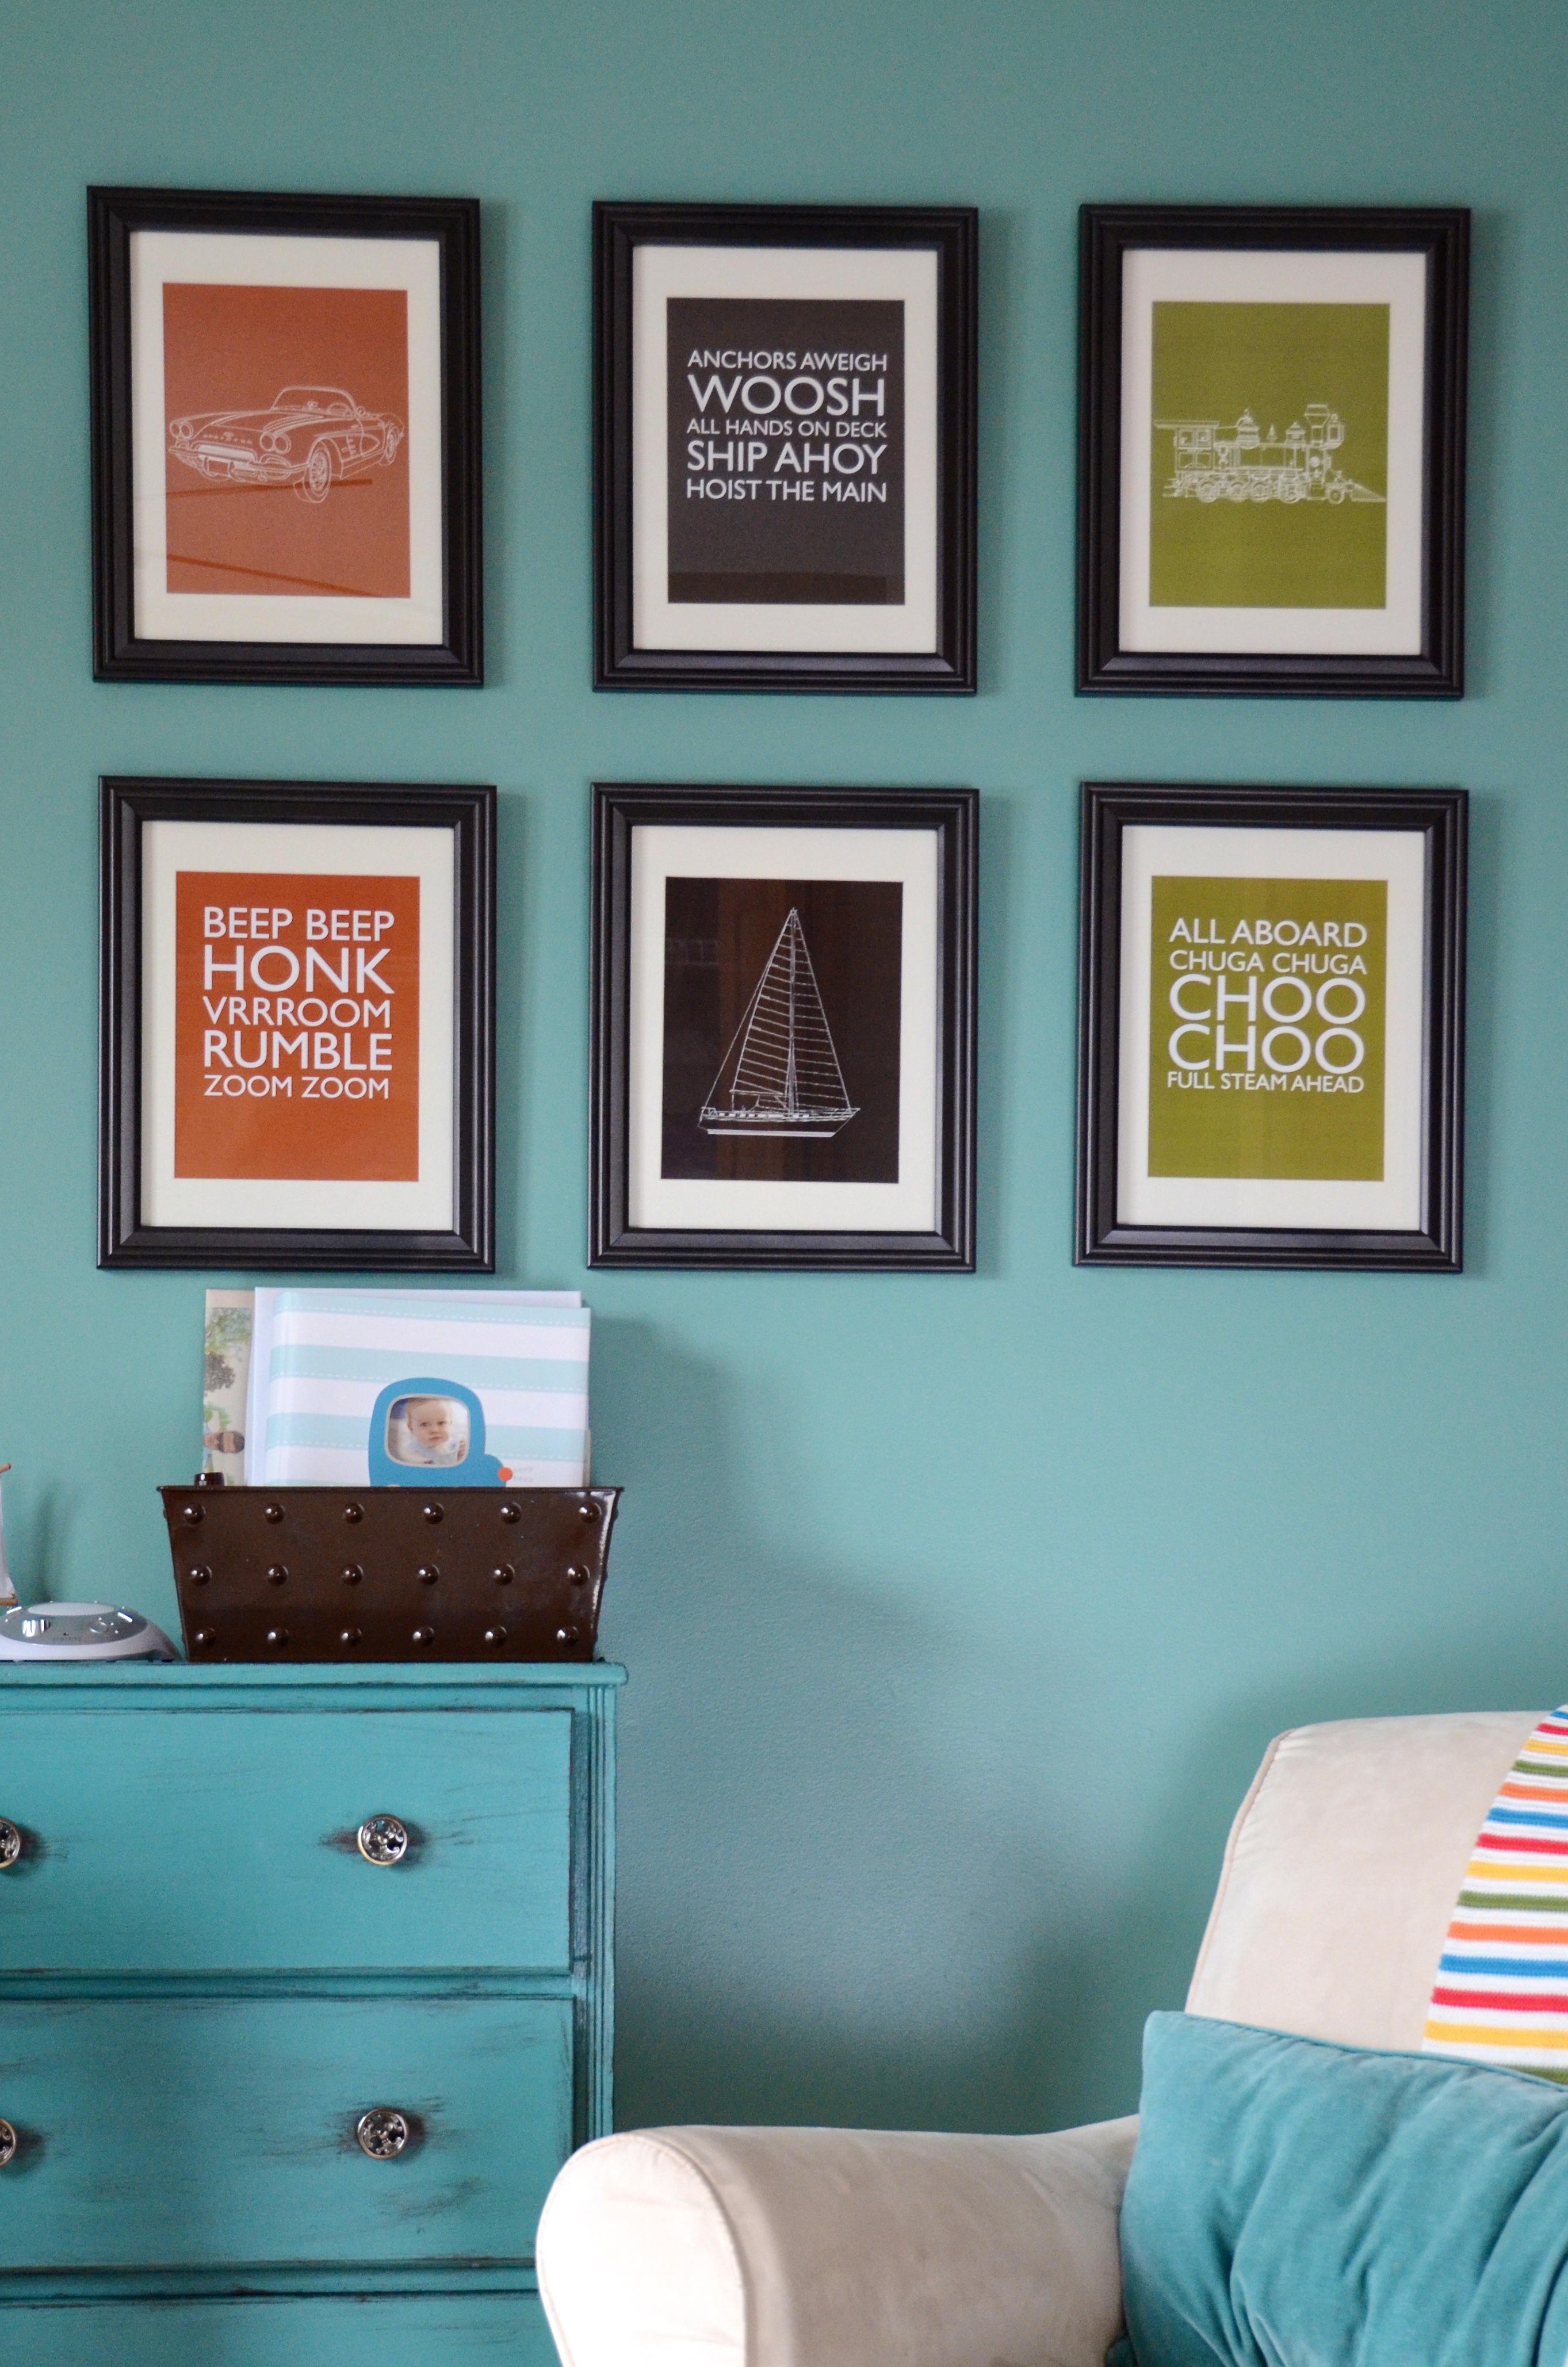
But the good news is, I can cross off “Get Girls’ Room Organized” from my before baby arrives to-do list and move on to “Revamp Nursery Decor”. Goodbye pink… hello planes, trains and other things that go! Should be fun!

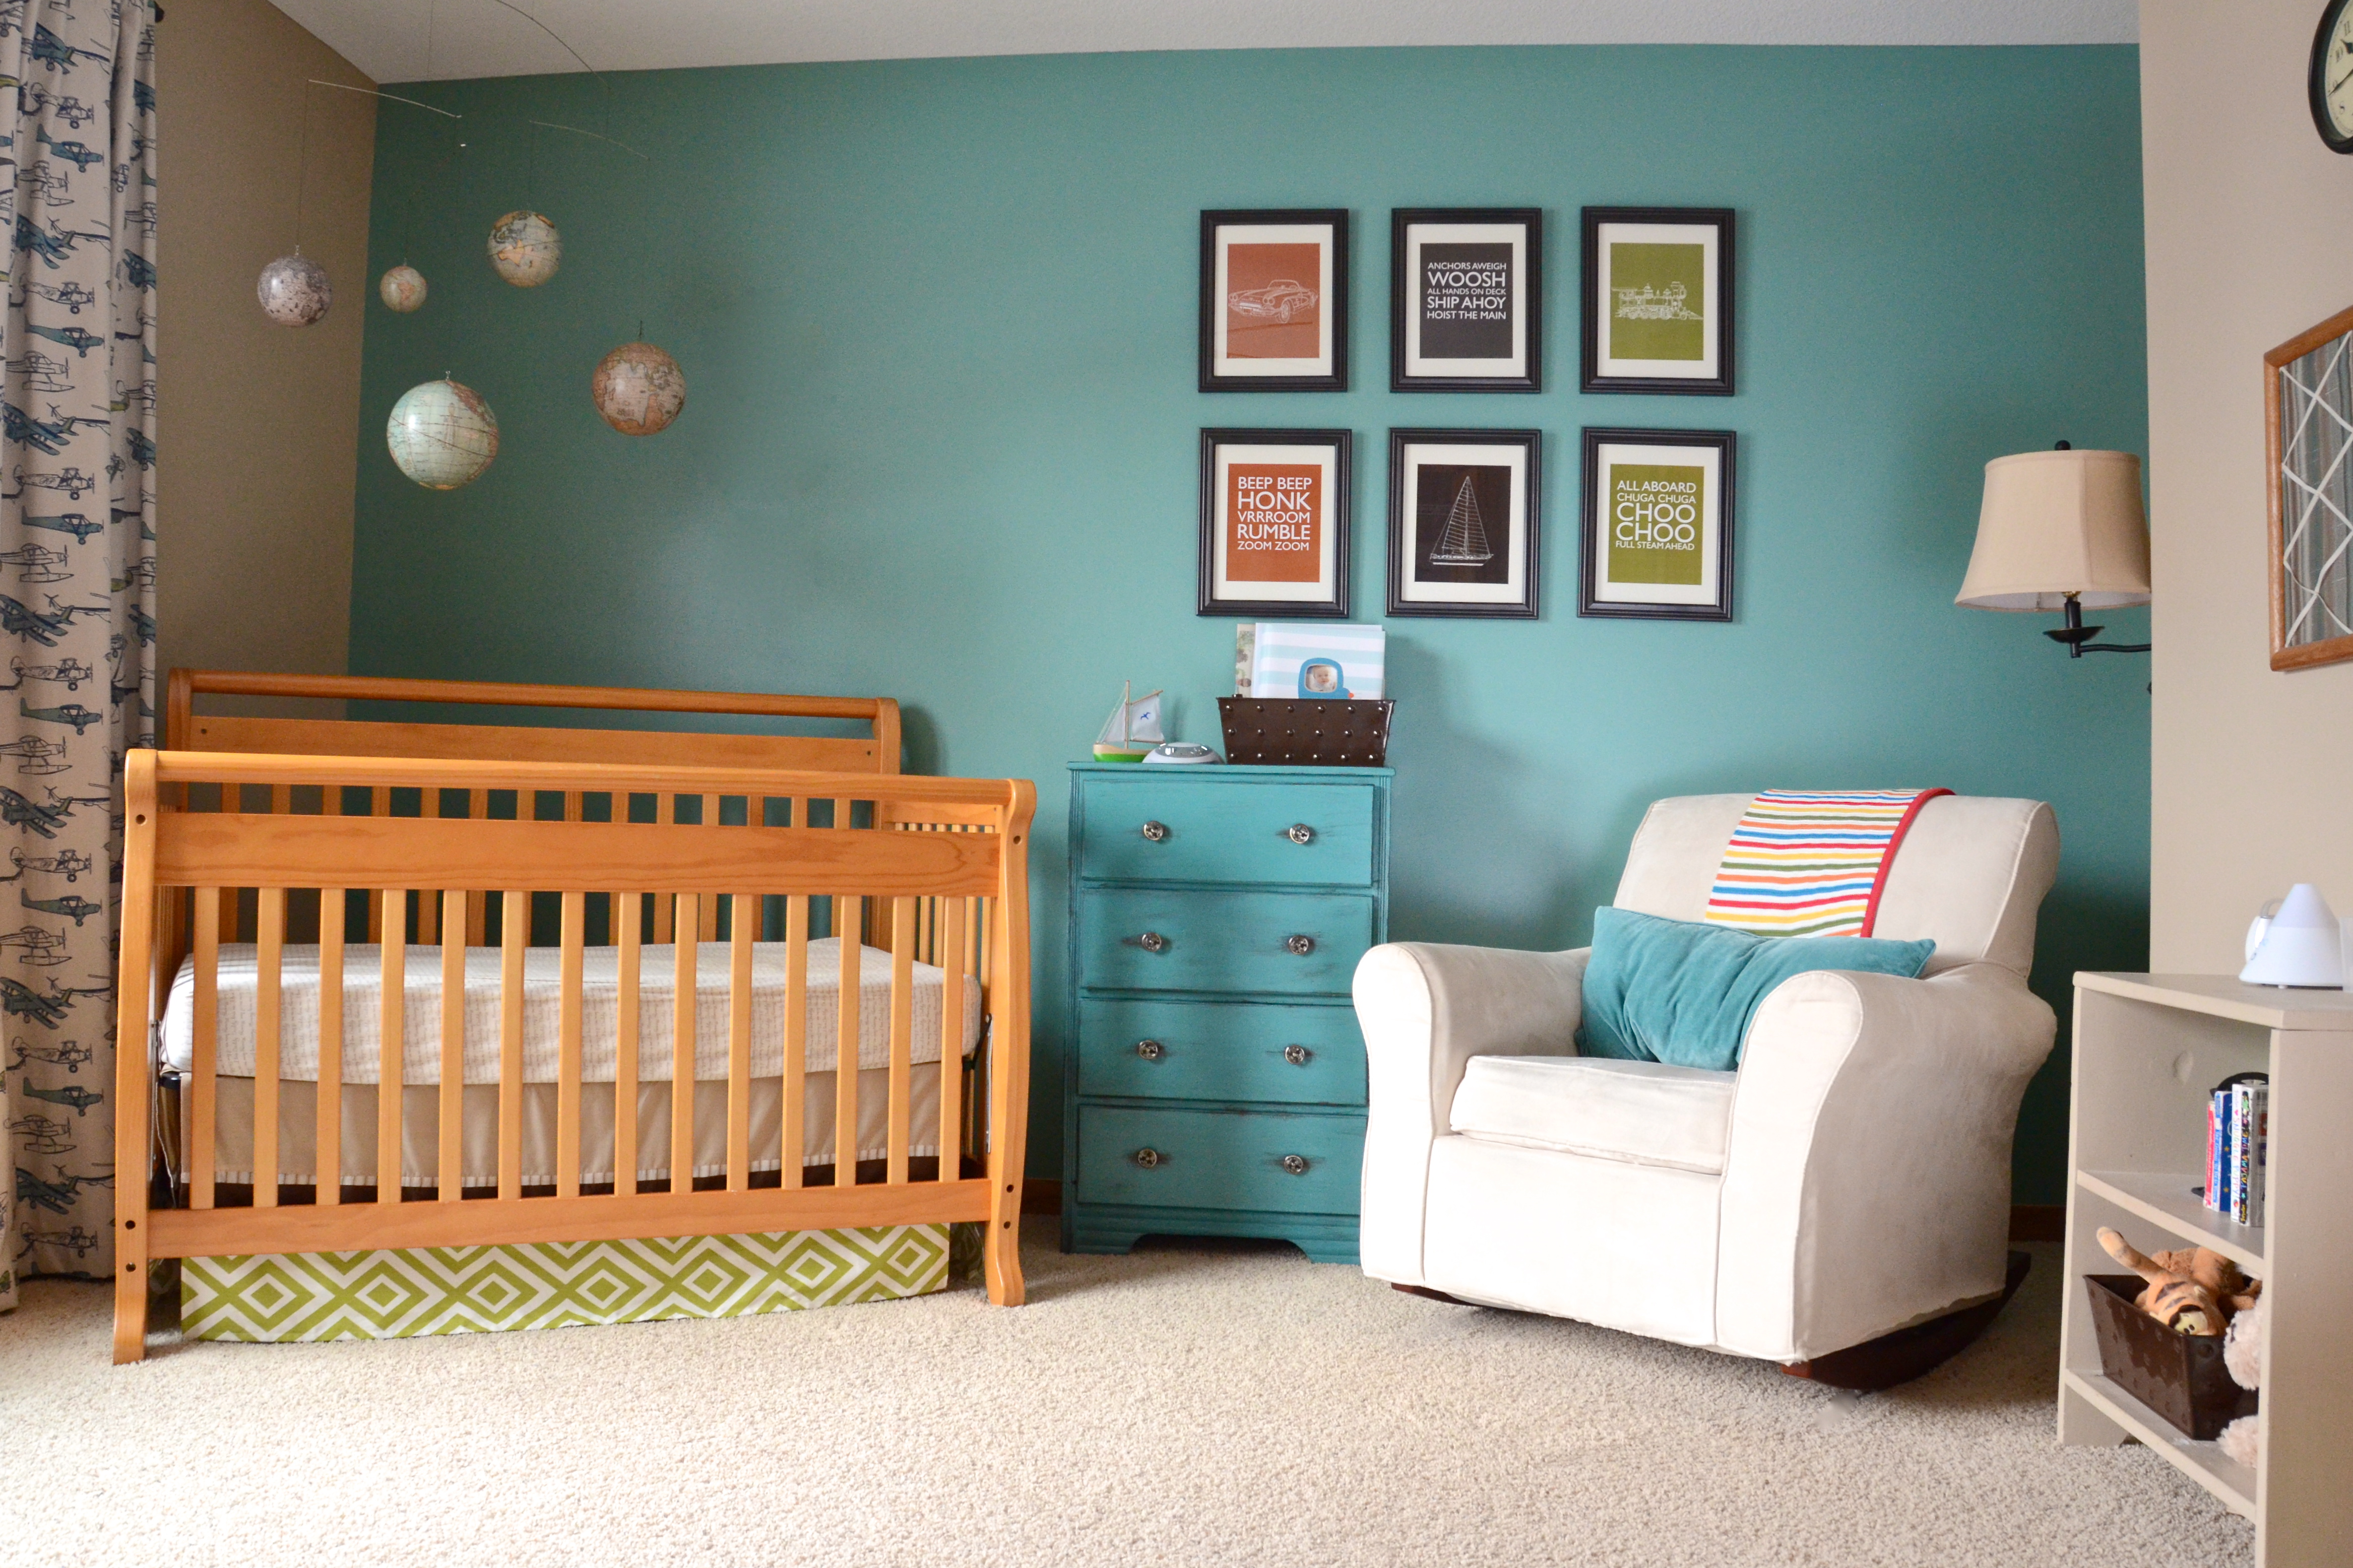
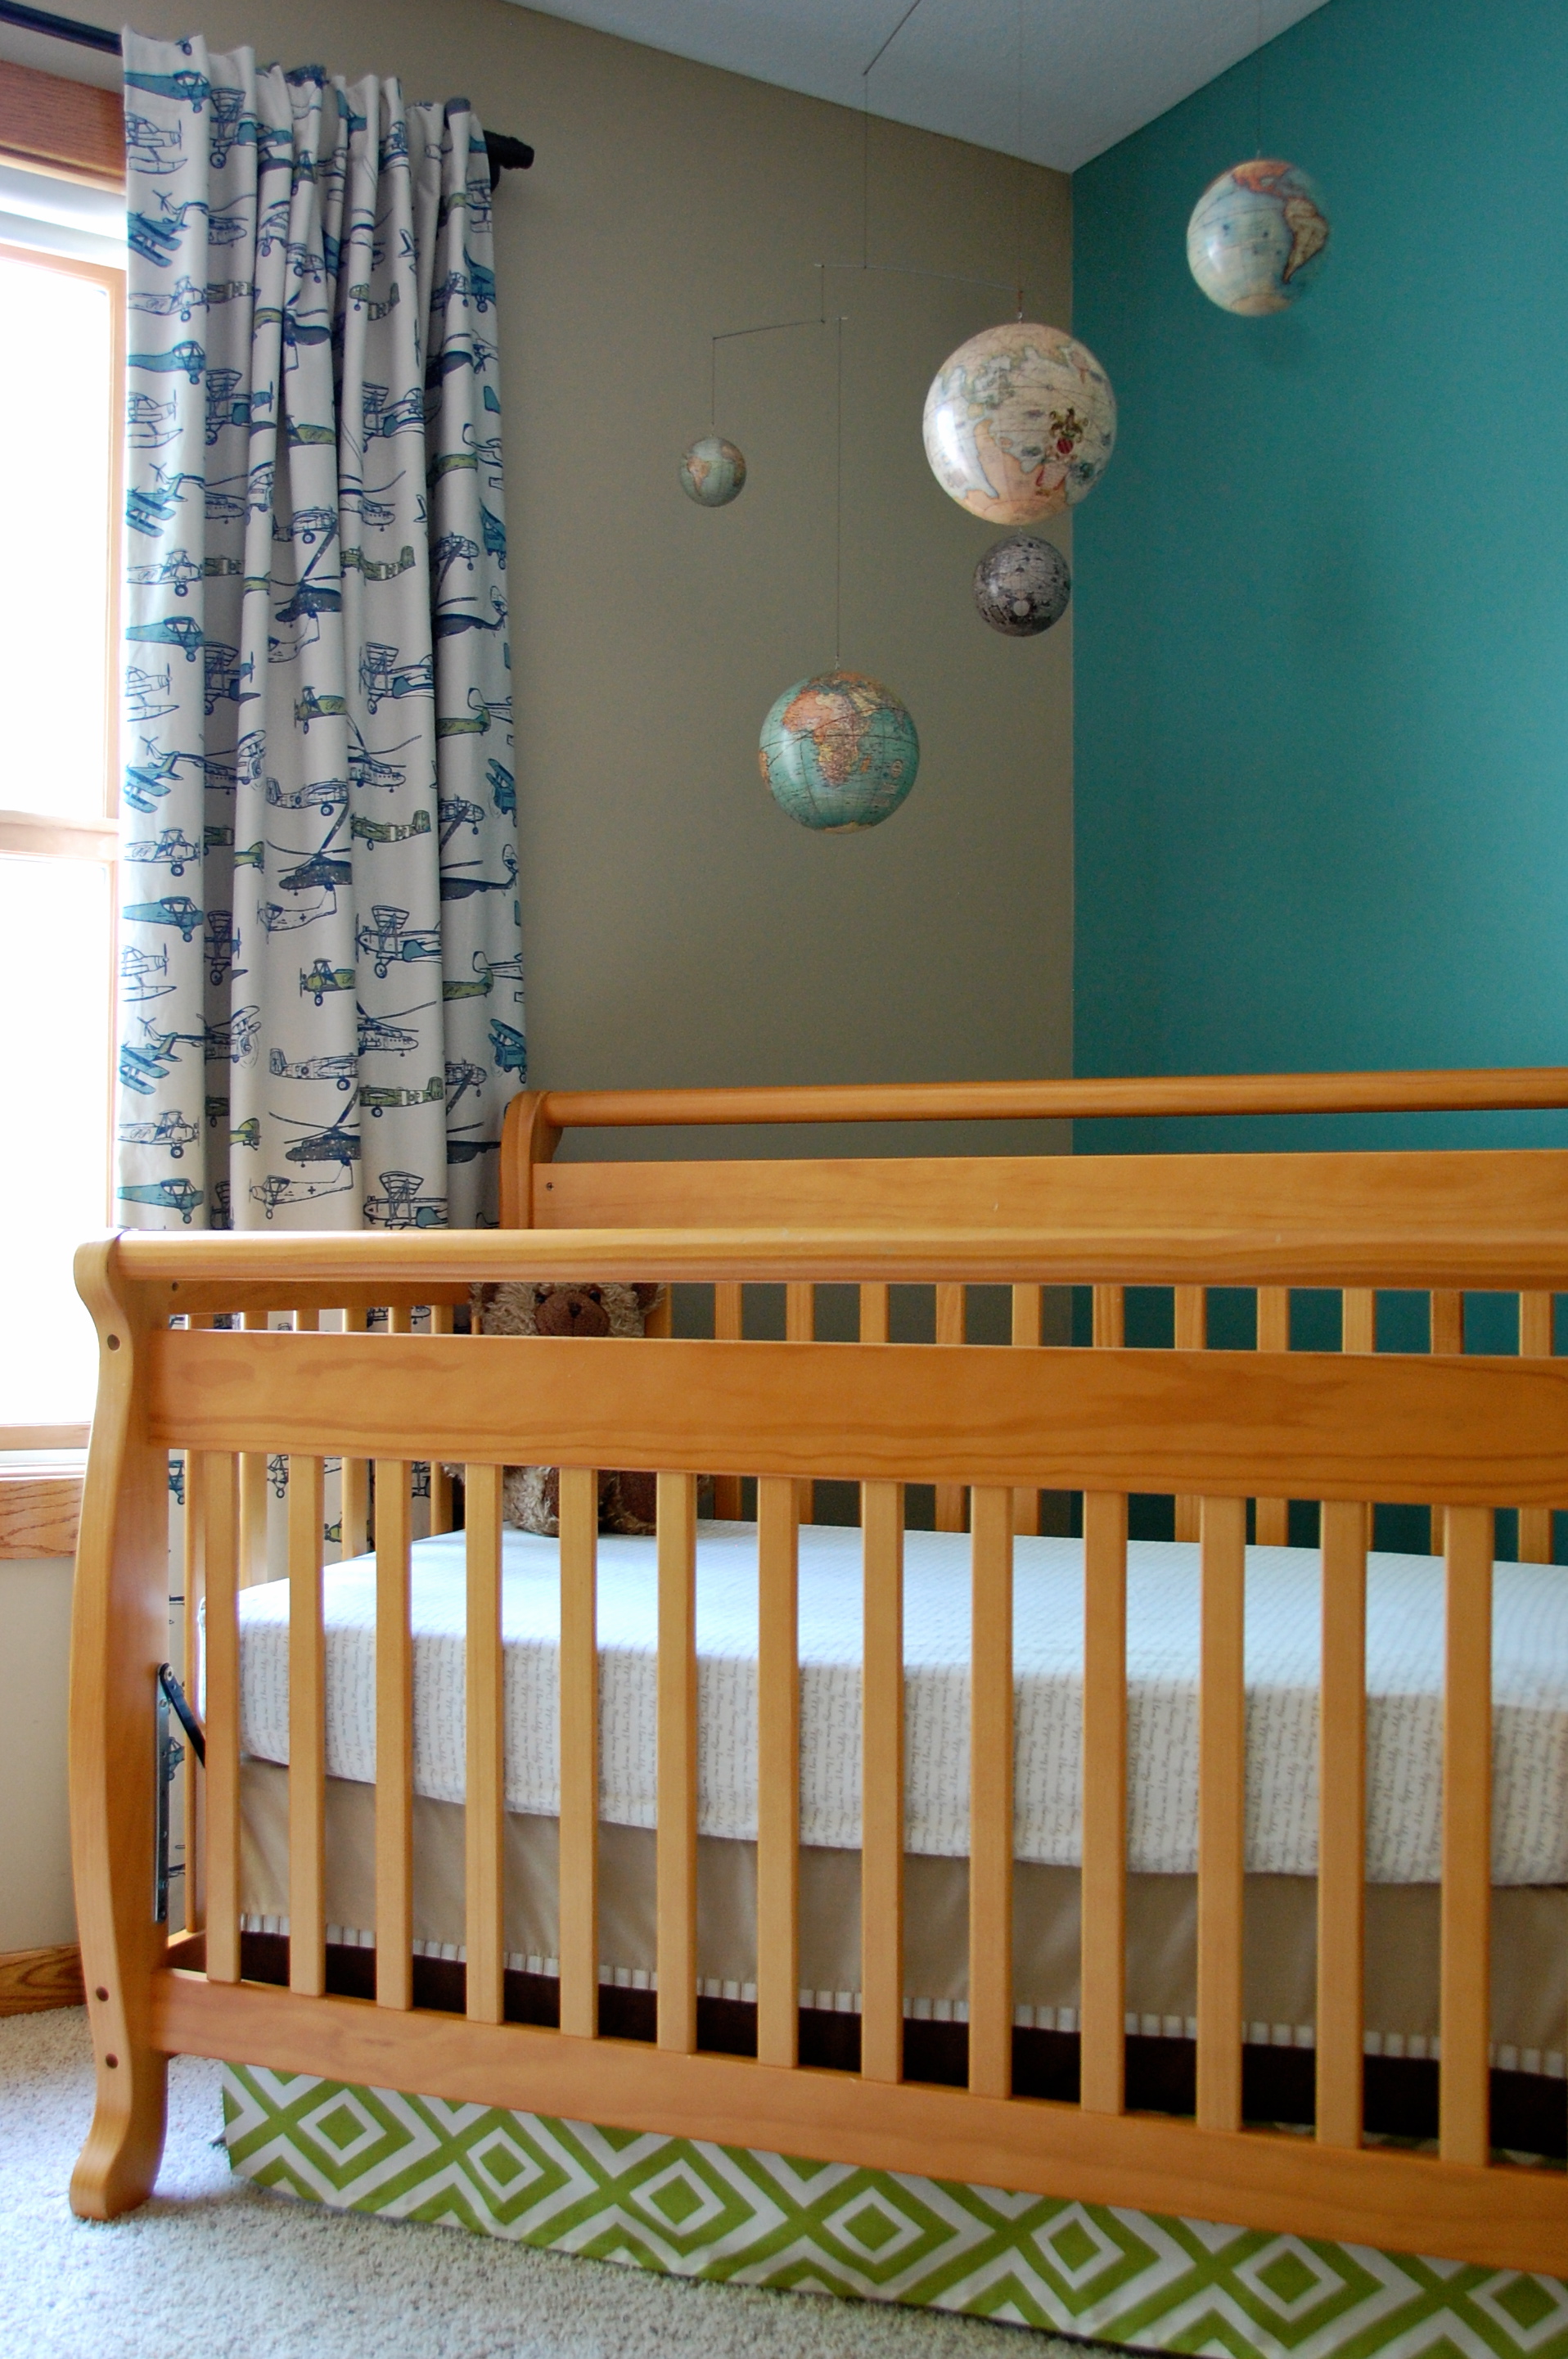
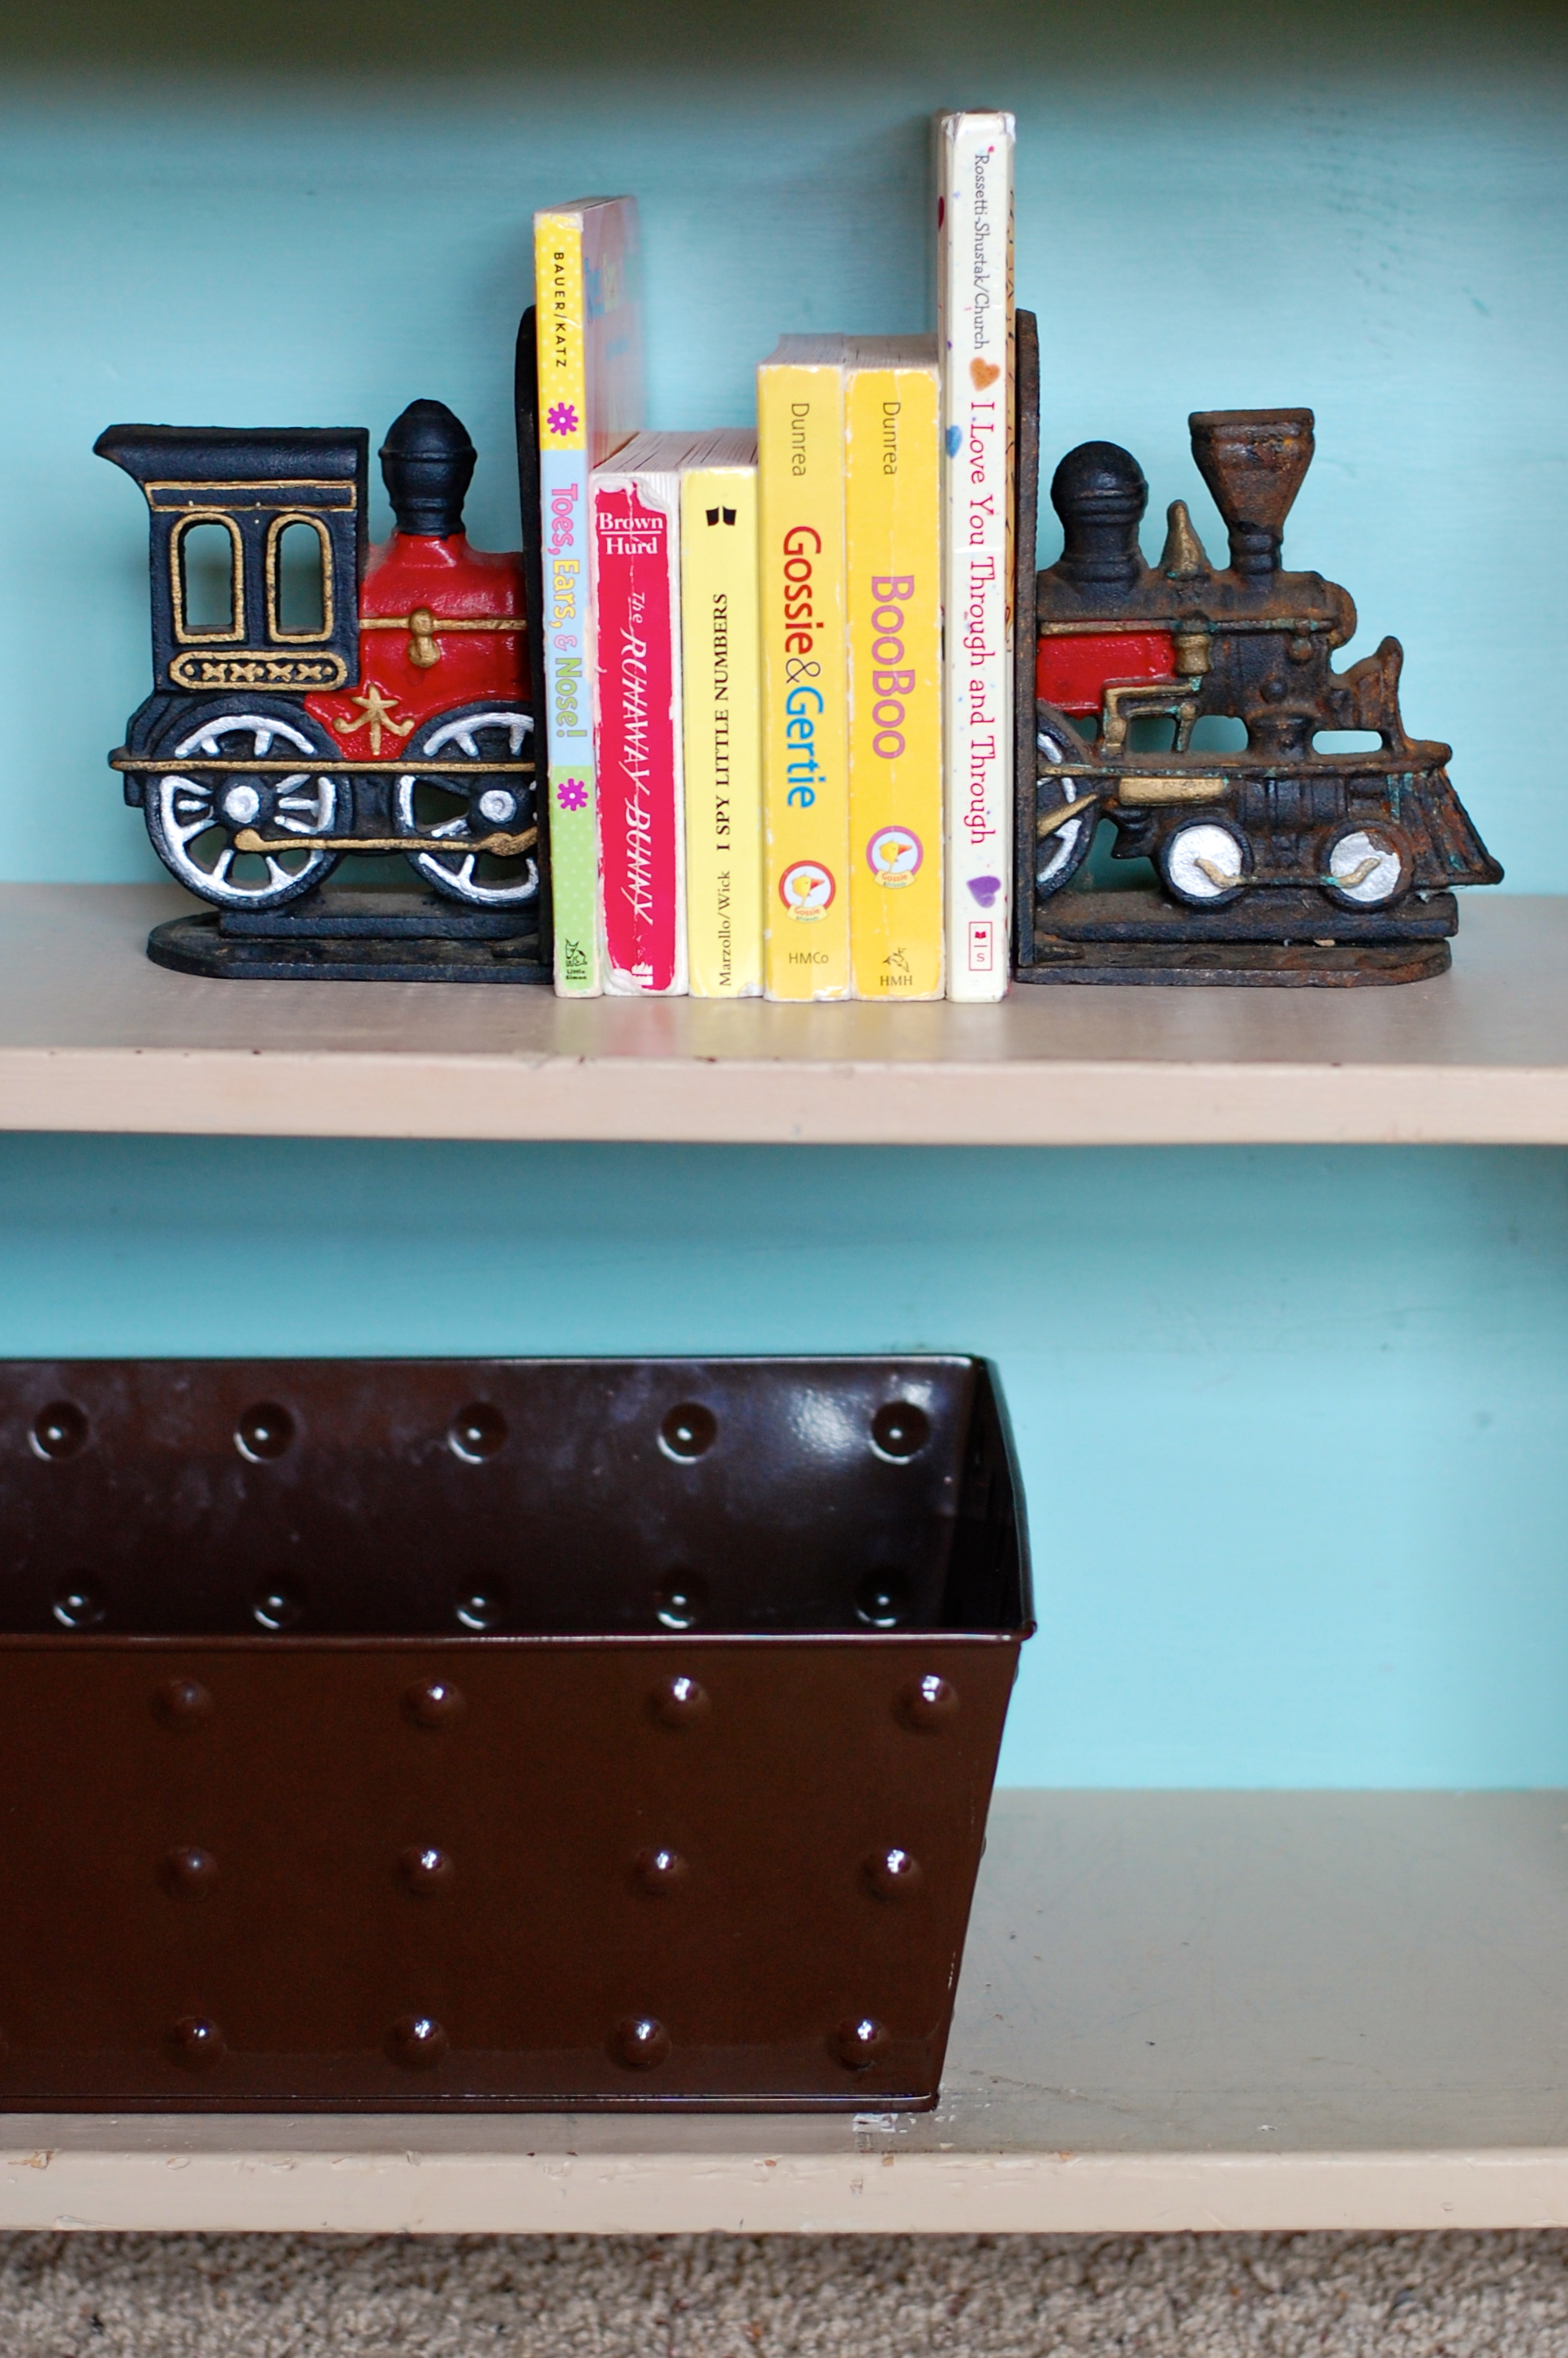
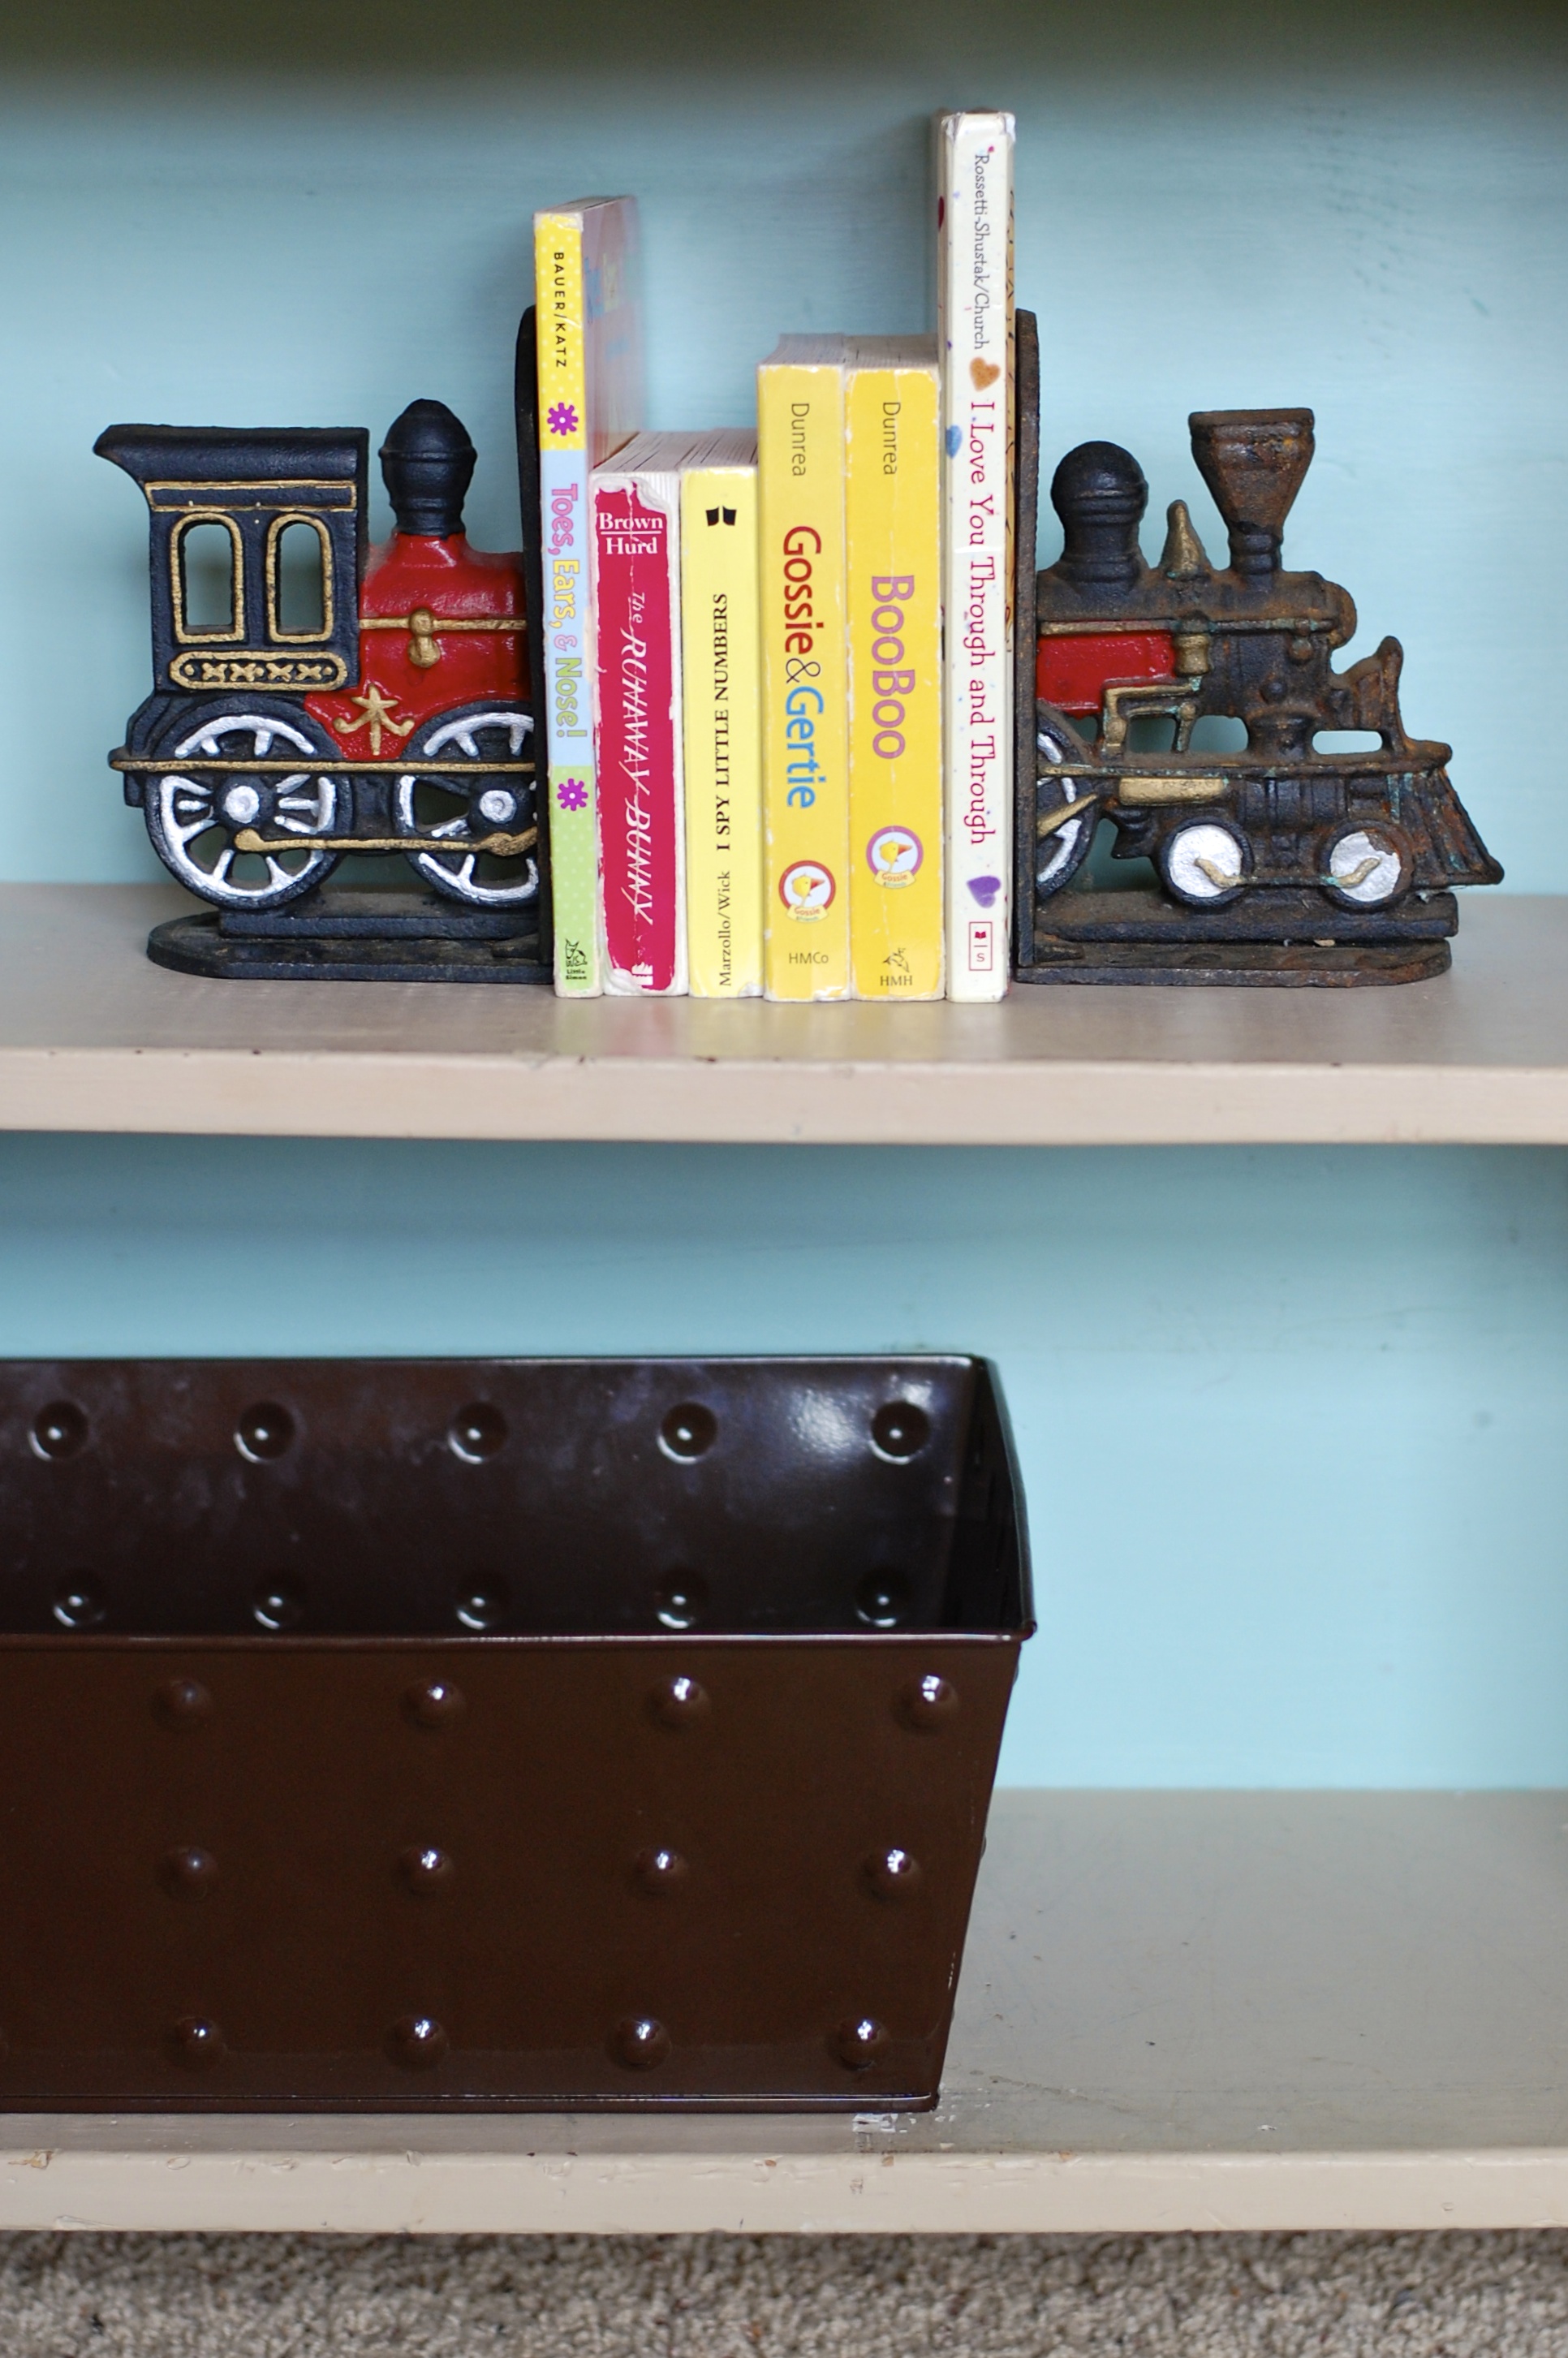
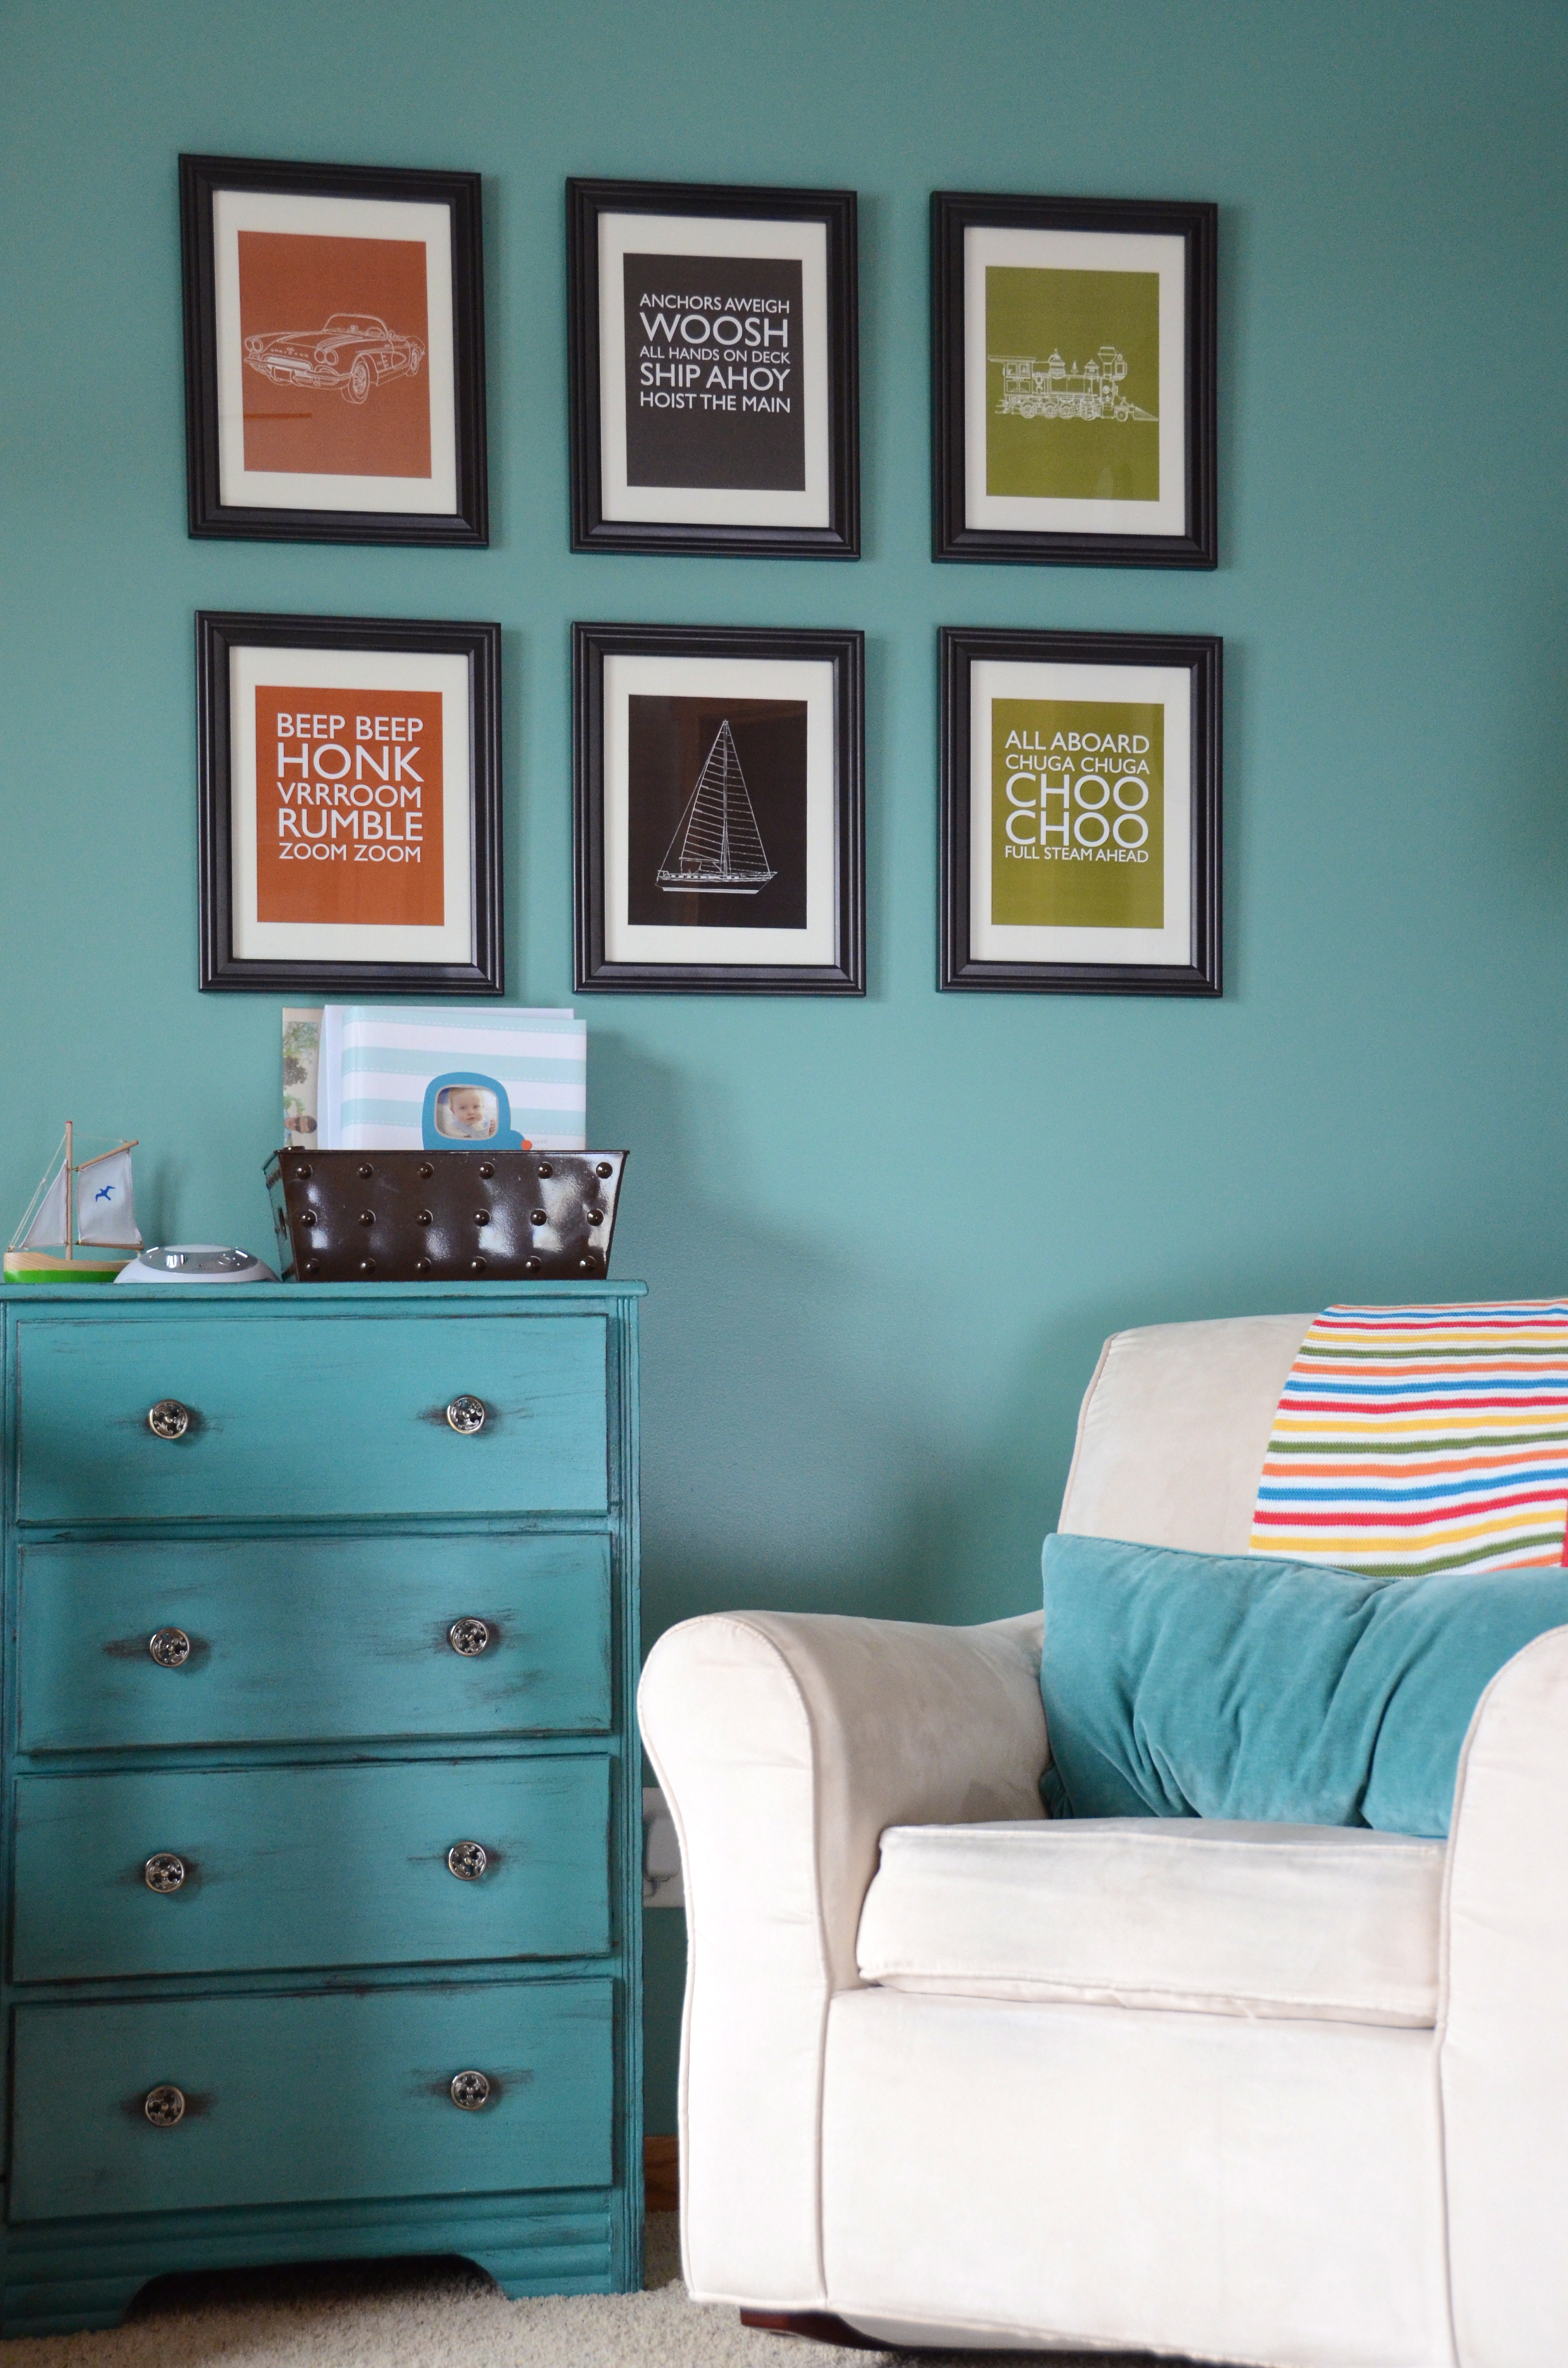 I’m also proud to say that with the exception of the train bookends that I got on eBay and a pillow from HomeGoods, everything that I did this time around was handmade. My mom helped me sew the curtains and the extension on the crib skirt. I made the curtain rod from galvanized pipe and fittings from the Home Depot.
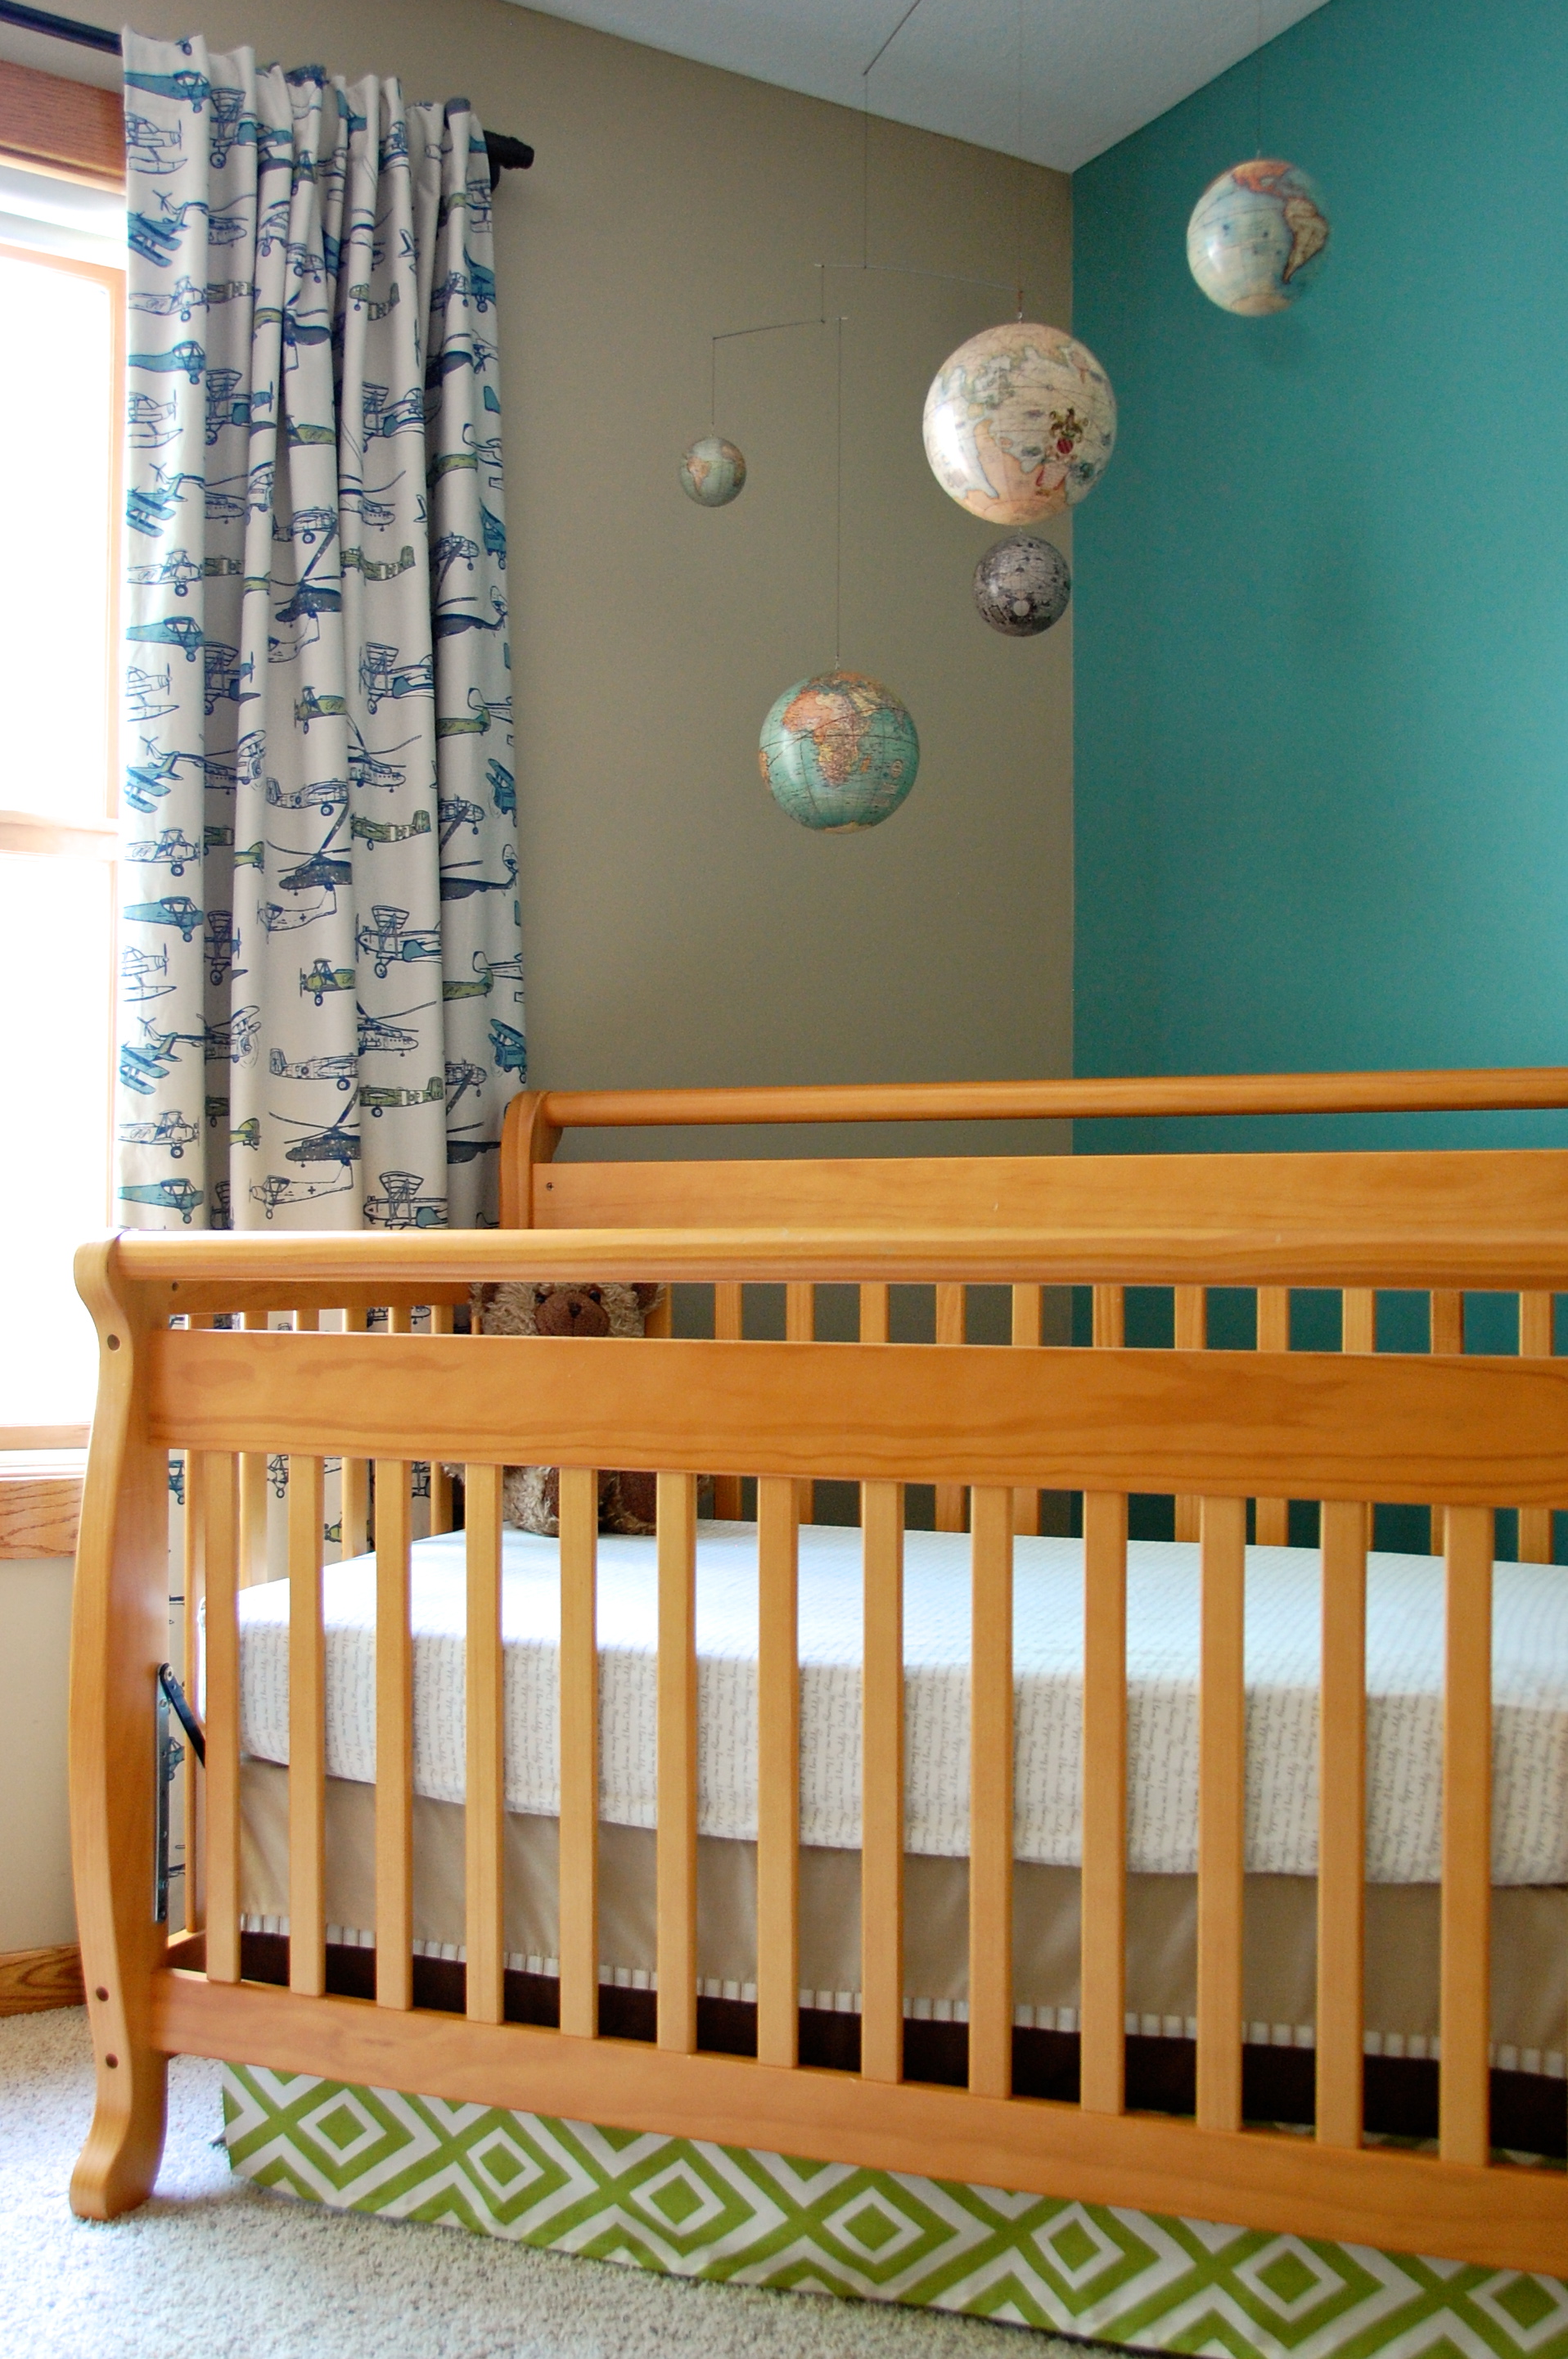

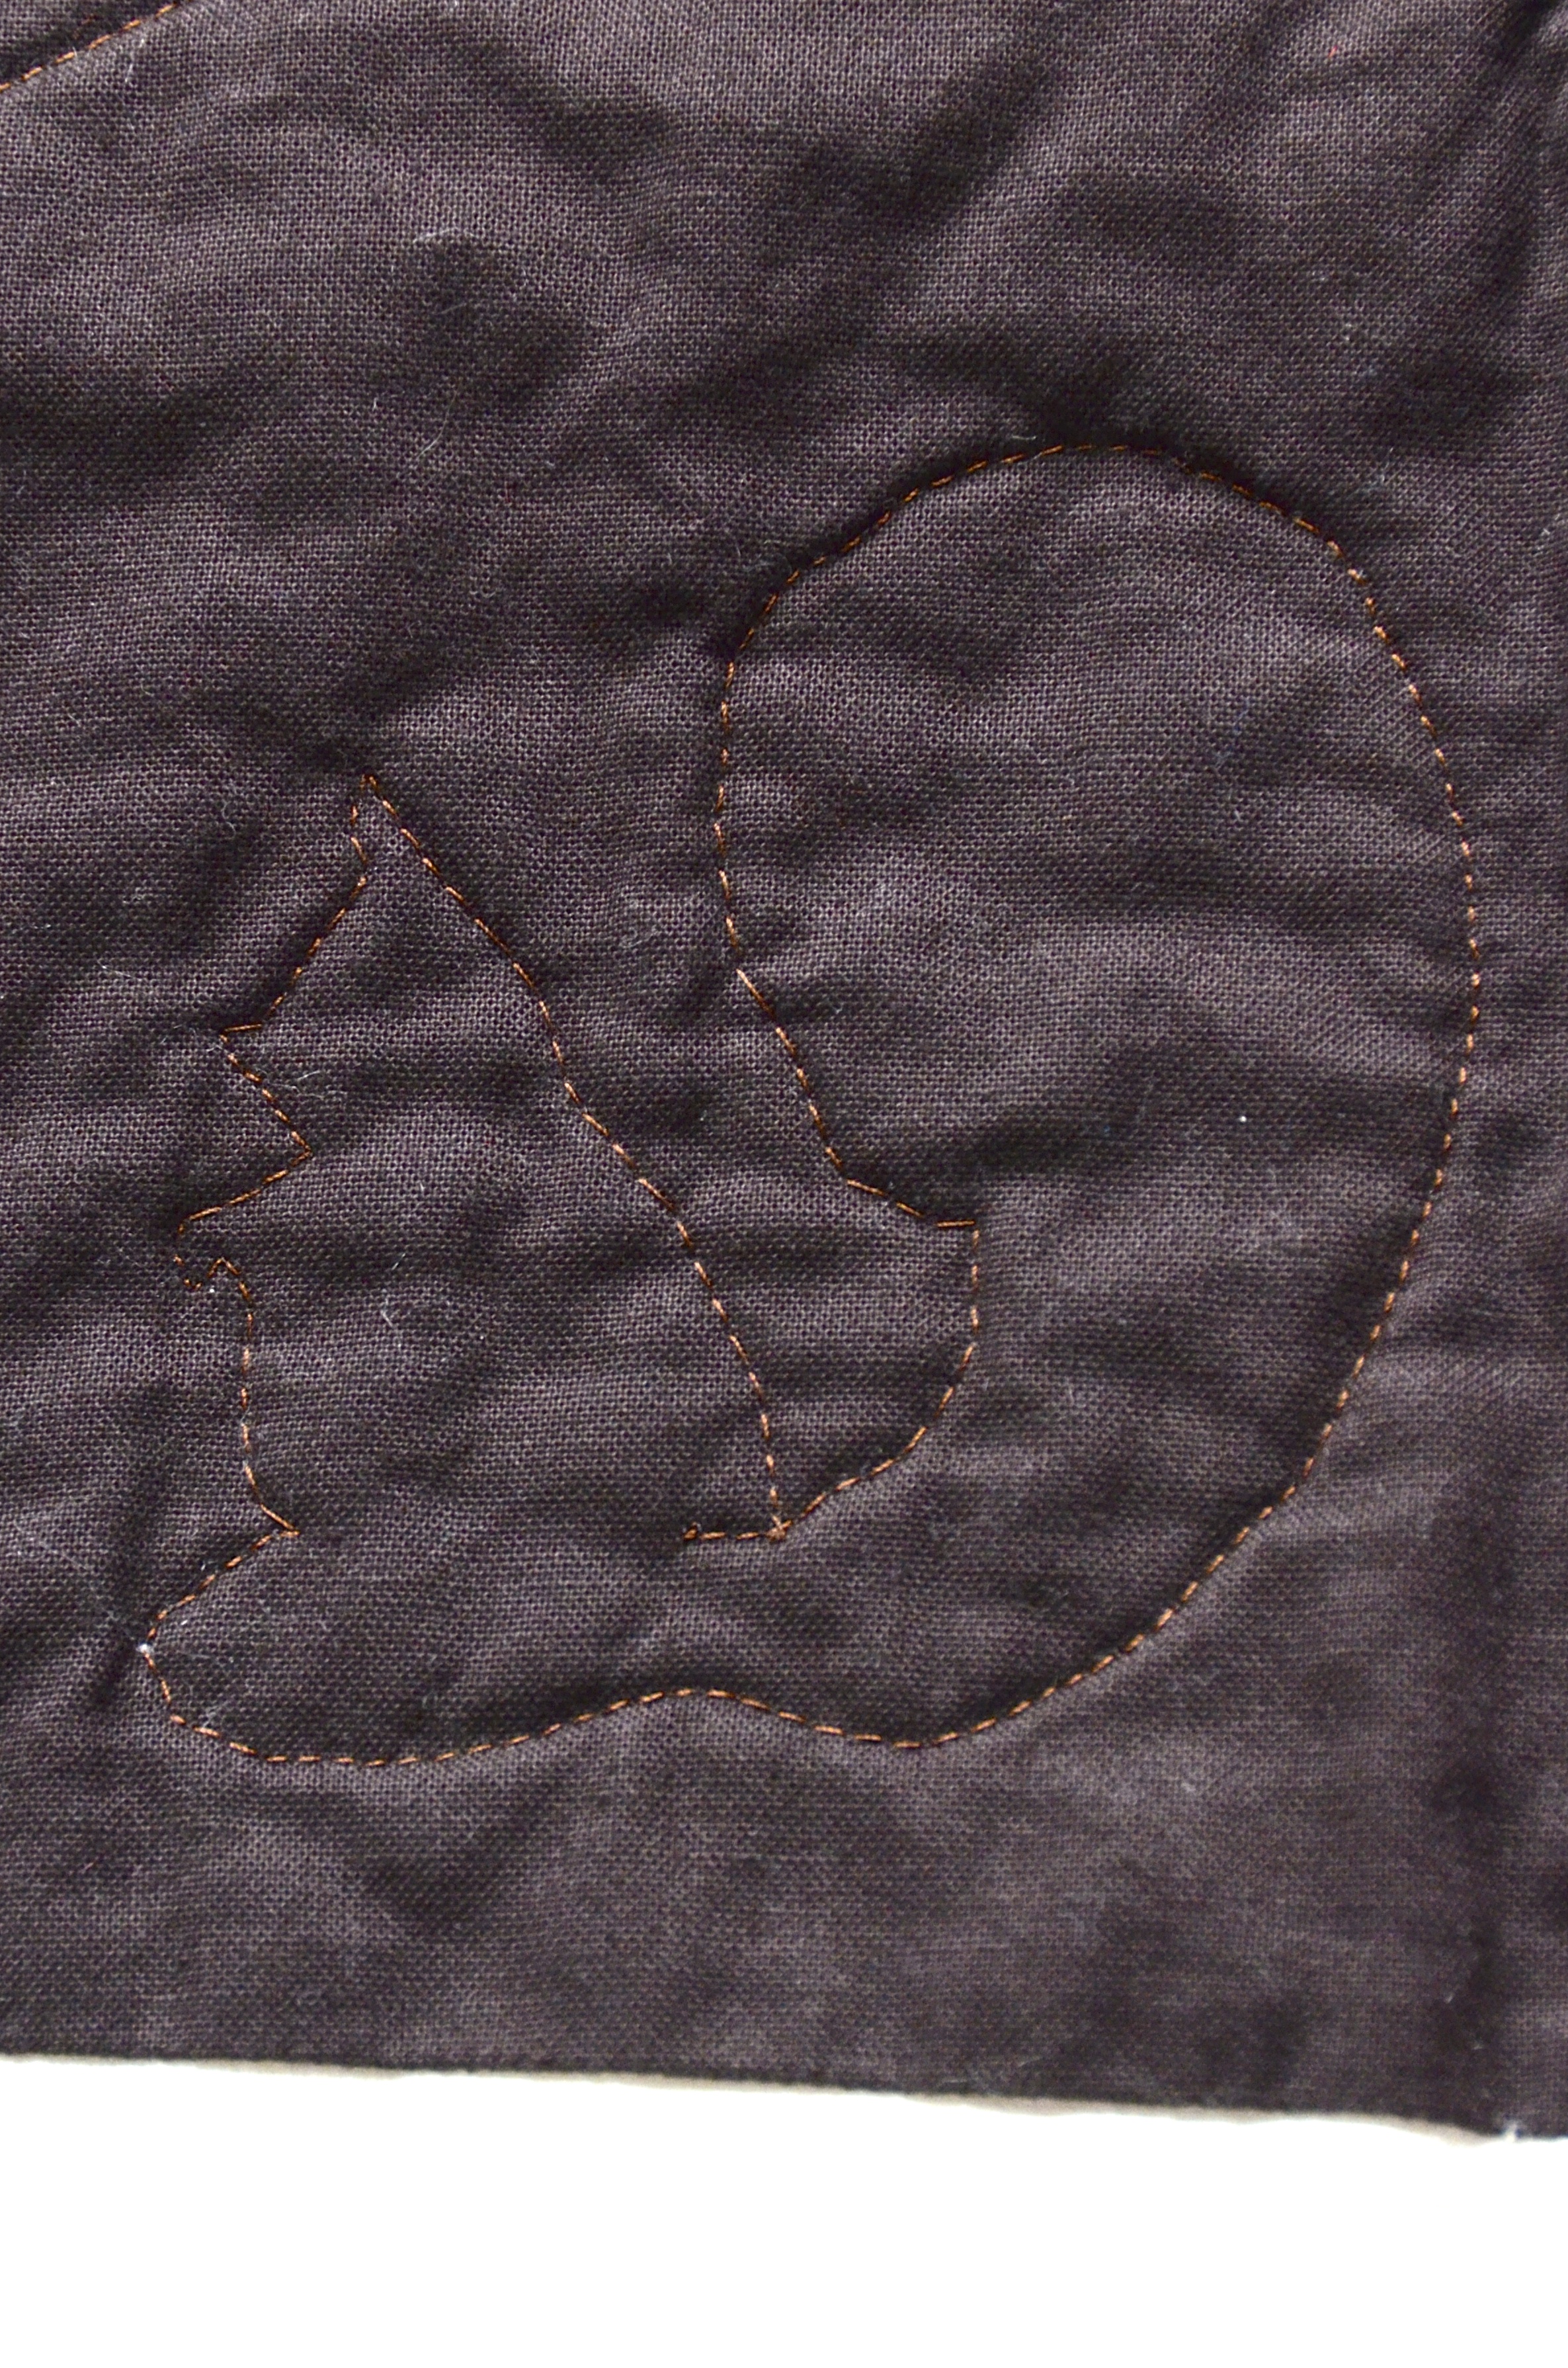
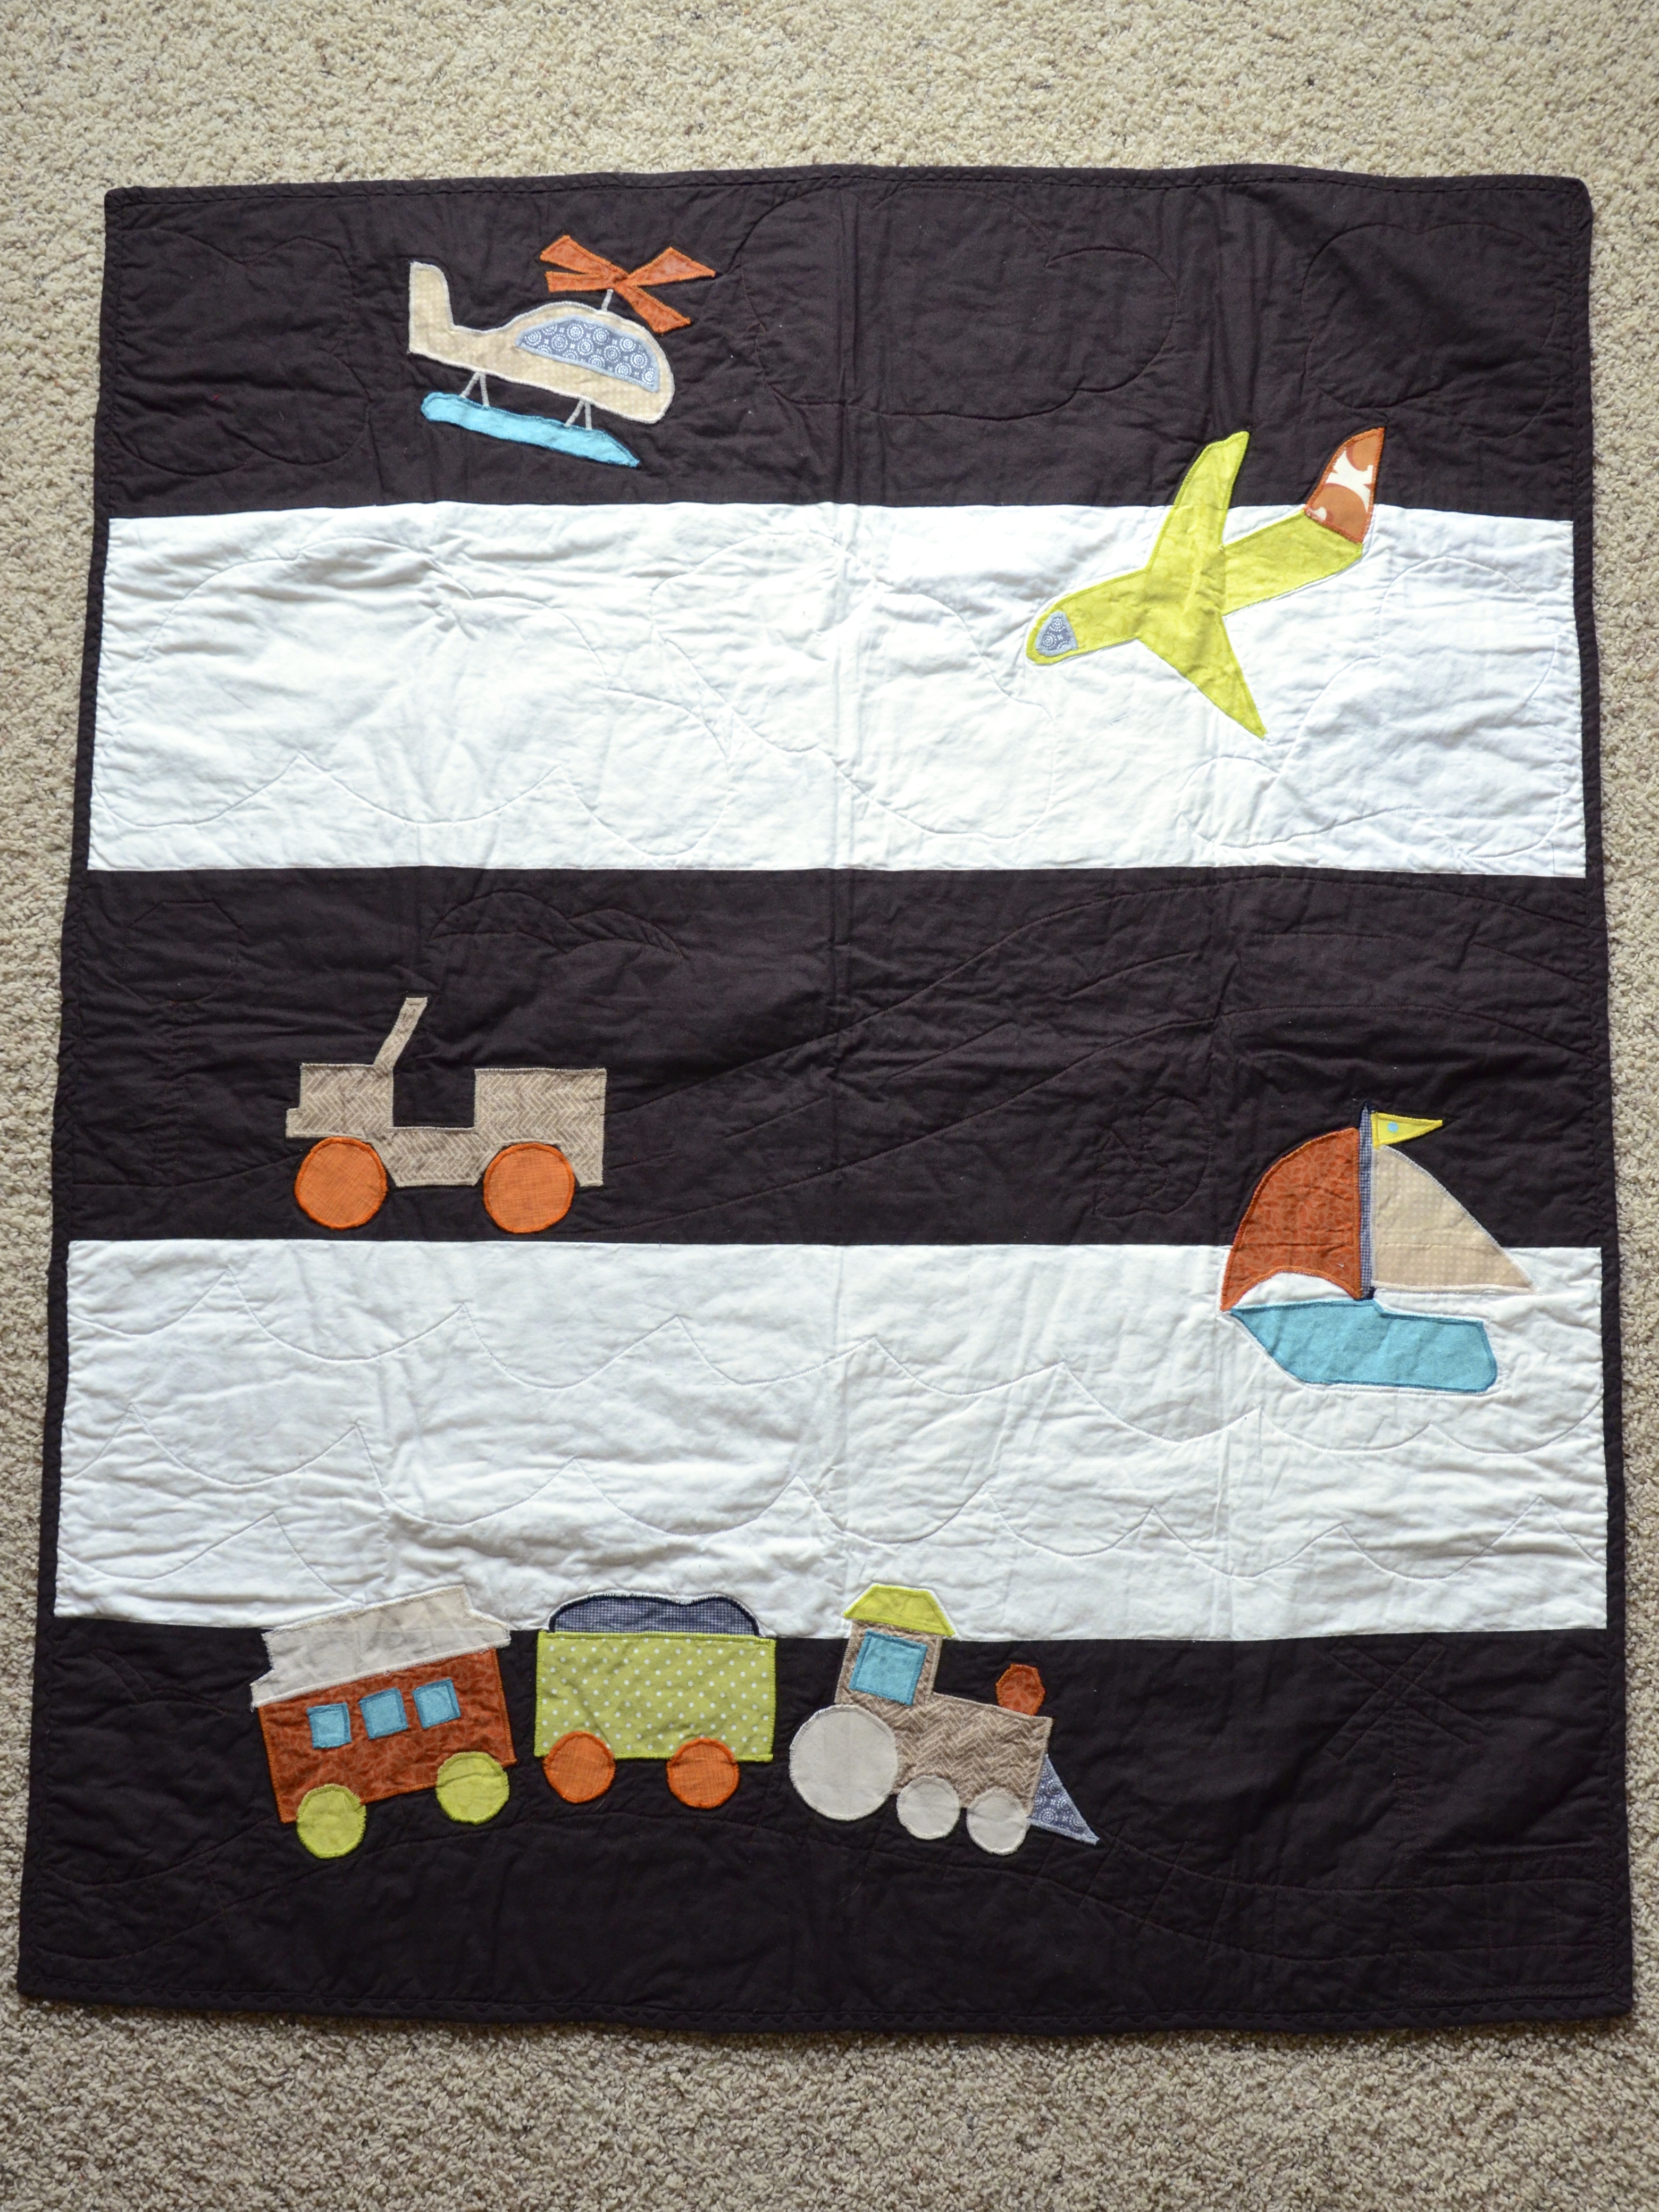 My favorite part about it is that if you look closely, there are details quilted in the background, like clouds, waves, railroad tracks, traffic signs, and even an adorable squirrel!