Hey, everybody. I’m finally doing it. I’m finally posting the long promised photos of our living room mantel makeover! I know you’ve all been sitting on pins and needles (either that or you’ve totally forgotten that I ever mentioned it in the first place), but the wait is over at last.
Well, almost over, because first I need to remind you of what the room used to look like. Here is the picture from the last time I posted about it, which was November of 2012:
 And here’s what the living room looks like now:
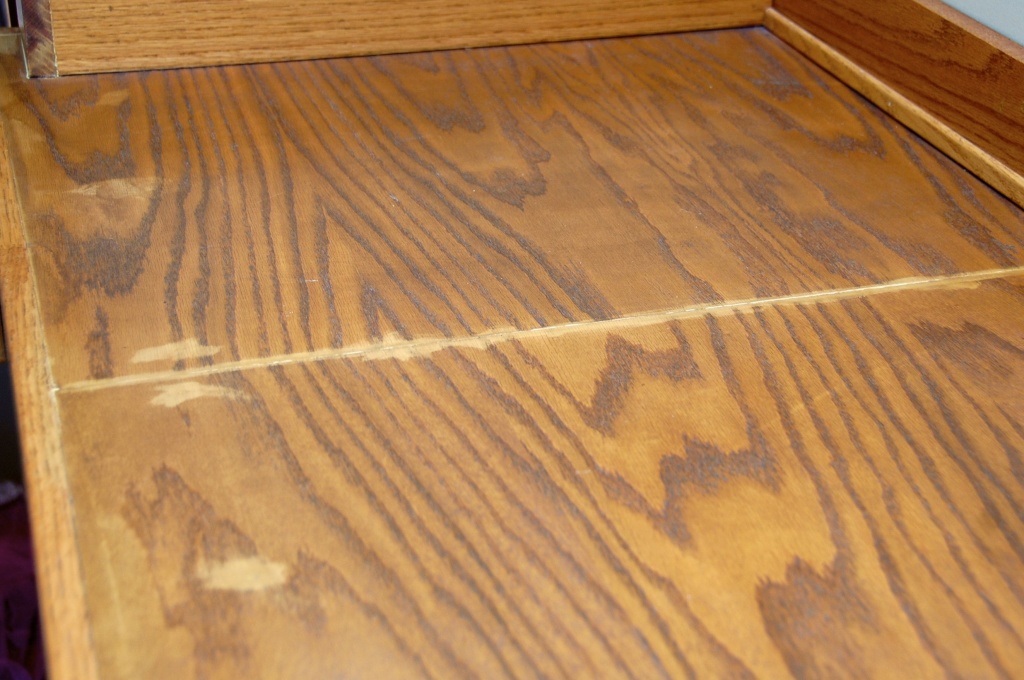
 We could not be more pleased with the finished product! The old mantel was functional in that it held our TV just fine, and it was sturdy (I personally tested that out by crawling all over it hanging Christmas decorations). So, it wasn’t awful, especially from a distance, but up close it had some less than lovely bits and we really wanted doors to cover the TV, media components, and all of the cords that come with them.


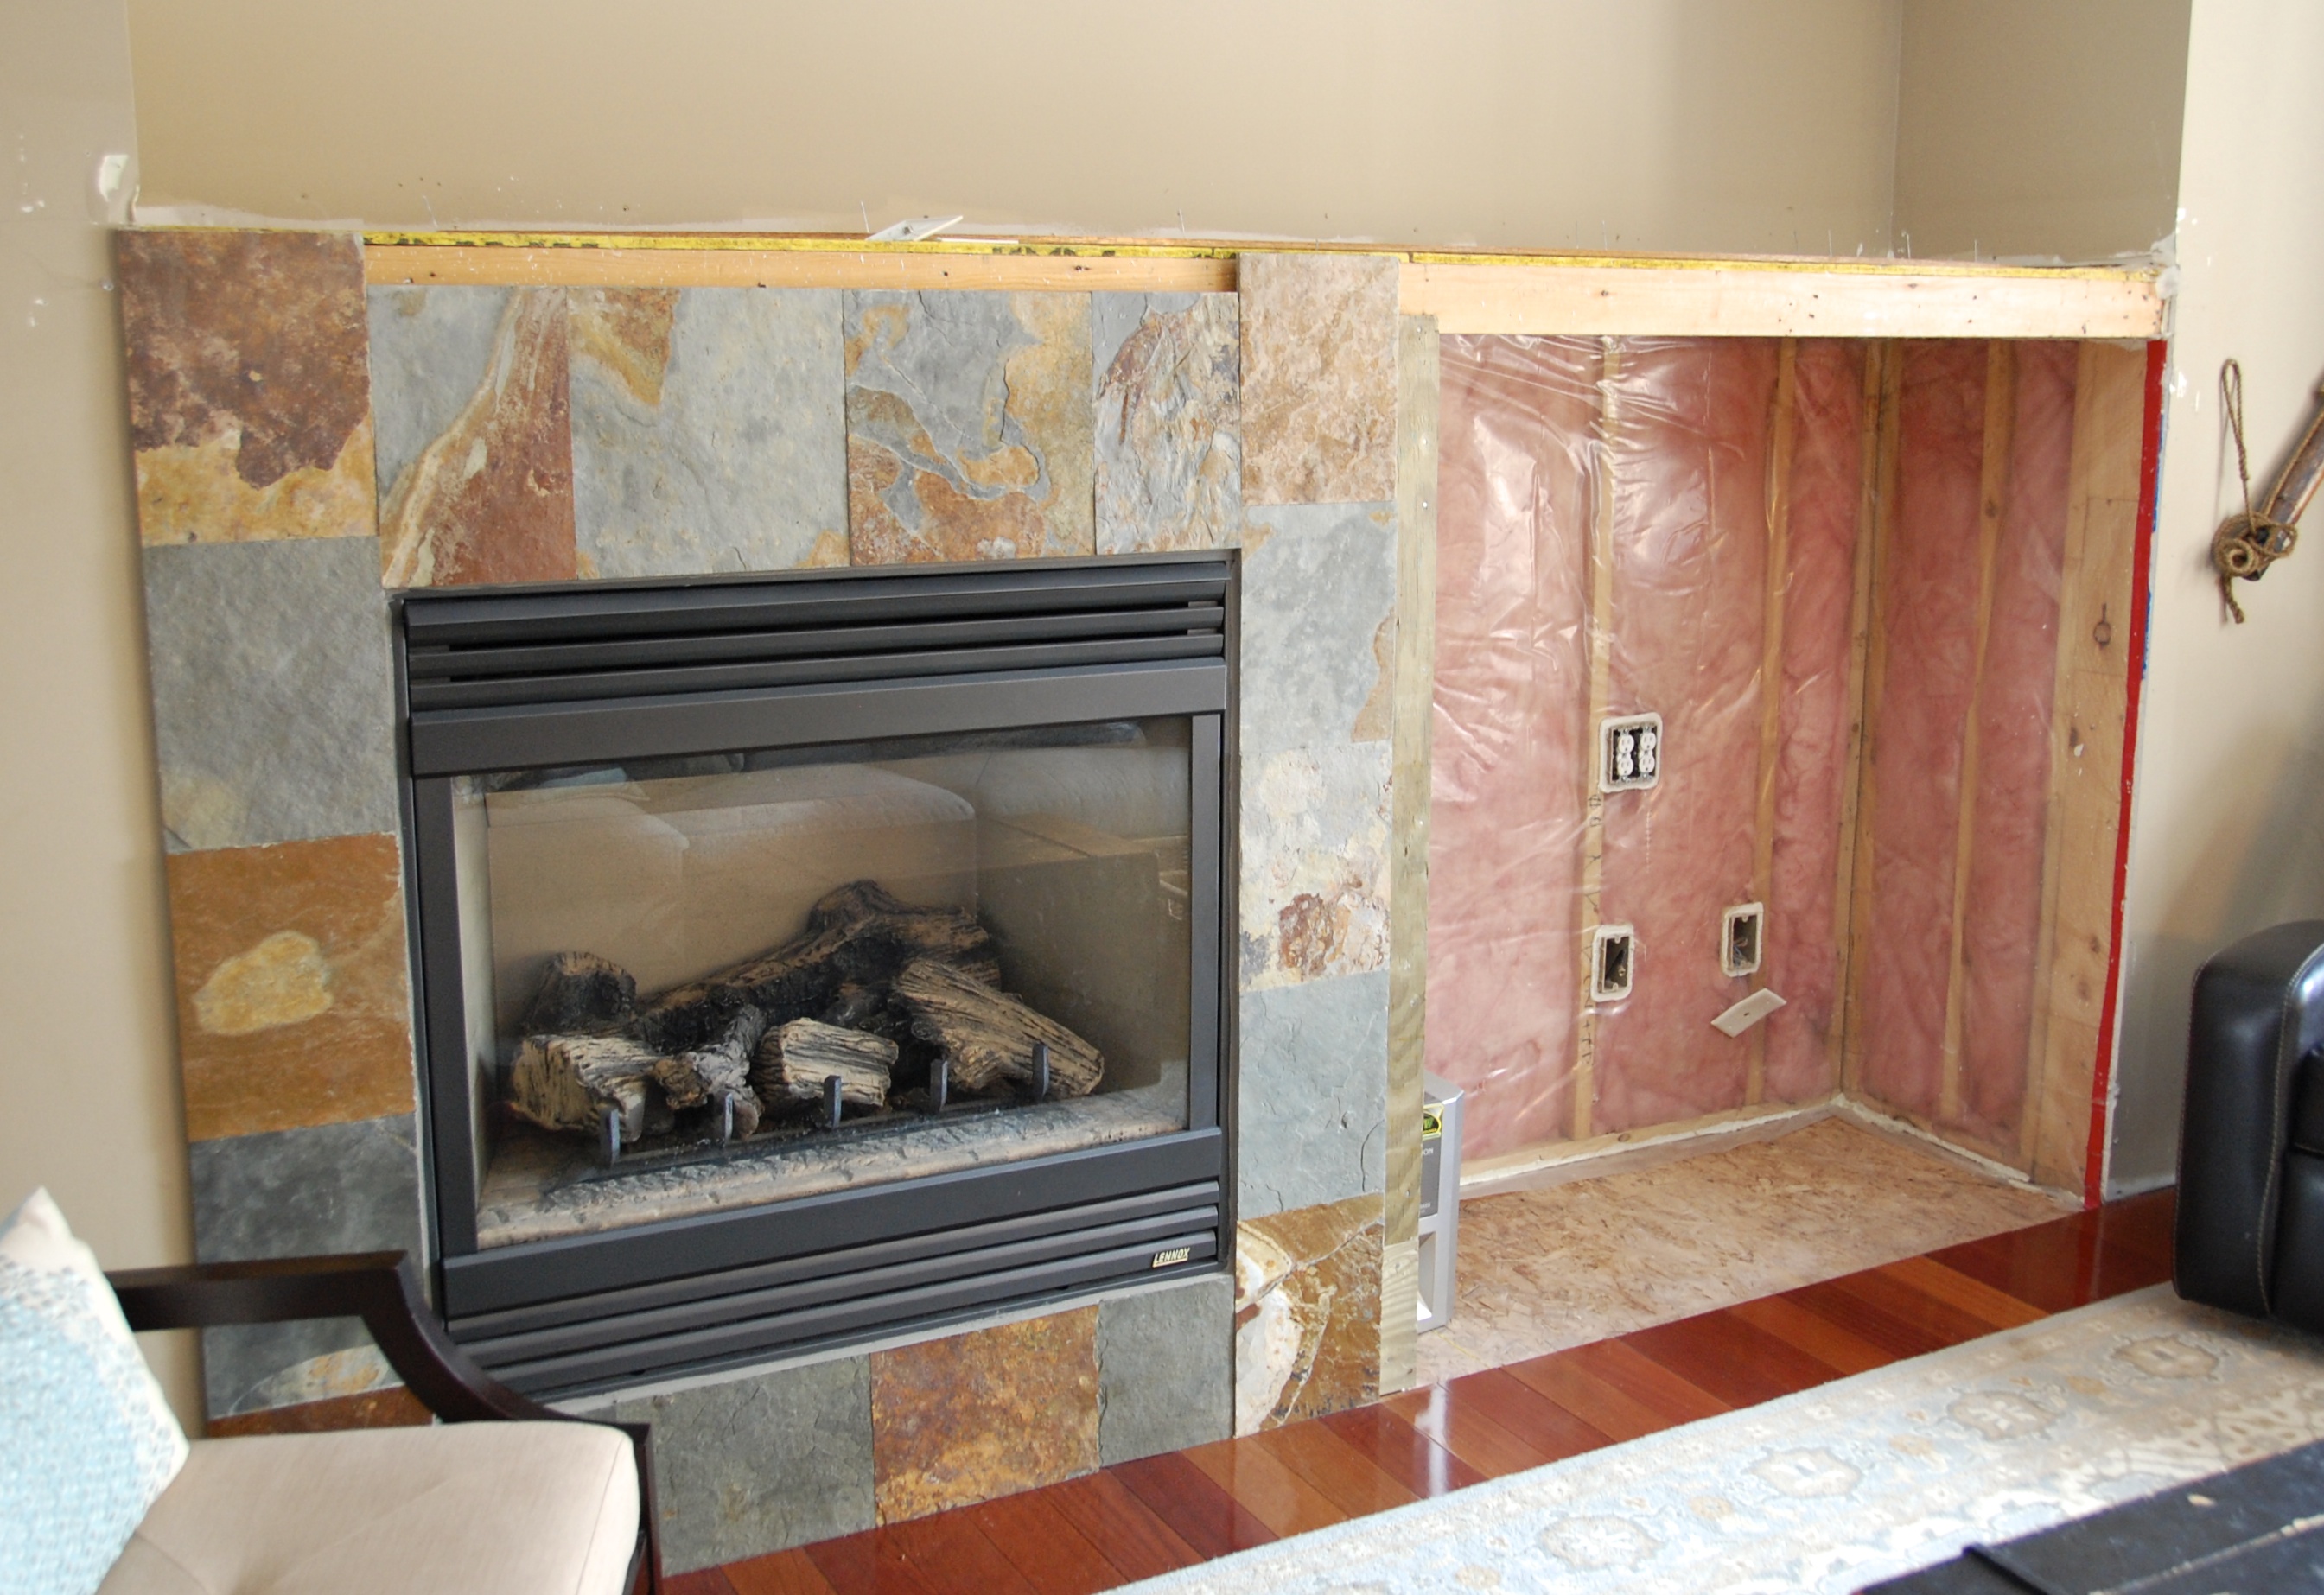
So a year ago we got on Angie’s List and contacted three cabinet builders to come bid on the job. (Because as much as we love a good DIY project around here, we decided this one was out of our league and we needed professional help.) We asked them if there was anything to be salvaged on the old mantel and each of them in turn said the same thing, “Rip it out, just rip it ALL out.” So that’s what we did…
Then we had the pleasure of seeing what our living room would look like with a gaping hole in it, which is always a good time.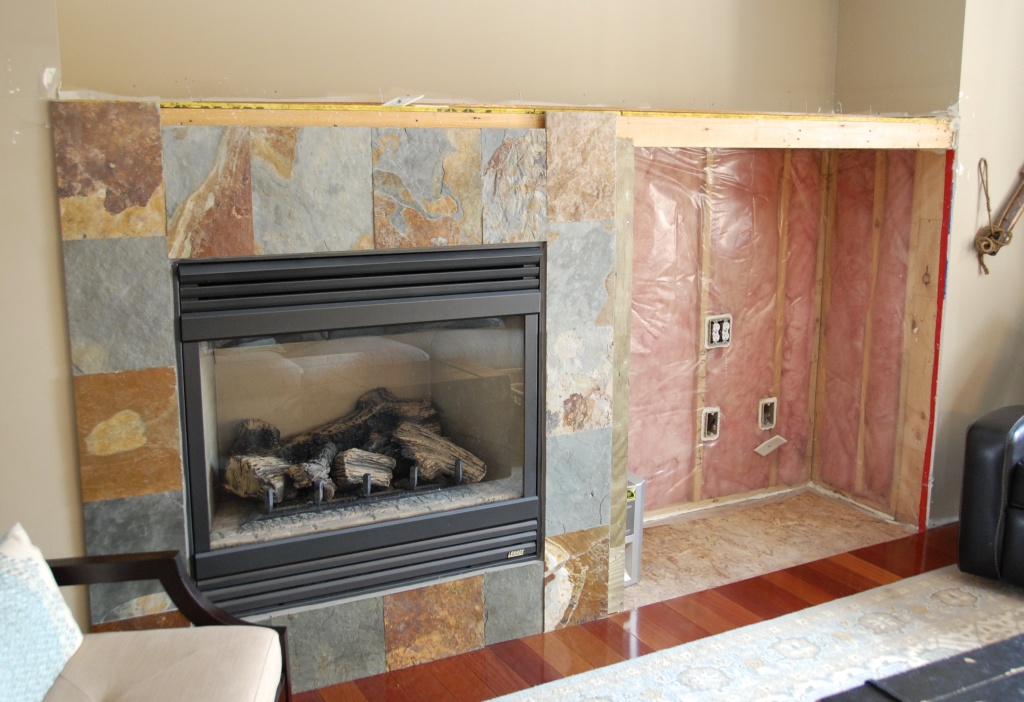 Then we hired one of our Angie’s List prospects, who came in and took extensive measurements, and also one of our kitchen shelves so he could match the stain to our existing cabinetry. A few weeks later he returned with all the pieces of the project and started the installation, at which point our house looked something like this:
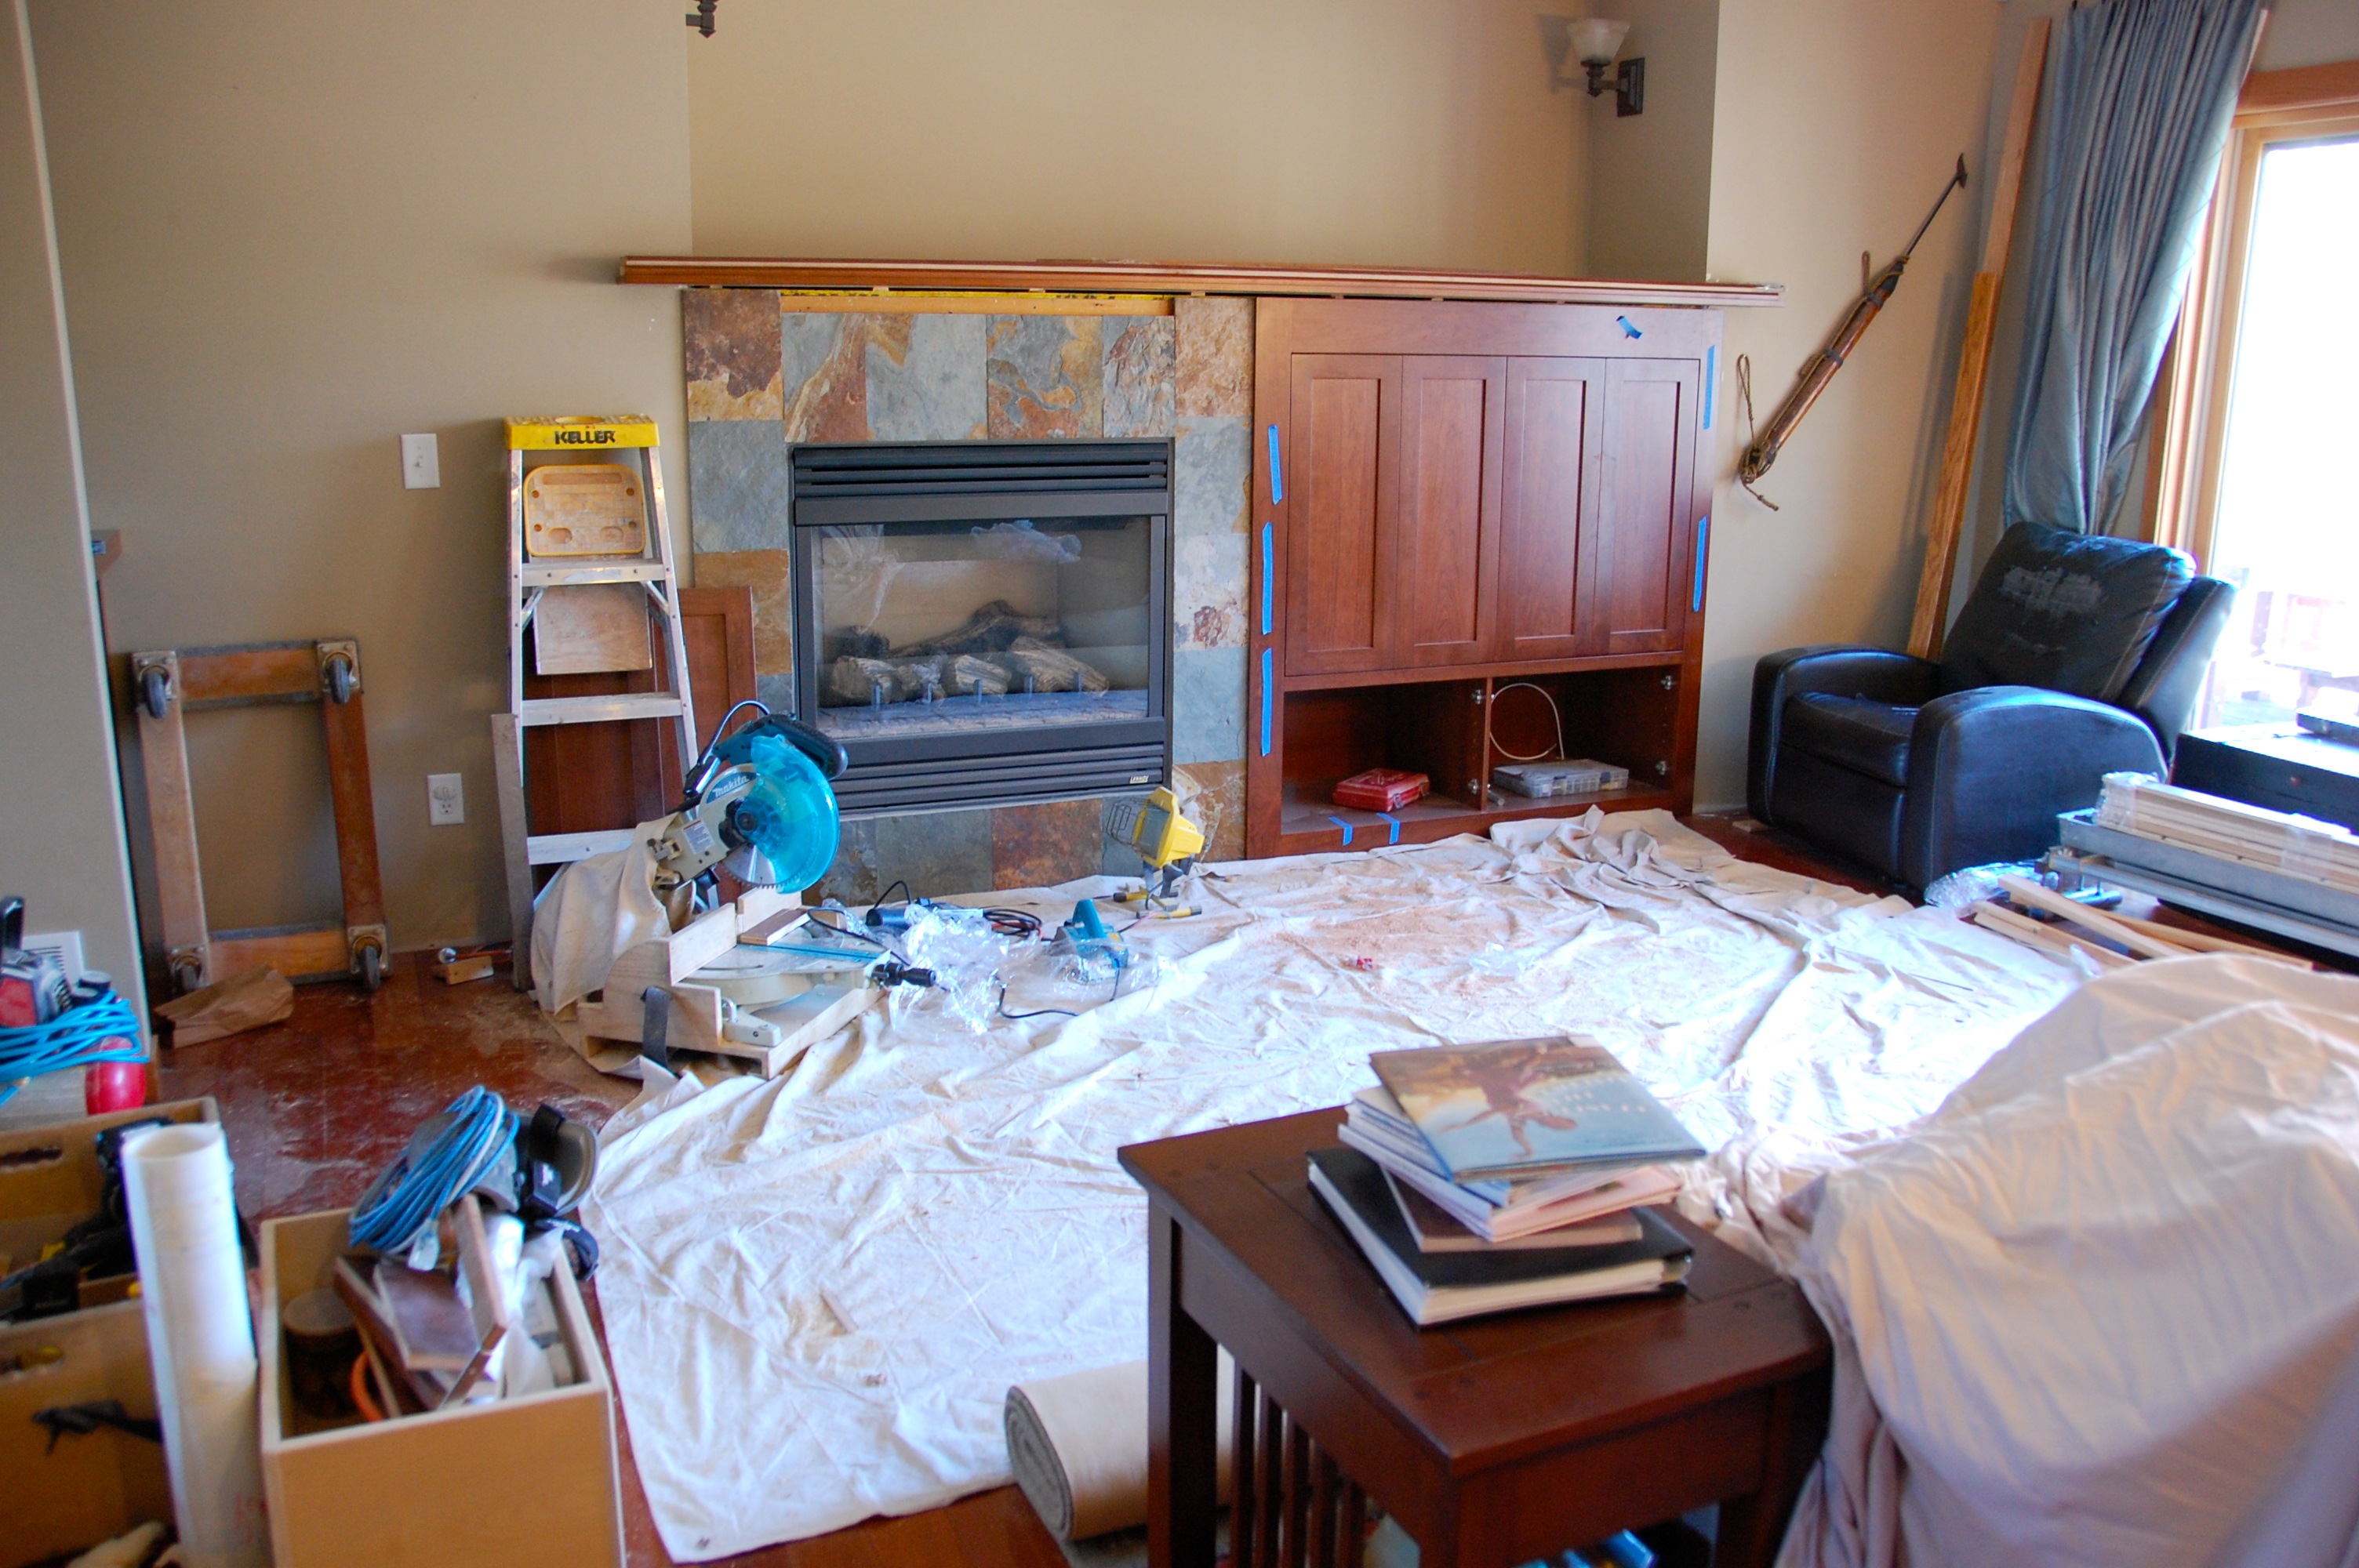
 We lived like this for two days. Two WHOLE days, people! And now anyone who has lived through a kitchen or bath renovation can laugh at me, but OH MY GOODNESS, I thought I was going to LOSE MY MIND! Things sitting in random places. Power tools where my kids could reach them (though the were unplugged when not in use of course). And the dust. Oh the dust. It was EVERYWHERE! I can’t believe I ever begged Peter to let us buy an old house so that we could renovate it and I’m so extremely glad he didn’t listen to me. What on earth was I thinking?!?!?
But it was worth it, we survived, and so did our cabinet guy. I thought the girls might pester him to death with their hundreds of questions (they did little else but sit watching him and asking questions the entire duration of the install). He was so good about it though and answered them all very patiently.
As you can see, the end product is a million times better than the original mantel. And while the two days felt much longer than they actually were, I can’t imagine how many eons it would have taken us to do it ourselves. Plus there is no way we could have gotten the stain so perfect or the finish so smooth. Seriously, it feels like silk. Don’t tell, but sometimes I just stand there and pet it when no one is looking. Smooth like butter…
Another time, I will post about the new shelves in the corner and the built-in bench in the kitchen that we had installed at the same time, but this post is long enough, I’d say.
Let’s close with one more before and after, shall we?
Before we moved in back in November of 2008…
 And now, November 2014…
 Much improved, don’t you think?

 Gift ordering crazy, card writing crazy, not sleeping because baby is up all night crazy and now stomach flu crazy.