There is little doubt in my mind that this summer will go down in our family history as the “Summer of the Front Porch Project”. What was supposed to be a relatively simple 4-6 week project in May and early June has grown and evolved (as DIY projects are prone to do) and we are now pushing to finish our front porch facelift by the end of July… cross your fingers… and maybe your toes too.
We’ve spent nearly every free weeknight and weekend in the past month slowly chipping away at this, bit by bit. And we’re making progress. We like progress, not as much as we like ‘done’, but progress is good too.
However, before I tell you where we are now, let’s take a look at just how far we’ve come already.
Here is our front porch a la March 2010: This was about 14 months after we moved into the house, but our first year of home ownership was dominated by a highly sensitive infant who didn’t like to sleep… ever… landscaping wasn’t really a priority for us. As Alethea started doing better a night, we slowly came out of the fog of sleep deprivation, looked around, and realized things outside our home were looking less like a dream and more like a nightmare.
 Our problems were plentiful, but just to highlight the biggest eye sores:
1. The pebble landscaping rock wasn’t a fabulous product to begin with, but it was made worse by the fact that no weed barrier had been installed under the rocks. Pebbles mixed with weeds just aren’t a good look.
2. The unattractive plastic edging was missing in places and coming loose in others.
3. The ultra cheap solar lights we stuck in there as our one attempt to spruce things up during our first summer in the home, didn’t work very well and just added to the visual clutter.
4. The grass. Oh the grass. You’d never know we’d used TruGreen the whole summer before, would you? I don’t blame TruGreen though. The house was vacant almost a whole year before we bought it and the lawn needed extreme TLC.
So in the summer of 2010 our goals were to replace the pebbles and the plastic edging with something more attractive, and to water and fertilize on a consistent schedule to try and resuscitate the lawn. (We actually talked about just ripping out all the grass and starting over, but that seemed like a crazy amount of time and labor, so we thought we’d try to work with what we had first.)
Fast forward sixteen months to July 2011…
 As you can see, we replaced the plastic edging with gray square bricks, took out the pebbles to put down mulch, and had green grass growing! We loved the brick edging and were thrilled that the grass was making progress, but the mulch, well, turns out mulch is not in fact better than little pebbles. Little pebbles at least don’t lose their color and get all trampled down and gross looking. Yeah, we didn’t like the mulch and it didn’t keep the weeds from growing either. It’s a shame that my gorgeous orange begonia’s only friends at the corner were some vicious two foot tall stinging nettles.
 Be still my beating heart. Begonias are my favorite shade plant ever. So exquisite! But I digress…
So we chalked the mulch up to a learning experience and decided to try again. This time with bigger, cooler rocks, complete with weed barrier underlay. And also, we knew we had to do something about our sorry solar lights. They just had to go.
 After searching multiple home improvement stores and many corners of the internet, we finally stumbled upon these stylish, but affordable landscaping lights at Menard’s. Whoa, did I just use ‘stylish’ and ‘Menard’s’ in the same sentence? Crazy, but we do love our lights.
 So this spring, when the snow melted and the azaleas were in bloom, things looked better than they ever had before.
 Better, yes, but still not finished.
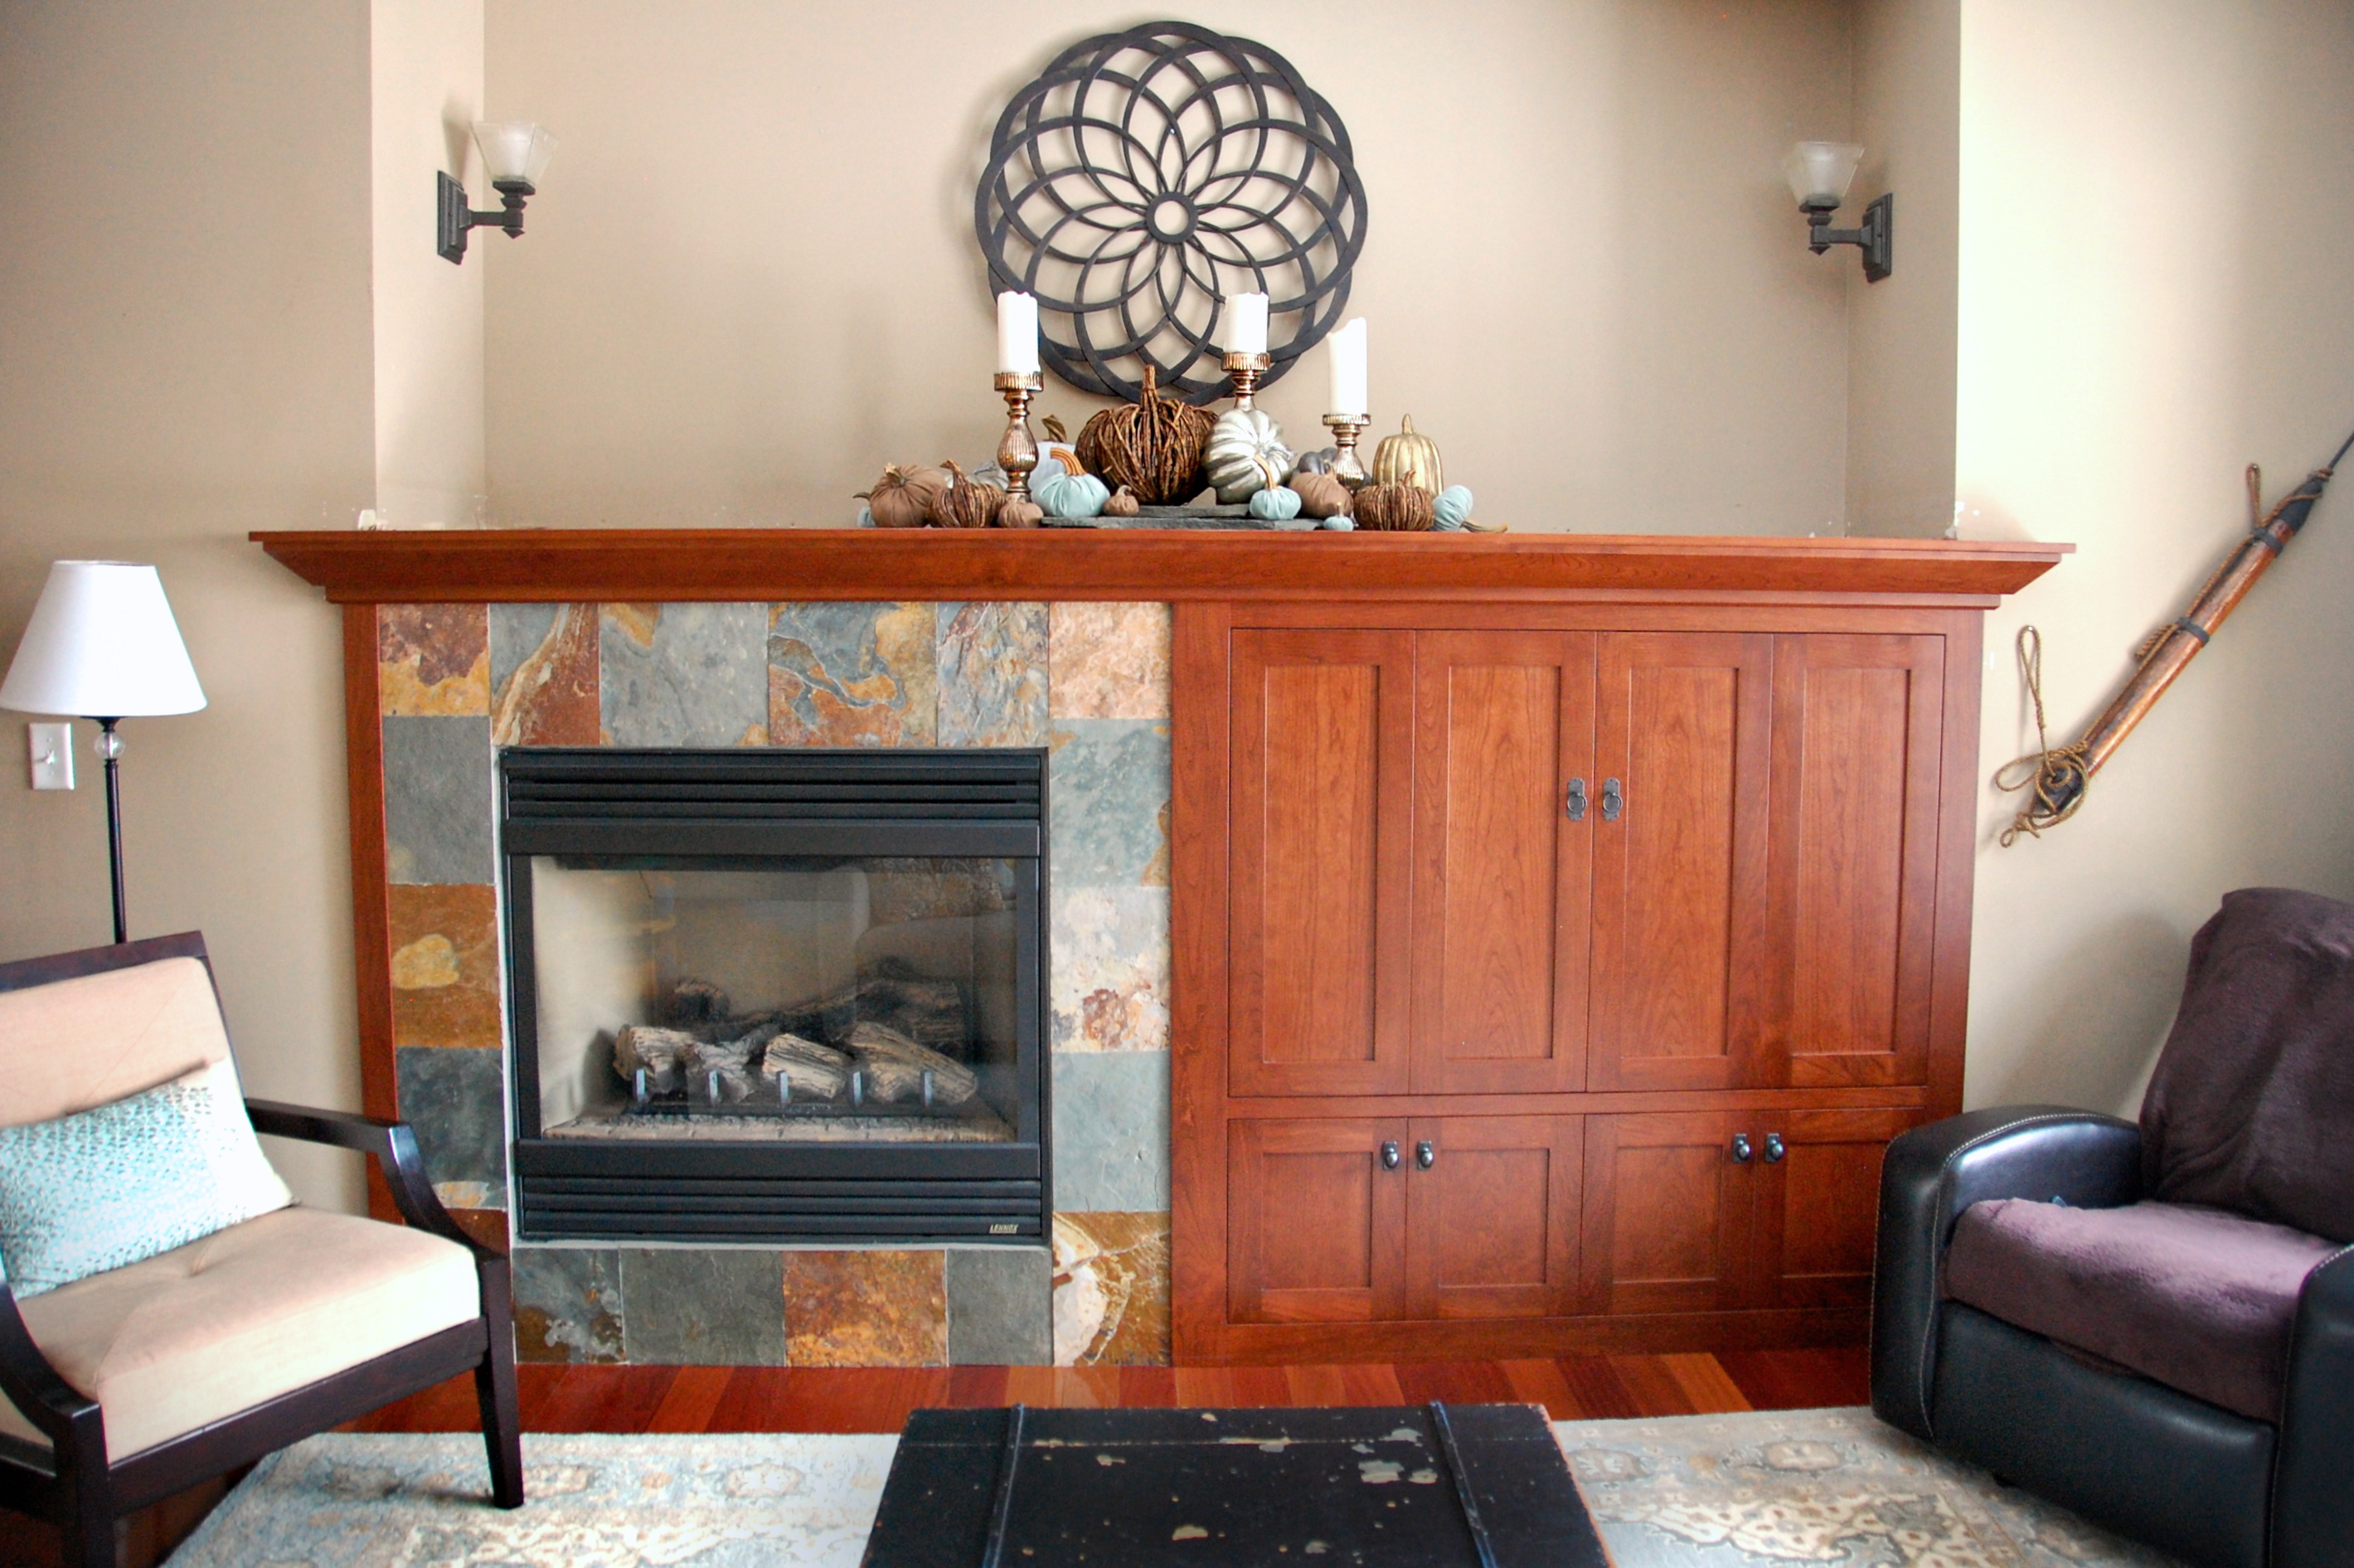
 Nice looking border, cool rocks with some boulders mixed in, and the new lights of course. All good. But everything behind the good stuff is bad, very, very bad. The underside of our porch and bare foundation aren’t exactly polished. Enter our 2012 Front Porch Facelift Plan.
The first thing that we knew we wanted to do was to build a wooden screen between the support posts to block the view through to our home’s foundation. We considered several different styles, but thought that something similar to this inspiration photo would fit the character of our house best, only ours will be stained, not painted.
 source
But what the screen won’t cover is the huge irregularly shaped post footings.
 We threw around a bunch of ideas (paint them, build a wood box over them, clad them with stone), but every plan seemed to draw more attention to them and what we really wanted was to make them disappear. Then I had a thought. Would a large gray footing disappear if it was covered by some other large gray blocks? We stacked some up to find out.
 We loved it, so building stone columns on the four footings became part of the plan. (The ‘columns’ will actually only be two sided, since the screen will cover the inner sections of the footings, we won’t bother to put blocks where no one will see them.) As you can probably tell from the photo, this was just a quick-trick-block-stack, when we build them for real, we’ll use mortar to hold them in place. Neither Peter nor I has ever mortared anything, so this could be fun, but we figured one has to start somewhere and a non-structural, practically stands up on its own stack of big cement blocks seemed like an easy enough project. We haven’t done it yet though, so we’ll see!
So we had screen plans and we had column building plans, but it didn’t seem like there was much point in sprucing up the whole underside of the porch if we didn’t spruce up the existing structure too, so the whole porch will be getting a fresh coat of paint/stain, including the previously untouched staircase. Why was it never painted? We just don’t know.
 And since the stair treads and risers were a hodgepodge of different sized boards, Peter decided to replace all of those too. So our four task list was: 1) Sand/paint/stain existing porch, 2) Replace existing stair treads and risers, 3) Construct screen around underside of porch (including access doors on either end), and 4) Build block columns on each of the four footings.
So that’s what we’ve been doing, and like I said before, we’re making progress. At least I think we are.
 This is progress, right?!?
In any case, I’m off to work on the front porch some more now. Praise God for a Saturday that isn’t in the upper 90s and muggy. Maybe my stain will actually dry correctly this weekend. Here’s hoping!

 And Alethea graduated from kindergarten…
 We celebrated her graduation with a trip to Como Town for rides and cotton candy…
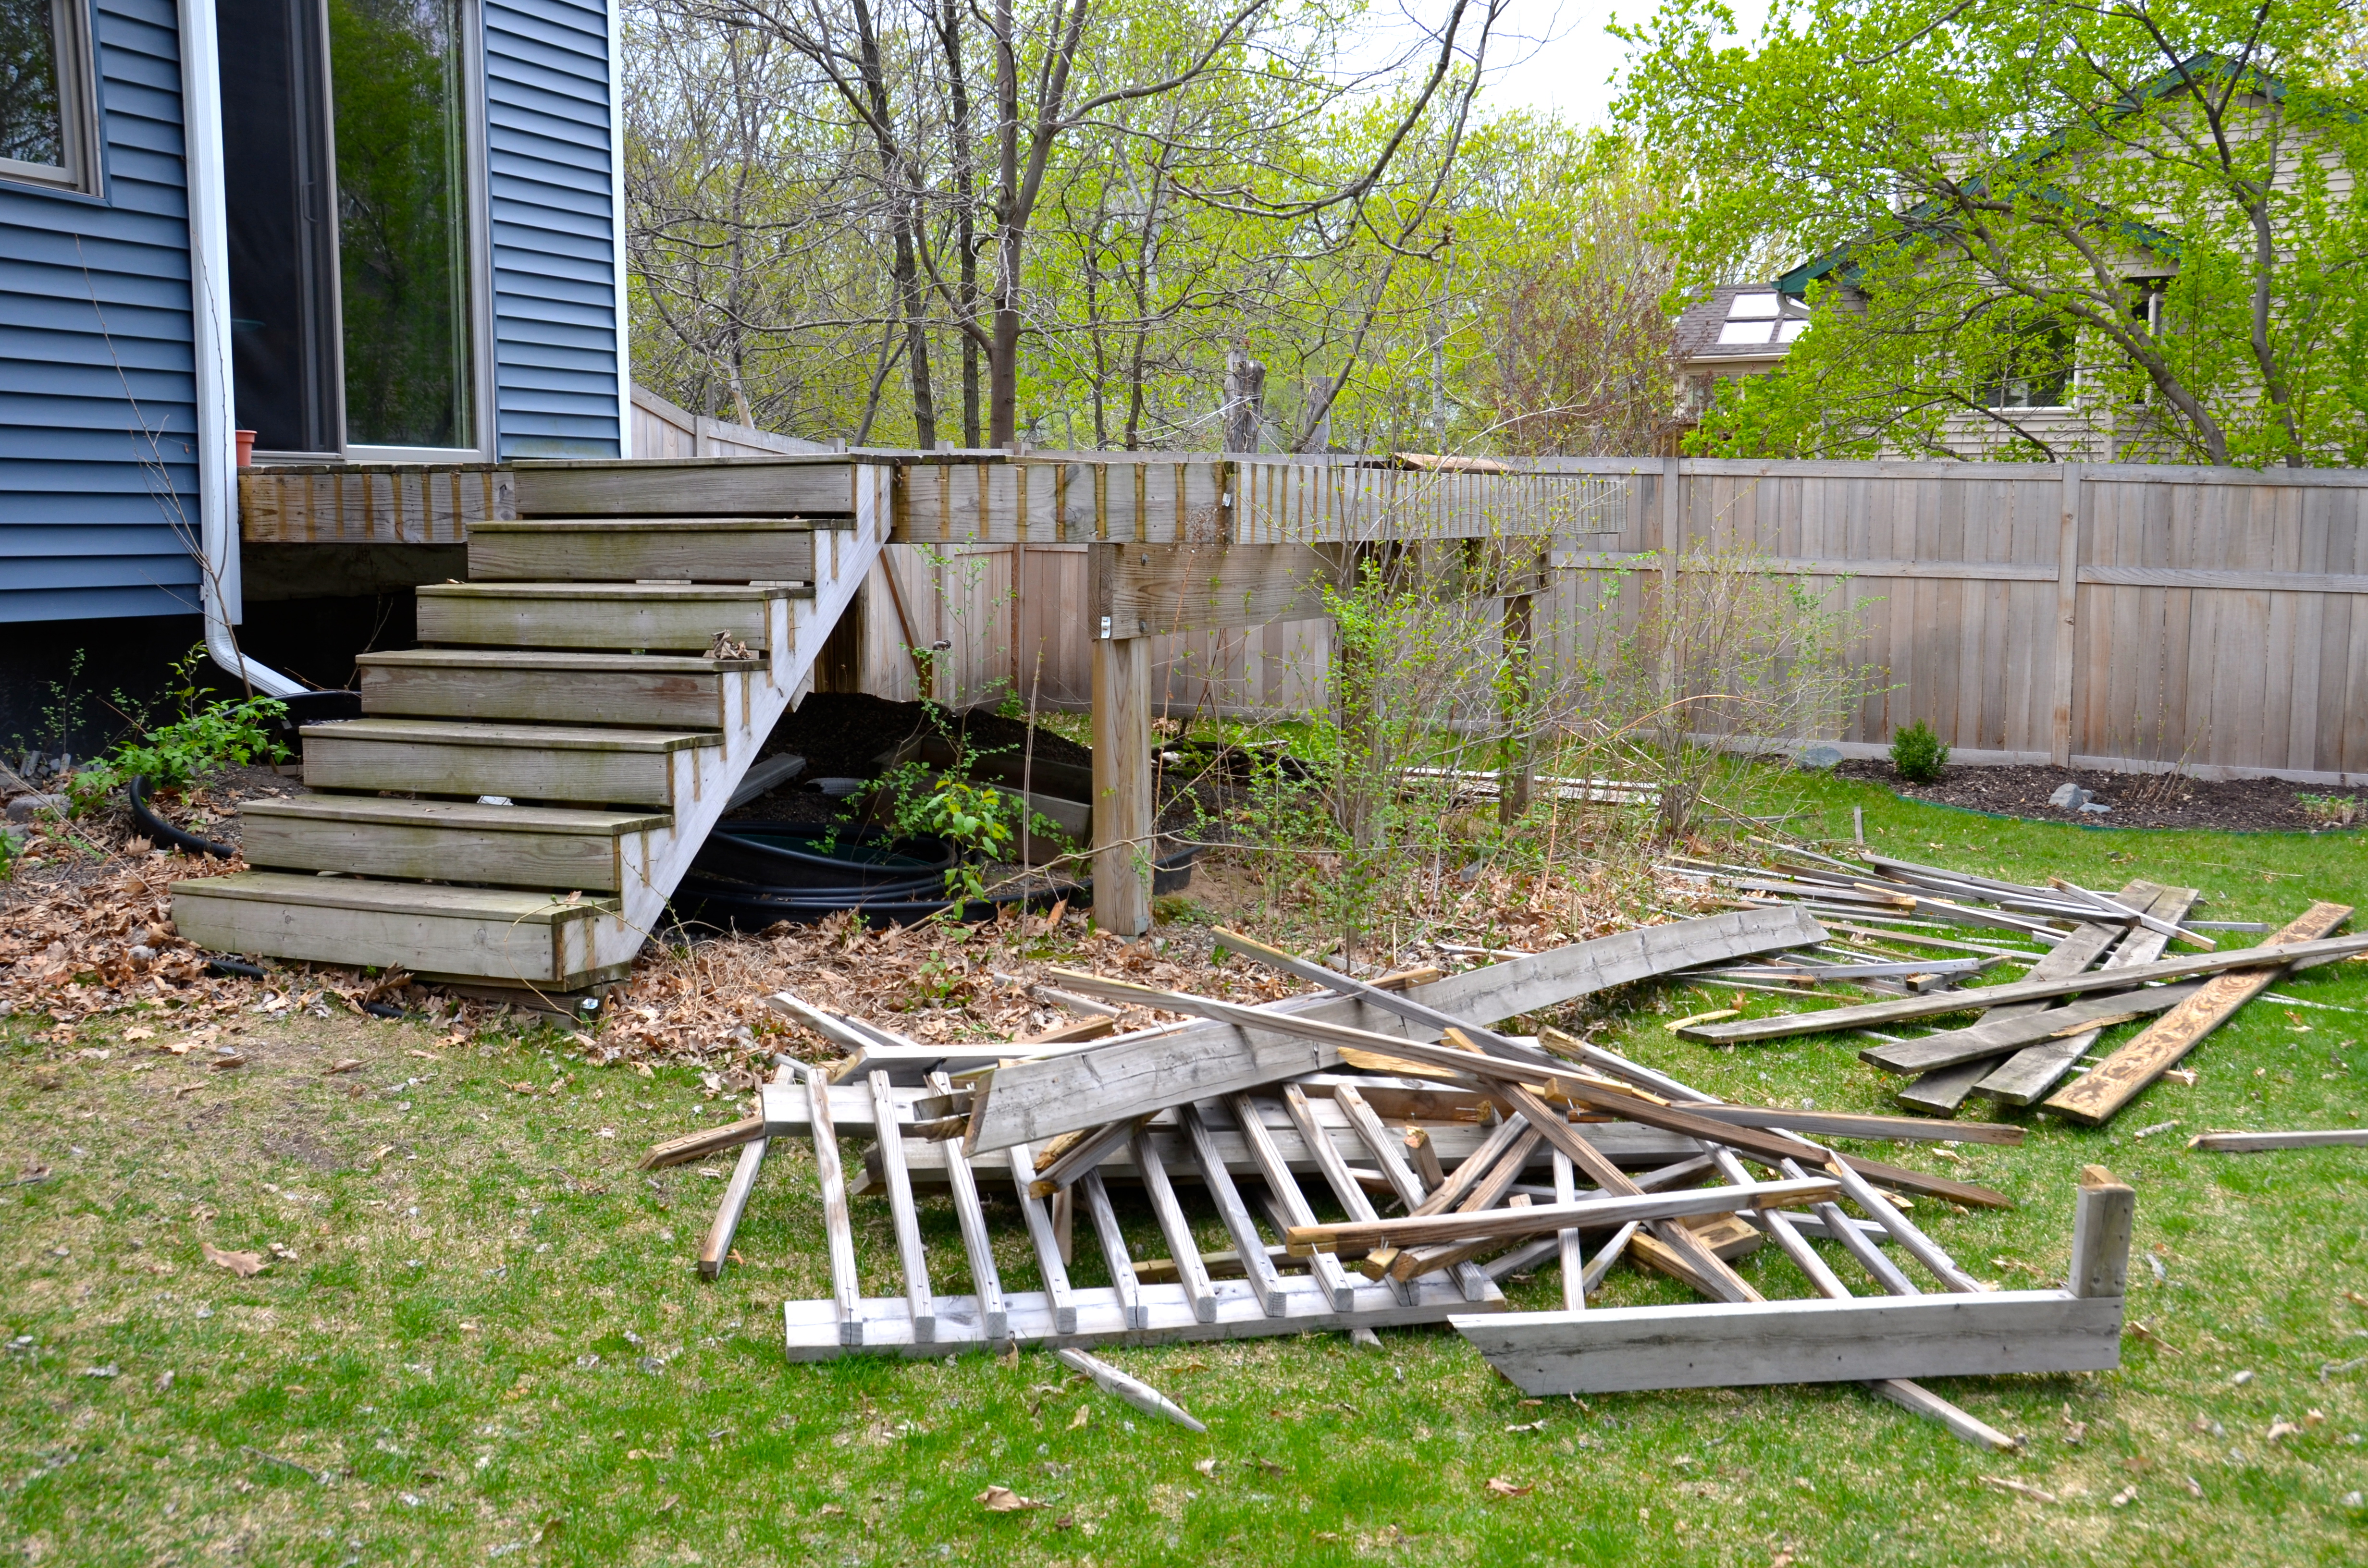
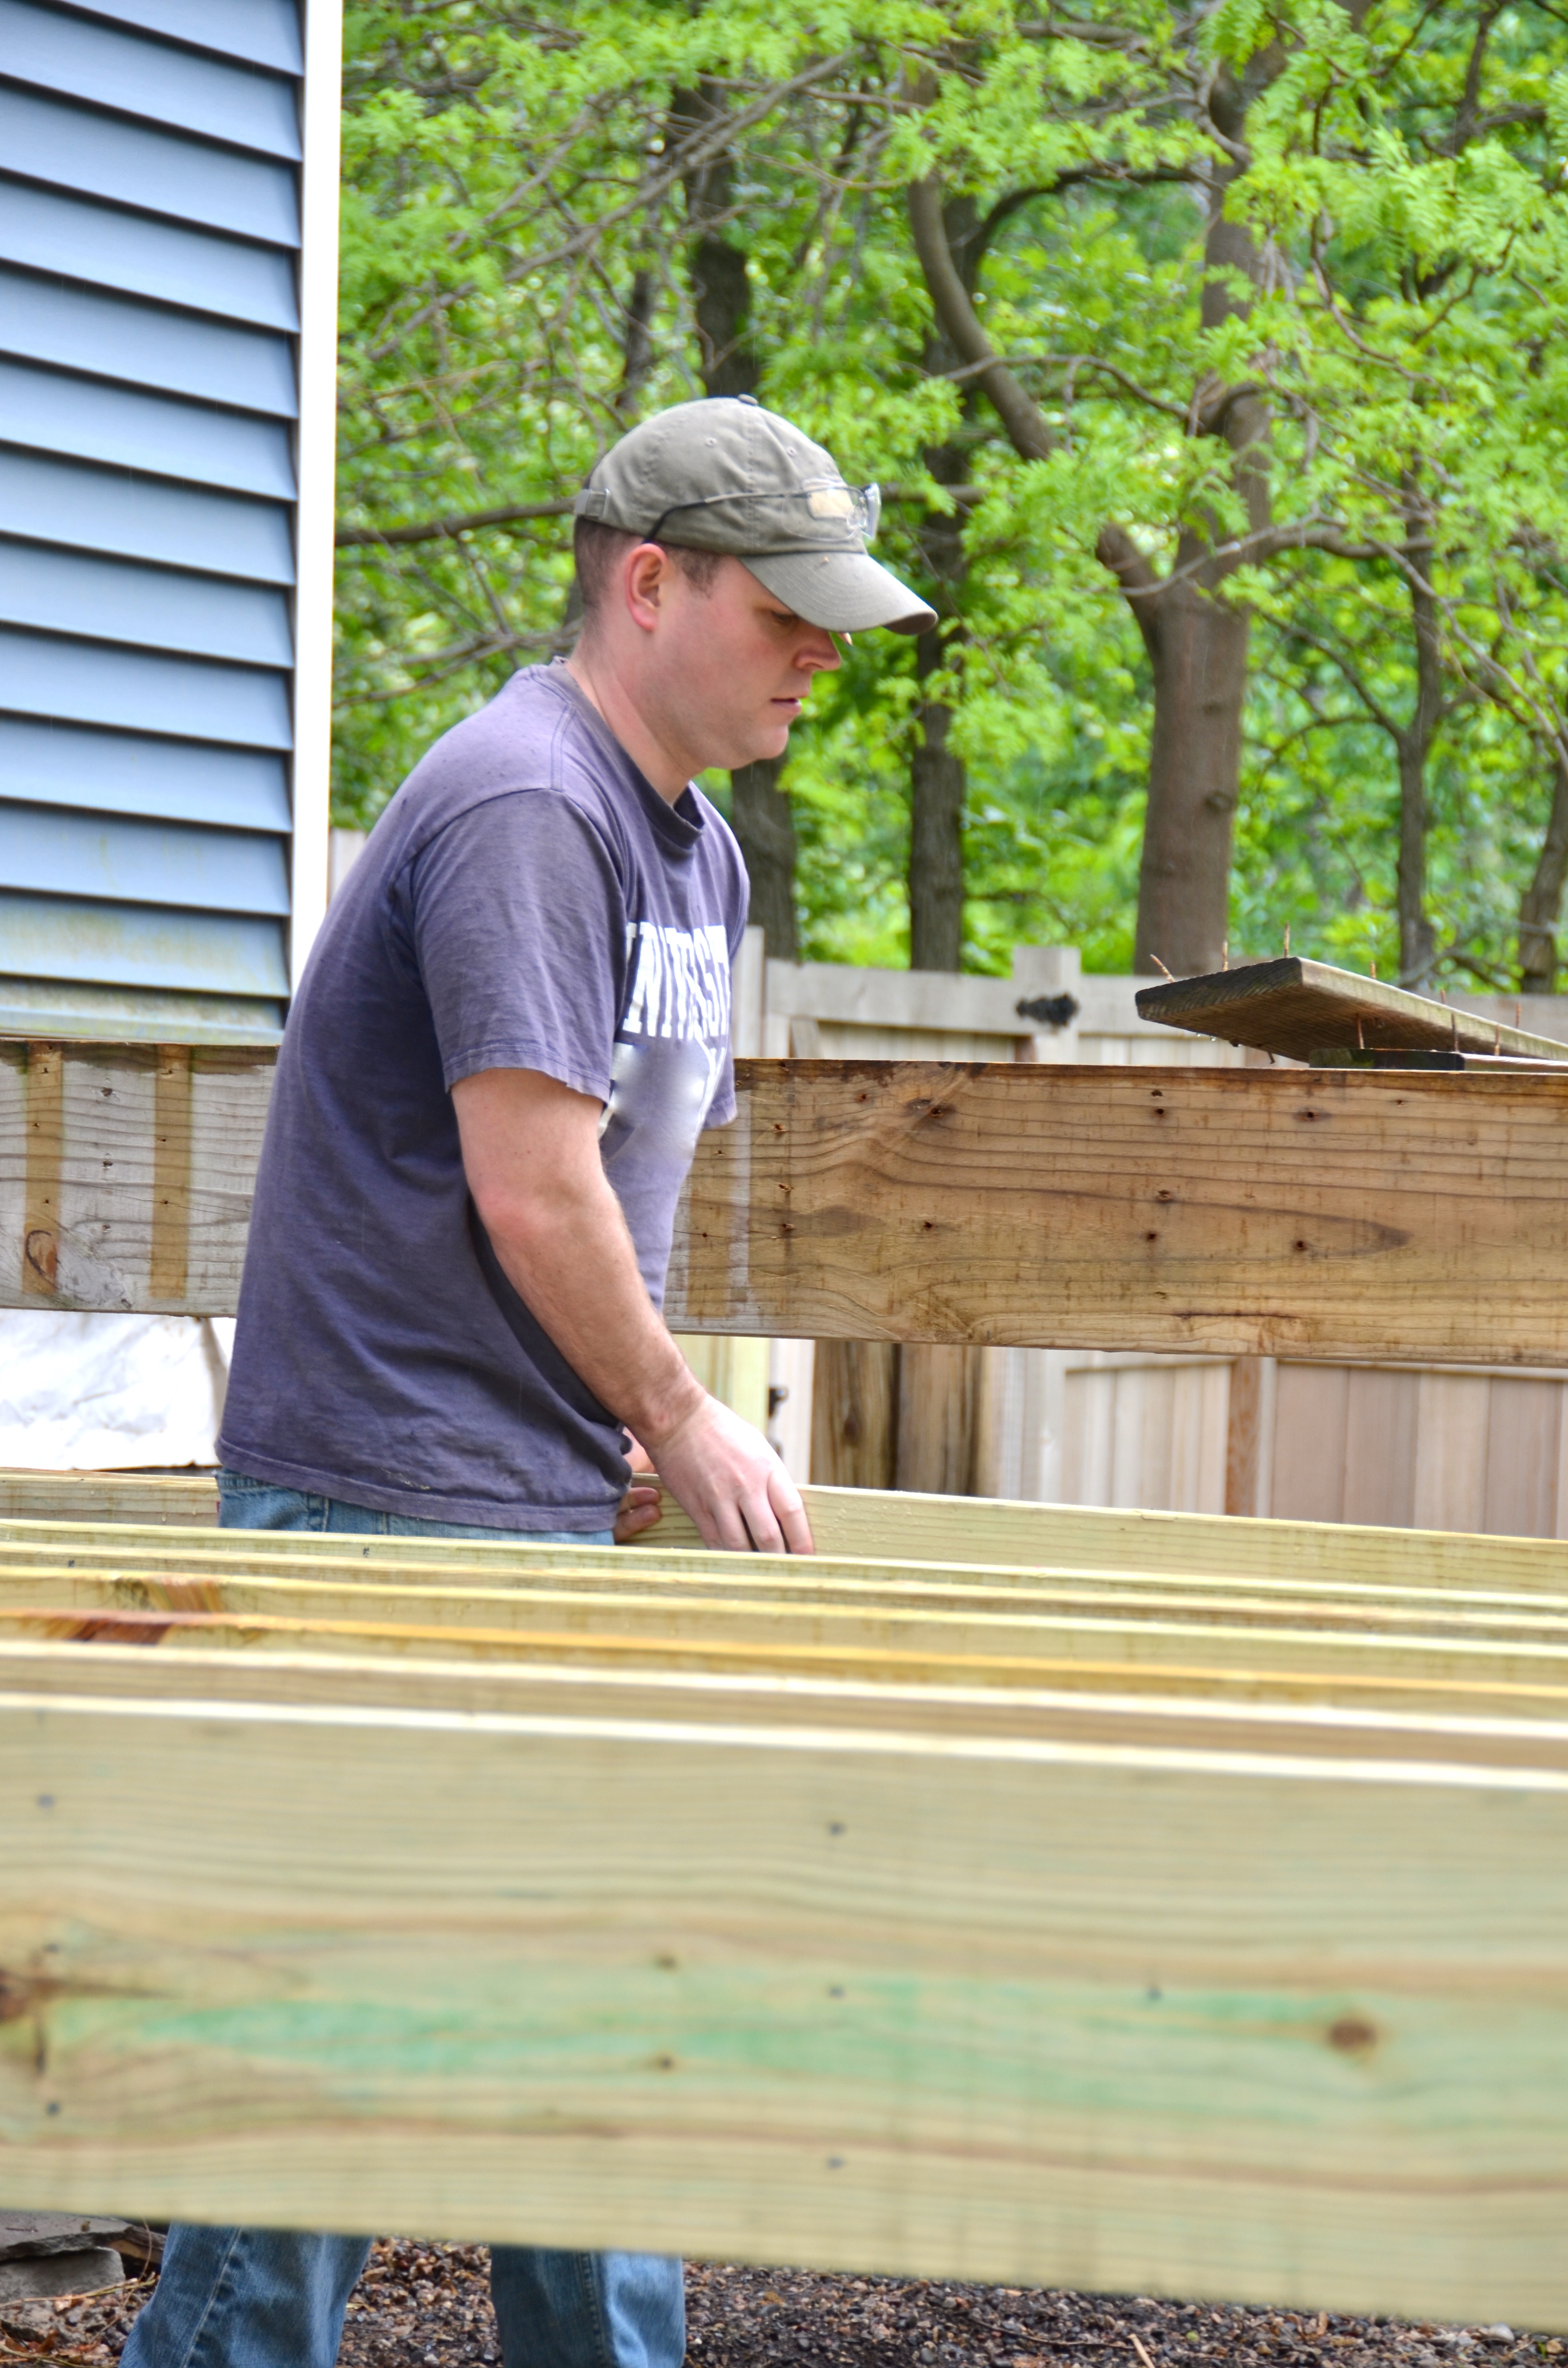
 And we worked on the deck…
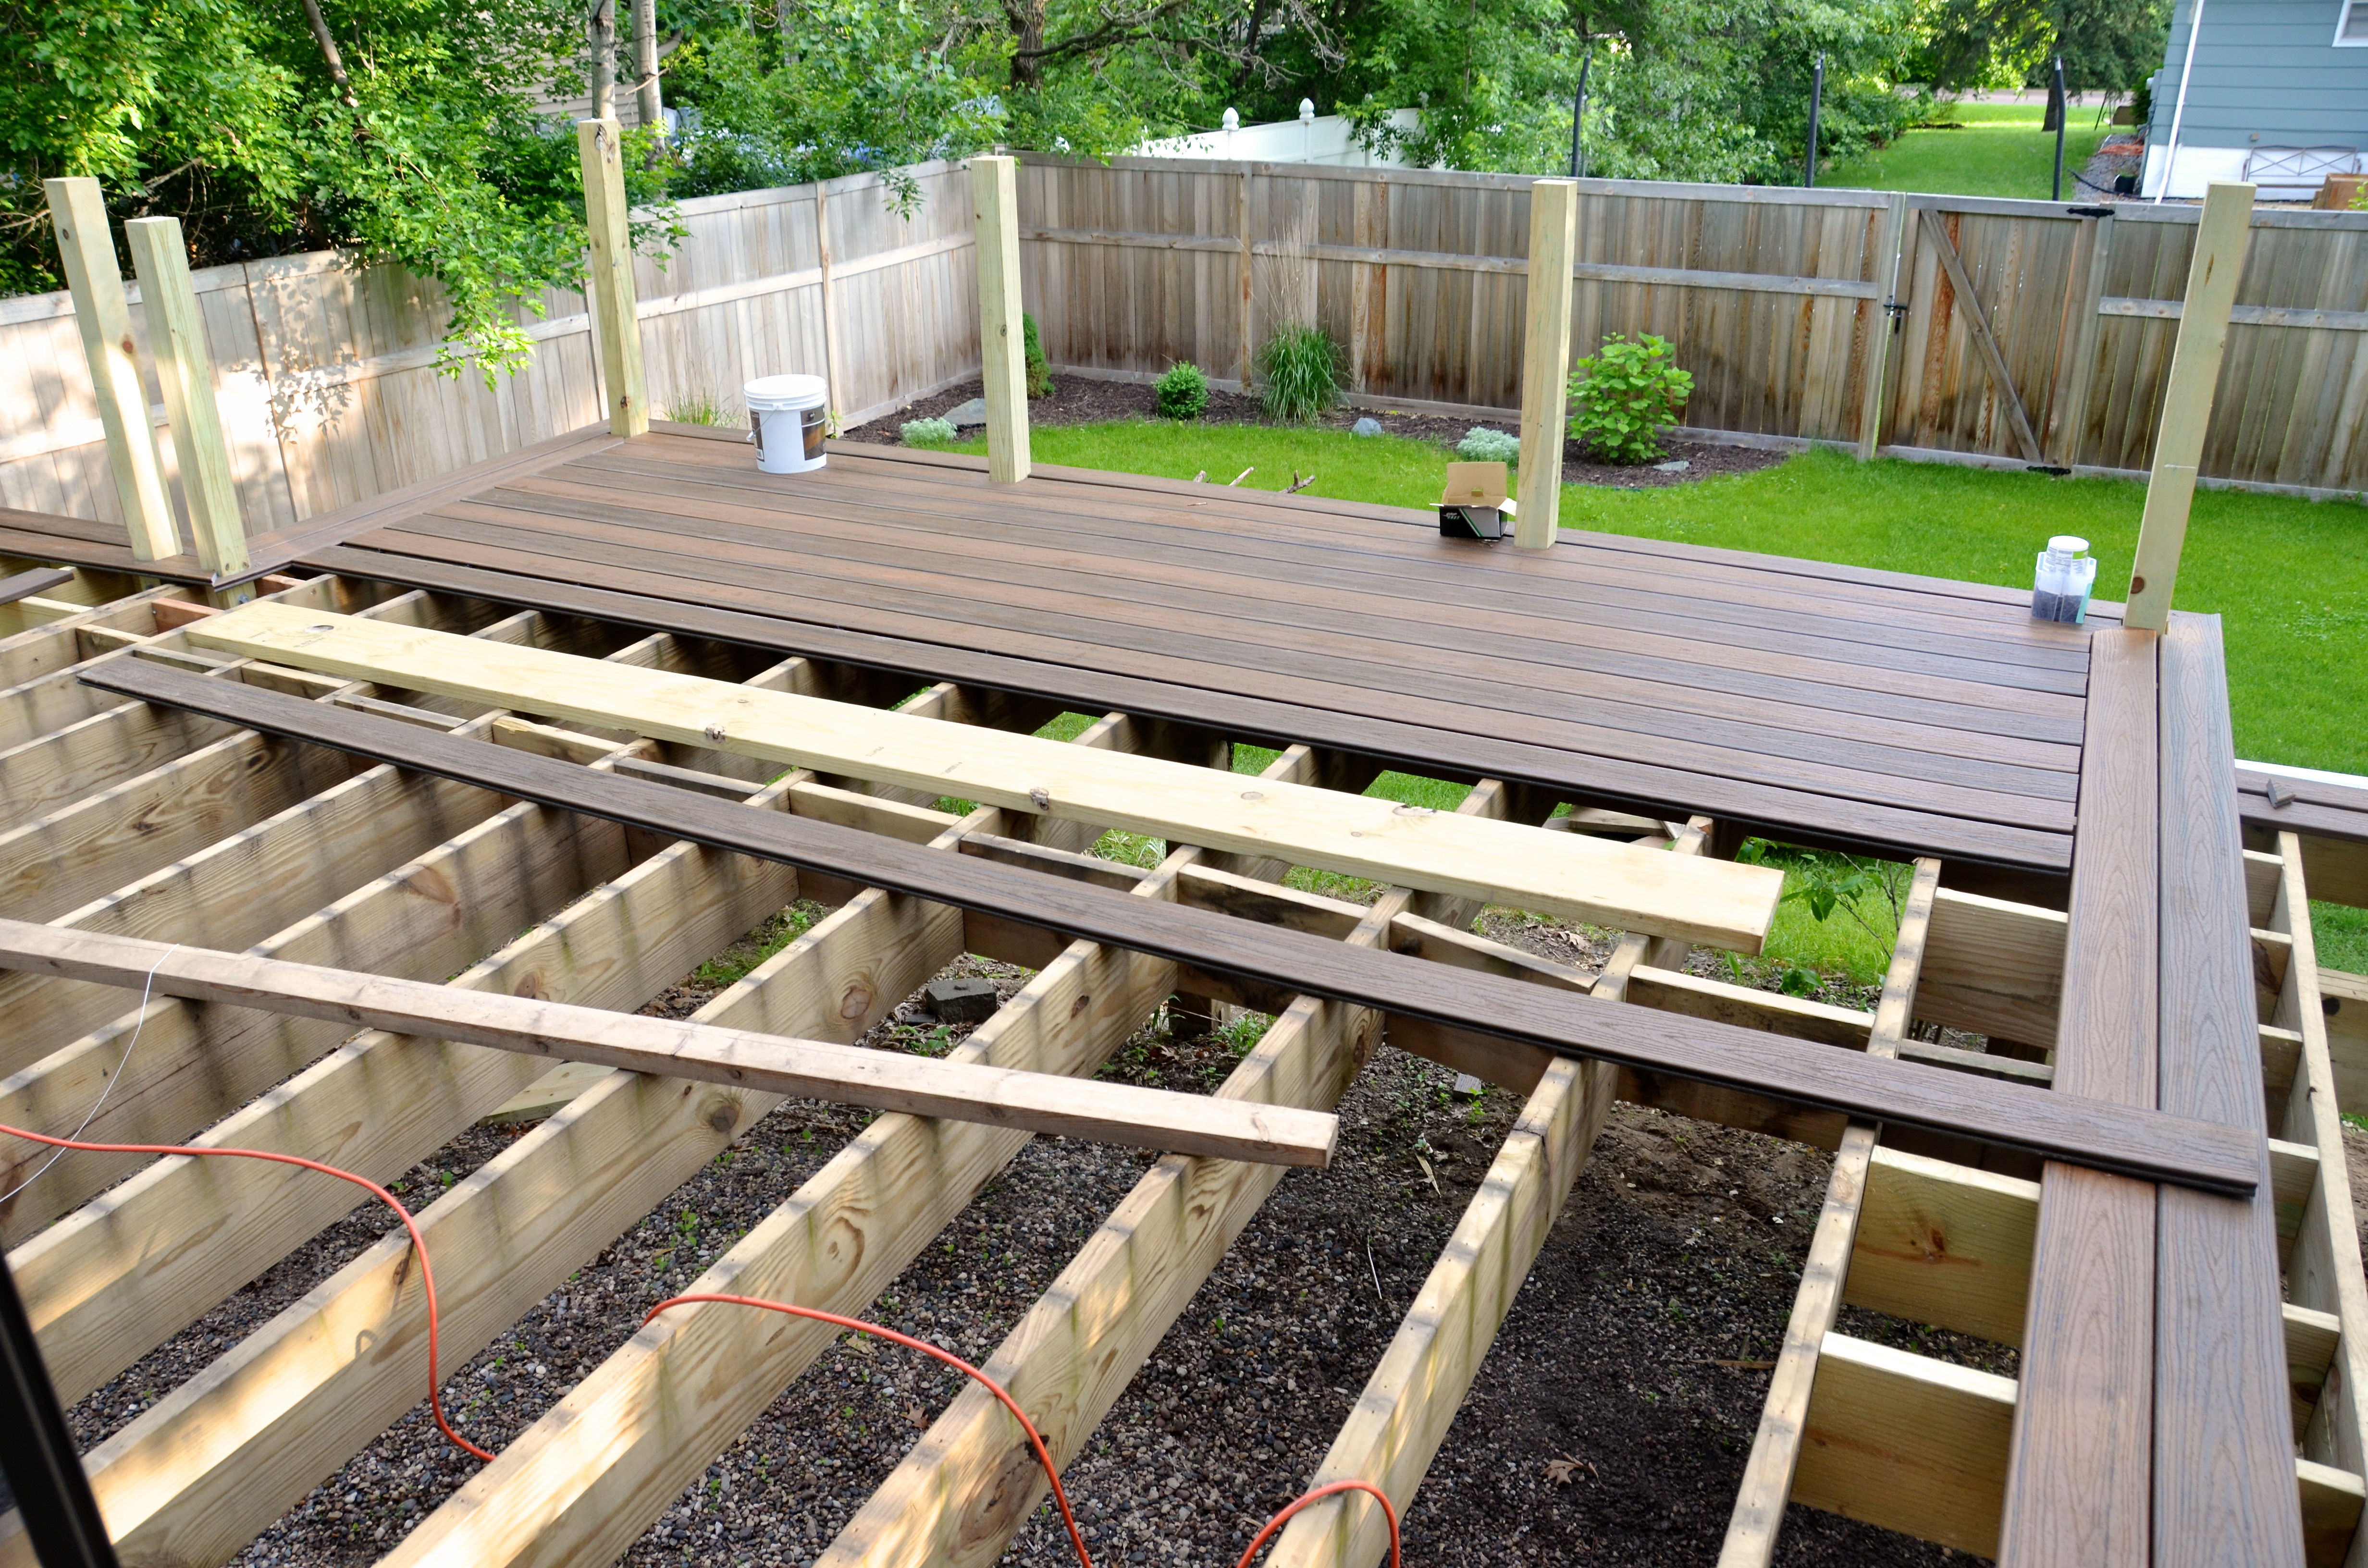 Caleb turned one and we celebrated with a baseball party…
 And in what might turn out to be the highlight of the entire summer, the girls and Caleb sat on the grass behind second base and ate cake with their bare hands to conclude his smash cake photoshoot…
 And we worked on the deck…
 We played in/on/near the water every single day it didn’t rain…
 And made several trips to the library and various playgrounds…
 We enjoyed hanging out (and being goofy) with our neighbors…
 And we did some more work on the deck…
 We met this guy at the nature center…
 Caleb thought it would be a good idea to pet him…
 The girls thought it was a better idea to stay a long way behind him…
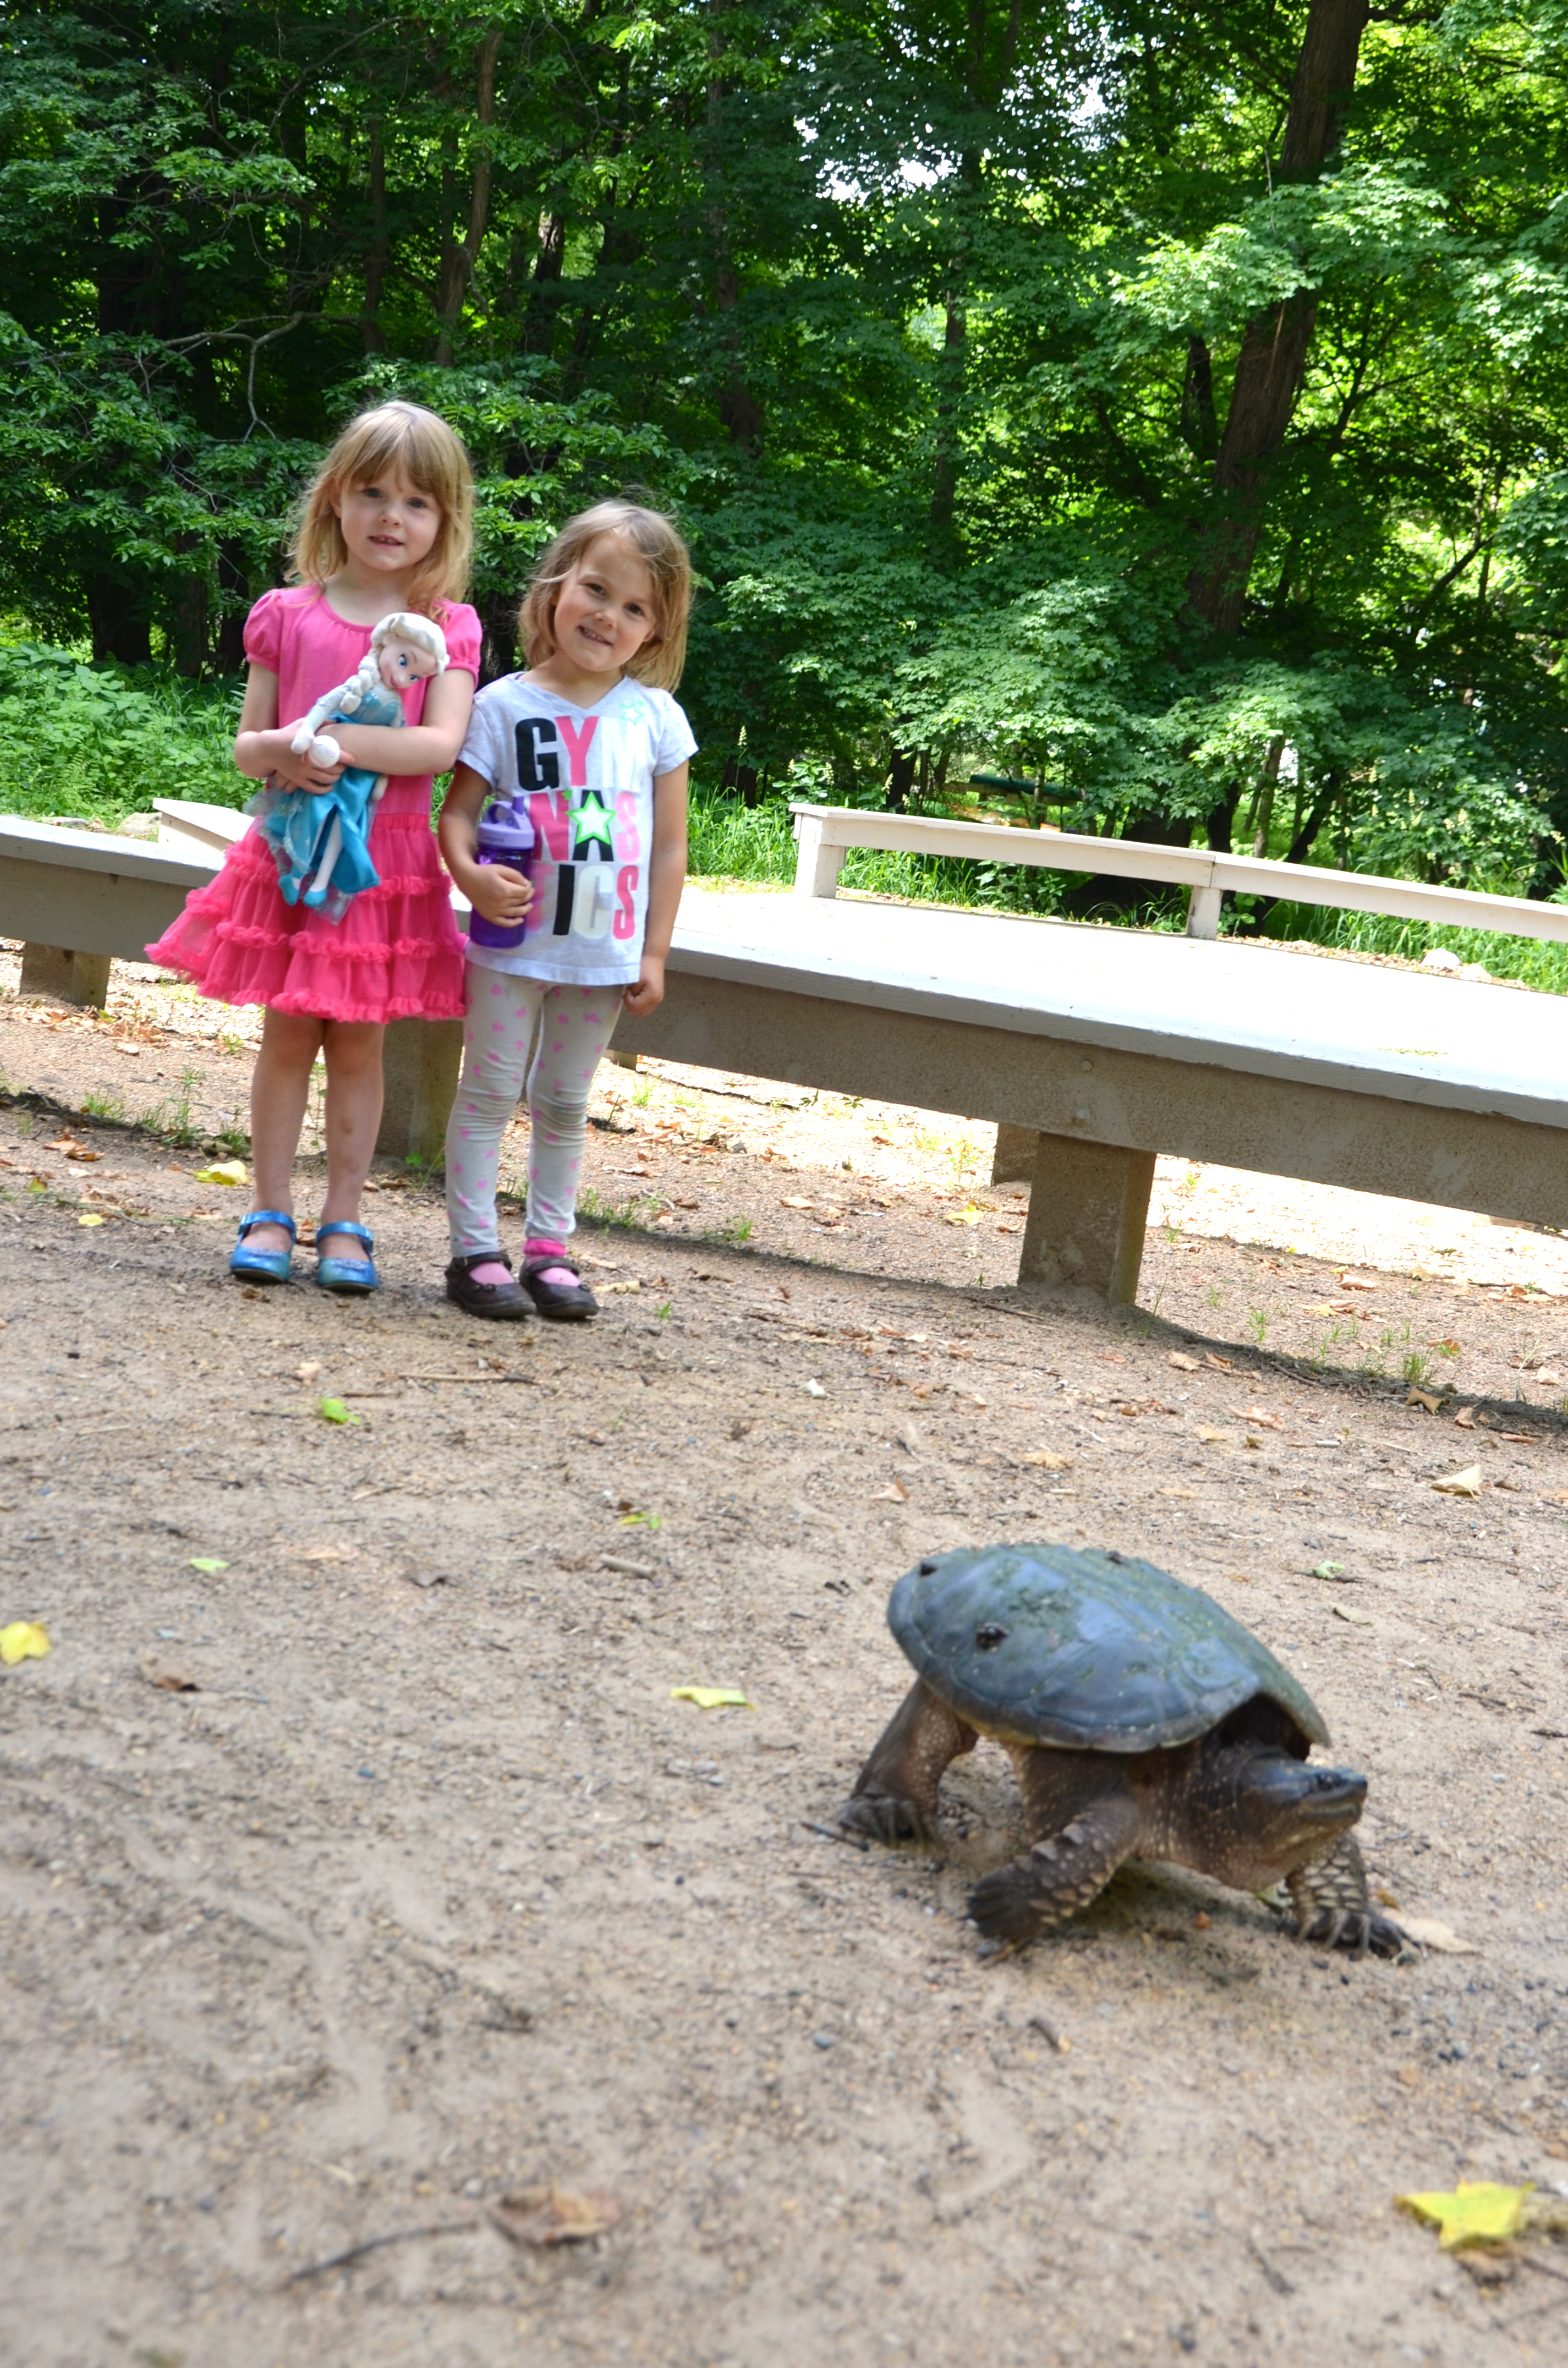 After working on the deck some more, we planted a fairy garden…
 And the girls looked to see if they could find any trace of tiny magical visitors…
 Alethea took her very first ballet class…
 And she loved every minute of it…
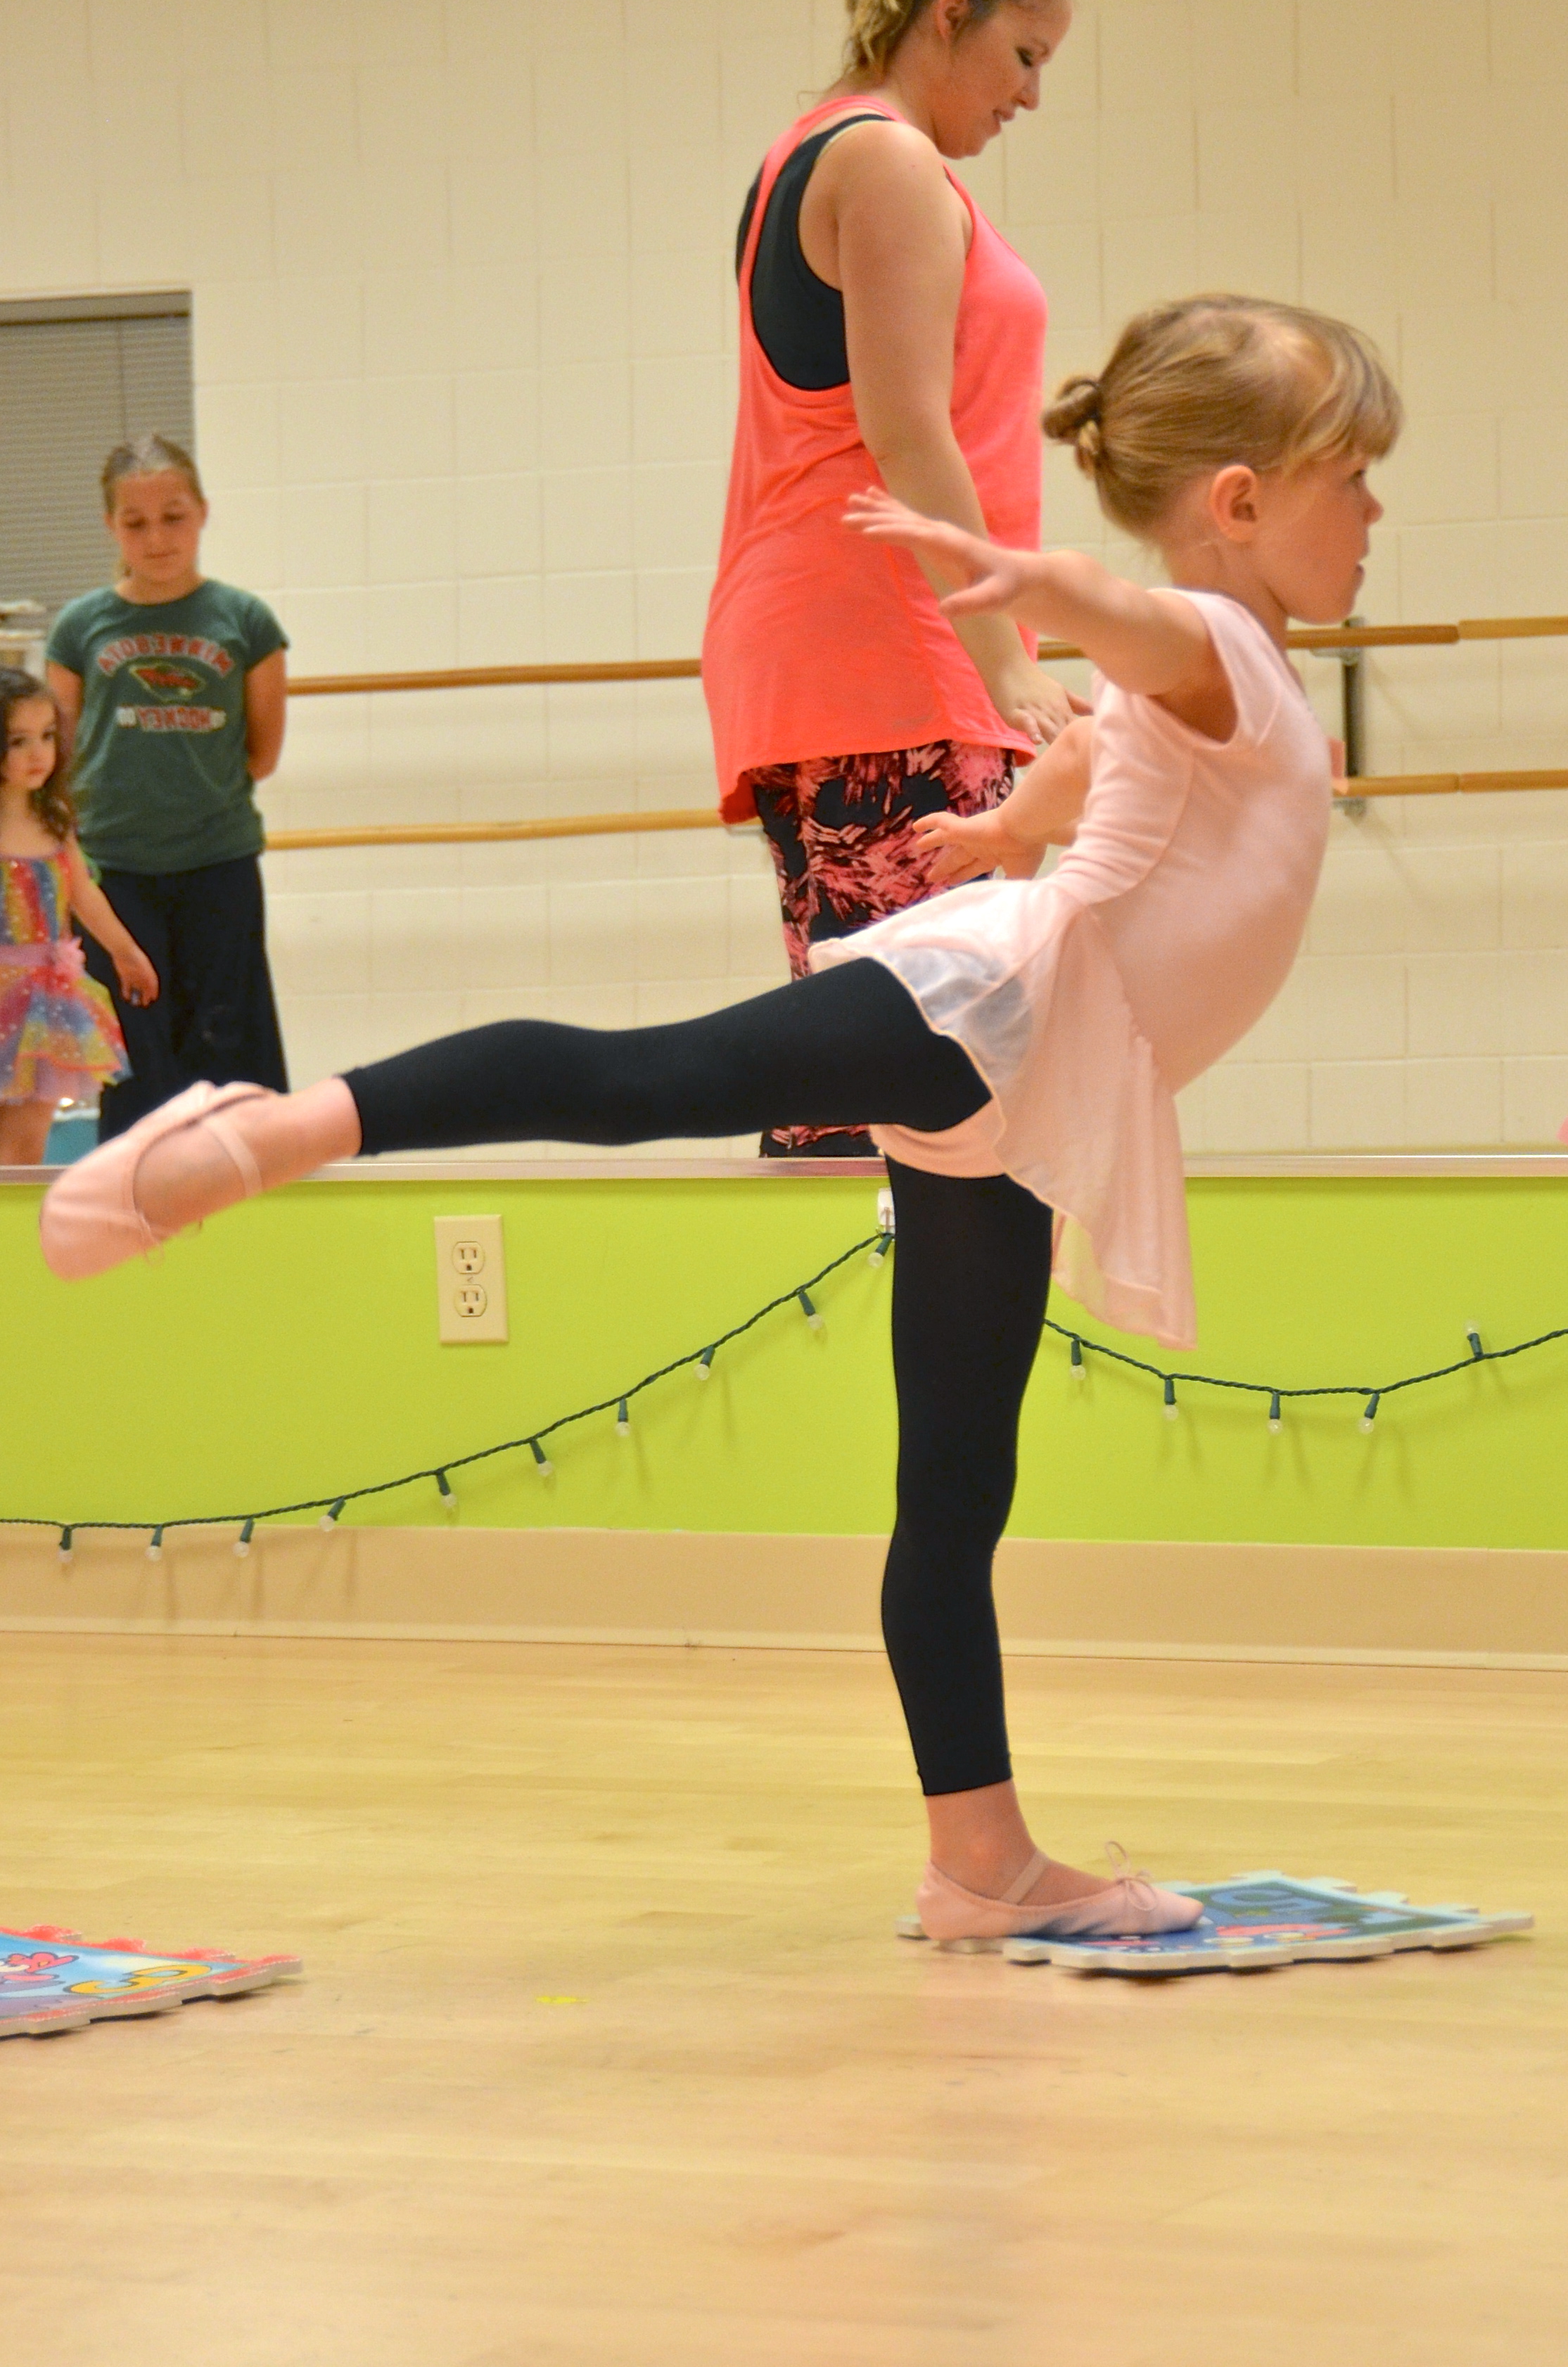 All that along with a couple parties, trips to the beach, hanging out with friends, and lots more working on the deck made for a busy, but good month. And spoiler alert for the “What We Did This Summer: July” post, the deck still isn’t done and we’re not exactly sure when it will be. It’s ended up being a beast of a project, but we keep telling ourselves, “It will be so nice when it’s done.”