TTAT: Efficient Cleaning

Hurray!  Lydia’s ears seem to finally be on the mend and I’m back with a real Tips and Tricks Tuesday post for you this week, complete with cute kid pictures of Alethea cleaning things.  (Apparently I’ve never made Lydia clean anything… there are no pictures anyway.  Typical youngest child getting away with stuff, I’d say.)

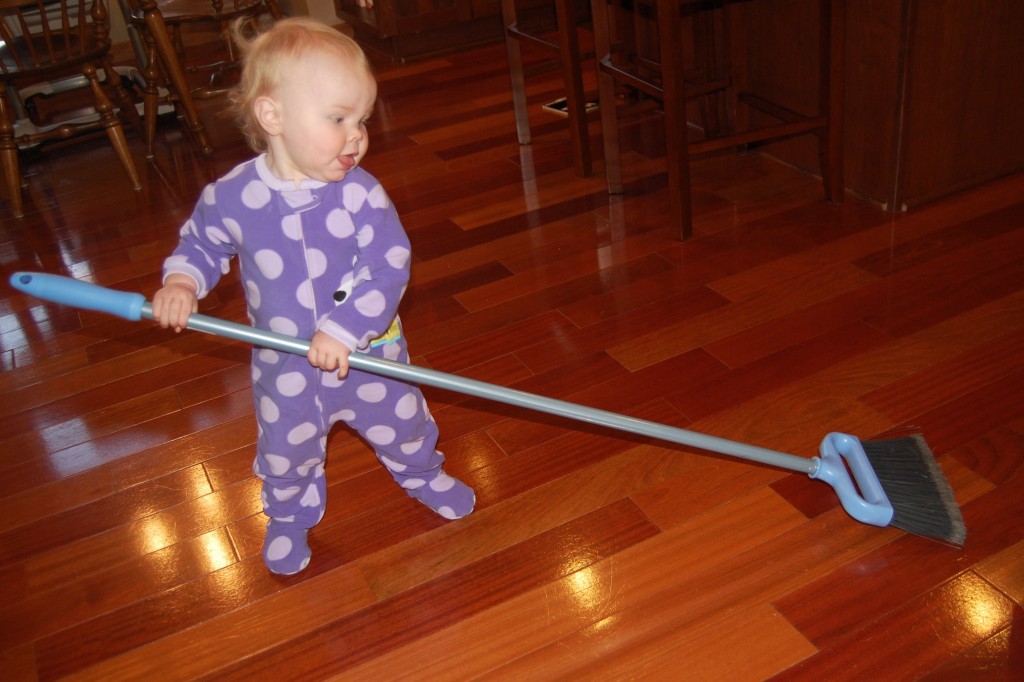
Alethea Sweeping (October 2010)
And now to start with a disclaimer…. these are tricks I’ve been using lately to get and keep my house clean and organized.  I feel like I’m getting more efficient at getting stuff done around the house and that, in general, the level of organization is going up in my house over time, which is a fantastic feeling.  So this has been working really well for me and I thought I’d share, but I’m sure there are about a bazillion other ways one might proceed to clean one’s house, so no hard feelings if these tips aren’t right for you.  Promise!

Okay, so here’s tip number one, a quick and easy one too, I call it… On the Move Cleaning.  So if your house is like mine, and there are constantly projects going on and you have kids (or a husband) who may or may not always put things back where they belong, things can progress from ‘not that bad’ to ‘pretty awful’ to ‘total disaster’ in the blink of an eye.  One thing I do that takes hardly any time at all to prevent the ‘total disaster’ state is to clean as I’m moving through the house.

It works like this, say for example it’s breakfast time and I’m in the kitchen and realize that I need a box of cereal from the storage room in the basement, instead of just running downstairs and grabbing the cereal and coming back up, I take two quick seconds to look around my immediate area and see if there is anything that belongs in the basement that I can take with me.  Ah ha!  The tissue paper I bought at Target yesterday is sitting on the counter waiting to be stashed.  I grab the tissue and run down to the storage room, take another two seconds to toss the tissue paper into the tissue paper bin, grab my cereal and exit the room.

But wait, I look around the family room and notice that somehow, mysteriously, one of the kitchen dish towels has migrated down there.  I grab the towel, head back upstairs and toss the dirty towel into the kitchen laundry basket in the mudroom.  I then proceed back to the kitchen to make breakfast.

While typing that out makes it sound pretty involved, I’ve been doing it long enough that I barely even think about it anymore and it adds only seconds to whatever primary task I’m doing at the time.  And while it doesn’t mean we never have to do big ‘pick ups’ around the house, it does help maintain a margin of order in the midst of the chaos.

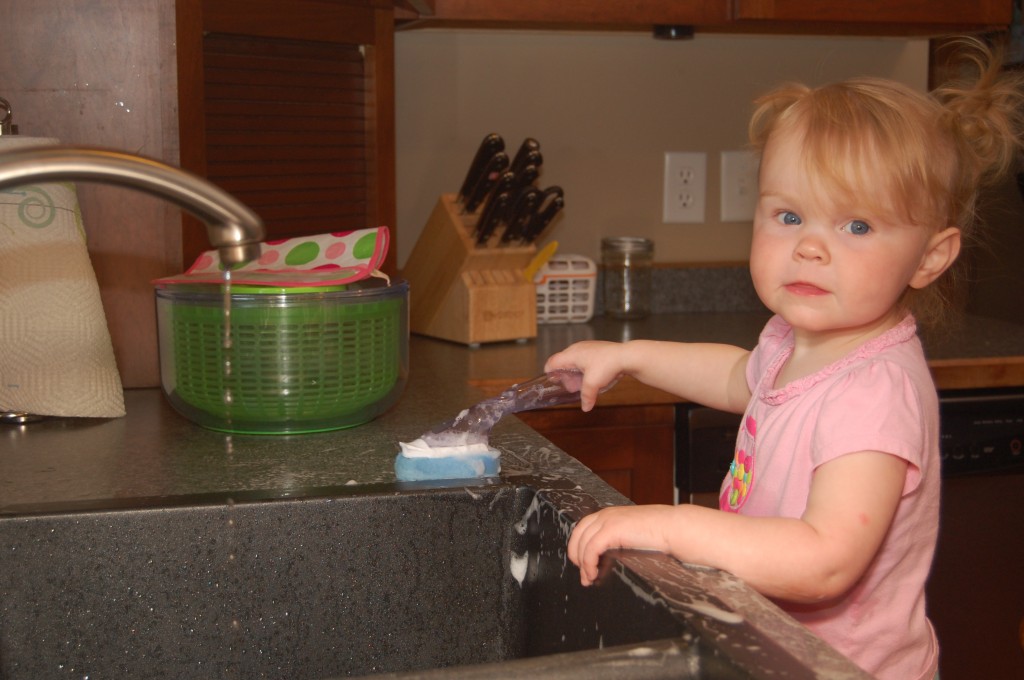
Alethea Doing Dishes (July 2011)
Tip number two is what I like to call Zone Cleaning.  Unlike On the Go Cleaning, which I use when I’m in the middle of something else, Zone Cleaning is what I do when I’m actually attempting to completely clean and declutter a space.

Here’s how it works… when I have any chunk of time (five minutes or two hours, the amount doesn’t matter), I pick an area in my house proportionate to my time allotment and clean just that area or zone.

Like the other day, I had finished giving the girls their bath and knew I had about an hour until I needed to start making lunch.  The upstairs didn’t seem too messy so I figured one hour was about what I needed to clean all the carpeted rooms upstairs (ie. three bedrooms, the hallway, stairs and the master closet).  By the end of the hour, we had made the beds, picked up everything off the floors, folded and put away the two baskets of clean laundry and vacuumed all the carpet by following the two rules of Zone Cleaning: 1) Don’t Leave the Zone and 2) Put Everything in its Place.

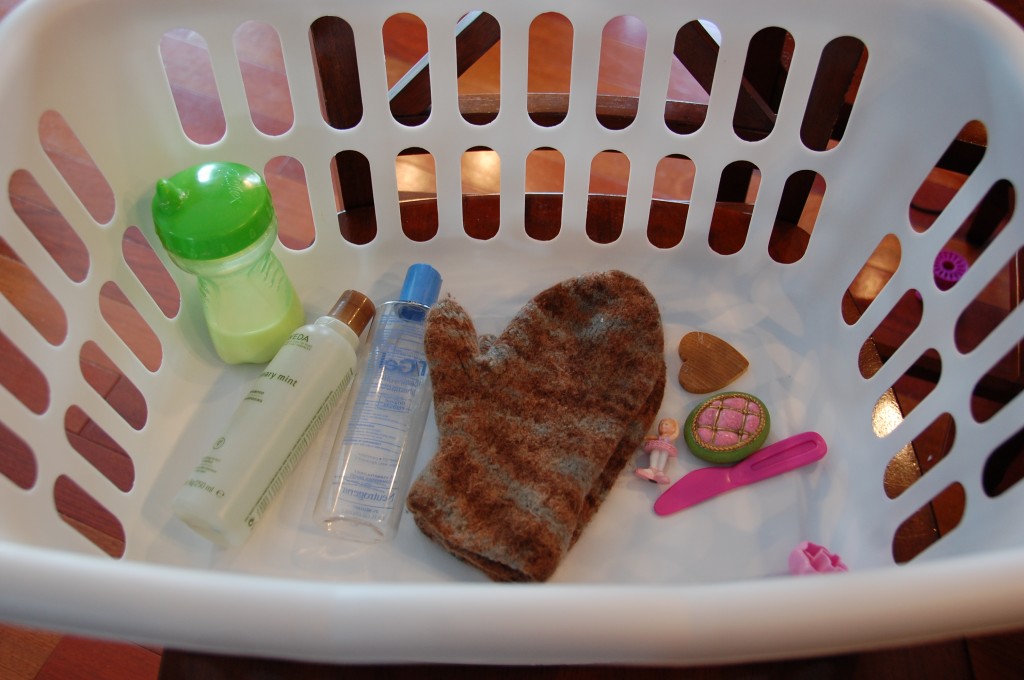
Any object out of place gets picked up and evaluated, does it belong within the zone?  The Clifford book on my bedroom floor… it doesn’t belong there, but it does belong within the zone, so I walked it over to Alethea’s room and asked her to put it on her bookshelf.  The pair of mittens on the drying rack in the closet?  They were done drying and aren’t stored upstairs, therefore they belong outside the zone and are put into the ‘out of zone’ basket to be dealt with at the end of the cleaning session.

This cleaning method works for me because it keeps me focused or ‘in the zone’ if you will, so I don’t start out cleaning the bathroom and end up distracted cleaning a whole other part of the house.  It also works because it’s flexible.  If I have five minutes I can zone clean a kitchen counter or a shelf in the closet.  If I have a couple hours, I can get a whole floor of the house done.

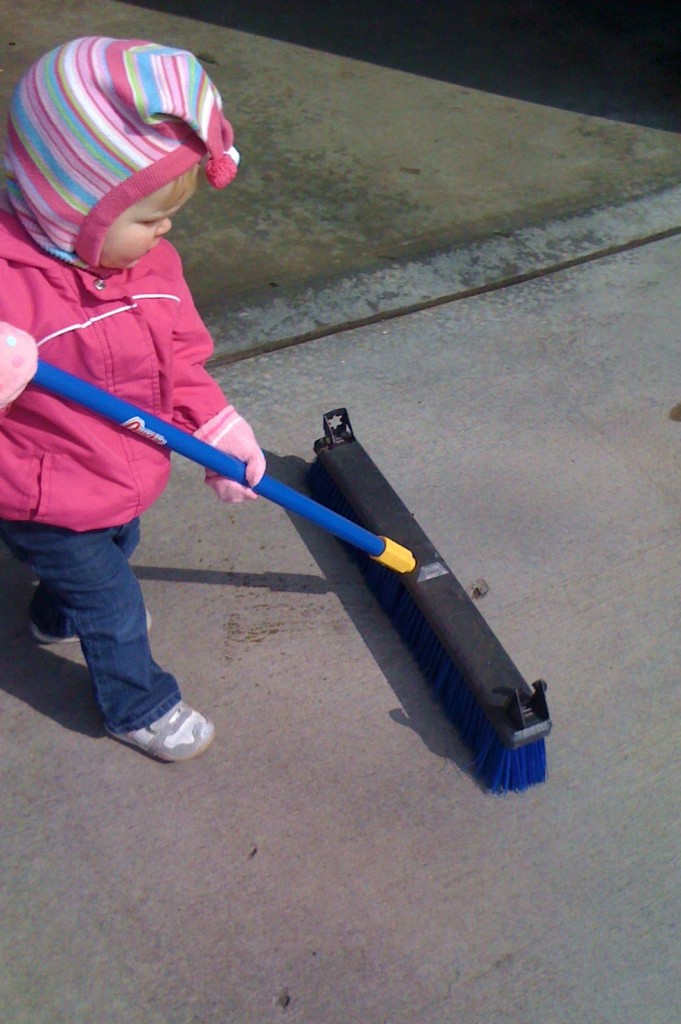
Alethea sweeping the driveway (March 2011)
So there’s my efficient cleaning tips for the day and now it’s your turn.  What tricks do you use to save time and work quickly while you clean?  Do share!

Pink Shoes Haikus

Pink shoes, loved so much
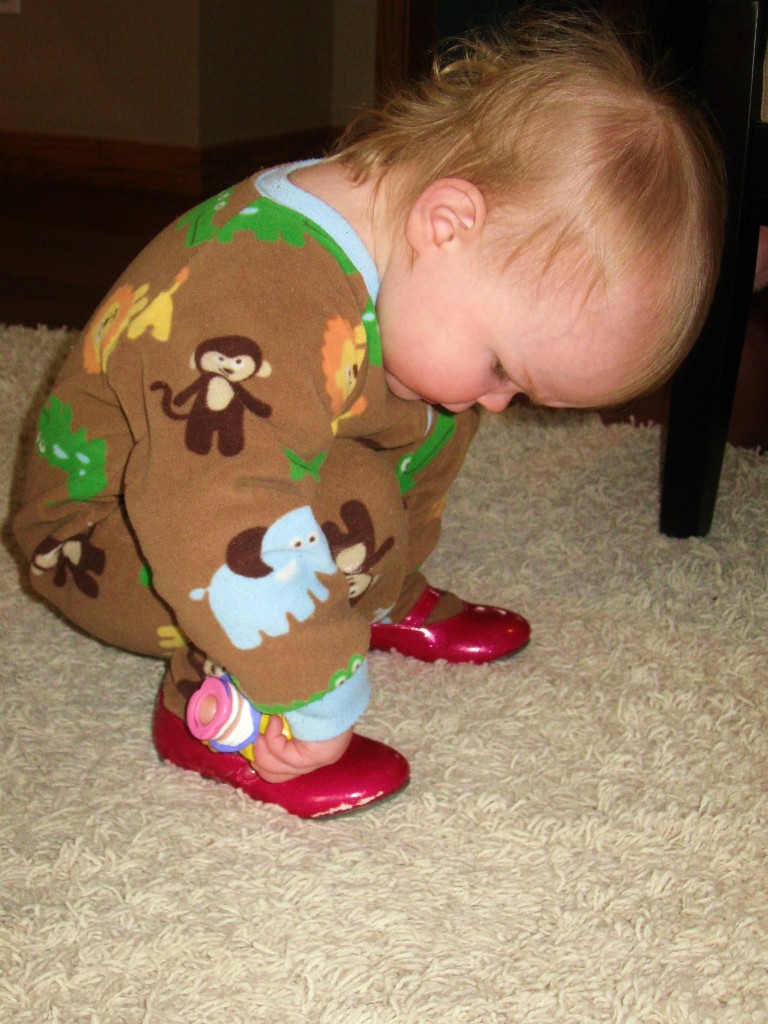
Even go with pajamas
Alethea style

Pink Shoes for Easter
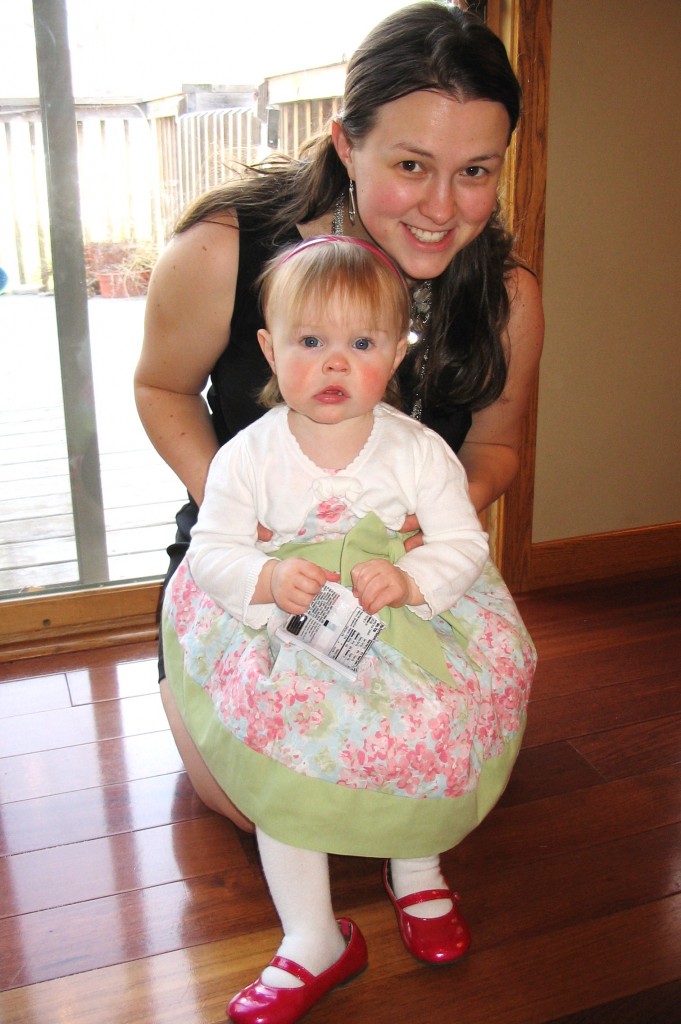
Special occasion footwear
At its very best

Always the Pink Shoes
Never quality sneakers
She knows what she wants

Pink Shoes for camping
And Pink Shoes for fishing too
Versatile Pink Shoes

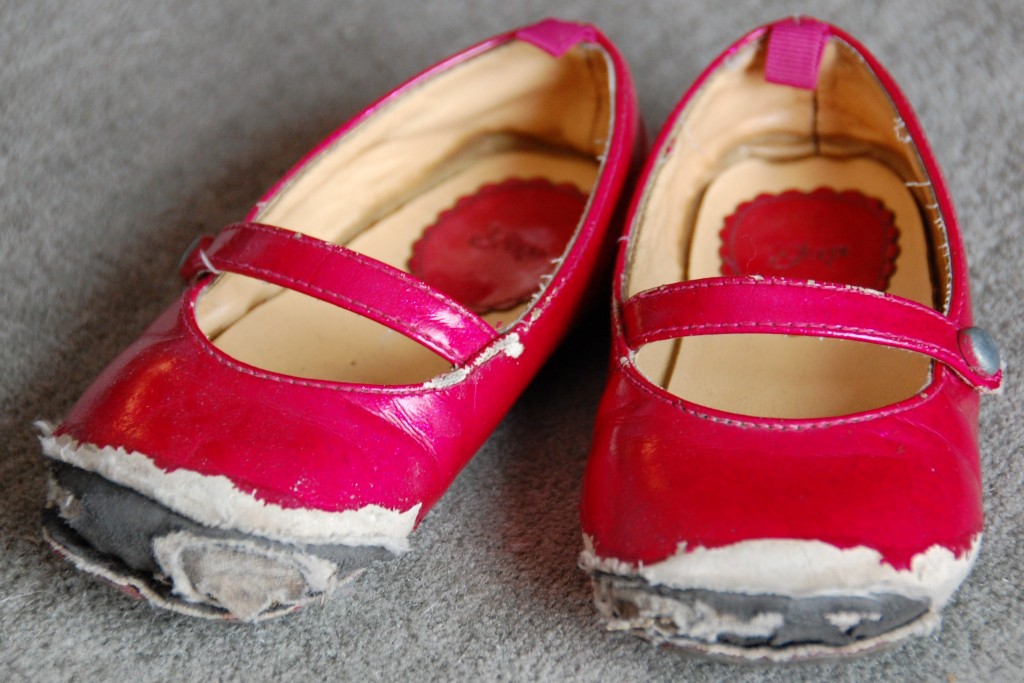
Pink Shoes sprouting holes
Toes starting to peek out now
The unthinkable

And now sweet sorrow
Hello Hello Kitty boots
Fare thee well Pink Shoes

TATT: Phoning It In

Here’s a tip for you:

When your two year old wakes up crying Tuesday morning because her ears hurt and she’s running a temp, and then gags while coughing, which necessitates a cleaning of the living room couch, that is the moment when the rules fly out the window and you find yourself doing everything you said you’d NEVER do as a mom, aka…

Letting the kids watch their entire week’s worth of TV time in one morning.
Letting the littlest one fall asleep two hours before nap time, sitting in her chair, still wrapped in a towel from bath time.

Feeding them animal crackers and juice boxes for lunch.
Phoning it in on your Tips and Tricks Tuesday post, even though you sort of phoned it in last week too.

It’s been one of those days around here.  I’m learning as a mom that there are days you thrive and there are days you just survive.  I’m also trying to learn to be okay with that.

TATT: Peanut Butter Storage

Welcome to this Ash Wednesday edition of Tips and Tricks Tuesday.  Sorry I’m a little behind this week.  We’ll make this one quick for you today…

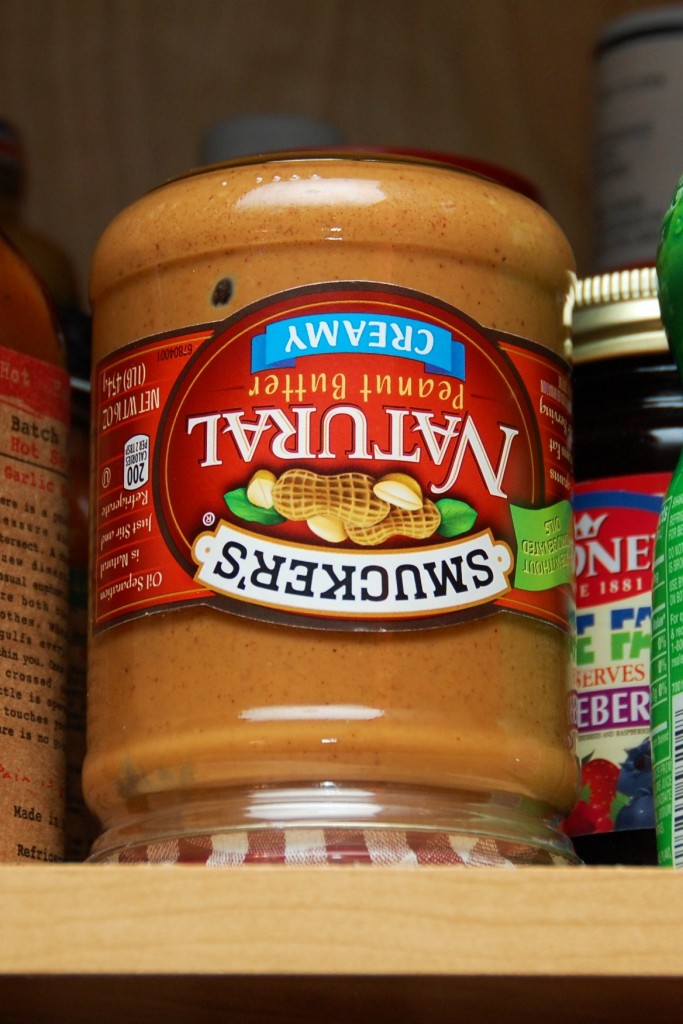
If your house is anything like ours, peanut butter is an indispensable part of your weekly diet and there is much consternation if ever the peanut butter jar runs dry.  My solution to avoid a peanut butter supply catastrophe is to always have a jar in the cupboard in reserve.  When that jar gets opened and moved to the fridge, I put peanut butter on my shopping list, so the back-up jar gets restocked. Crisis averted.

Here’s the thing though.  I’m sort of a peanut butter snob.  I’ll only buy it if the ingredients label says: “Peanuts, Salt.”  That’s it… just two things.  And I love it that way.  I love it, except when I have to open a new jar and attempt to stir in all the oil that has separated and is now sitting on top of a peanuty rock.  I always end up creating a huge mess and getting oil all down the sides of the jar and on my hands and still the bottom of the jar is completely hard and… arrrrggghhh!  It was almost enough to make me buy a jar of Jiff!

Then one day a light bulb went on in my head and I thought…

Why not just store the jar upside-down?  And what do you know, it worked!  The oil all went to the BOTTOM of the jar and, yes, I still had to stir it on first opening, but it was waaaaayyy easier.  The oil came back up through the jar, working with me, instead of me trying to escape all over the sides.

So there you go.  If you are a natural peanut butter lover like me, keep your spare jar on it’s head for easier handling.  Or you could get one of these.  Totally up to you!

TATT: Green Cleaning

Welcome to the second ever Tips And Tricks Tuesday.  This week I give you:

Five Green Cleaning Products I Love
I’ll start this list with a disclaimer that I am not the world’s greenest person.  I’d say on a scale of 1-10 where 1 is the gas-guzzler driving, steak eating, litter bug and 10 is the tree hugging, organic foods only, save the rainforest T shirt wearer, I’d be lucky to come in at a solid 6. Fortunately, though, I’ve found five great cleaning products that save me time and money that also come with the added bonus of being earth friendly as well. Love it when that happens!

#5 Vinegar and Baking Soda

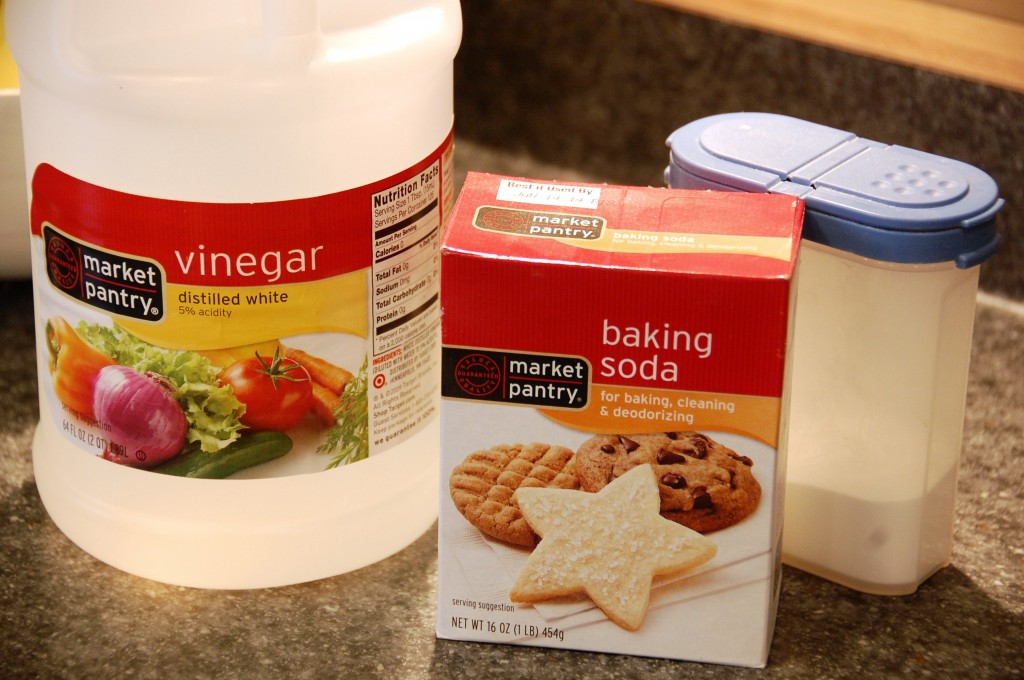
Nothing earth shattering here, I know.  But when it comes to cheap, easy and green, the tried and true Vinegar and Baking Soda combo are hard to beat.  TIP: For a fresh smelling garbage disposal, pour in a generous amount of baking soda, let it sit for an hour or two and then come back and pour in a cup of vinegar.  After it’s done foaming, run the disposal with cold water and then enjoy a deep odor-free breath of kitchen air.  Ahhh!

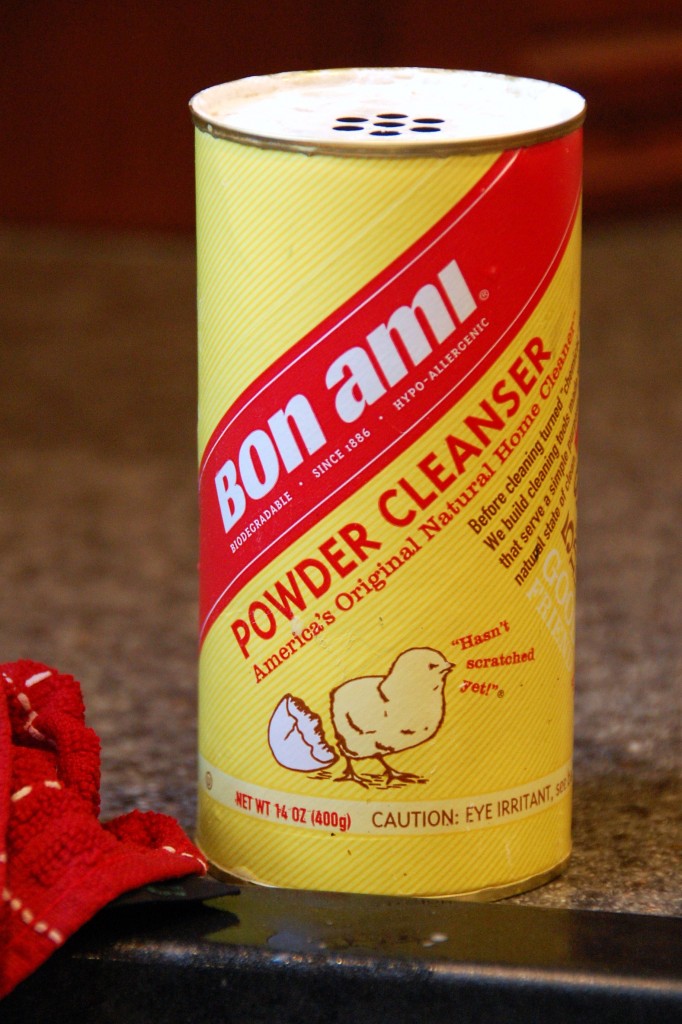
#4 Bon Ami Powdered CleanserPerhaps you remember your mother or even your grandmother using Bon Ami while doing the dishes.  That’s because this natural cleaning powder was around back before green was the thing to be.  It’s inexpensive and you should be able to find it in most any grocery store.  TIP: Forget the scratchy scrub pad that might just scratch up your pans too!  Bon Ami and a dish cloth is all I ever use to get off the most baked on food and as the little chick says, it “Hasn’t scratched yet!”

#3 Norwex Microfiber Enviro Cloths

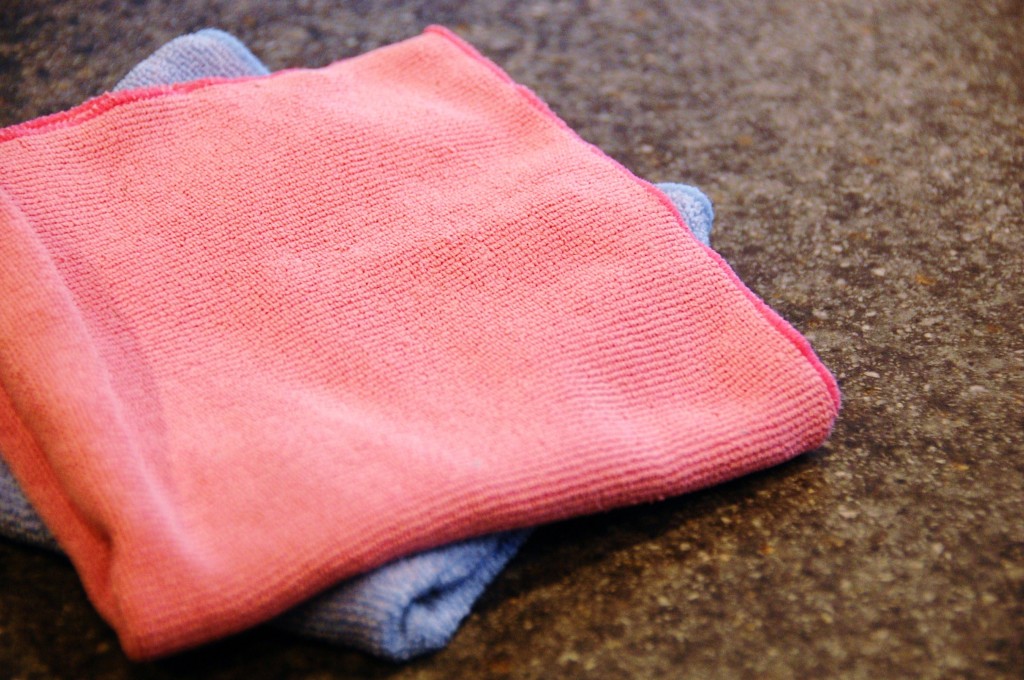
I have a few different microfiber cloths, but my Norwex ones are my favorites.  Did you know that when wet, Norwex microfiber picks up, traps and holds 99.94% of bacteria on a smooth surface?  I love knowing that using these cloths, I’m disinfecting my house using nothing harsher than good old H2O.  TIP: Microfiber cloths are great for cleaning almost any surface in your house, from carpets and sofas, to counters and toilets.  I especially love mine for disinfecting delicate surfaces like my ivory piano keys.

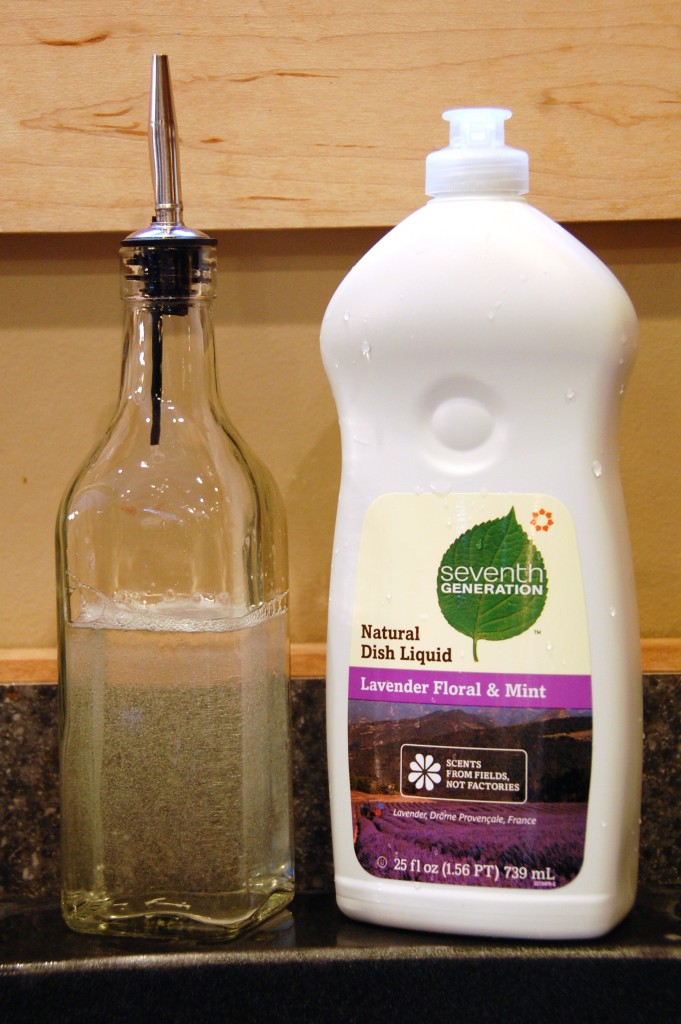
#2 Seventh Generation Lavender Floral & Mint Dish Liquid
I love how this soap powers through greasy messes, that it has a subtle pleasant scent and that it doesn’t cost much more than the other brand name dish liquids.  It’s the only kind I buy.  TIP: Don’t keep a plastic bottle on display!  Transfer your dish liquid into an inexpensive oil cruet for a more stylish way to keep soap near at hand.

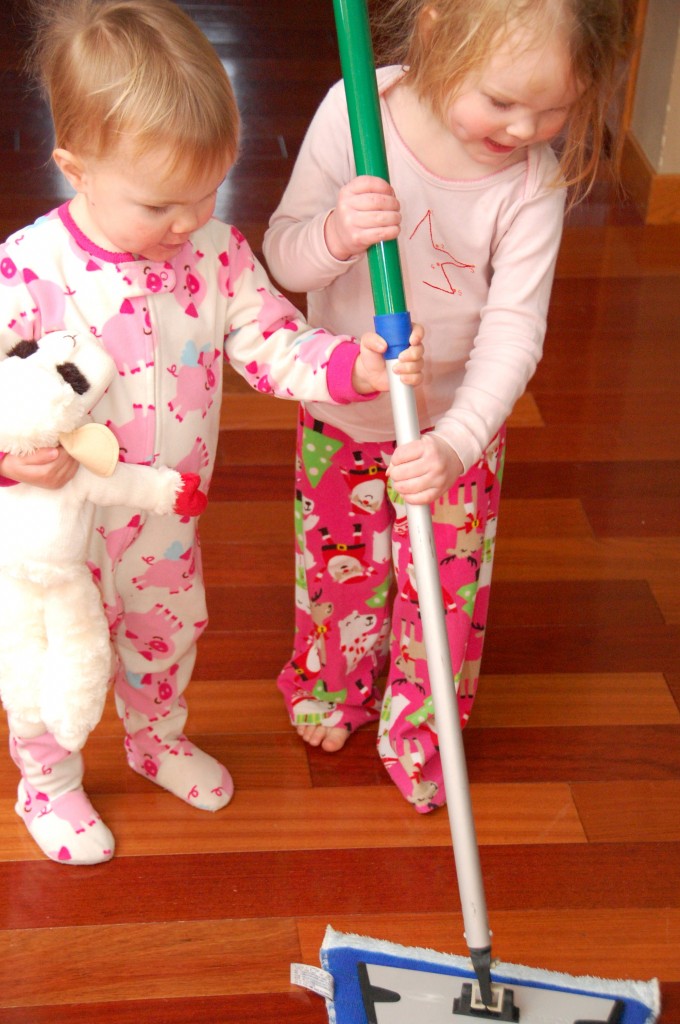
#1 Norwex Microfiber Mop System
The number one thing people notice about our house is our floors and the first question they seem to ask is, “How do you clean your hardwood floors that they are so shiny?”  Answer: the Norwex Mop System.  Just like the cloths above, it cleans and disinfects with just water, which I so appreciated when my kiddos were learning to crawl.  Now if only they were as eager to get dressed as they are to mop the floor!

And there you go.  The five green cleaning products I love most.  And no, I was not paid by any company to write this post.  I bought these products with my own money and I use them on a daily basis, just because they work for me.

So now tell me, what’s your favorite cleaning product?

Lotsa Links

I know I don’t usually include many external links in my posts, but I’ve been realizing recently that some of my favorite bloggers do regular link posts and I really appreciate the introduction to material I might not find on my own.  That said, feel free to ignore this post if you’re so inclined…

This list reminds me so much of someone who lives in my house.

I think I’d rather eat worms than touch this ‘salad’.  (Read the ingredients list!)

I always thought I was just old fashioned.  This says I’m just plain wrong.

2 Ingredient Healthy Pancakes were a hit again at lunch today.

Stuff like this makes me so unbelievably frustrated.

I’ll be back tomorrow with the second installment of Tips And Tricks Tuesdays.

Happy Monday, Y’all!

Piano Studio Makeover

I’ve always said that just about the time I get done decorating my house, I’m going to want to go back and do rooms over again.  However, as it turns out, I couldn’t even make it that long before I made-over a make-over.

Here’s what went down at our house recently…

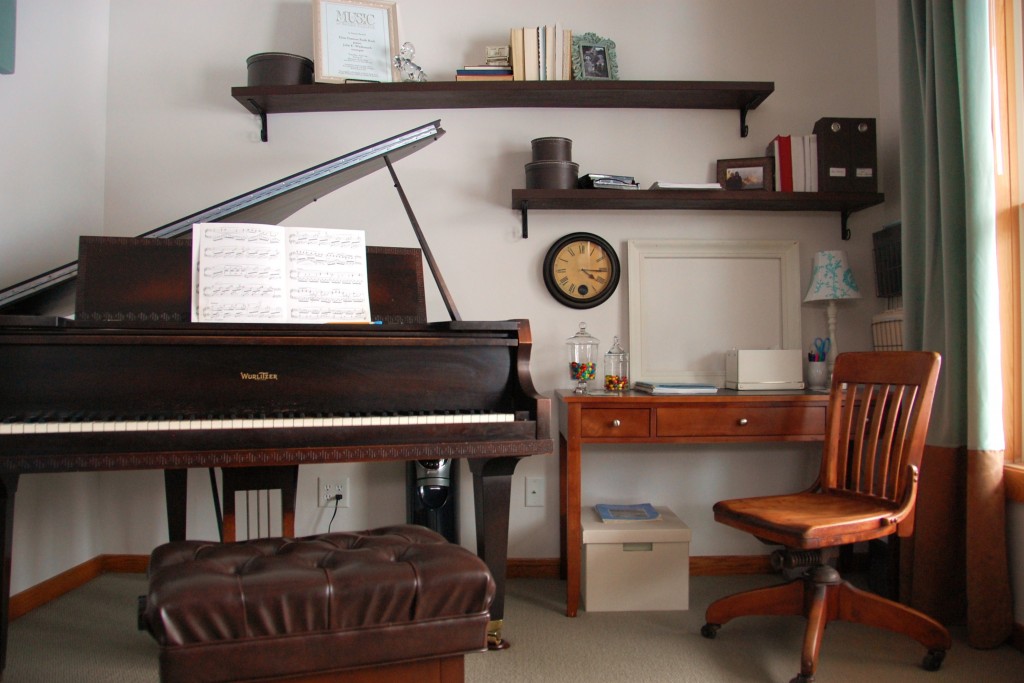
The last time you saw my office was in 2010, right after we’d finished installing the floating shelves that we made out of a hollow core door.

I was really pleased with how they turned out.  Unfortunately, though, the magazine holders on the right side of the lower shelf were a bit heavy and had to be removed after causing some serious sagging issues.  So the shelves that were supposed to get my office organized ended up having weight restrictions.  No good.  That along with having piano students doing more contests and events meant that my desk area slowly succumbed do some serious paper and music book clutter.

Enter my easy two step organizational plan:
1) Hang wall file holder for organizing frequently accessed teaching materials
2) Use an old picture frame to create a pin board for random papers

So I found an wall file organizer I liked online, ordered it, and the Saturday morning after it arrived at our house, I grabbed a big ol’ frame from my stash in the garage and set them up on my desk to figure out where I was going to hang everything.  A nice little two-step Saturday morning project…

It was at that moment that I realized if I was ever going to add brackets to the shelves to fix the sagging issues, it would be better not to have a whole bunch of stuff hanging in the way that I’d just have to rehang later.  So then I figured that my plan really needed a trip to Home Depot to become a three-step all day Saturday plan:

1) Buy and hang wall file holder for organizing frequently accessed teaching materials
2) Use an old picture frame to create a pin board for random papers
3) Add brackets to shelves to make them useful again

But then it occurred to me that I really have never liked my office paint color.  Oh, I know I said I did.  I defended my color choice up and down.  What else was I supposed to do when Peter said it was “the same color they use in funeral homes”?  But really, it was a horribly bland, slightly peachy, beige color.  It had no interest whatsoever, like the color they use in funeral parlors.

So why install brackets that I’d just have to paint around later?  Why not just have a four-step, takes-all-weekend get the office organized plan?

1) Buy and hang wall file holder for organizing frequently accessed teaching materials
2) Use an old picture frame to create a pin board for random papers
3) Add brackets to shelves to make them useful again
4) PAINT!

What color though, right?  I’ll give you one guess.  What is bright and fresh and clean and would make a dark brown piano stand out like nobody’s business?  White of course!

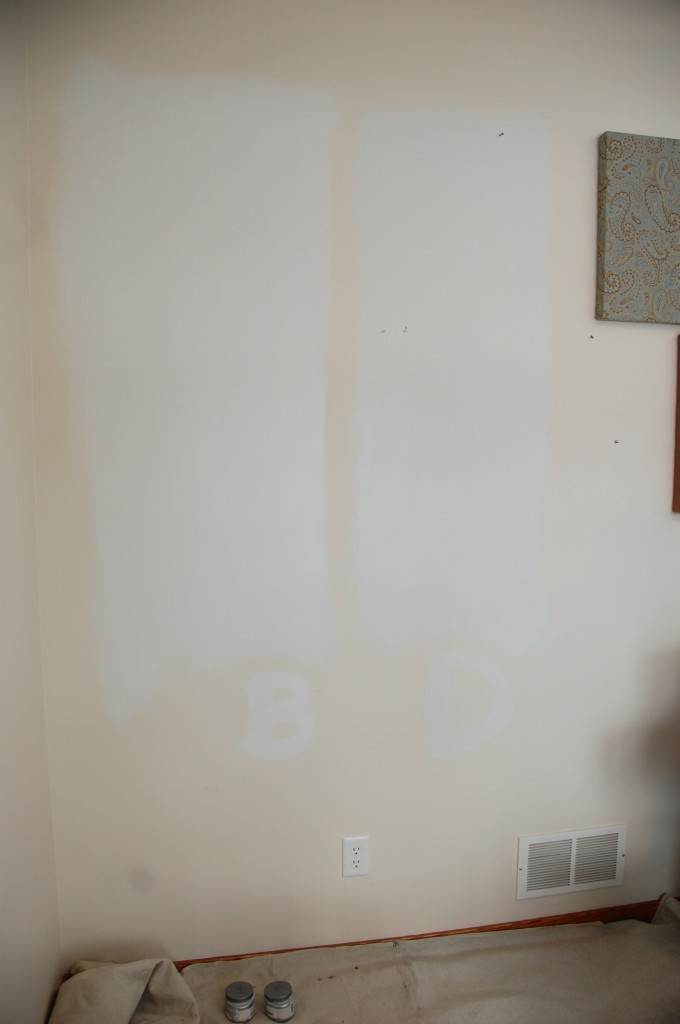
After running through my Sherwin Williams paint color fandeck, I was down to two choices.  On the left is what I went with, Snowbound, reject color on right is Snowfall.  Alethea was really disappointed when I told her my choice.  She was rooting for another shade of white called Marshmallow.

Anyway, I sensed as I headed out to the paint store Saturday afternoon to get a gallon of the winning color that perhaps Peter was a little apprehensive about me being able to complete a full room painting project before my students began arriving on Monday afternoon.  But, whatever, at this point in my DIY career I can pretty much paint a wall in my sleep right?

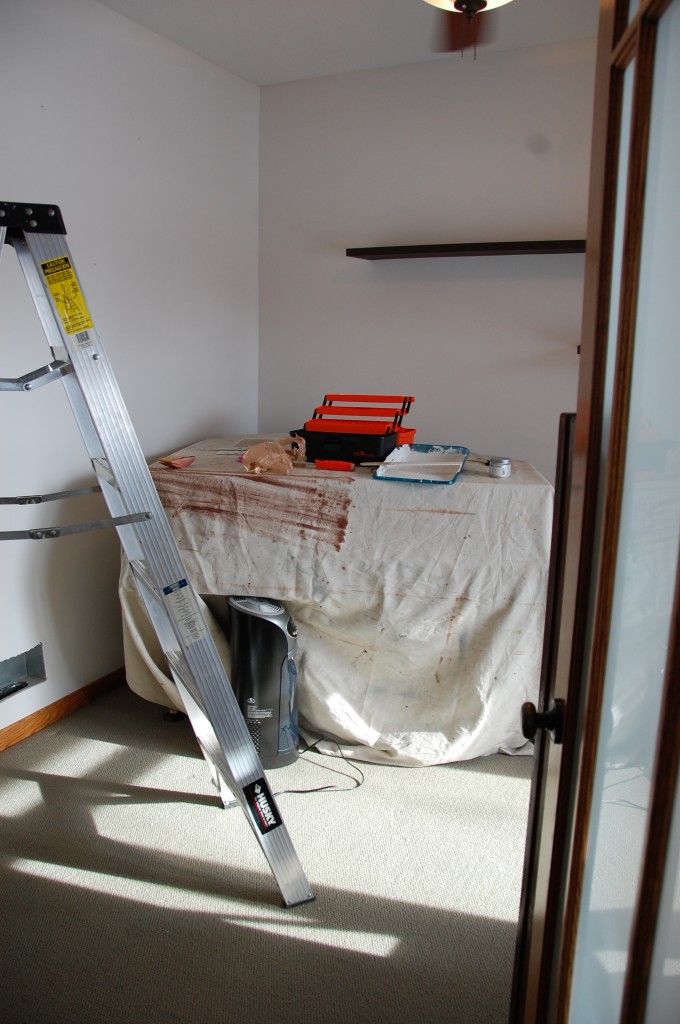
The scene in my office Monday afternoon at 1:30pm…

Oi!  So yeah, in the end I did get it picked up enough to teach, but had to pull all the supplies out again and paint some more on Monday night and some more during nap time on Tuesday and literally finished the second coat seven minutes before my first Tuesday student arrived.  So much for my simple four-step one weekend project, huh?

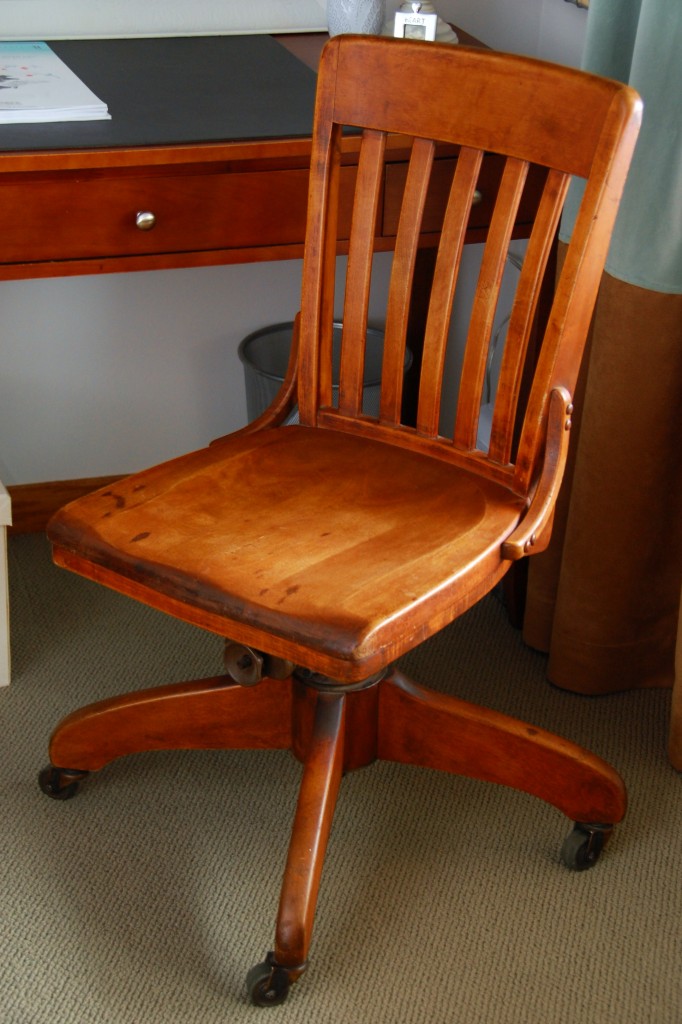
So then, once I blew my timeline, I figured I might as well blow the scope of the project as well, so in addition to painting, adding a wall organizer and adding brackets to the shelves, I also scored a new desk chair thanks to Mr. Craig and his fabulous list:

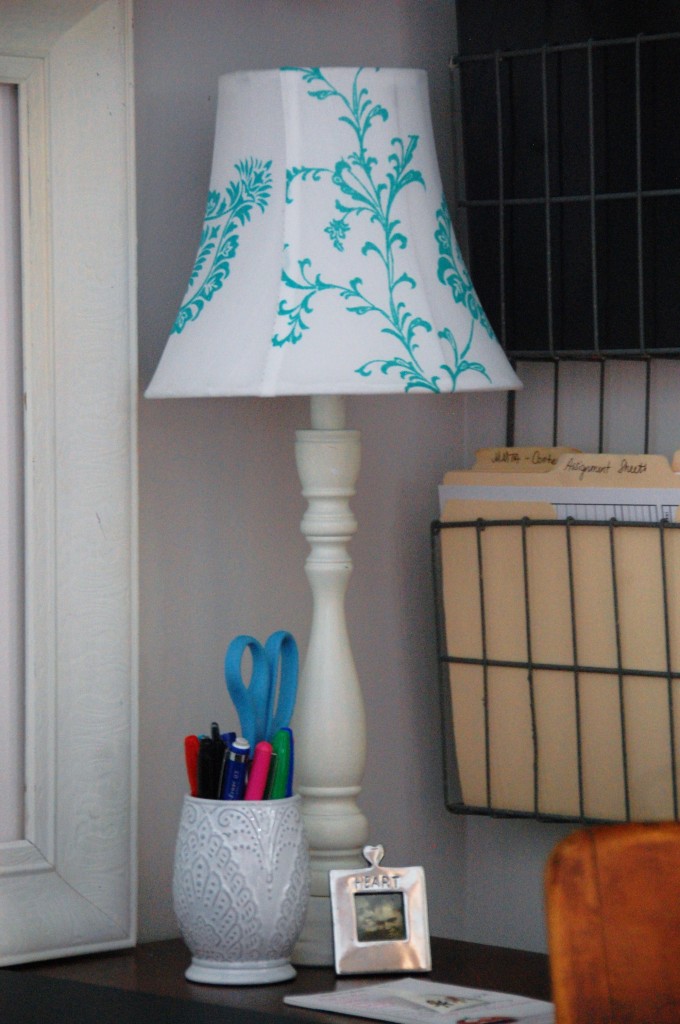
And got a new lamp with shade for $5.20 at the thrift store today:

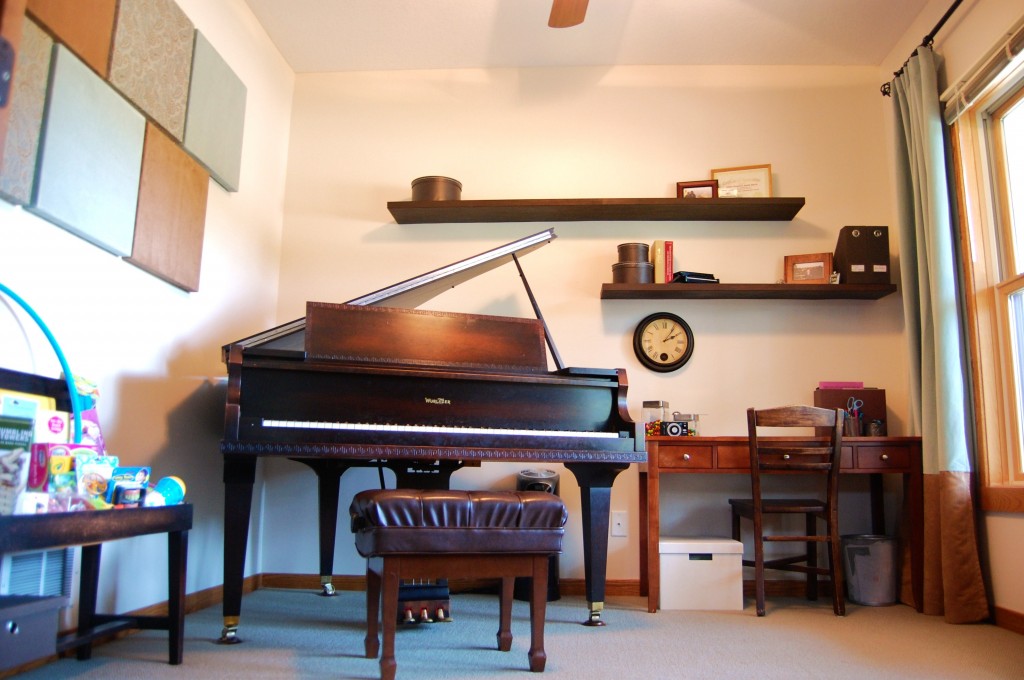
So as of this afternoon, my newly appointed office now looks like this:

Clearly the frame to bulletin board transformation hasn’t happened yet.  I’m also thinking that I’d really love a new desk if I could find one for a thrifty price.  Something I can paint to balance out all of the natural wood tones in the space.

That said, I’m really happy with the changes.  It feels so much more ME now.  A little more feminine, a few more vintage touches and a whole lot more white.

TATT: A Simple Toddler Lunch

Wanna guess what one of my 2013 goals was?  It was to blog at least twice a week.  You wouldn’t have known that though, because I never blogged about it.  Oh the irony…

I’ve been thinking about it the past couple weeks and have decided for the first time in my blogging life, to attempt a weekly series.  I figure having a specific topic to write about on a specific day of the week adds some accountability and structure to my very unstructured, non-topic focused blog.  Therefore, I give you: Tips And Tricks Tuesdays… which does abbreviate to TATT, but will not (at least regularly) have anything at all to do with body art or the Telecommunications Authority of Trinidad and Tobago either.  No, Tuesdays will now be me sharing things that make my life a little simpler, easier, and more organized.  (And for that large percentage of my readership who sticks around strictly for pictures of the girls, I’ll try to sneak some of those in there too, okay?)

Hang on now, because here we go!

TIPS AND TRICKS TUESDAYS: A Simple Toddler Lunch
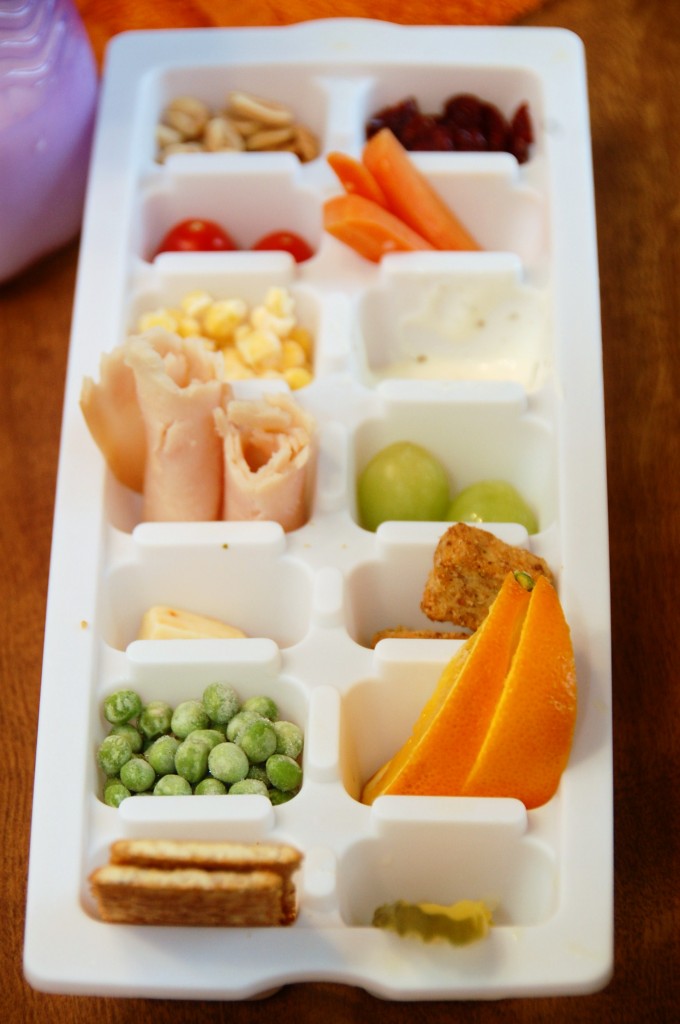
As the mother of two toddlers, I’m always searching for easy, healthy lunches to put on the table, because too often we get stuck in a rut alternating between PB&J and chicken nuggets when the lunch hour rolls around.  Most of my attempts at being creative have encountered resistance from my little connoisseurs, but we’ve had one resounding success: The Ice Cube Tray Sampler

I take two ice cube trays (I found our pair at the grocery store for $1) and fill each square up with whatever finger foods I can find in the kitchen, trying to get a rainbow of colors and a variety of textures.  At first I thought it might be challenging to find stuff to fill 12 squares, but it’s surprisingly easy.

We love crackers, croutons, pretzels sticks, cheese, lunch meat, bits of chicken or hamburger, frozen peas and corn, apple, orange, kiwi, banana and mango slices, pickles, cherry tomatoes, berries, carrot and celery sticks, ranch dip, raisins or other dried fruit, grapes, snow peas, etc, etc, etc.

I love whipping this out on days when I have zero mental energy and nothing in the cupboard seems to go with anything else.  It exposes the girls to the idea of trying lots of different foods and they think it’s so much fun.  They will keep me updated the whole meal through on how many empty squares they have, so it’s great for the counting skills too!

Yay for mealtime fun!

Okay, now it’s your turn!  What are your go to toddler meals?  Any tips or tricks to share?  I’d love some new ideas, so please leave yours in the comments!