TATT: Painting a Bathroom

It’s Tuesday, Y’all. We have a fresh several inches of snow on the ground. And a Tuesday in January with a blank slate of a world outside my door sounds the like perfect time to revive Tips And Tricks Tuesdays. Now, I’m not promising that I’ll be writing a TATT post every week, in fact, I’m pretty sure that’s not gonna happen, but I think it was a shame to let them die out entirely, so in the spirit of a new year and new beginnings, here we go…

Back in October I decided a main floor half-bathroom facelift was going to be my next home project to tackle. First order of business… paint. Now, I already knew I wanted to paint the room gray. And I already had quite a few shades of paint to choose from because I’ve used five different grays in various rooms in my house and I’ve got samples of a bunch more. So here’s how I got from a slew of possibilities to actual color on the walls.

4 Simple Tips for Painting a Bathroom
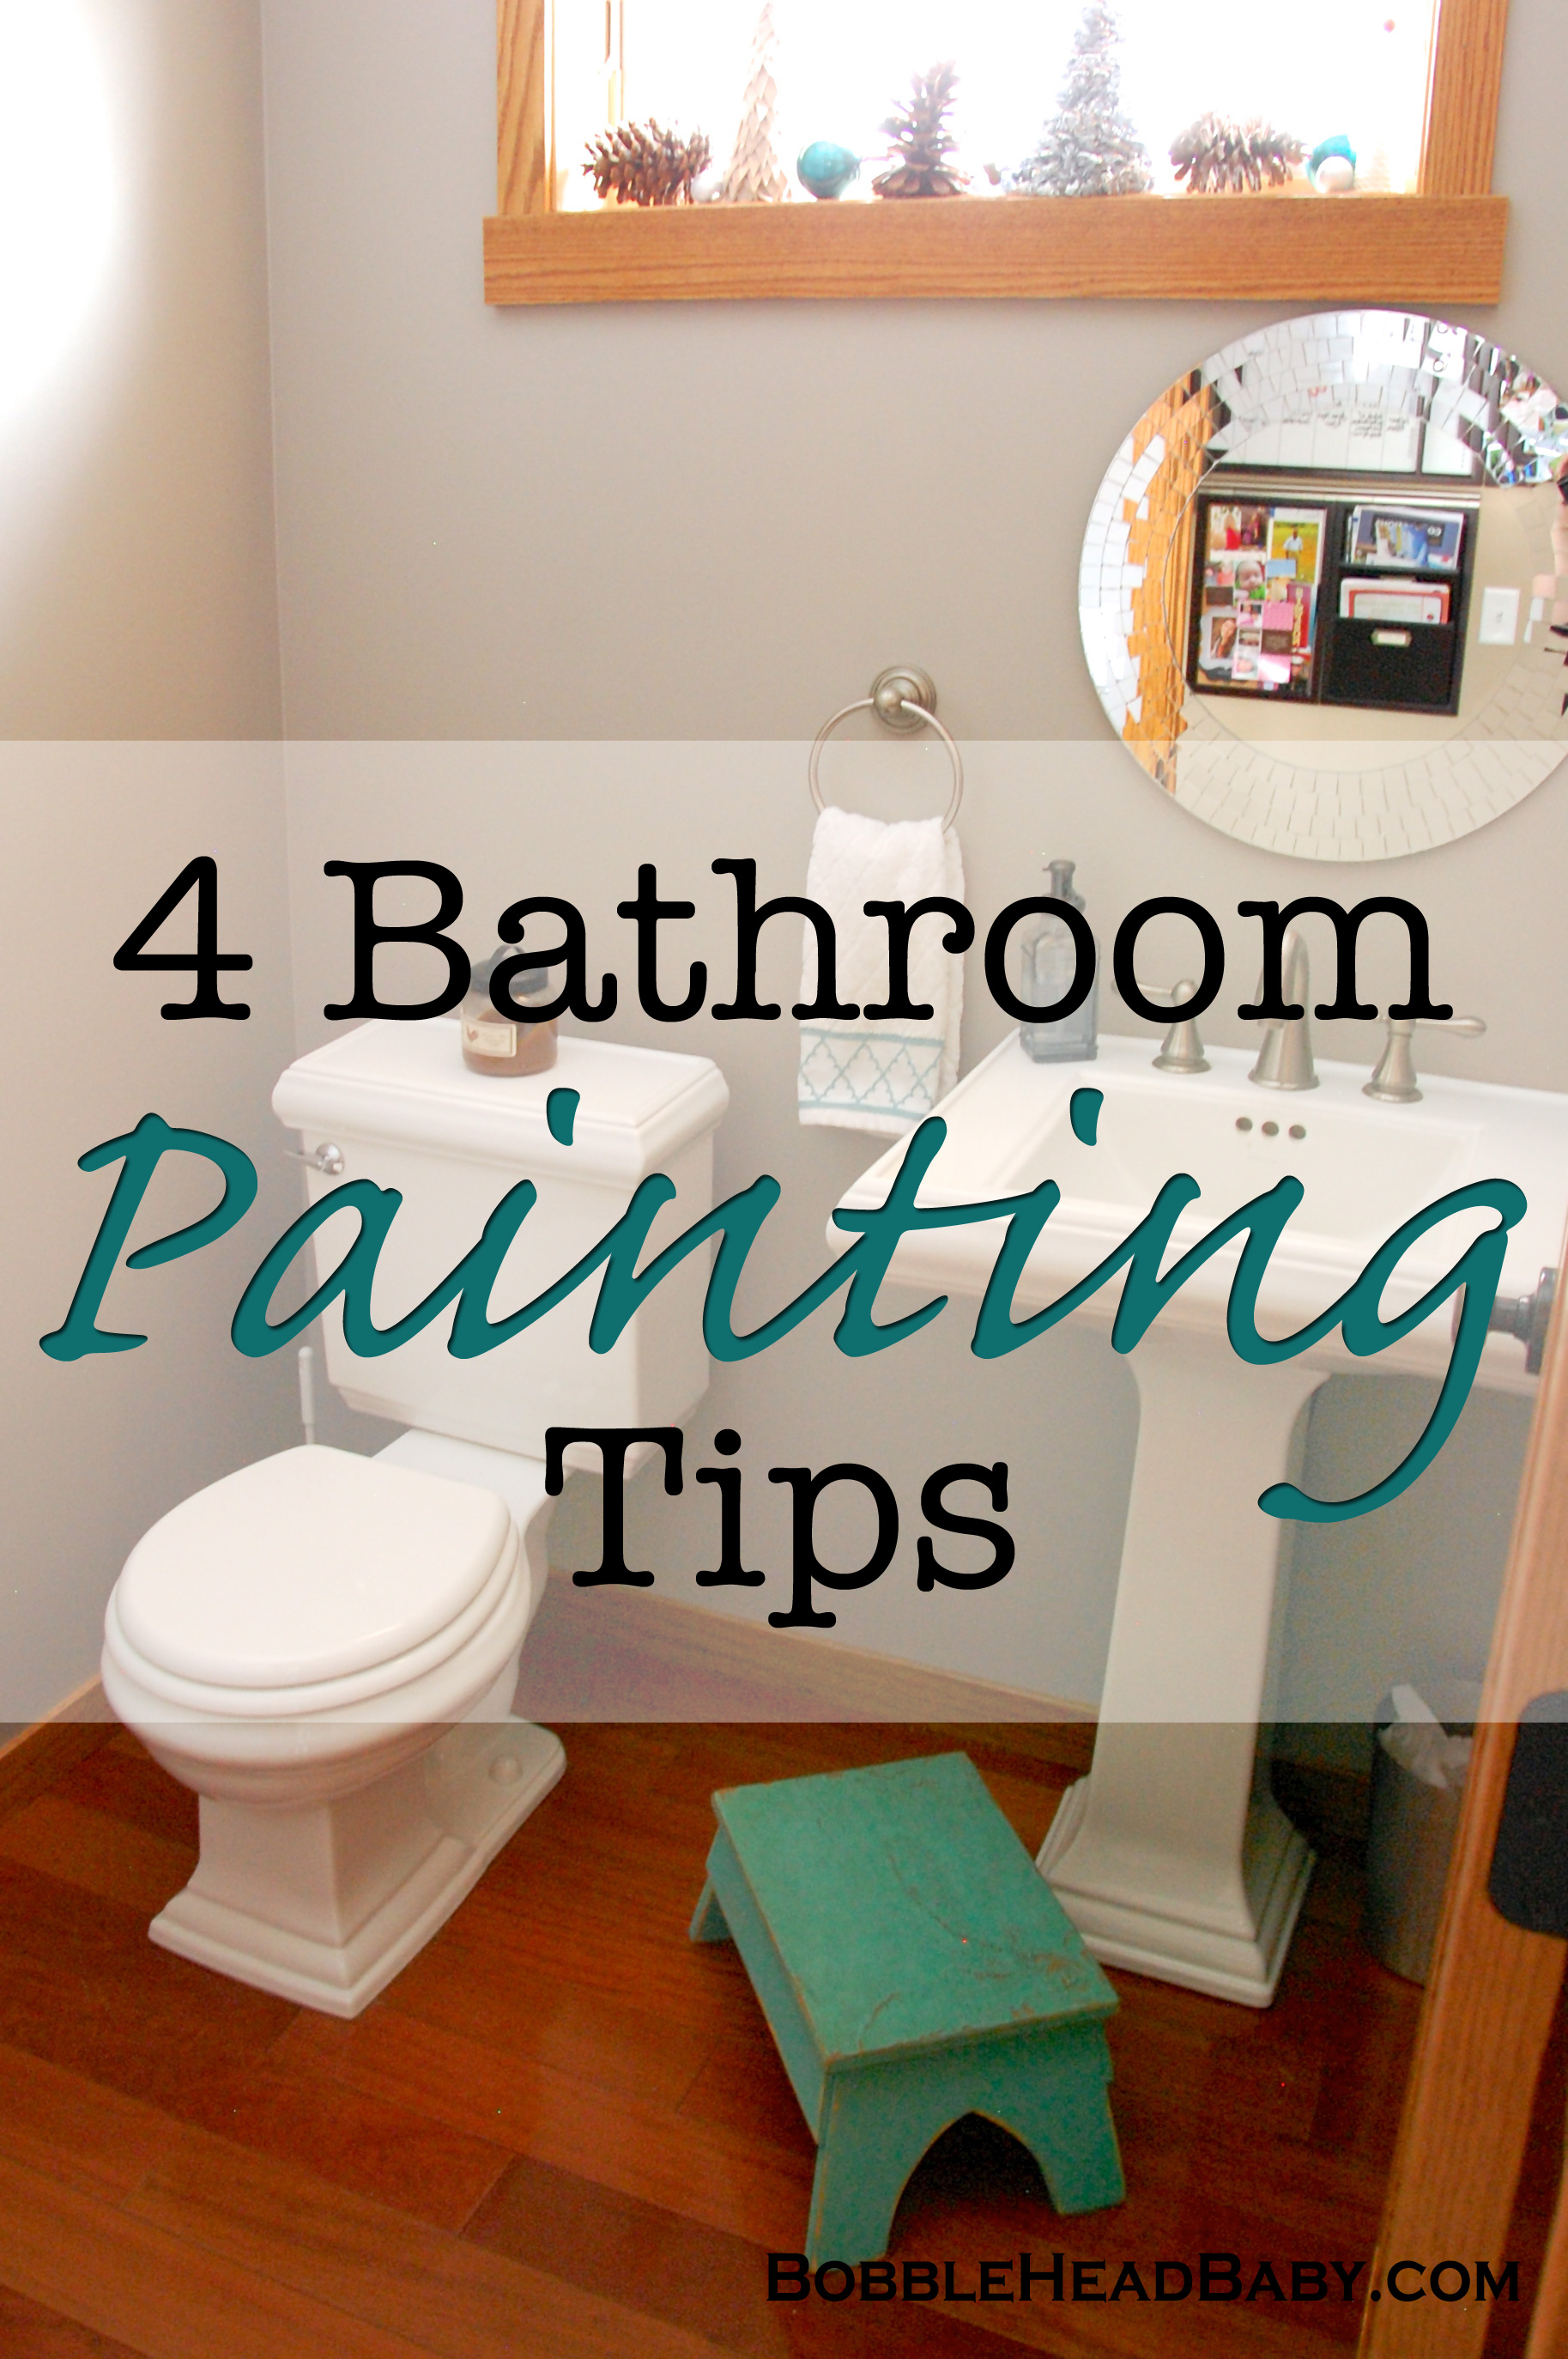
Bathroom Painting Tip #1:
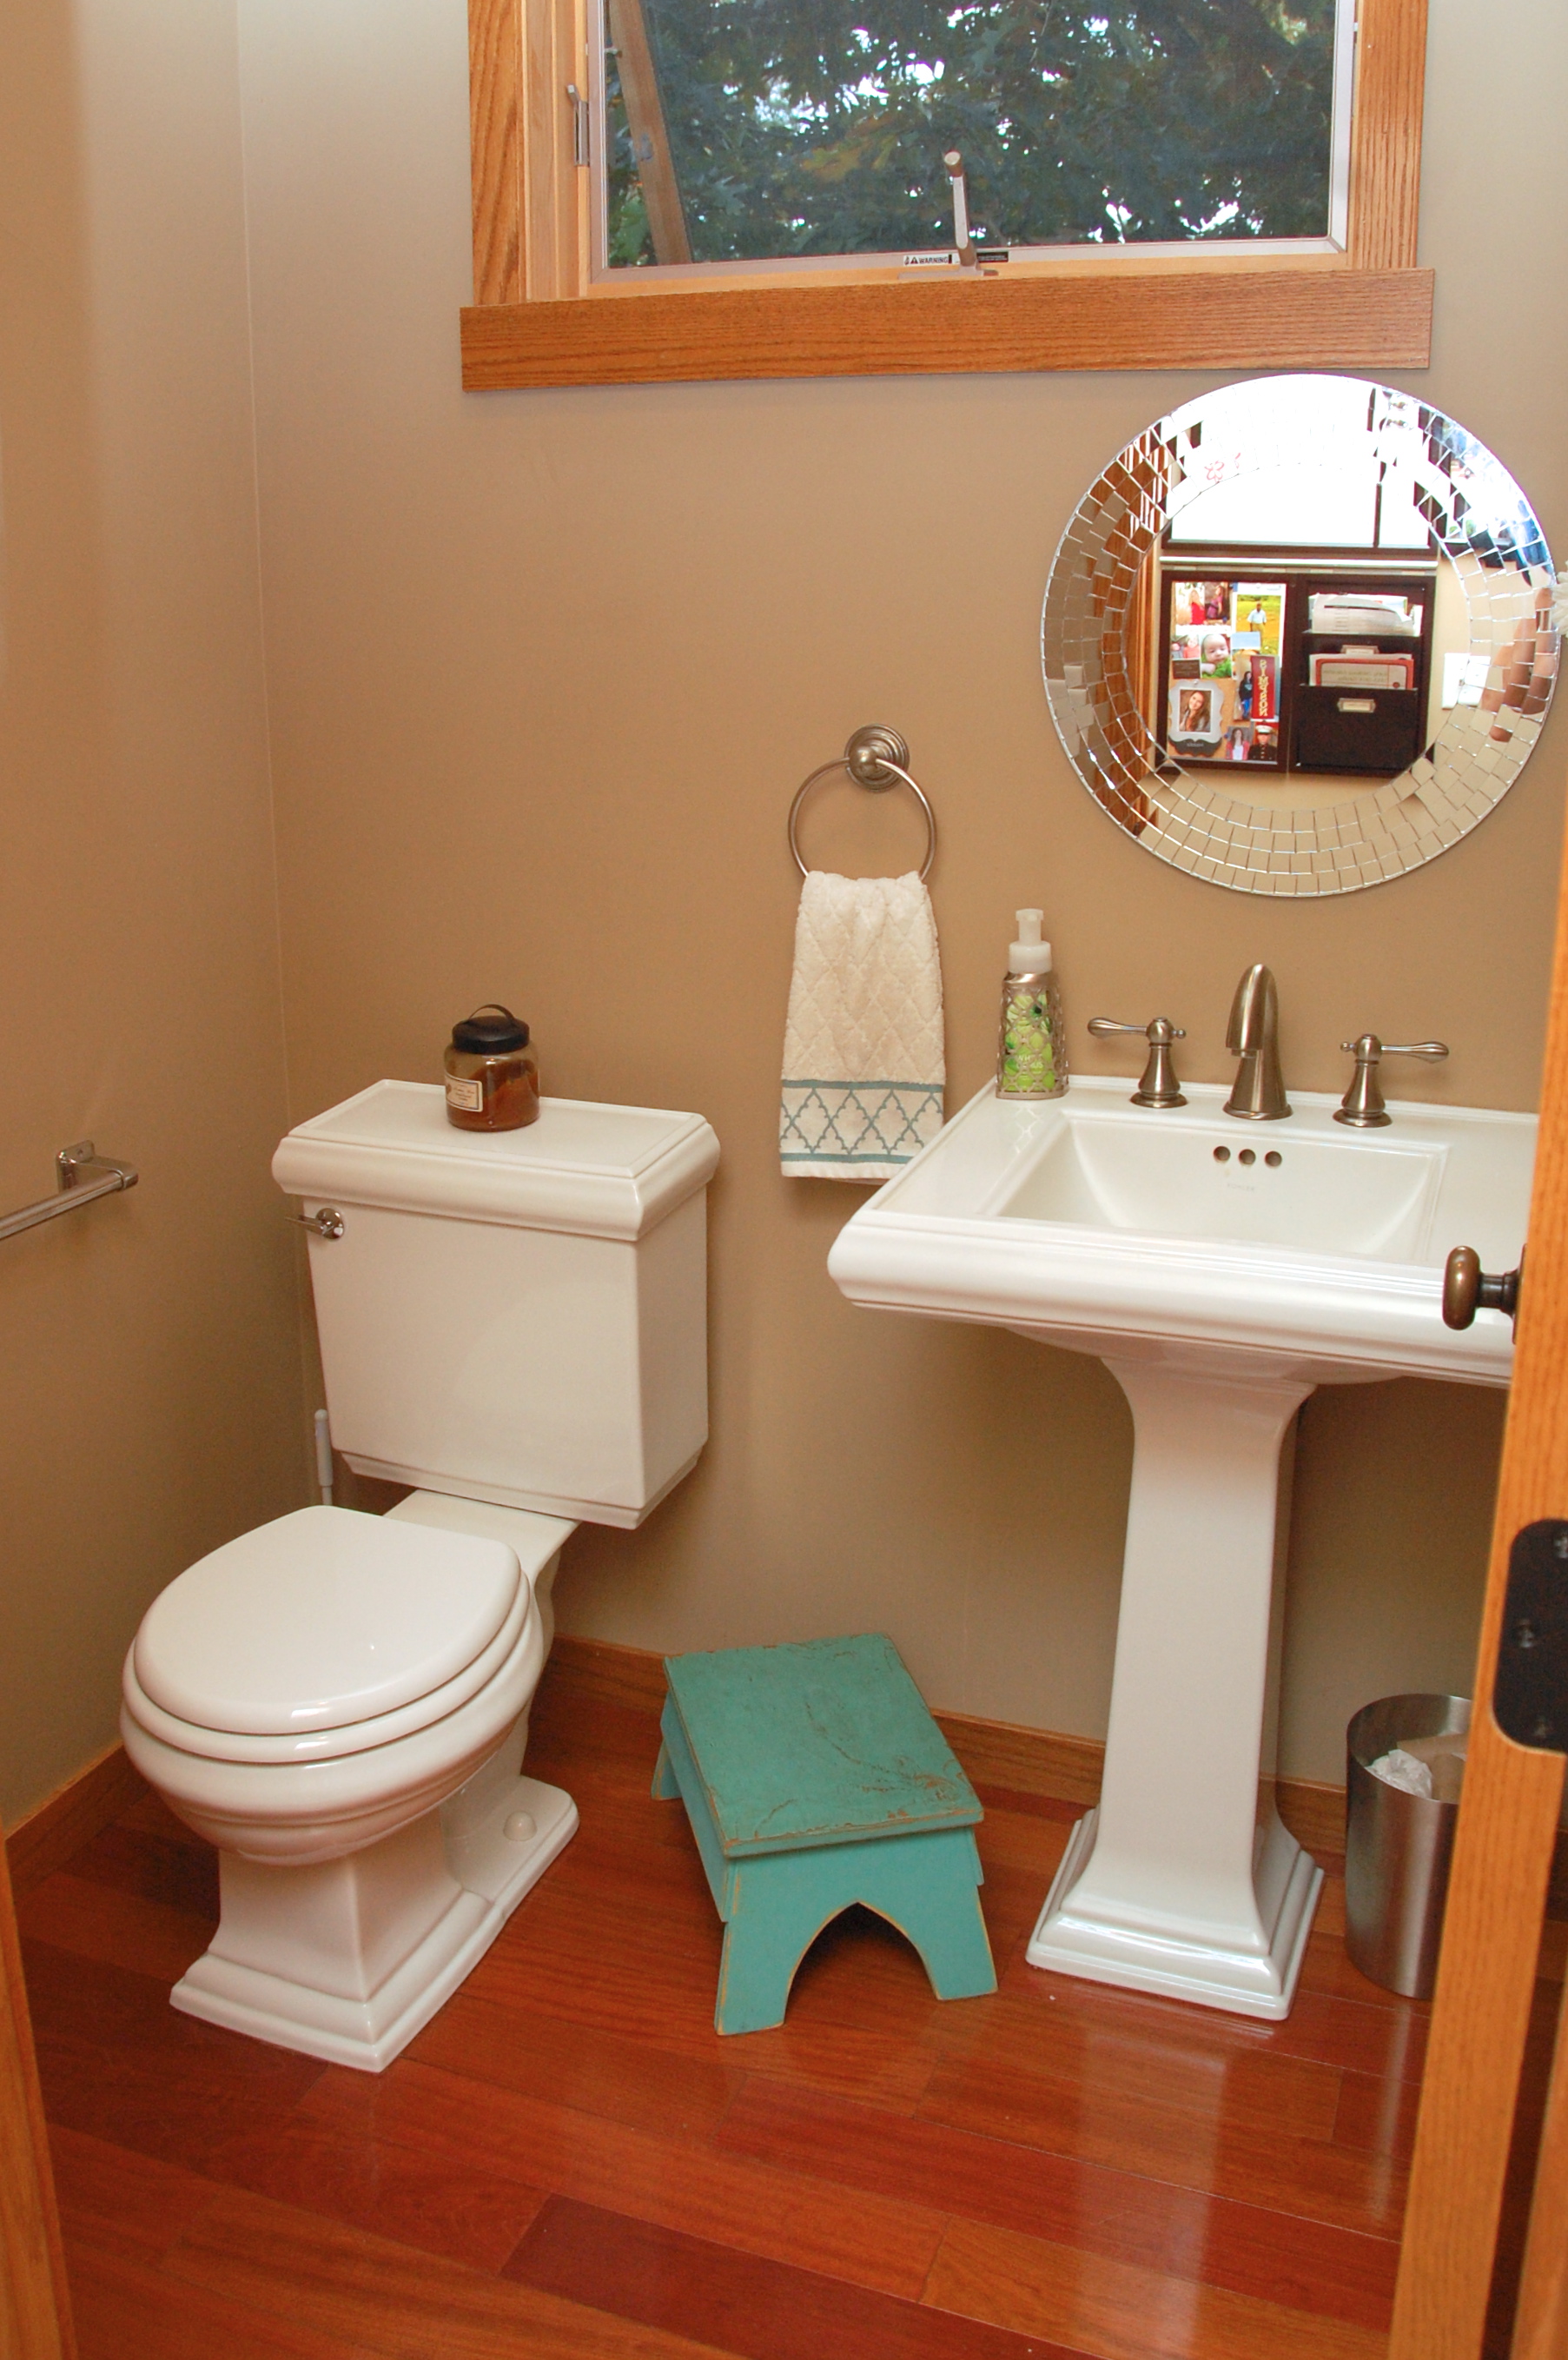
Don’t assume because you like a paint color in another room of your house (or in someone else’s house) that you’ll like it in your bathroom. Since bathrooms tend to be small and often have limited natural light and sometimes poor overall lighting, it’s almost guaranteed that the color will look significantly different when applied in that context. At about 22 square feet, with a single overhead light and one small window, our bathroom is no exception.

Half Bathroom BeforeBathroom Painting Tip #2:
Do try out different colors on your wall before committing to a color. If you happen to have leftover paint from another room, great! If not, for just a few dollars, you can buy a test pot of any color under the rainbow from your local home improvement store. It is so much better to spend a few dollars narrowing down your color choice, than to spend $20 or $30 on a gallon of paint you can’t stand. (Bonus tip, if you like a color from a brand the store doesn’t carry… like if you want a Behr color, but you are at Lowes… just ask at the paint counter. They almost always have the color in their computer and can mix it for you regardless of what brand it is.)

Sherwin Williams Proper Gray, Functional Gray and Versatile GrayThis is the step when you realize that SW Proper Gray (left) that you love in your daughters’ south facing bedroom, looks very cold in the light of a north facing window. And that SW Versatile Gray (right) that was perfect in the low light of your guest room closet, looks rather drab when confronted with even a small amount of natural light. And thus, you, or rather I, end up with Sherwin Williams Functional Gray (center), because, for this room, it’s just right.

Bathroom Painting Tip #3:
Don’t be intimidated by working around the toilet. Yes, you might have to imitate a Circ De Soleil contortionist as you cram yourself into a cramped corner or two to paint behind it, but take the tank lid off and cover the back of the tank with Glad Press ‘N’ Seal wrap and you can slop around all you need to in order to get the job done. (Also be encouraged that if you still do get a bit of paint somewhere on the porcelain, it can be wiped right off with a damp cloth. No harm done.)

painting around the toiletBathroom Painting Tip #4:
Do realize that by changing the wall color, you may be irresistibly inspired to make other changes in the room. Since changing the wall color, I’ve also changed one small thing (the soap pump) and one big thing (the overhead light, which, okay, I admit, I ordered and Peter actually installed, but whatever).

Bathroom Progress
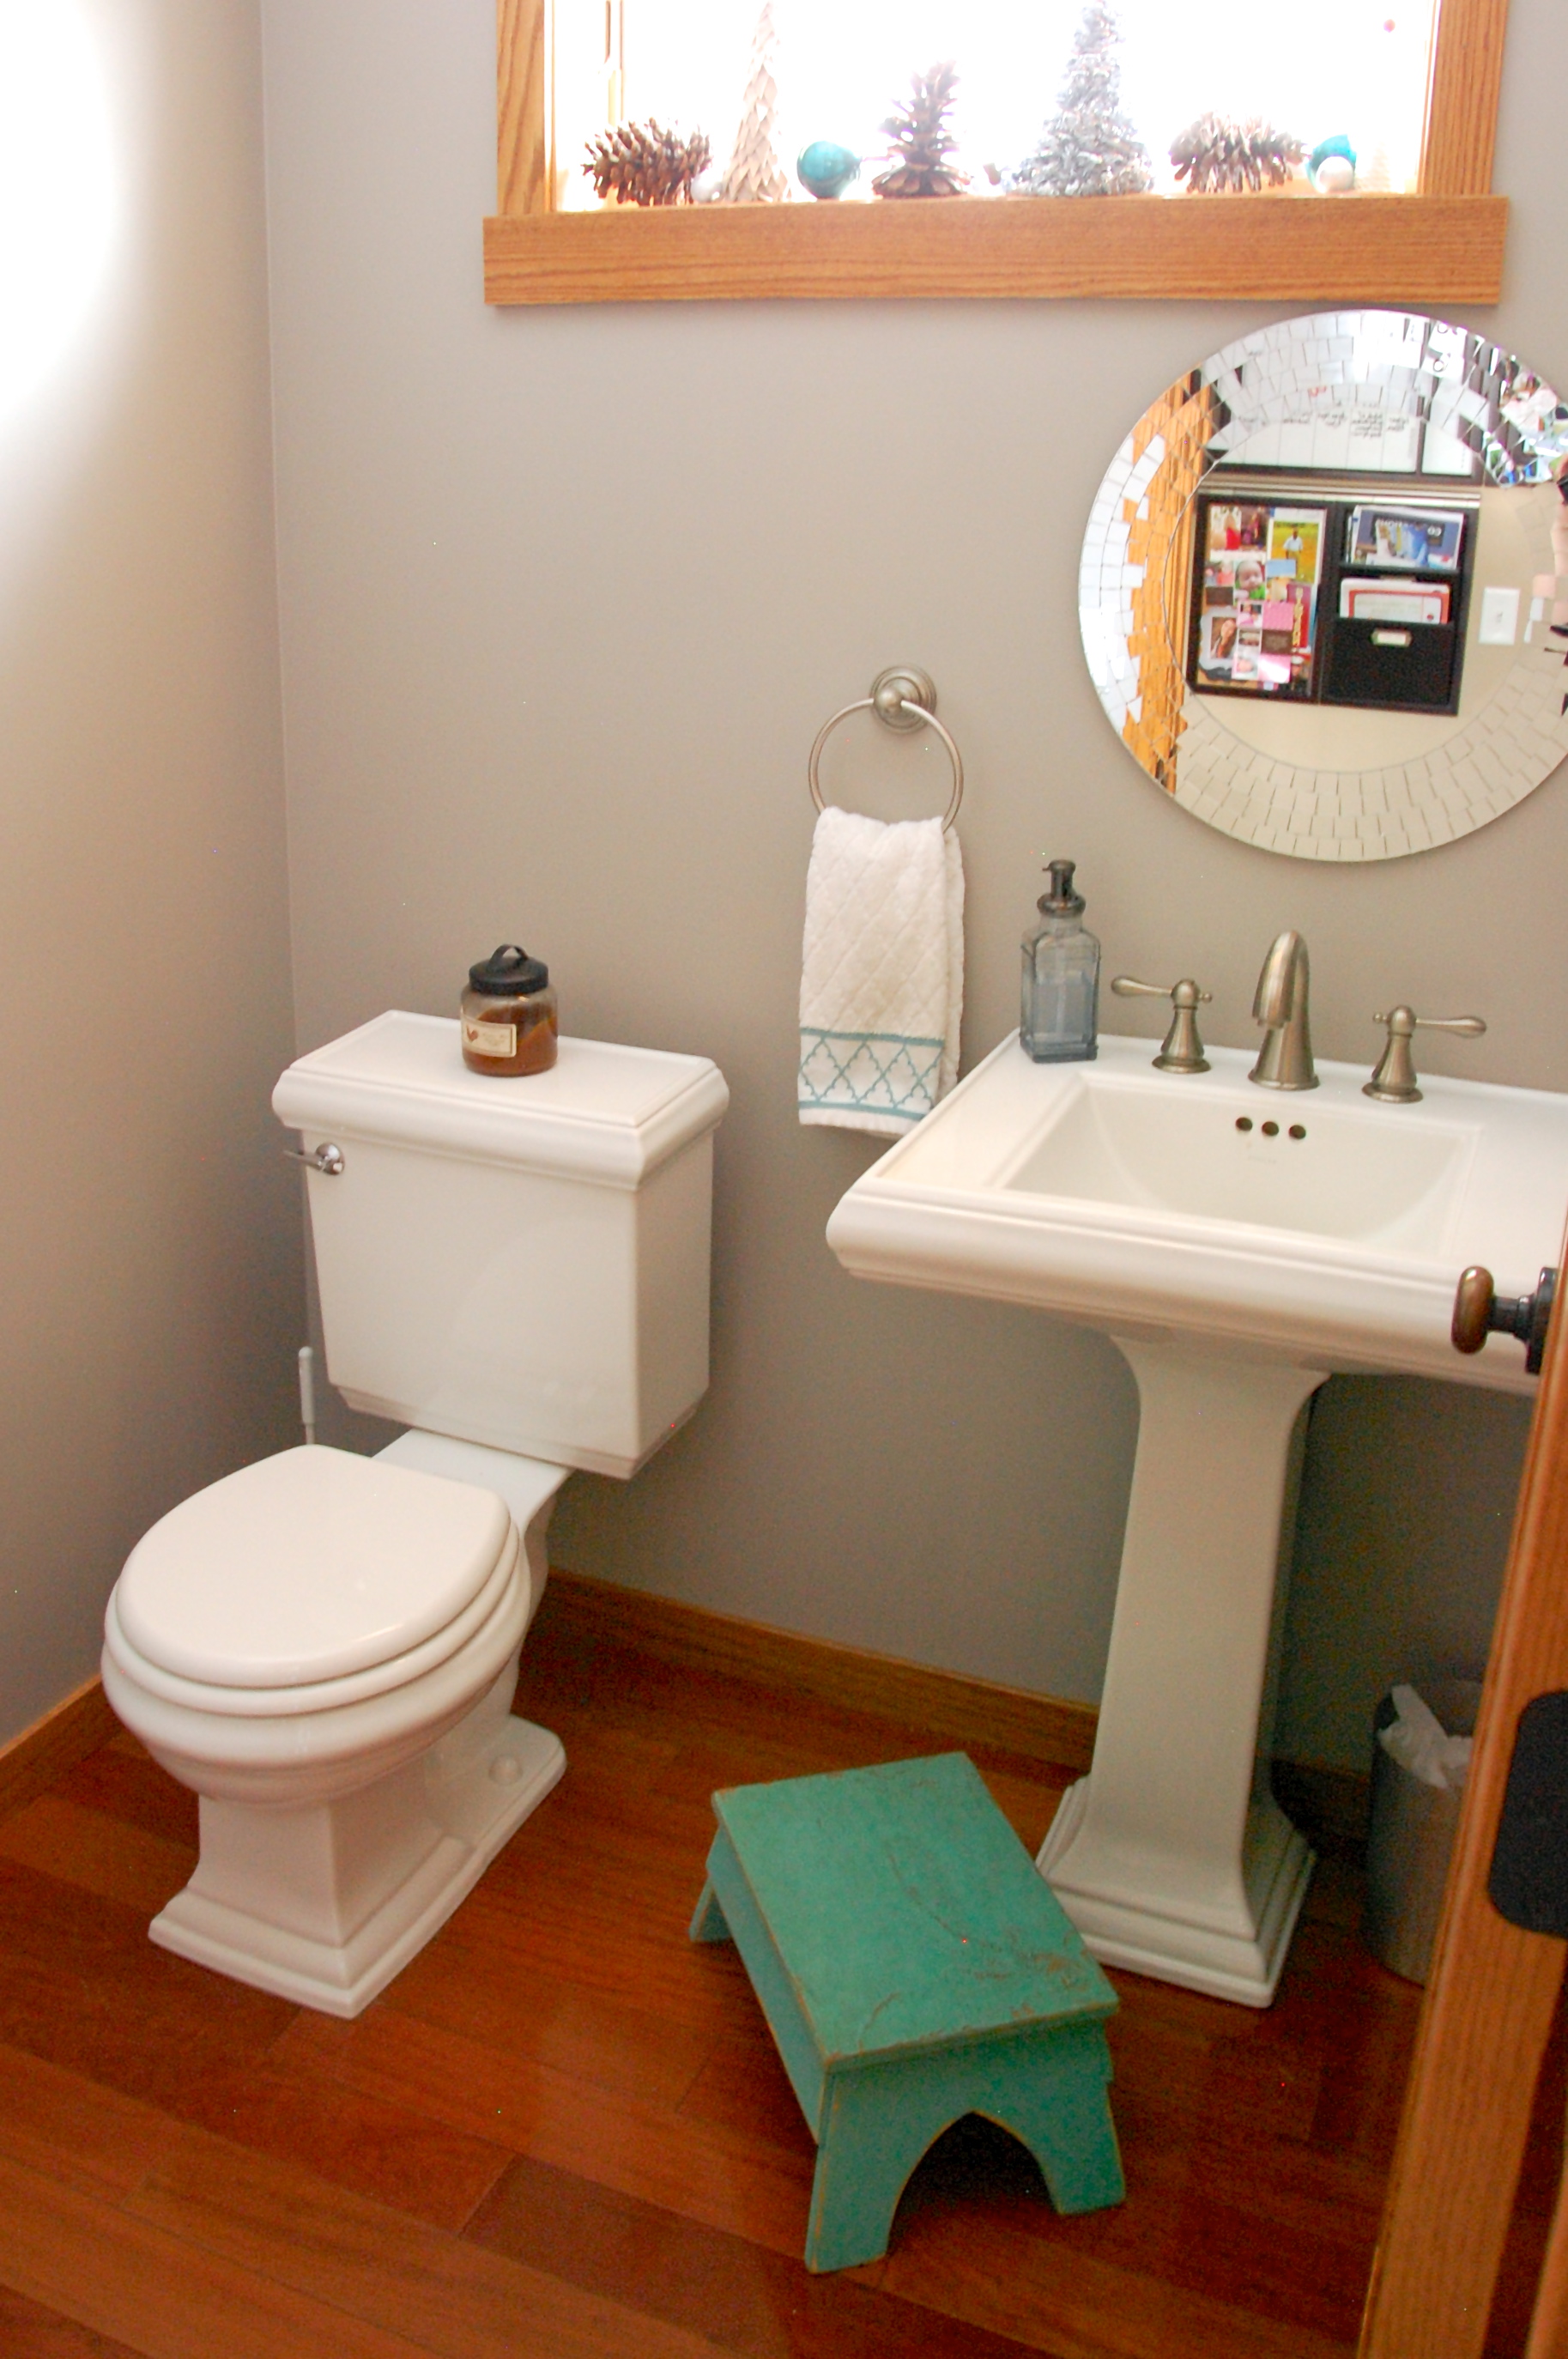
I’m scheming about some other changes, a shelf for storage, some sort of art on the walls, and maybe a faux linen paint treatment if I get up the nerve to try it, so photos of those and of the new light will be coming your way as soon as I launch into my 2014 Home Improvement to-do list. Stay tuned!

TATT: Taking the Bite Out of Bug Bites

‘Tis the season for mosquitoes, at least if you live in Minnesota, where it is often joked that mosquitoes are the state bird. They aren’t actually. That honor goes to the Common Loon. However, between the Common Loon and the common mosquito, I can tell you which one is more common in our back yard… bzzzzz…..

Naturally, I can’t stand them. I don’t think I’ve ever met a person who did like mosquitoes. They have absolutely no redeeming qualities. Unfortunately, I also can’t stand most bug sprays. They make my eyes water, nose itch and I really don’t like the smell. Uggg!

Being forced to choose between being eaten alive or feeling like I’m having an allergic reaction is one of those rock and a hard place situations for me. That is, it was, until I discovered Herbal Armor.

I found this at Target last year and bought it for my kids. Having tried other natural bug sprays in the past that didn’t work at all, I was a little hesitant to spend more money going down the herbal road, but I really didn’t want to cover my kids with unnecessary chemicals, so I gave it a try.

Am I ever glad I did. Not only does it keep the bugs off of my girls, it also works for me without causing any watery eyes or itchy, runny nose. I stocked up at Target again this summer and have a couple bottles out in the garage for when we go outside to play.

Herbal Armor is great. I highly recommend it. Of course, it only works when you actually put it on, which I confess, sometimes I forget to do until a few mosquitoes are so kind as to remind me that I neglected to apply it. Ouch!

Now I think we can all agree that the only thing worse than the initial mosquito bite is the red bump that itches like crazy later. But never fear, I have a solution for that too… toothpaste.

Yup, good old, always have it around, toothpaste. People think I’m crazy when I tell them this, but just try it, and I think you’ll be amazed. Not sure why it works, the internet seems to think it’s either because of the peppermint or because of the fluoride, but whatever the reason, it does work. So instead of running out and buying some special bug bite product, the next time a mosquito gets through your defenses, just head to the medicine cabinet, dab on some toothpaste, and in a minute or two, the itch will be gone. It’s like magic!

Have a happy, mosquito-free Wednesday y’all!

TATT: Capturing Kiddos

No, today’s Tips and Tricks Tuesday isn’t about grabbing a defiant two year old who would rather run headlong into the street than come inside for dinner, as the title might lead you to think. (But not because I don’t have such a two year old.) Instead, I’d like to spend today’s post talking about capturing kids in photographs.

Now, I’m not an expert on this topic, by any means. But I have learned a lot in the last four years since Alethea was born. In fact, sometimes I look back at those early days of her life and wish I’d had more photography experience before she came along. I’m sure the photos I took back then could have been better.

Well, there’s no turning back the clock, but moving forward, here are some things that I plan to keep on doing…

TIP #1: Take it Outside
The more photos I take, the more I conclude that lighting truly is everything. It’s next to impossible (at least for me) to take a really wonderful photo in poor lighting. Therefore, my favorite place to shoot is in the great outdoors, preferably on a cloudy day when we have a nice even light with no distracting shadows.

Here is Alethea. I was outside on just such a day, taking some flower photos when she said, “Mommy, take some of me!” So I pointed the camera in her direction and *snap*. Very cute, nice even lighting too. But just a bit of a “cheese smile”.

TIP #2: Give Your Kiddo a Task
Hug your sister, jump up and down, wave to me… directions like these always seem to help me get more natural expressions from the girls. In this case I tried, “Smell the flowers!”

Well, more natural, but I really wanted to capture her face. So I tried, “Smell the flowers, but look at me.”

Hmmm… not quite there…

TIP #3: Keep Clicking!
For every picture that I truly love, I take dozens of ones that aren’t nearly as great. Like when a leaf gets awkwardly in the way…

And gets in the way again…

Time to combine tricks two and three… give a new direction and just keep clicking away! Alethea, can you hide in the flowers?

Almost there, and then suddenly, the money shot…

I love everything about this one, the soft lighting, the half-smile on her face, the flowers around the edge. Love it, love it, love it!

So there you go, my best tricks for taking kid pics: go outside, give them something to do, and then keep clicking away!

How about you guys? What are your favorite photos of that you’ve taken of your kids (or grandkids, nieces and nephews)? And how did you get them? I want to know!

TATT: A Little Summer Prep

I don’t know about your house, but I’ve certainly noticed at ours, that the amount of traffic in and our of our back sliding door increases dramatically when the weather gets nice.  Last year there was always a pile of shoes by the door and dirt all over our hardwood floors. I kept thinking, “We really need a mat for that door,” and what do you know, now, finally, a year later, we have one!

I found this rug on clearance at Target a few weeks ago and instantly knew it was perfect for the space. So my first summer prep tip is, get a mat for your back door…. your flooring will thank you!

But I didn’t stop at the mat. I know that often the dirt isn’t limited to the kids shoes, so I also wanted to keep a couple towels by the door. Fortunately I had this stoneware crock from my grandmother’s house that has been looking for a job to do.

I put some felt circles on the bottom so it wouldn’t scratch the floors, added some old towels and *ta-dah* instant dry off/clean up station for kids fresh from the great outdoors!

What about you? Do you all find that the house gets messier the nicer the weather gets? Any tips for keeping the sand in the sandbox and off of the carpets?  Or do you just give in to the inevitable and figure there will be time enough to vacuum in the fall? Do tell!

TATT: A Flower Pot Formula

Feels weird to write a Tips and Tricks Tuesday post today. Mondays off always throw me for a loop, not that I’m complaining about a three-day weekend, just sayin’ it doesn’t feel like Tuesday.

But anyway, it IS Tuesday and so thought I’d share a tip that I learned a few years back for planting beautiful flower pots. This is 100% not my idea, so I apologize if you’ve seen this a zillion times before, but I think it’s an awfully handy trick.  It’s called Thriller, Filler, Spiller and here’s how it works:

To create visual interest in a large pot (this works best in a container 12 inches across or larger), put one striking tall plant in the center (the thriller), add in several shorter, fuller plants (the filler), and then a few trailing plants around the edge (the spiller).

In this particular pot I went with one “Raspberry Rum” Alternanthera for the Thriller, three pink Petunias for the Filler and two “Goldi” Lysimachia for the Spiller. And don’t worry if your spiller doesn’t spill very much at first. Since “spiller” is practically synonymous with “ground cover”, it won’t take long before it’s gracefully cascading down the side of the pot.

So there you go, my best trick for planting beautiful flower containers. Now I just have to keep them alive. Anyone got a trick for that?!?

Happy Tuesday, everyone!

TATT: Regrowing Green Onions

You know one thing I really don’t like about reading DIY blogs and tooling around Pinterest?  It always seems like just when I’m about to write a blog post on a topic, something that seems unique, a project I’ve done or a tip that I figure not everyone knows about, it never fails… a big blogger I follow posts about a similar project or a dozen pins on the topic show up in my Pinterest feed, and suddenly I feel completely unoriginal.  Should it matter?  Oh, probably not, but I do so hate to look like a complete copy cat.

That said, please allow me to feel better about offering you this tip by saying, “I knew about this BEFORE PINTEREST WAS EVEN INVENTED!”  Learned it from my grandmother actually, and you know if someone’s grandma did it, it’s gotta be good, right?

So here we go… regrowing green onions…

We love green onions around here.  I put them on pretty much every green salad I make, whether they’re accompanied by steak, tomatoes and croutons or a lovely combination of grilled chicken, strawberries, and almonds, green onions add a nice extra layer of flavor delight.  But how to always have them on hand when they go bad before we can eat through an entire bunch?  That my friends is the key question, and here is the answer…

1. Buy a bunch of green onions from the store.  Wrap the roots in a damp paper towel and keep them in the fridge, pulling them out as needed over the next few days to cut the tops off.

2. Once you have cut back to just above the top of the white part (or after they’ve been in your fridge for several days and you start to worry that they’ll go bad), put the remaining roots into a glass of water and set the glass near a window.  (They don’t need a ton of sun, but obviously any time you’re growing your own food, a little light helps.)

3. Wait a week or so, adding water to the glass as needed.  And you will get something like this…

You can now proceed to clip off what you need and then just set those babies back into the glass of water to keep on growing!

And now the caveats… this only works for a while, the roots will eventually get mushy and the flavor of the onions will become less potent.  When that happens, it’s time to get yourself a new bunch o’ onions.  Also, the water can get stinky, so you might need to change it out periodically if you don’t love the smell of onion water.  But really, who doesn’t?!

So there you go, regrowing green onions, brought to you today by my grandmother, and also a bazillion people on Pinterest apparently.

Happy salads!

TATT: A New Take on Microwave Popcorn

Dude… It’s Thursday night and still no Tips and Tricks Tuesday post here.  For shame…

So here’s a quick tip for you, something I recently learned on Pinterest.  Love Pinterest.  Did you know that you can make “air popped” microwave popcorn with nothing more than some popping corn and a glass bowl?

It’s soooo easy!  You put two or three tablespoons of unpopped popping corn into a microwave safe glass bowl.  Set the lid on top with just a slight gap for steam to vent…

Microwave on high for 3-4 minutes and voila!

Perfect, healthy, oil-free microwave popcorn!

Use hot pads to remove it from the microwave (the bowl will be HOT) and enjoy your uber healthy snack.  OR if you’d rather have something absolutely divine that is not quite so good for you, stay tuned for an amazing gourmet flavored popcorn recipe I just tried out last week.  It’ll be coming your way soon!

TATT: A Stain Removal Trick

So here’s something you may or may not know about me… I don’t really shop for clothing much anymore.  And it’s not that I don’t want to look fabulous, or don’t love wearing a new outfit.  It’s not even that I don’t know what looks good on me or don’t have the money for it.  It’s just, quite simply, way too much hassle!  The malls, the crowds, the parking, not to mention the trying to keep two small children out of trouble while navigating through racks, and stacks, and jewelry displays that ought to be placed higher off the ground.

But a couple weeks ago I decided that I really wanted something new to wear for Easter.  And I happened to have a coupon for Dress Barn that came along with a mailer advertizing some cute lace tops.  Since I’m a sucker for lace clothing (and also apparently a glutton for punishment) I loaded the girls into the car and off we went.

So we got to Dress Barn, in we go, and the girls decided to play hide and seek.  Not my first choice for in store entertainment, but they were sticking close and not pulling things off hangers, so I decided to go with it, just long enough to locate the previously mentioned lace tops I was searching for.

Working as quickly as possible, I succeeded in picking up four possibilities before the wailing began.  I turned around to find that Lydia had managed to trip over the edge of a display and had a gash on her upper lip that was already dripping blood.  A glance in my purse revealed that I was fresh out of Kleenex, and I was thus faced with the choice to blot her face with A) the store’s clothing, B) my jacket sleeve, or C) the stuffed frog toy Lydia had brought with her.

Which is how I ended up marching to the checkout counter, a two-year-old on my hip, with a stuffed frog pressed to her face.  The store associate on duty quickly passed me a paper towel that was accompanied by a look that clearly said, “Please don’t let your kid bleed on the merchandise.”

After the situation was sufficiently under control, I debated just going home then and there, but I figured we’d come so far that it was too late to turn back now, so I did end up trying on my four items (while intermittently applying pressure to the wound in the dressing room), and then purchasing the best one of the bunch.

So all that to say that on arrival home, I… 1) vowed never to go clothes shopping with my children again and 2) had a stuffed frog who needed a little stain removal intervention.

Fortunately I know a little stain solution (pun intended) that was perfect for the situation.  Enter my good friend Hydrogen Peroxide…

You might know my buddy HP as an inexpensive first aid disinfectant.  But did you know he can also get blood out of fabric?  It’s so easy it’s almost miraculous…

Step 1: DO NOT GET THE STAIN WET!  Resist the urge treat the stain with water.  It’s fine if it dries. Really. I’ve used this on days old spots and it still works, just as long as the stain is NOT exposed to water.

Step 2: Blot any excess blood with a clean cloth (this was already done at the store with the paper towel in our case).

Step 3: Pour hydrogen peroxide on the spot.  You should notice some white foam forming.

Step 4: Wait a few seconds for the reaction to slow, then blot the stain with a dry white cloth or paper towel.

Step 5: Repeat steps 3-4 until stain is gone or until the hydrogen peroxide no longer foams when applied to the stain.

And just like that, frog was rid of his spots…

(I’ve used this trick countless times, and on a variety of fabrics, but I should note that hydrogen peroxide is a mild bleaching agent, so you might want to try putting a little on an inconspicuous part of whatever you are trying to clean to test for colorfastness.  Also, promptly laundering the object after treatment is a good idea, and in some cases when I haven’t been able to get the stain completely out with the HP, a trip through the wash has finished the job.  As I mentioned above, this does work for dried stains, but the fresher the stain is, the more likely it is to come out completely.  And again, if the item has been blotted with water, this trick doesn’t work well and if the item has been laundered, it probably won’t help at all.)

After a quick wash cycle and a tumble in the dryer, as Lydia put it so well, “Frog is all clean and fluffy!”

So there you go, my best stain removal trick, brought to you today by my hide-and-seek loving children and the stuffed frog who saved my jacket sleeve.

TATT: Party Decor Tricks

Two weeks ago I hosted my first (and maybe only) ever direct marketing party.  I’m not generally a huge fan of this sort of gathering, but I do love my Norwex cleaning products, so when a good friend decided to become a consultant, I thought, “Hey, why not?” and hosted her first party.  And what do you know, it actually was a lot of fun!

Anyway, since my house was still decorated for Valentine’s Day, I decided to stick with that theme for the food table and here are a couple quick and easy tricks I used to achieve my V-day themed display.

Trick #1 – Scrapbook Paper Table Runner
This is a trick that I’ve been using at every party I’ve thrown for a while now.  I take three sheets of scrapbook paper that tie in with the theme/colors of the party, lay them down on a diagonal across my kitchen island and secure them with a few tiny bits of double-stick tape.

Voila!  Instant party themed table runner for under $1!

Trick #2 – DIY Tiered Cupcake Display
It seems that you can hardly turn on the TV or log onto Pinterest these days without seeing a gorgeous display of cupcakes in some form or another.  After all, cupcakes are the new black.  I naturally find myself drawn to white ceramic stands (preferably with scalloped edges) in graduated sizes that can be stacked to create a tiered display.  So lovely.  But since I bake so rarely, it seems a waste of cupboard space to invest in a set.  Especially when I know about trick #2.

One cake stand, plus a small plate, plus a ramekin turned upside down and voila again!  Instant tiered cupcake stand for FREE!

So there you go, a couple of tips for your next event.  How about you?  What are your go-to tricks for easy party decor?

TATT: Hanging It Up

So here is yet another edition of Tips and Tricks Tuesday coming to you on a Wednesday.  Peter has kindly suggested I find someone to do a guest post for me on “Tips and Tricks for Meeting Deadlines” and I had to agree with him that it would have to be someone else writing it, because I have zero tips for that topic.  This is one blogger who was chronically late handing in papers during college.  One advantage (or disadvantage) of being a Music/Philosophy double major is having artsy/heady profs who really couldn’t care less about deadlines.

But enough about me, here’s a tip for you…

So you know when you go to hang something on a wall and you get out the drill and make a hole and end up with drywall dust all over the floor below?  There is a simple solution for that!

Welcome painters tape to save the day.  Just fold a short length of tape to form a little shelf (sticky side up), and tape it up just below the hole you are about to drill.

Just look at what did NOT end up on my floor when I tried this out last week…

I’m happy to report that this Tips and Tricks post was brought to you today by the letter T and by the new guest bedroom rod and curtains that FINALLY went up on Friday.  (They were purchased about 8 months ago, and were supposed to be up in time for the guests who stayed with us for my sister’s wedding last June.  Oh, you pesky deadlines, you…)

Guest bedroom progress pics to be headed your way soon.  However, because my college professors were in fact sticklers about plagiarism, I should be sure to mention that this brilliant tip of the week was not a product of my own brain, but was something I learned from the good folks over at Young House Love.  (Sorry, I can’t seem to find the actual post where they talked about it, but trust me, that’s where I saw it.)

Happy Tuesday Wednesday everyone!