TATT: A New Take on Microwave Popcorn

Dude… It’s Thursday night and still no Tips and Tricks Tuesday post here.  For shame…

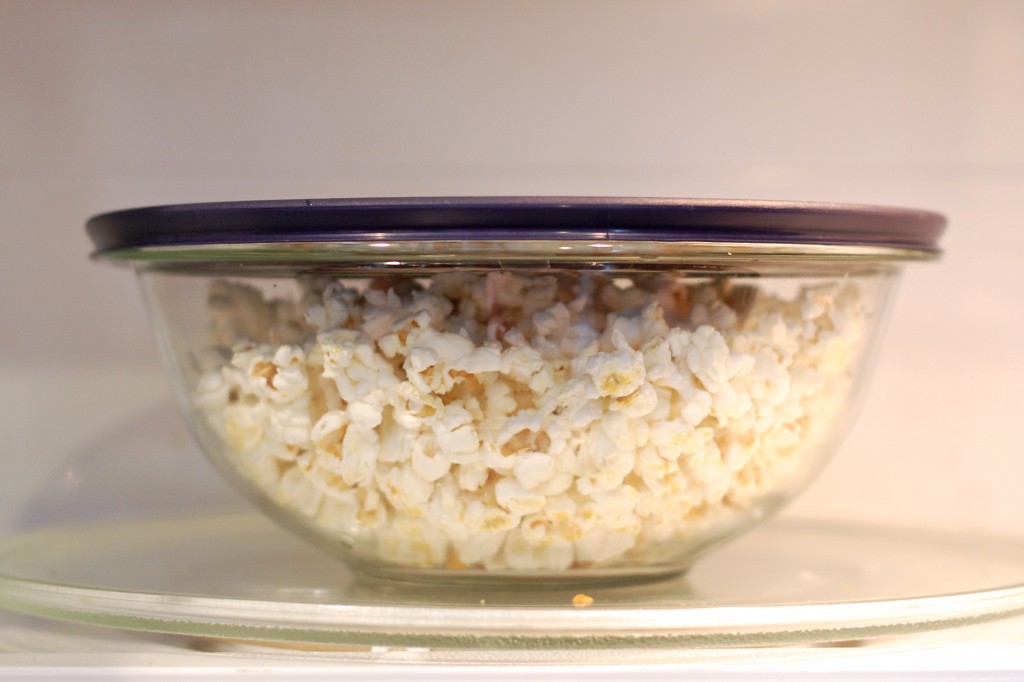
So here’s a quick tip for you, something I recently learned on Pinterest.  Love Pinterest.  Did you know that you can make “air popped” microwave popcorn with nothing more than some popping corn and a glass bowl?

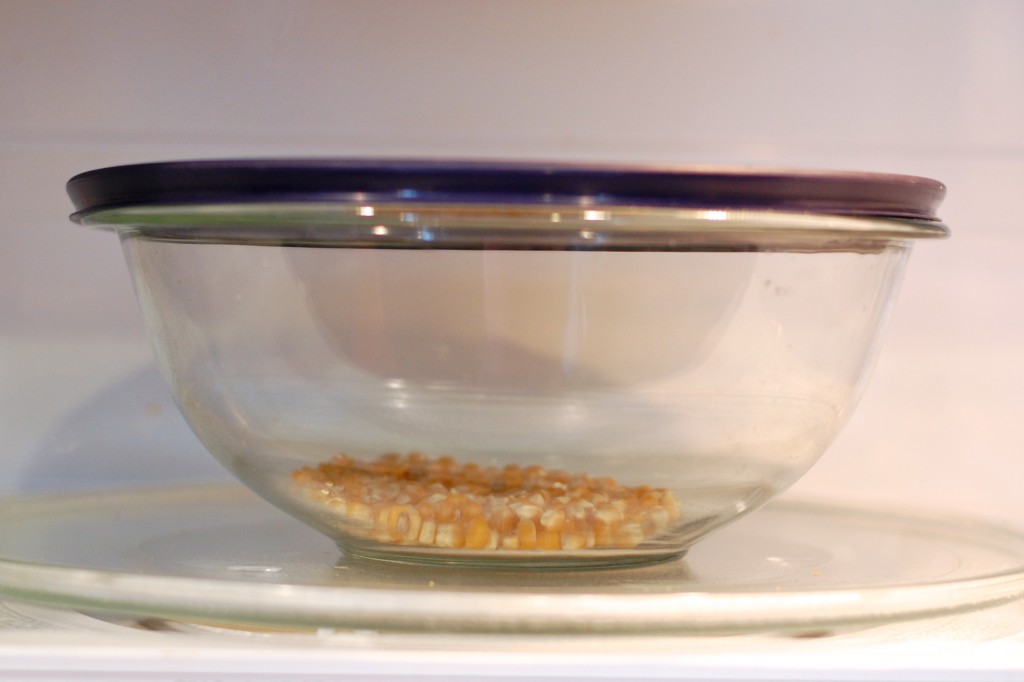
It’s soooo easy!  You put two or three tablespoons of unpopped popping corn into a microwave safe glass bowl.  Set the lid on top with just a slight gap for steam to vent…

Microwave on high for 3-4 minutes and voila!

Perfect, healthy, oil-free microwave popcorn!

Use hot pads to remove it from the microwave (the bowl will be HOT) and enjoy your uber healthy snack.  OR if you’d rather have something absolutely divine that is not quite so good for you, stay tuned for an amazing gourmet flavored popcorn recipe I just tried out last week.  It’ll be coming your way soon!

Signs of Spring

Can’t believe how long it’s taking for the snow in our yard to melt.  Three full months into the New Year and it still sorta feels like Narnia around here (you know, always winter, but never Christmas). I think though that Aslan must finally be on the move…

There isn’t much green in my flower garden yet, but the Lamium is waking up! Yeah!

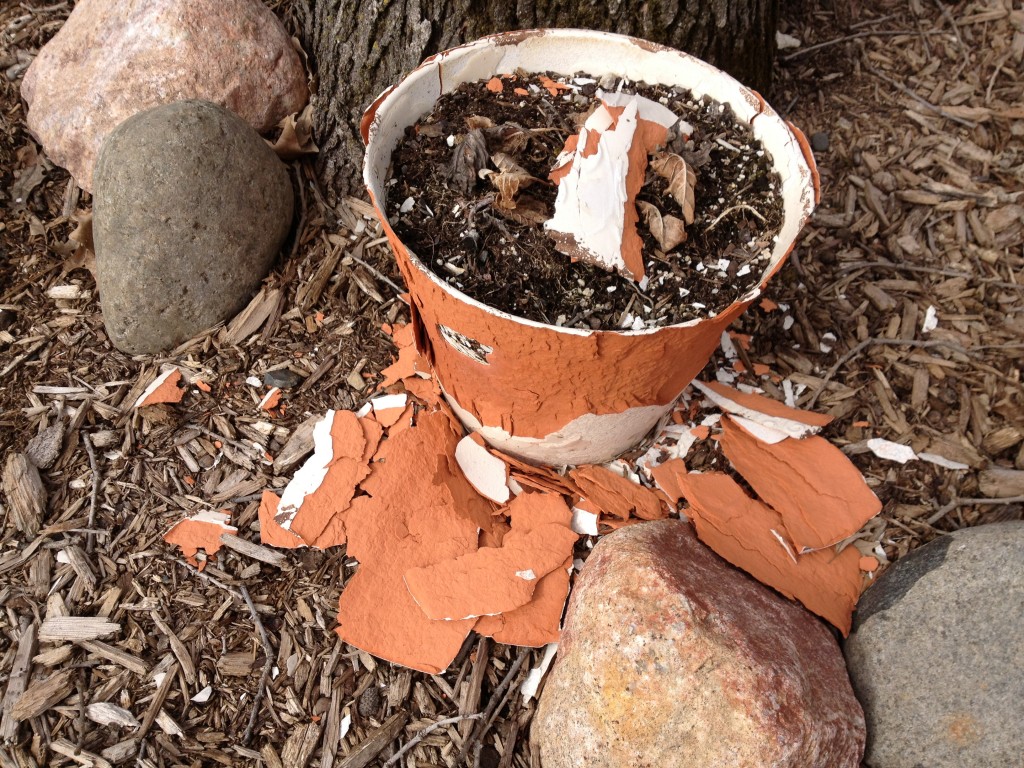
On the down-side, the melting snow has revealed one flower pot that has massively and completely self destructed over the winter. Last time I buy a pot from Home Goods.  Boo!

Another sure sign of spring…

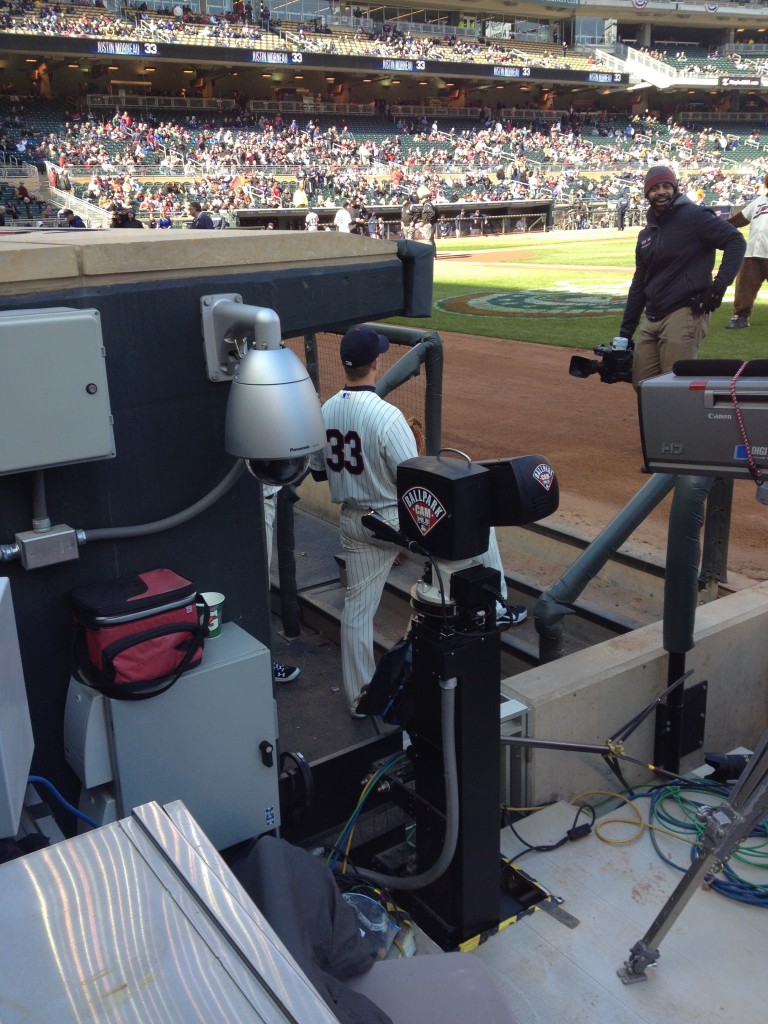
The Boys of Summer are back and Peter and I went to our first Twins game of the season and had the most amazing seats ever… right behind the dugout!

It was a bit cold, but totally worth it!  I even got a ball.  I wish I could say that Justin or Joe had tossed it to me, when actually it was an infield practice ball that rolled into the camera pit.  It’s pretty beat up (Peter declared it a batting practice reject) but I don’t care.  I got a ball and TWINS WIN, so pretty much best game ever in my book.

And lastly…

The rocking chairs are back out on the front porch.  Alethea and Clifford both seem pleased at their reappearance.

There is snow in the forecast for later this week, but spring IS coming… I think… maybe…

TATT: A Stain Removal Trick

So here’s something you may or may not know about me… I don’t really shop for clothing much anymore.  And it’s not that I don’t want to look fabulous, or don’t love wearing a new outfit.  It’s not even that I don’t know what looks good on me or don’t have the money for it.  It’s just, quite simply, way too much hassle!  The malls, the crowds, the parking, not to mention the trying to keep two small children out of trouble while navigating through racks, and stacks, and jewelry displays that ought to be placed higher off the ground.

But a couple weeks ago I decided that I really wanted something new to wear for Easter.  And I happened to have a coupon for Dress Barn that came along with a mailer advertizing some cute lace tops.  Since I’m a sucker for lace clothing (and also apparently a glutton for punishment) I loaded the girls into the car and off we went.

So we got to Dress Barn, in we go, and the girls decided to play hide and seek.  Not my first choice for in store entertainment, but they were sticking close and not pulling things off hangers, so I decided to go with it, just long enough to locate the previously mentioned lace tops I was searching for.

Working as quickly as possible, I succeeded in picking up four possibilities before the wailing began.  I turned around to find that Lydia had managed to trip over the edge of a display and had a gash on her upper lip that was already dripping blood.  A glance in my purse revealed that I was fresh out of Kleenex, and I was thus faced with the choice to blot her face with A) the store’s clothing, B) my jacket sleeve, or C) the stuffed frog toy Lydia had brought with her.

Which is how I ended up marching to the checkout counter, a two-year-old on my hip, with a stuffed frog pressed to her face.  The store associate on duty quickly passed me a paper towel that was accompanied by a look that clearly said, “Please don’t let your kid bleed on the merchandise.”

After the situation was sufficiently under control, I debated just going home then and there, but I figured we’d come so far that it was too late to turn back now, so I did end up trying on my four items (while intermittently applying pressure to the wound in the dressing room), and then purchasing the best one of the bunch.

So all that to say that on arrival home, I… 1) vowed never to go clothes shopping with my children again and 2) had a stuffed frog who needed a little stain removal intervention.
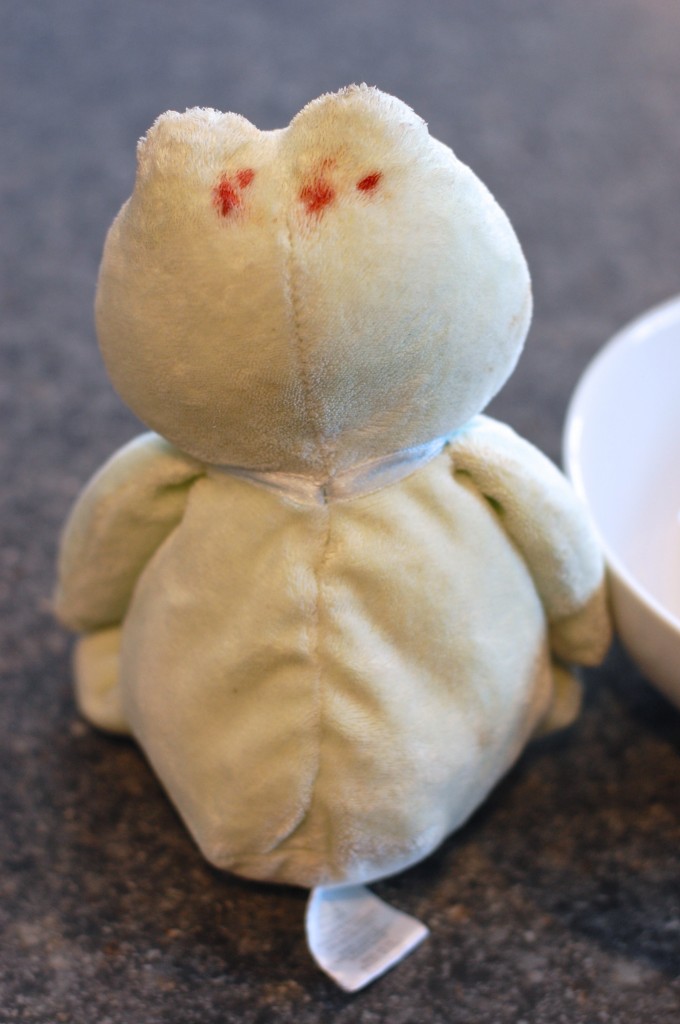
Fortunately I know a little stain solution (pun intended) that was perfect for the situation.  Enter my good friend Hydrogen Peroxide…
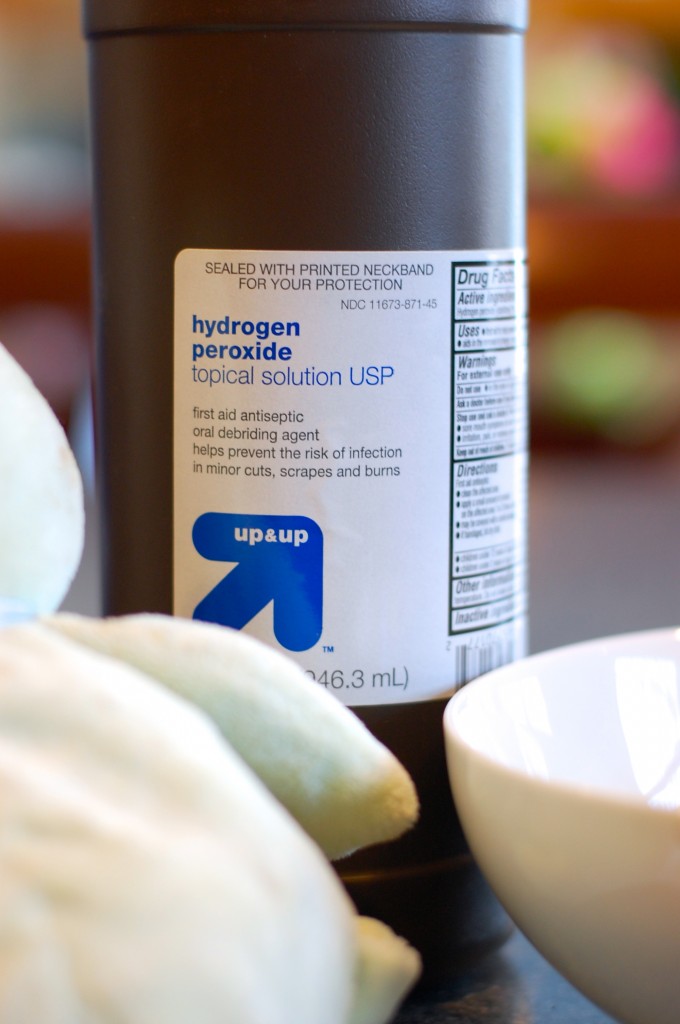
You might know my buddy HP as an inexpensive first aid disinfectant.  But did you know he can also get blood out of fabric?  It’s so easy it’s almost miraculous…

Step 1: DO NOT GET THE STAIN WET!  Resist the urge treat the stain with water.  It’s fine if it dries. Really. I’ve used this on days old spots and it still works, just as long as the stain is NOT exposed to water.

Step 2: Blot any excess blood with a clean cloth (this was already done at the store with the paper towel in our case).

Step 3: Pour hydrogen peroxide on the spot.  You should notice some white foam forming.
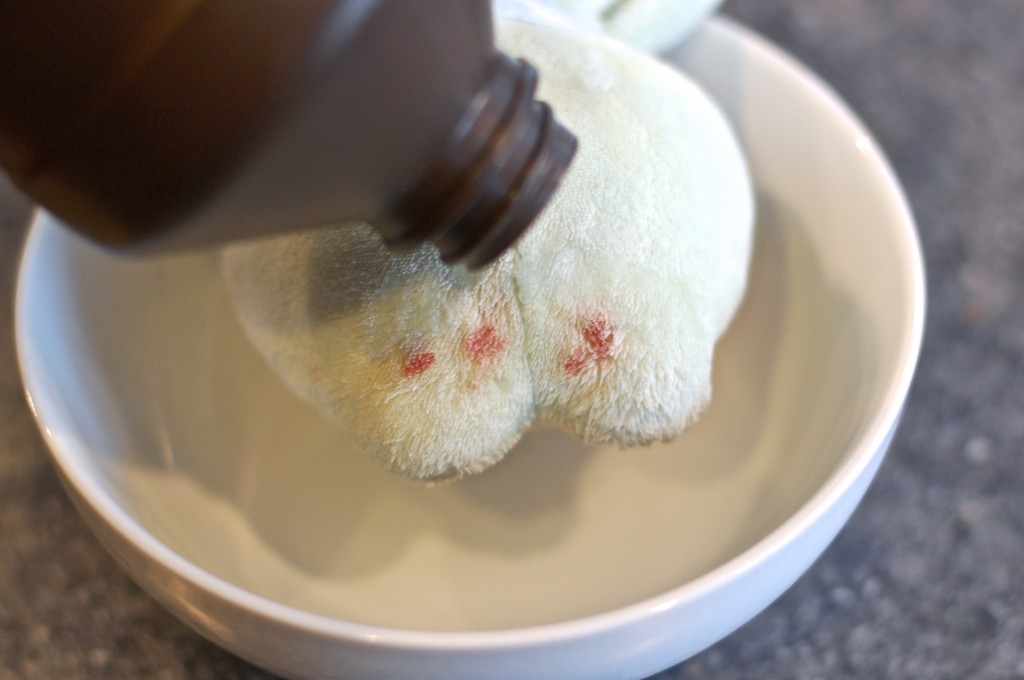
Step 4: Wait a few seconds for the reaction to slow, then blot the stain with a dry white cloth or paper towel.
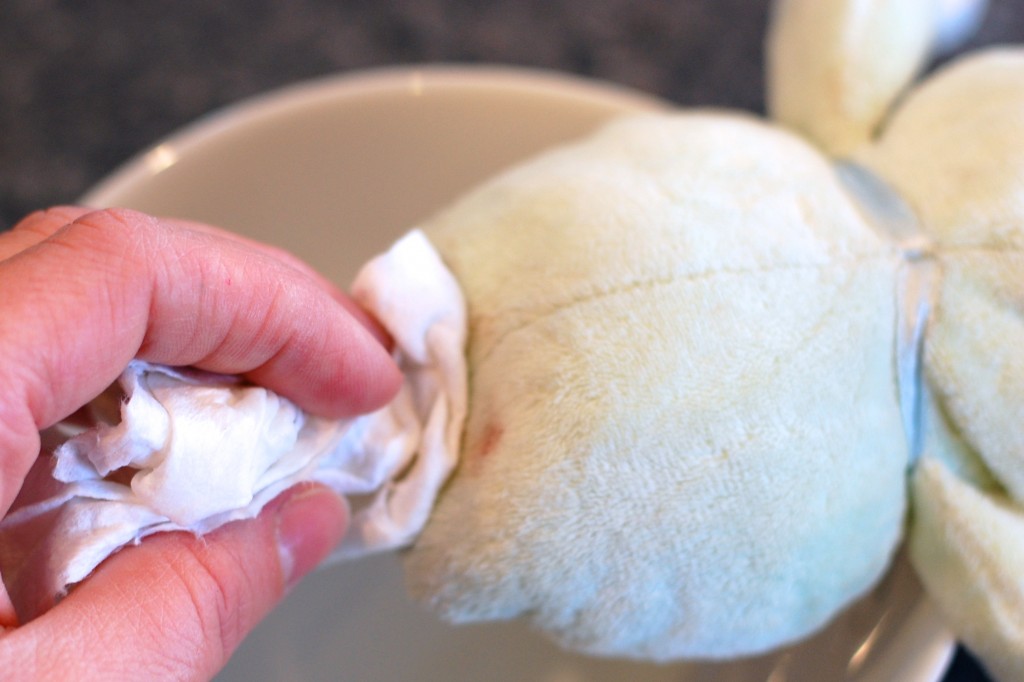
Step 5: Repeat steps 3-4 until stain is gone or until the hydrogen peroxide no longer foams when applied to the stain.

And just like that, frog was rid of his spots…
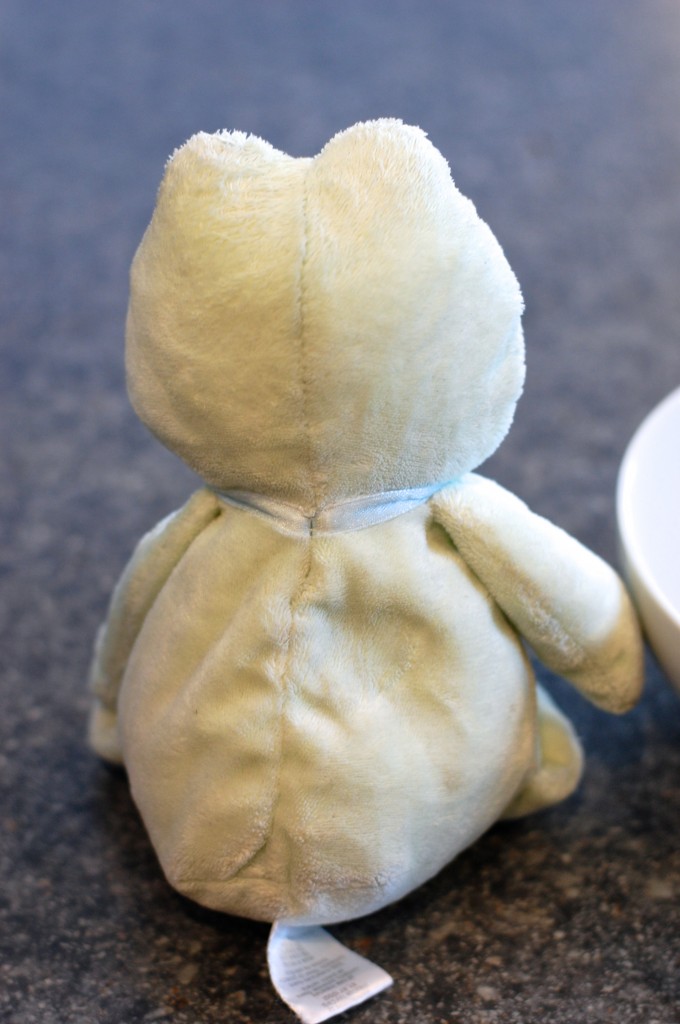
(I’ve used this trick countless times, and on a variety of fabrics, but I should note that hydrogen peroxide is a mild bleaching agent, so you might want to try putting a little on an inconspicuous part of whatever you are trying to clean to test for colorfastness.  Also, promptly laundering the object after treatment is a good idea, and in some cases when I haven’t been able to get the stain completely out with the HP, a trip through the wash has finished the job.  As I mentioned above, this does work for dried stains, but the fresher the stain is, the more likely it is to come out completely.  And again, if the item has been blotted with water, this trick doesn’t work well and if the item has been laundered, it probably won’t help at all.)

After a quick wash cycle and a tumble in the dryer, as Lydia put it so well, “Frog is all clean and fluffy!”
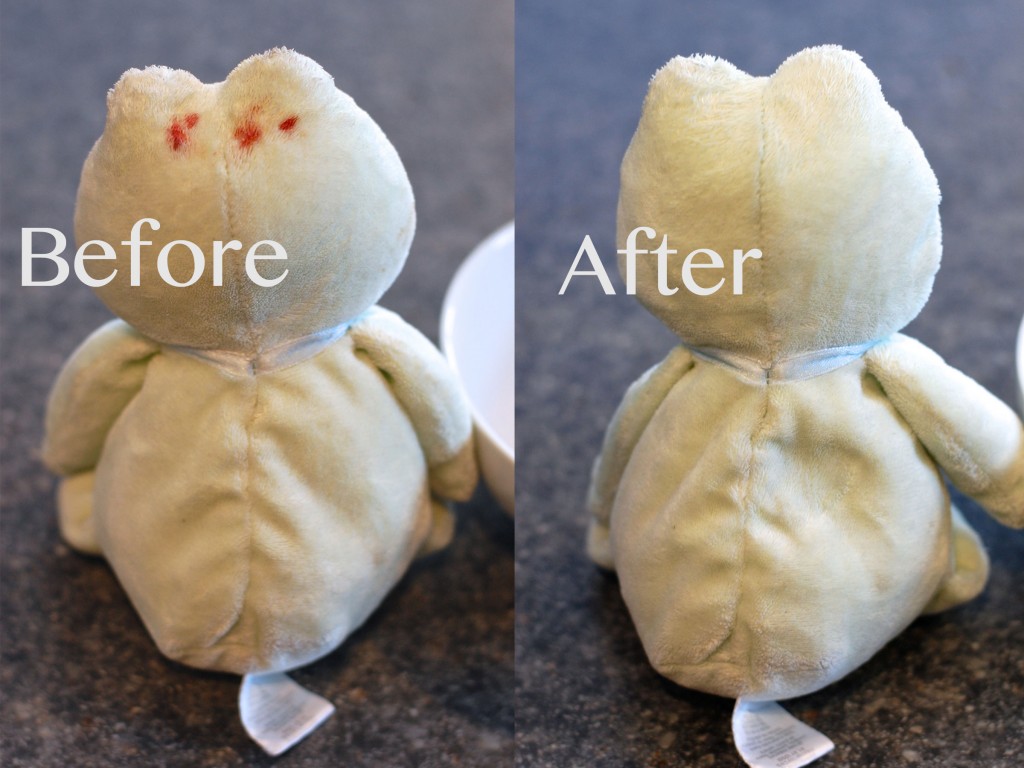
So there you go, my best stain removal trick, brought to you today by my hide-and-seek loving children and the stuffed frog who saved my jacket sleeve.
And…. We’re Back!

Sorry for the long blogging break.  We’ve had a busy last week or so.  Here’s what we’ve been up to…

Last week Monday through Thursday, we took a little family vacation to a hotel/waterpark in Duluth.  Not the most exotic destination, I know, but after last year’s somewhat disastrous spring break trip, we decided to keep it simple and affordable by avoiding air travel and limiting the trip to four days.  And what do you know, it pretty much worked.  There were some melt downs and Alethea started asking to go home a full 24 hours before our departure, but over all, Peter and I agreed that it was one of the best family vacations we’ve had since Alethea and Lydia arrived on the scene.

Naturally, the waterpark was the highlight of the trip and the yellow slides were the highlight of the waterpark.  It did take the girls three trips to the pool before they worked up the bravery to duck under all the falling water to access the slides, but once that was done, they were interested in trying nothing else.

The Friday morning after our trip we took it easy at home and tried to do a post-vacation decompress, but that evening I went out with some friends for a ladies night out at a restaurant/bowling alley in Minneapolis.  Unexpectedly ran into my brother-in-law there, hanging out with his friends, which made me feel good to know that I’m at least cool enough to frequent the same establishment as people who are still young and childless.  Maybe I’m not SO old?

Let’s not dwell on that question… So, Saturday we took the girls to a local Easter egg hunt.  There aren’t too many places in the world where hundreds of people would show up in 30 degree weather to pick up plastic eggs out of several feet of snow, but Minnesota is one of the few.  And yes, Alethea did choose to wear a dress and yes, she was quite cold.

The girls both enjoyed gathering eggs, were thrilled to discover that they contained candy and afterwards, Alethea was even brave enough to have her picture taken with the Easter bunny.

Lydia was not so confident and actually twitched nervously every time the bunny moved, so I have no picture to share of her snuggling up to him.  I did get a good one of the girls hugging each other though…

Sunday was church and afterwards a friend and I stayed to do some painting.  It was supposed to be a couple of quick walls, but then we kept finding more to do, so I arrived home late in the evening, quite sore, and not at all ready to jump back into our regular routine on Monday morning.  Oh well!

So now we’re all back to our usual stuff: playing with stuffed animals, going to work, reading books, teaching piano lessons, doing dishes and lots and lots of laundry.  Oh and planning Alethea’s birthday party, buying her present off Craigslist (she’s getting a bike, it’s pink and has streamers on the handlebars), prepping for Easter dinner (we’re hosting) and tracking down stuff for the girl’s baskets. And dreaming of spring… always, always dreaming of spring… sigh…

What have you all been up to lately?

Guest Room Progress Report

Okay, so not gonna lie, I love a good room makeover before and after.  It’s so fun going to other blogs and seeing the amazing room transformations that have been completed.  But to be honest, it’s also a little bit intimidating.  I often think I should post more pictures of whole rooms in my house, but I so seldom feel like rooms have reached their “after” state that I get frozen.  I think, “maybe when I’ve done XYZ, THEN I’ll take ‘after’ pictures.”  But who am I kidding, there are ALWAYS more tweeks and changes and updates waiting to happen.  And I’m okay with that.  I like the fact that my house is evolving with my style and the needs of my family.  That said, I’m about to show you “before” pictures and “where we are now” pictures of my guest bedroom, but I’m not going to call them “after”, they just are a progress report, if you will, because I have no idea when, if ever, the room will be 100% done.

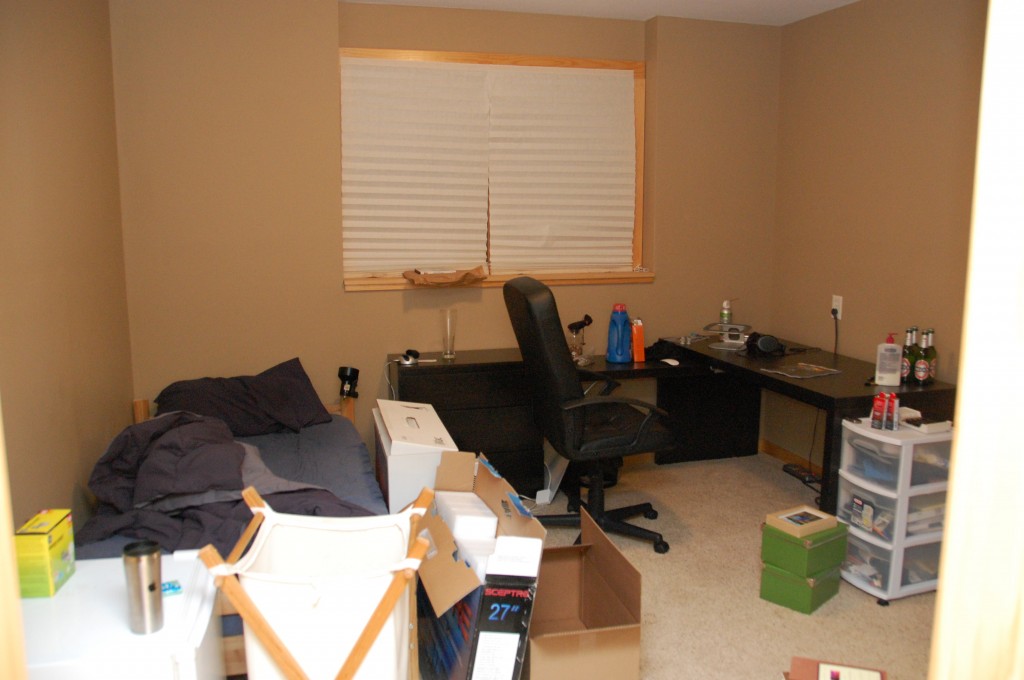
This is what the room looked like in June of 2012 before I got a hold of it…We had a bachelor friend living with us and he was in the process of moving out when I snapped this shot (it wasn’t this messy normally).  Just an FYI in case you wonder where all the stuff went in the rest of the pictures, none of it was ours.

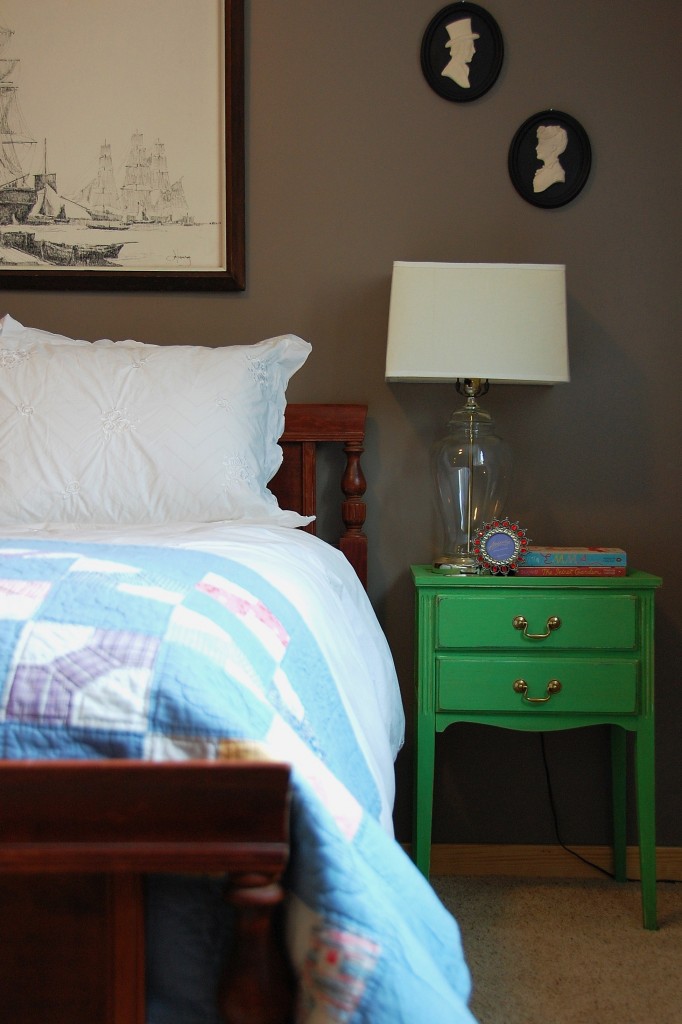
And here is the room as of two weeks ago (from a slightly different angle)…I had originally picked up some fabric from JoAnn’s that I was going to base the room’s style around, but then I remembered this bow tie quilt that my great grandmother had made and I knew it would be the perfect centerpiece for the room.  I’m calling the room’s style “Grandma’s Attic Chic” which is just right since I wanted to work with family hand-me-downs and things I found second hand (or by the side of the road).

The little green end table is my favorite find for the room.  It was $40 at an occasional sale, which is a bit of a splurge for me, but what can I say?  I just fell in love with it and it’s happy green self. (If you have sharp eyes, you may recognize the lamp on the table as this one from the thrift store that Peter hated so much.  I haven’t gotten around to doing anything with it other than switching out the shade, but it already looks better, don’t you think?)

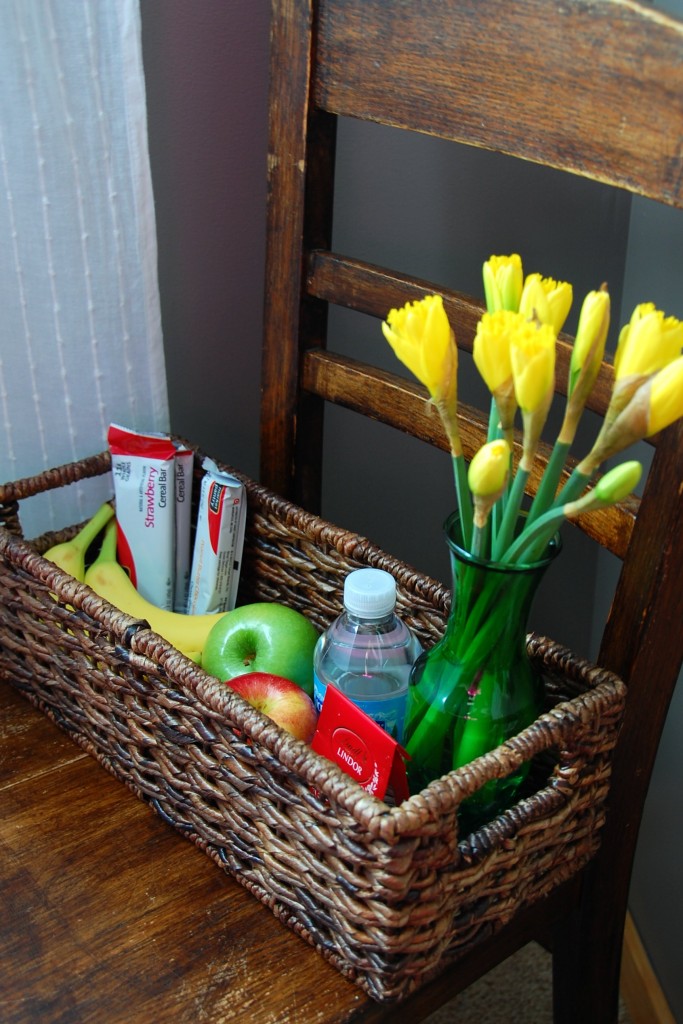
This is an element that isn’t always in the room, but a friend from college was coming to visit, so I put together this welcome basket for her to enjoy during her visit.  It’s something that Peter’s aunt did when we stayed with her last March and I thought it was just so thoughtful that I’ve been doing it for our guests ever since.  I for one think it’s nice when I’m traveling to have easy access to some healthy snacks, a bottle of water, and of course, chocolate!

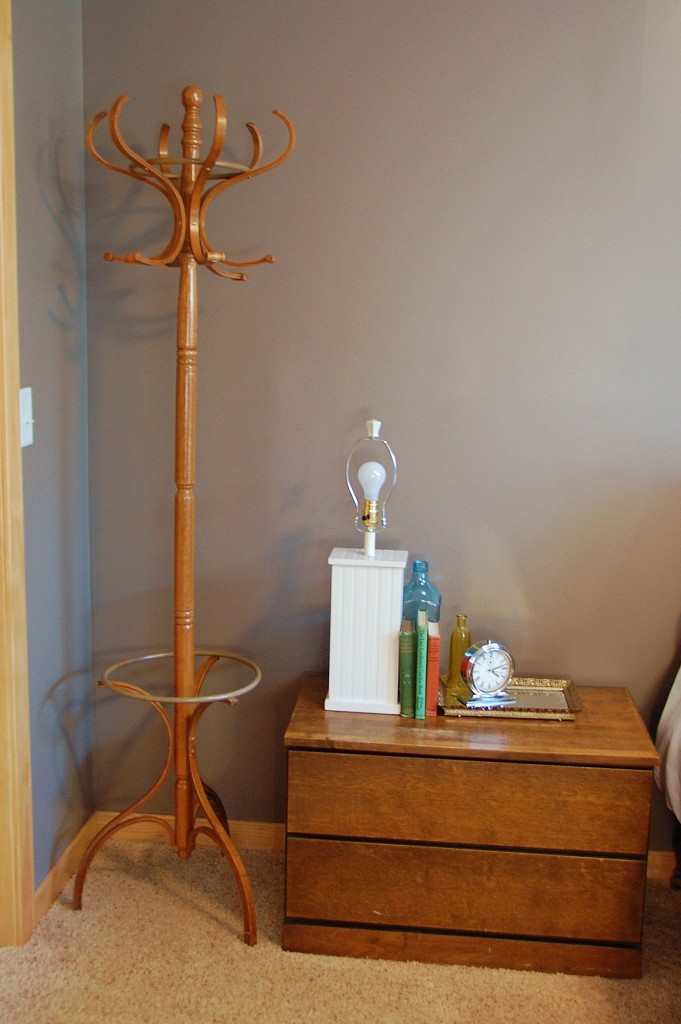
This is one of the parts of the room that is most certainly still in progress.  Yes, the lamp needs a shade.  And yes, the two drawer chest is much too low to properly function as a bedside table.  The plan is to find an end table or small desk to replace it.  (I may perhaps move in the desk currently in my piano studio if I can ever locate its replacement.)  I am really excited about the coat tree though.  It was a $3 estate sale find that I intend to spray paint a bright happy color just as soon as the weather decides to cooperate.  Is 40 degrees in mid-March really too much to ask?!?!? Seriously, people.

So there you go.  The guest room is making progress.  If the snow ever melts, I’ll try to remember to post another update with the revamped coat rack.  DIE SNOW, DIE!

Funny Baby

Okay, so here is the story behind this video: Lydia got a genuine Lamb Chop puppet for Christmas this year, but since “lamb chop” was an unfamiliar term to her, she promptly dubbed it “Porkchop”. The other bit of information you need to know is that lately Alethea and Lydia have been “doing voices” for their stuffed animals, which is pretty hilarious, because they generally try to make their voices low and masculine.

So anyway, this video is Lydia performing a puppet show with Porkchop singing Baa Baa Black Sheep even though Porkchop, who is actually a lamb, has white wool, not black. Got it?

Cracks me up every time!

TATT: Party Decor Tricks

Two weeks ago I hosted my first (and maybe only) ever direct marketing party.  I’m not generally a huge fan of this sort of gathering, but I do love my Norwex cleaning products, so when a good friend decided to become a consultant, I thought, “Hey, why not?” and hosted her first party.  And what do you know, it actually was a lot of fun!

Anyway, since my house was still decorated for Valentine’s Day, I decided to stick with that theme for the food table and here are a couple quick and easy tricks I used to achieve my V-day themed display.

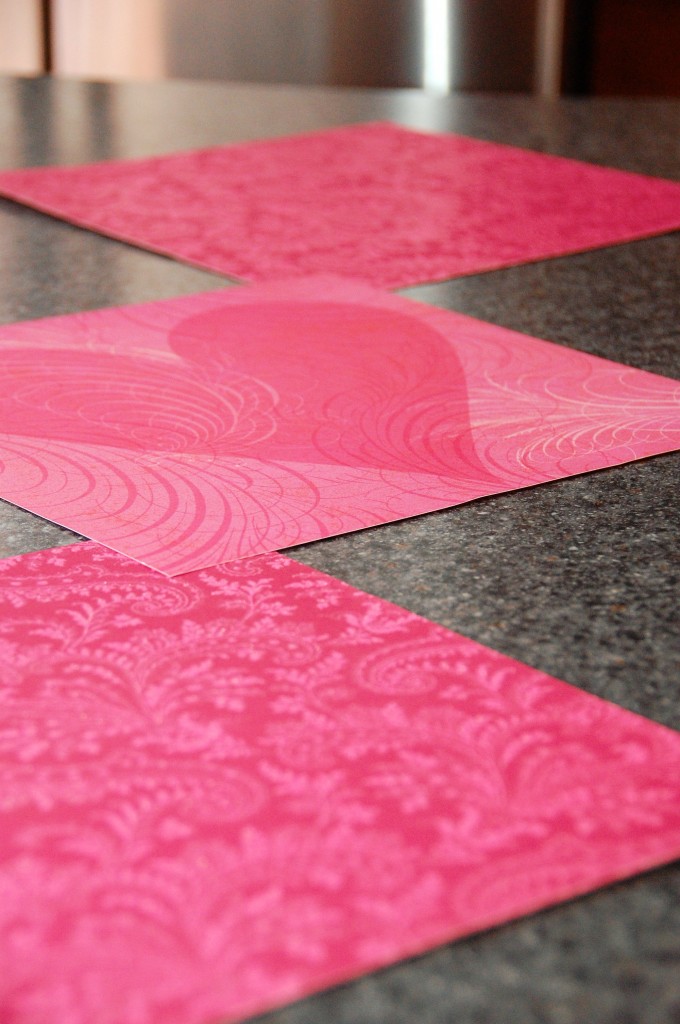
Trick #1 – Scrapbook Paper Table Runner
This is a trick that I’ve been using at every party I’ve thrown for a while now.  I take three sheets of scrapbook paper that tie in with the theme/colors of the party, lay them down on a diagonal across my kitchen island and secure them with a few tiny bits of double-stick tape.

Voila!  Instant party themed table runner for under $1!

Trick #2 – DIY Tiered Cupcake Display
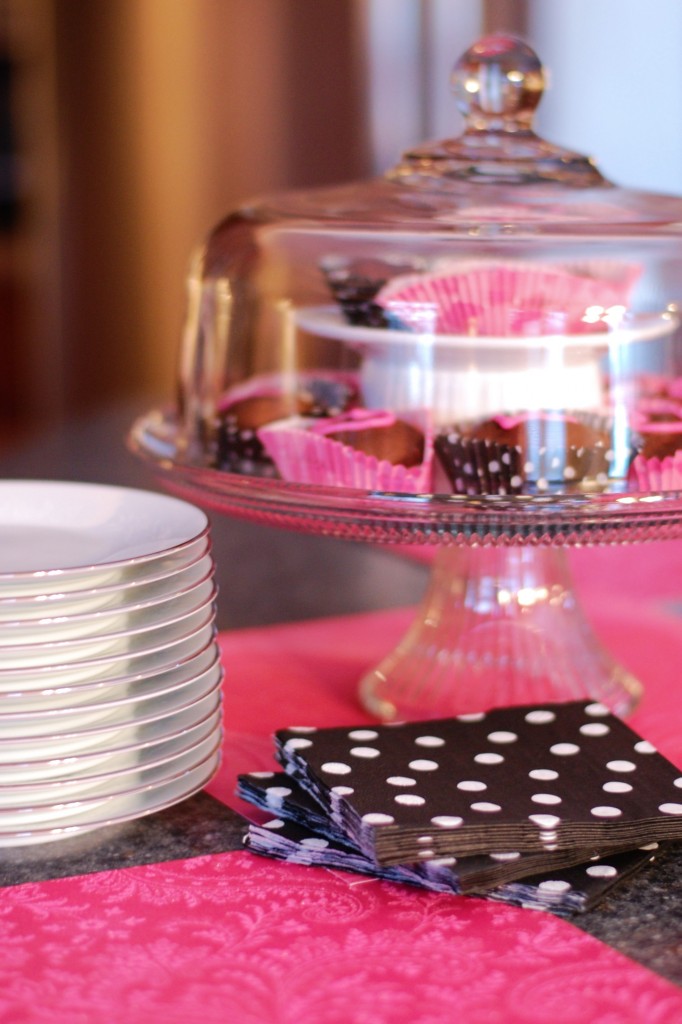
It seems that you can hardly turn on the TV or log onto Pinterest these days without seeing a gorgeous display of cupcakes in some form or another.  After all, cupcakes are the new black.  I naturally find myself drawn to white ceramic stands (preferably with scalloped edges) in graduated sizes that can be stacked to create a tiered display.  So lovely.  But since I bake so rarely, it seems a waste of cupboard space to invest in a set.  Especially when I know about trick #2.

One cake stand, plus a small plate, plus a ramekin turned upside down and voila again!  Instant tiered cupcake stand for FREE!

So there you go, a couple of tips for your next event.  How about you?  What are your go-to tricks for easy party decor?

TATT: Hanging It Up

So here is yet another edition of Tips and Tricks Tuesday coming to you on a Wednesday.  Peter has kindly suggested I find someone to do a guest post for me on “Tips and Tricks for Meeting Deadlines” and I had to agree with him that it would have to be someone else writing it, because I have zero tips for that topic.  This is one blogger who was chronically late handing in papers during college.  One advantage (or disadvantage) of being a Music/Philosophy double major is having artsy/heady profs who really couldn’t care less about deadlines.

But enough about me, here’s a tip for you…

So you know when you go to hang something on a wall and you get out the drill and make a hole and end up with drywall dust all over the floor below?  There is a simple solution for that!

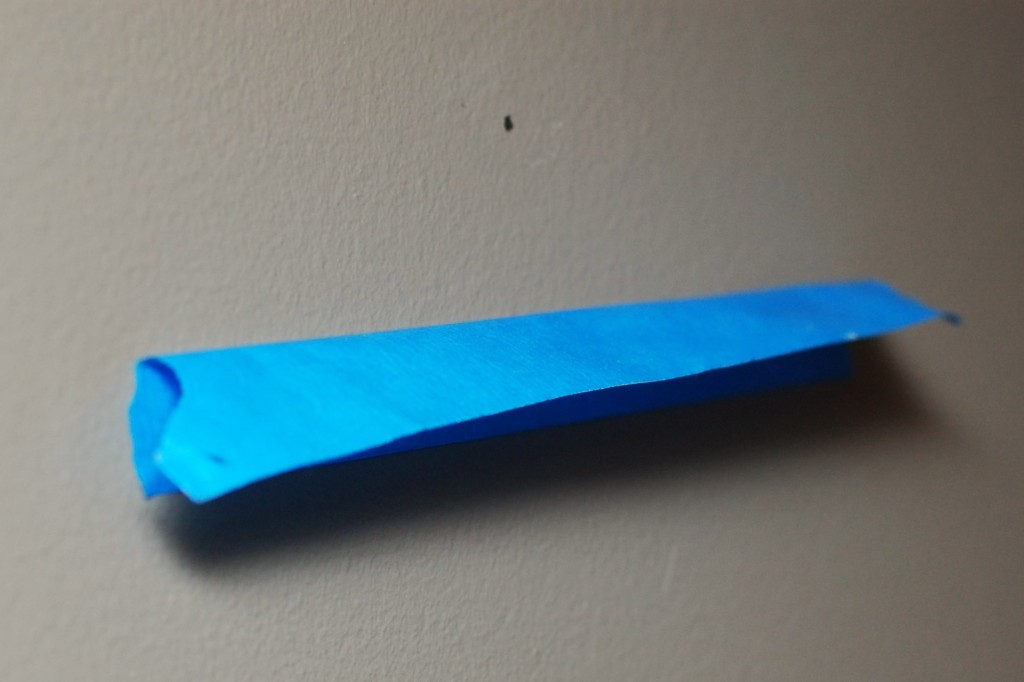
Welcome painters tape to save the day.  Just fold a short length of tape to form a little shelf (sticky side up), and tape it up just below the hole you are about to drill.

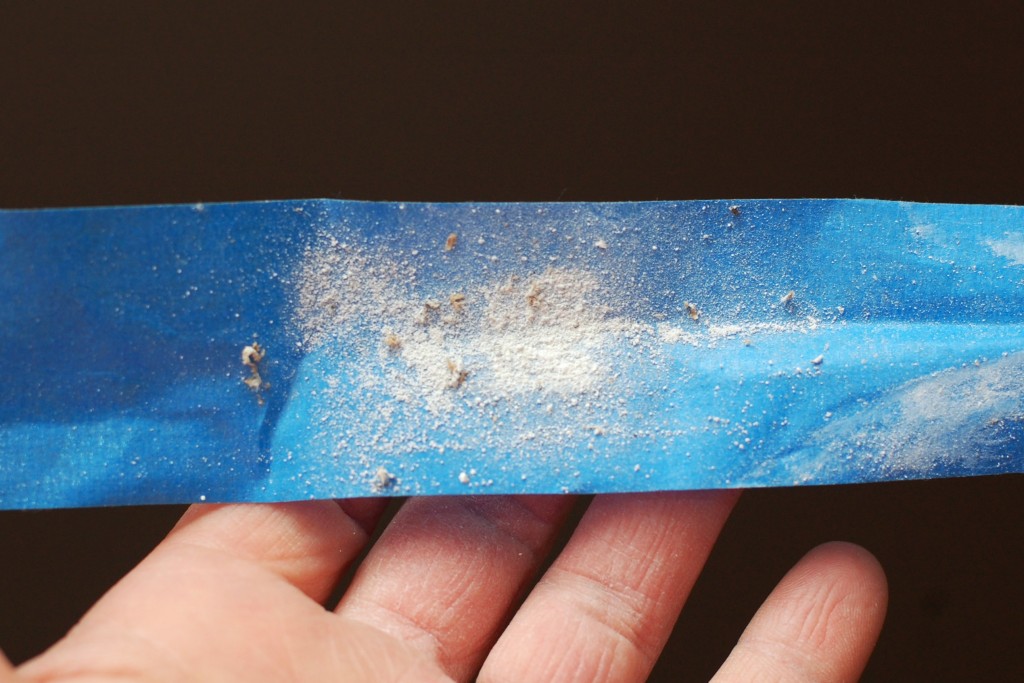
Just look at what did NOT end up on my floor when I tried this out last week…

I’m happy to report that this Tips and Tricks post was brought to you today by the letter T and by the new guest bedroom rod and curtains that FINALLY went up on Friday.  (They were purchased about 8 months ago, and were supposed to be up in time for the guests who stayed with us for my sister’s wedding last June.  Oh, you pesky deadlines, you…)

Guest bedroom progress pics to be headed your way soon.  However, because my college professors were in fact sticklers about plagiarism, I should be sure to mention that this brilliant tip of the week was not a product of my own brain, but was something I learned from the good folks over at Young House Love.  (Sorry, I can’t seem to find the actual post where they talked about it, but trust me, that’s where I saw it.)

Happy Tuesday Wednesday everyone!