TATT: A Little Summer Prep

I don’t know about your house, but I’ve certainly noticed at ours, that the amount of traffic in and our of our back sliding door increases dramatically when the weather gets nice.  Last year there was always a pile of shoes by the door and dirt all over our hardwood floors. I kept thinking, “We really need a mat for that door,” and what do you know, now, finally, a year later, we have one!

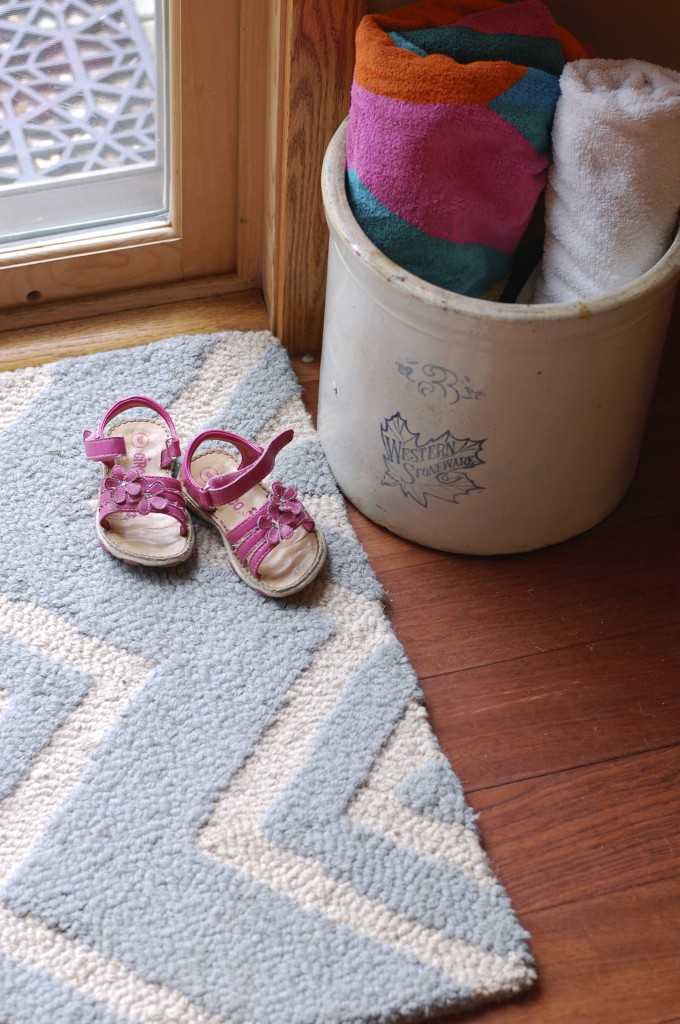
I found this rug on clearance at Target a few weeks ago and instantly knew it was perfect for the space. So my first summer prep tip is, get a mat for your back door…. your flooring will thank you!

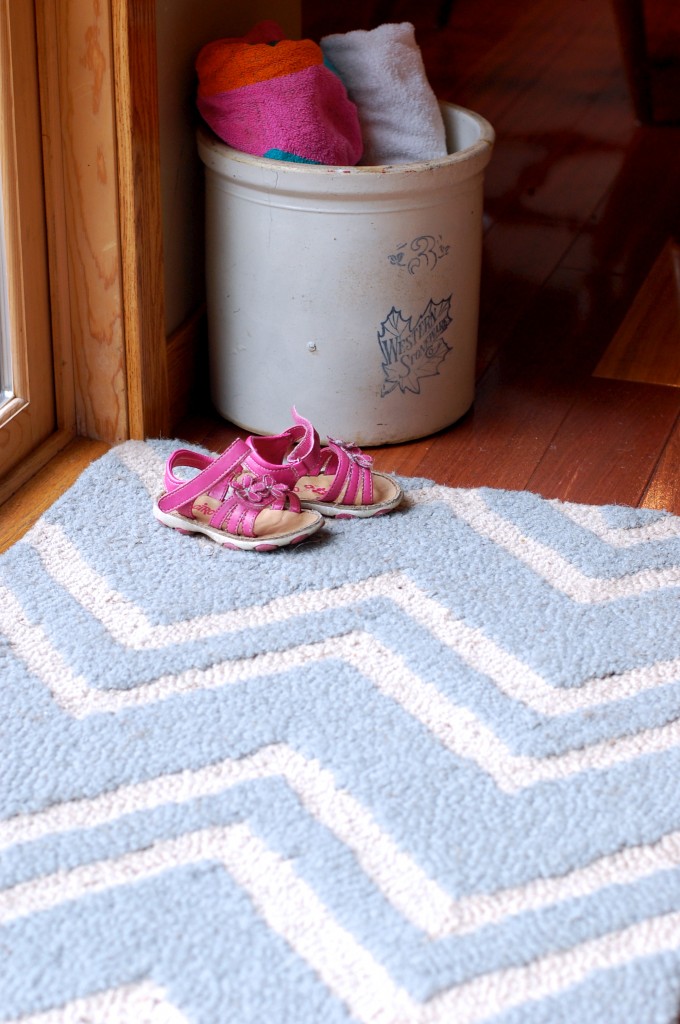
But I didn’t stop at the mat. I know that often the dirt isn’t limited to the kids shoes, so I also wanted to keep a couple towels by the door. Fortunately I had this stoneware crock from my grandmother’s house that has been looking for a job to do.

I put some felt circles on the bottom so it wouldn’t scratch the floors, added some old towels and *ta-dah* instant dry off/clean up station for kids fresh from the great outdoors!

What about you? Do you all find that the house gets messier the nicer the weather gets? Any tips for keeping the sand in the sandbox and off of the carpets?  Or do you just give in to the inevitable and figure there will be time enough to vacuum in the fall? Do tell!

Pics at the Park

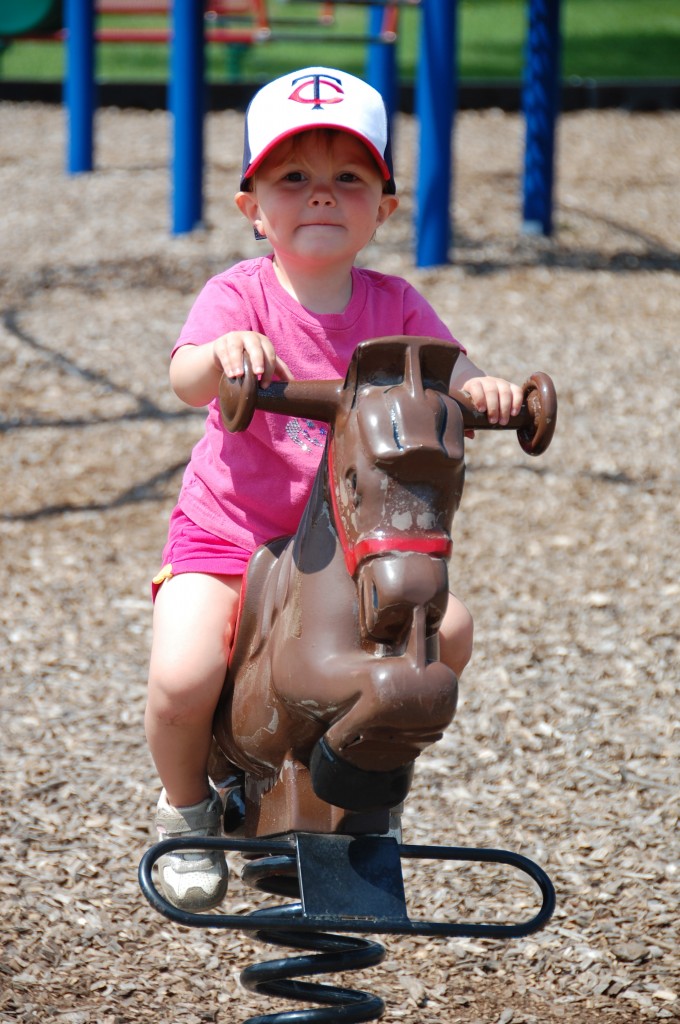
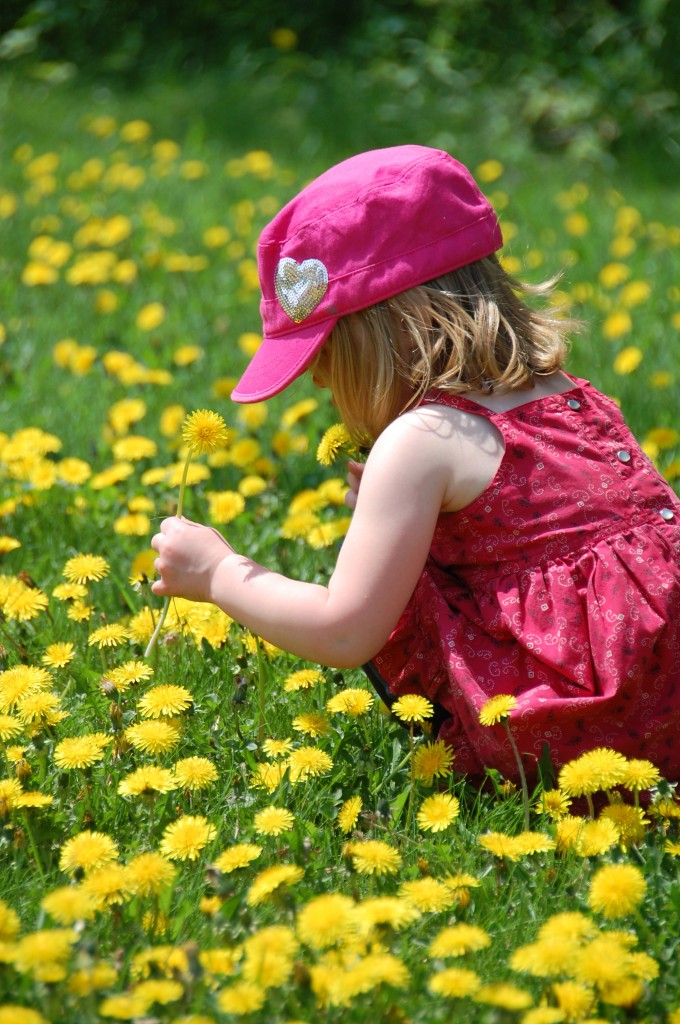
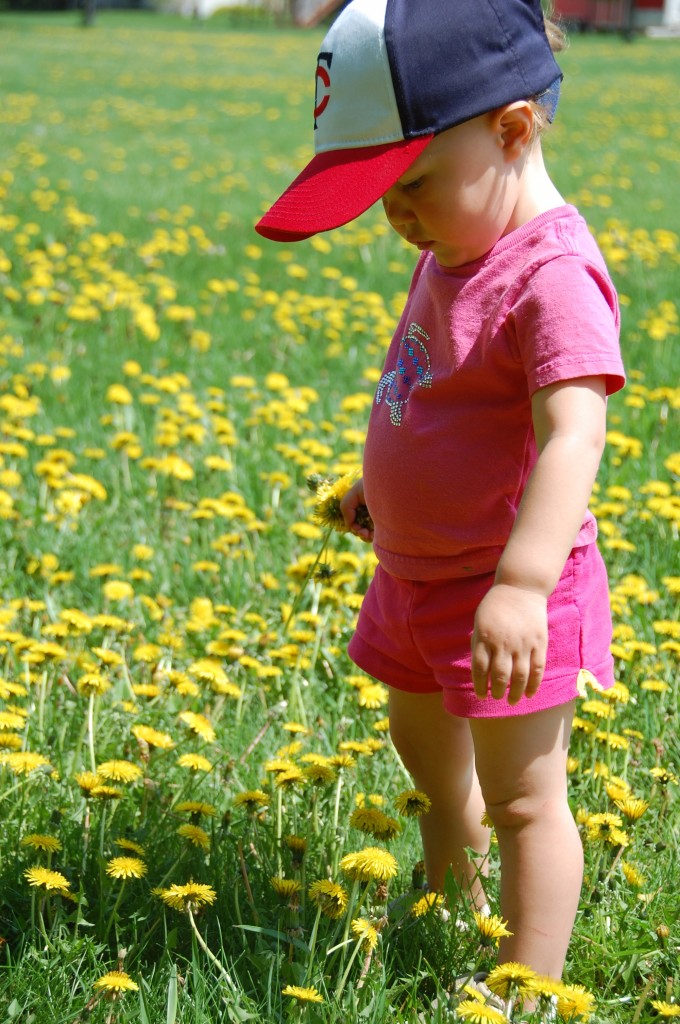
I was going through my photos this morning and realized that I didn’t get my camera out much in April and as a result my folder of monthly photos of the girls was a little bit sparse. To prevent such a catastrophe from occurring during May, I packed up the girls and my good camera, and we headed off to the park for some playtime.  Here are my favorite pics from the morning:

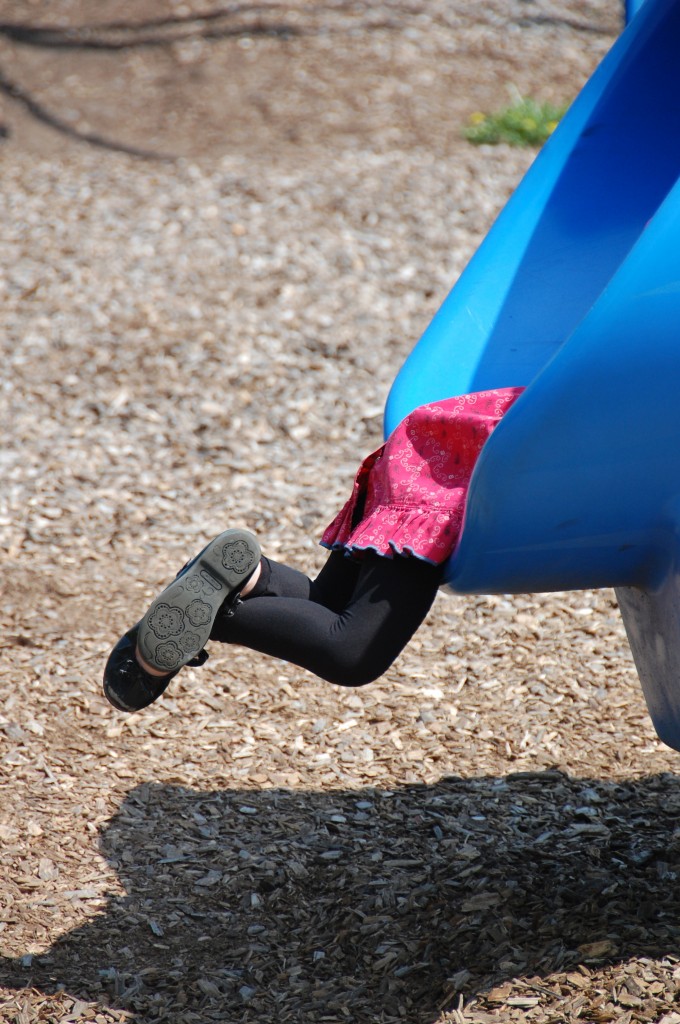
My very first photo of the day was of Alethea’s feet hanging off the slide, a different sort of shot for me, but I couldn’t resist the playfulness of the moment.

Lydia absolutely flies off the end of this slide… and loves it!

Alethea likes the tube slide too. It took all four years of her life to work up the courage to go down, but now it just might be her favorite part of the park.

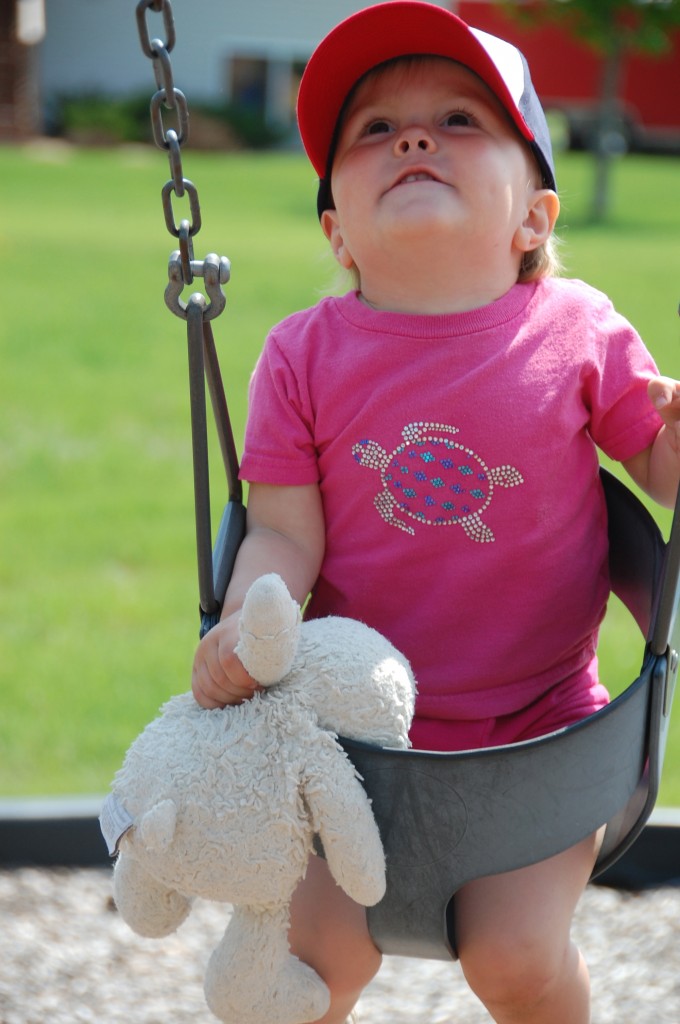
Lydia’s favorite part of the park is the swings. That girl would swing for hours if I’d stand there and push her.

Ride ’em cowgirl!

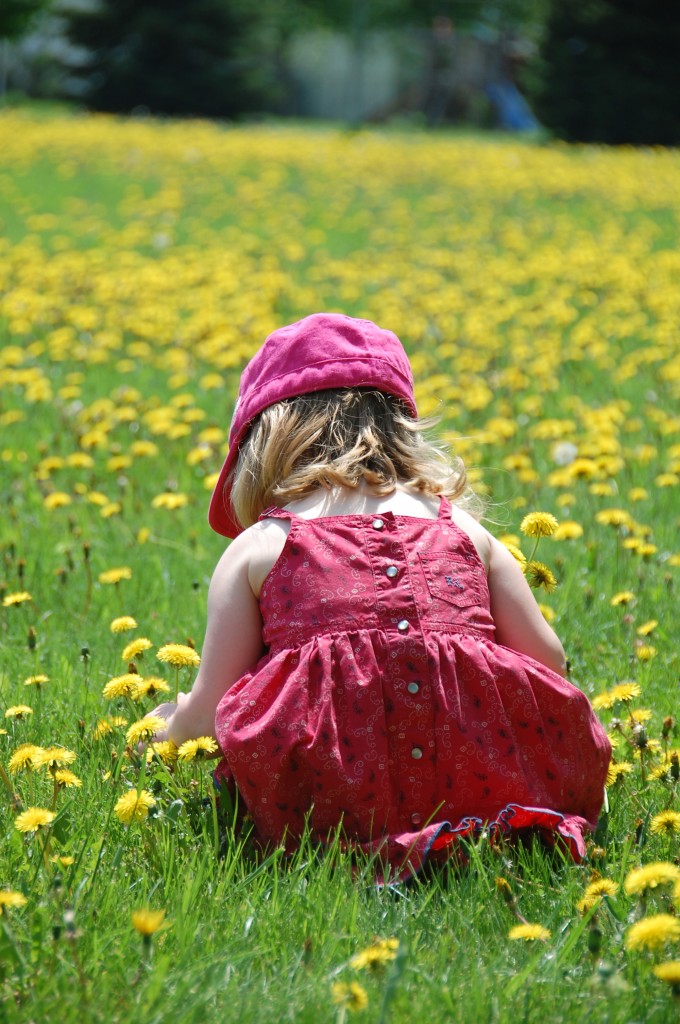
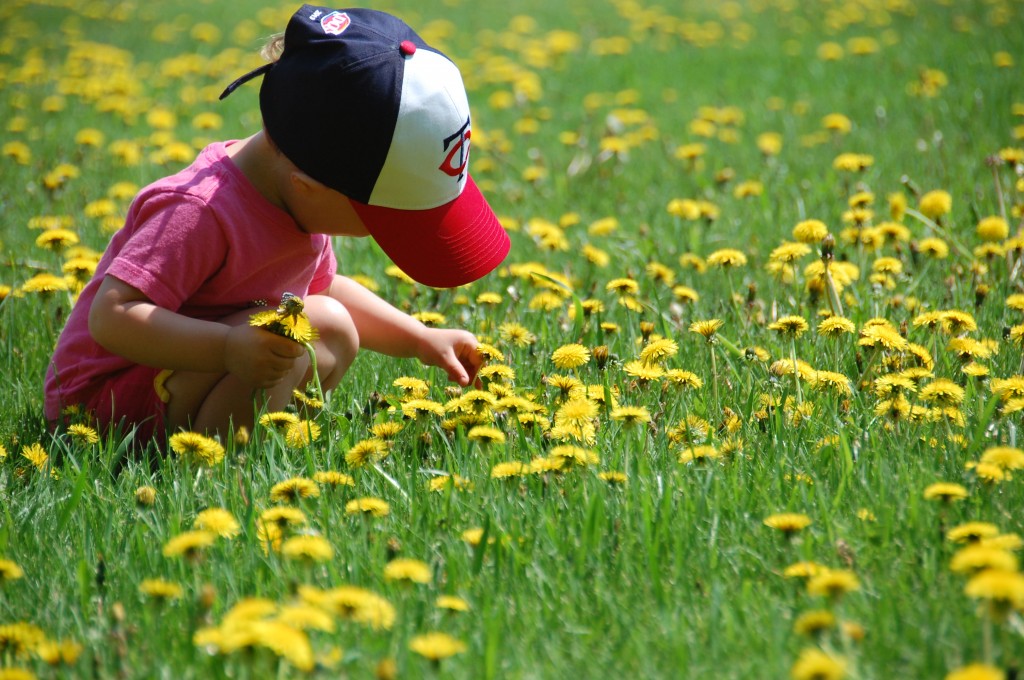
Picking dandelions was just as much fun as playing on the playground!

(Yes, Alethea’s dress is on backwards. Yes, I mentioned it and yes, she was quite sure she didn’t want it turned around.)

Alethea thought her flowers looked liked something for a princess and wanted to go home and “put on my dress from Aunt Genna’s wedding and wear it while I hold my flowers”.

So there you go, a day at the park in pictures. Now I can rest easy tonight knowing that I have properly documented the month of May 2013 in the girls’ lives. Whew!

TATT: A Flower Pot Formula

Feels weird to write a Tips and Tricks Tuesday post today. Mondays off always throw me for a loop, not that I’m complaining about a three-day weekend, just sayin’ it doesn’t feel like Tuesday.

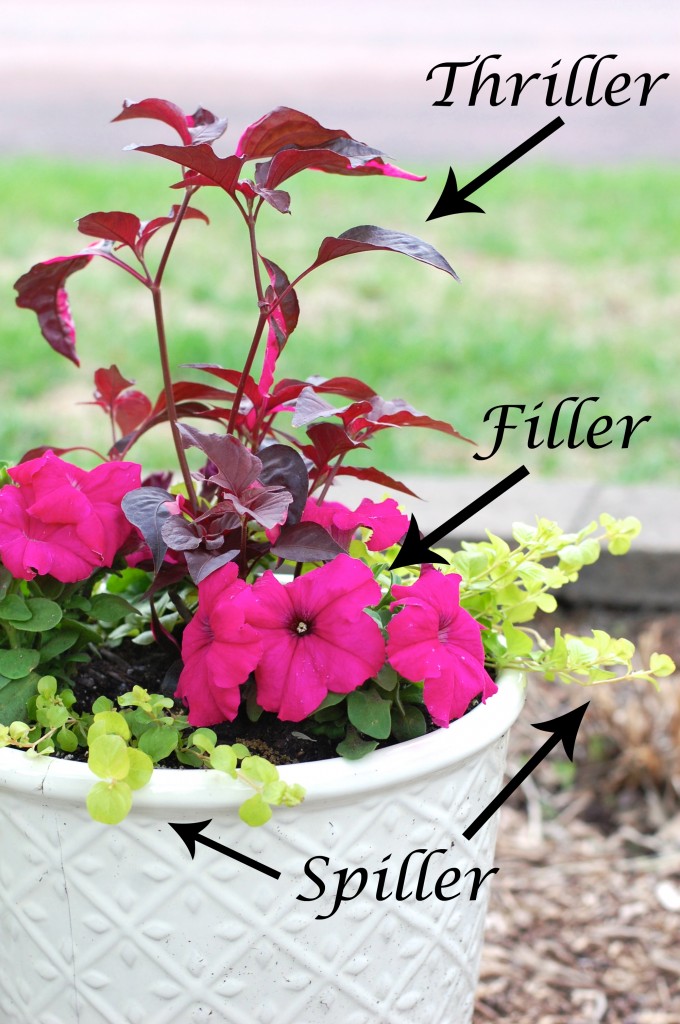
But anyway, it IS Tuesday and so thought I’d share a tip that I learned a few years back for planting beautiful flower pots. This is 100% not my idea, so I apologize if you’ve seen this a zillion times before, but I think it’s an awfully handy trick.  It’s called Thriller, Filler, Spiller and here’s how it works:

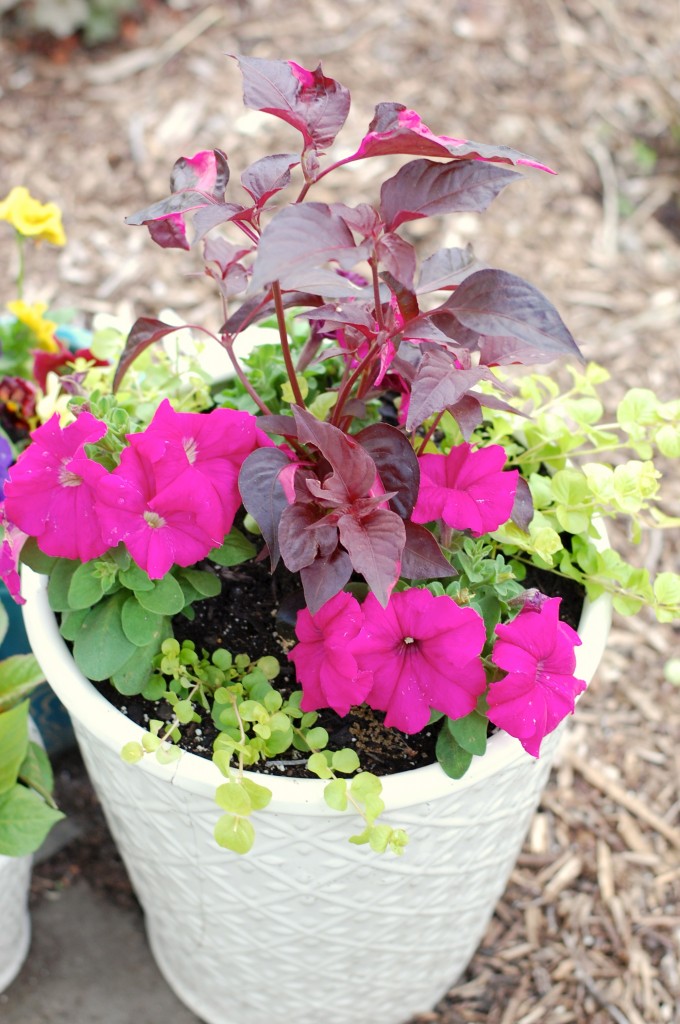
To create visual interest in a large pot (this works best in a container 12 inches across or larger), put one striking tall plant in the center (the thriller), add in several shorter, fuller plants (the filler), and then a few trailing plants around the edge (the spiller).

In this particular pot I went with one “Raspberry Rum” Alternanthera for the Thriller, three pink Petunias for the Filler and two “Goldi” Lysimachia for the Spiller. And don’t worry if your spiller doesn’t spill very much at first. Since “spiller” is practically synonymous with “ground cover”, it won’t take long before it’s gracefully cascading down the side of the pot.

So there you go, my best trick for planting beautiful flower containers. Now I just have to keep them alive. Anyone got a trick for that?!?

Happy Tuesday, everyone!

One Step Forward, Two Steps Back

Good news! We (almost) have a new fence! They are putting the finishing touches on it as we speak, or rather, as I type. Since it’s been a while since you saw anything on the outside of the house, I thought maybe I’d do a little “that was then, this is now” progress report.

A little info on the “then” pictures… it was spring of 2010 and even though we’d moved into our house nearly a year and a half before, it was the first time we’d really paid attention to the outside of our house. (I’d like to say it was because we’d been so focused on upgrading the inside of our house, but it was really mostly because our firstborn showed no inclination to sleep for the first nine months of her life.) So spring 2010 I finally got outside and took pictures.

Now let’s play our little then and now game, unless you don’t like that one, then you can play “Where’s Alethea”, which is sort of like “Where’s Waldo” only probably easier. How many times can you spot her?

“The Bean” (aka front yard flower garden) THEN:
and NOW:
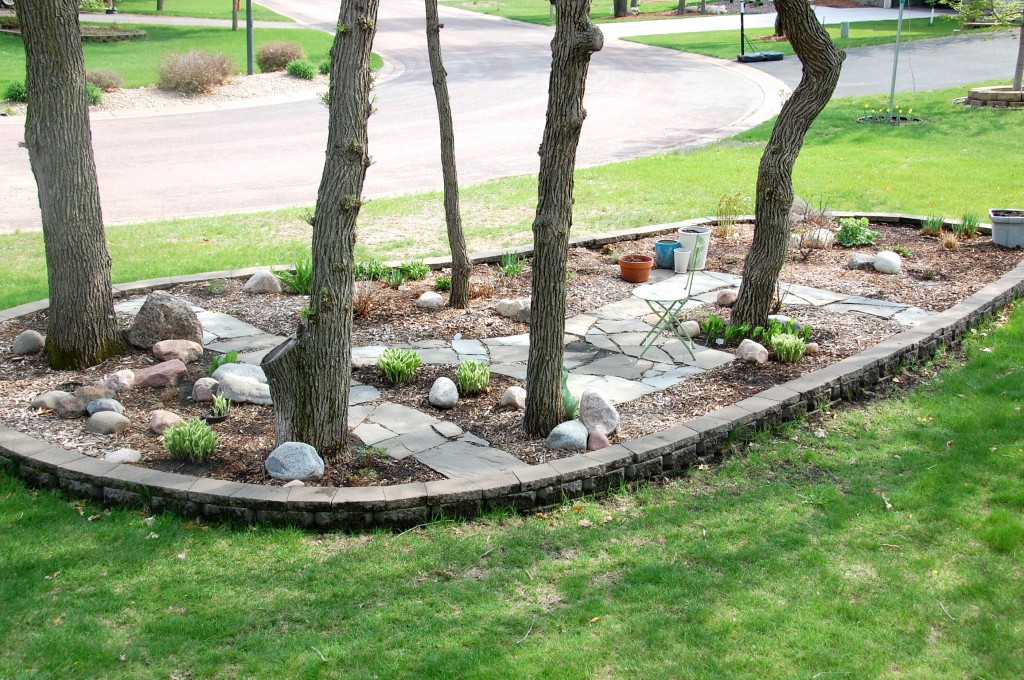
Steps forward: flagstone path, rocks, plants, pots, mulch. Also seating added this spring (just one chair pictured, but we have two; pictures coming once more plants are in bloom).

Steps back: I lost a LOT of plants this past winter. The weather was really harsh. I even lost several daisies. Yes, daisies. They’re pretty much weeds, but somehow they are dead.

Plan for 2013: plant annuals in pots and replace dead perennials, re-mulch.

Front side yard THEN:
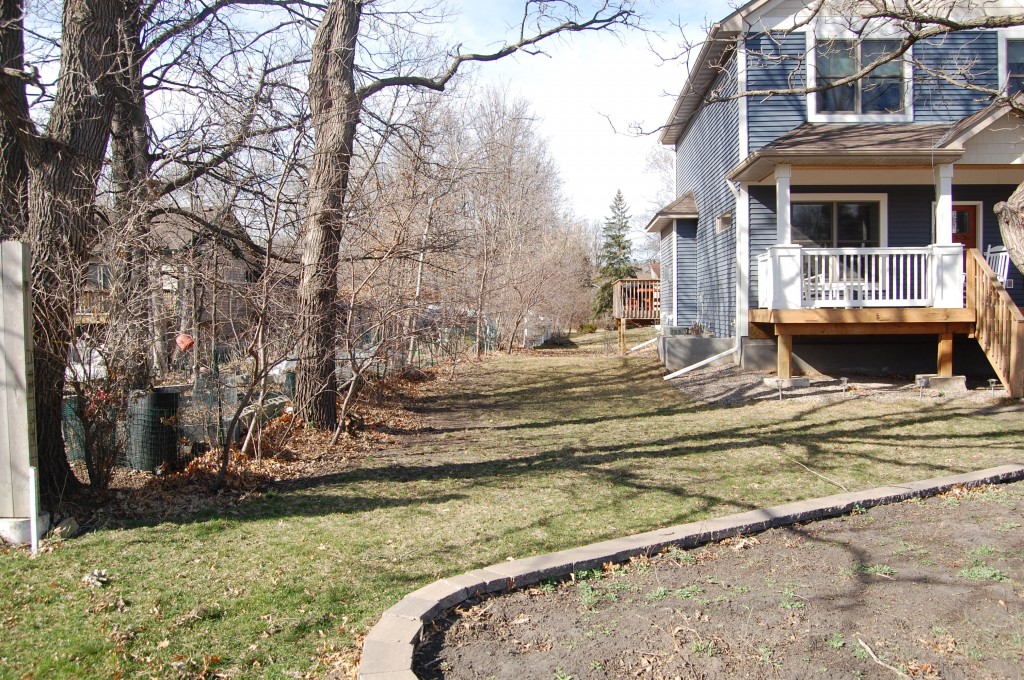
Front side yard NOW:
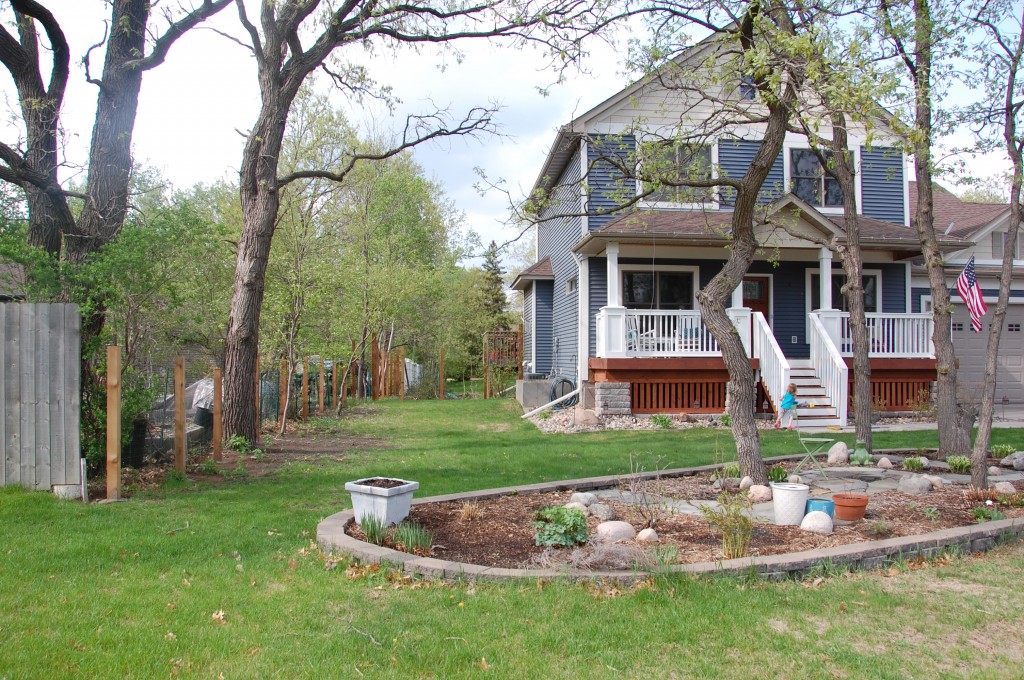
Steps forward: cut down or trimmed back a lot of overgrown trees and a plethora of weeds.  Fence posts are in.

Steps back: now that there aren’t bushy trees covering much of the lawn, you can see the huge bare spots.

Plan for 2013: finish fence (nearly there) and for sure put down grass seed, cross your fingers for a sprinkler system.

Front porch THEN:
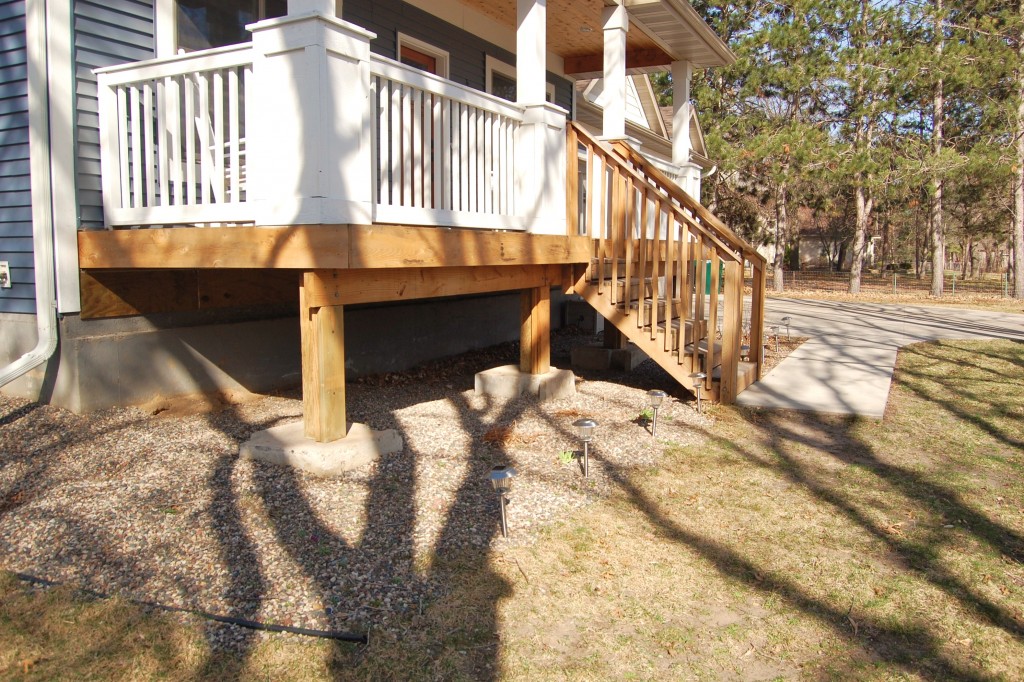
Front porch NOW:
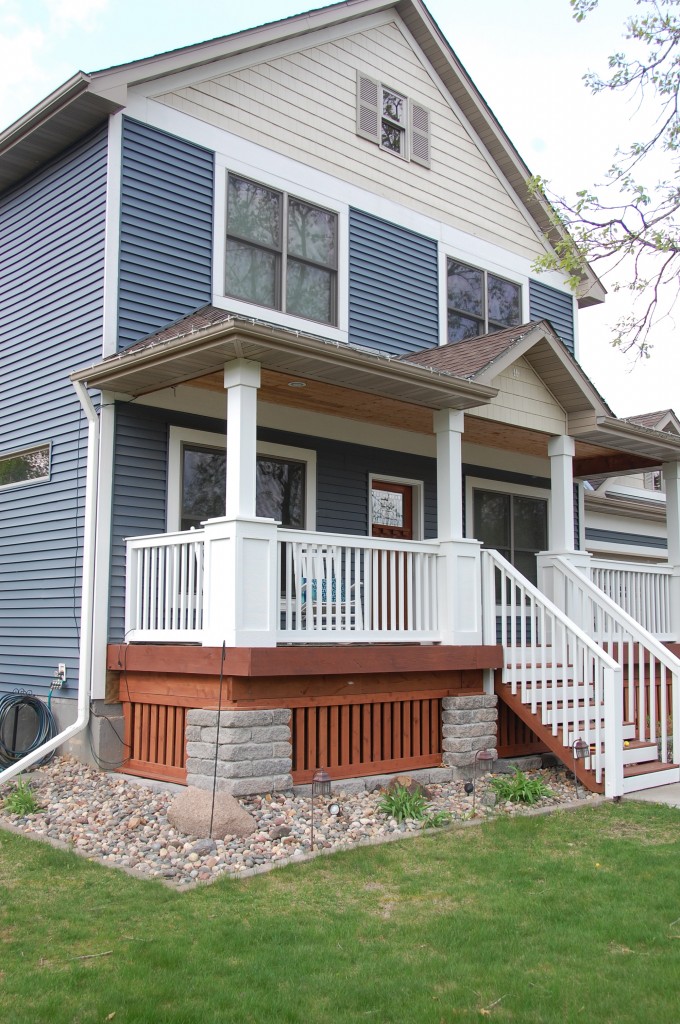
Steps forward: Where to start… as most of you know, this was our summer project last year and we basically did a whole DIY porch facelift, including, paint, stain, masonry, and building the screen around the bottom.

Steps back: Zero!

Plan for 2013: Replace lilies on the left side of the porch (pictured) with azaleas to match the right side (not pictured), plant hanging basket for shepherds crook, possibly get new pillows for front porch rockers that are a better match for the rug we got last year. Oh, and finish taking down the Christmas lights. *Sheepish Grin*

Side yard THEN:
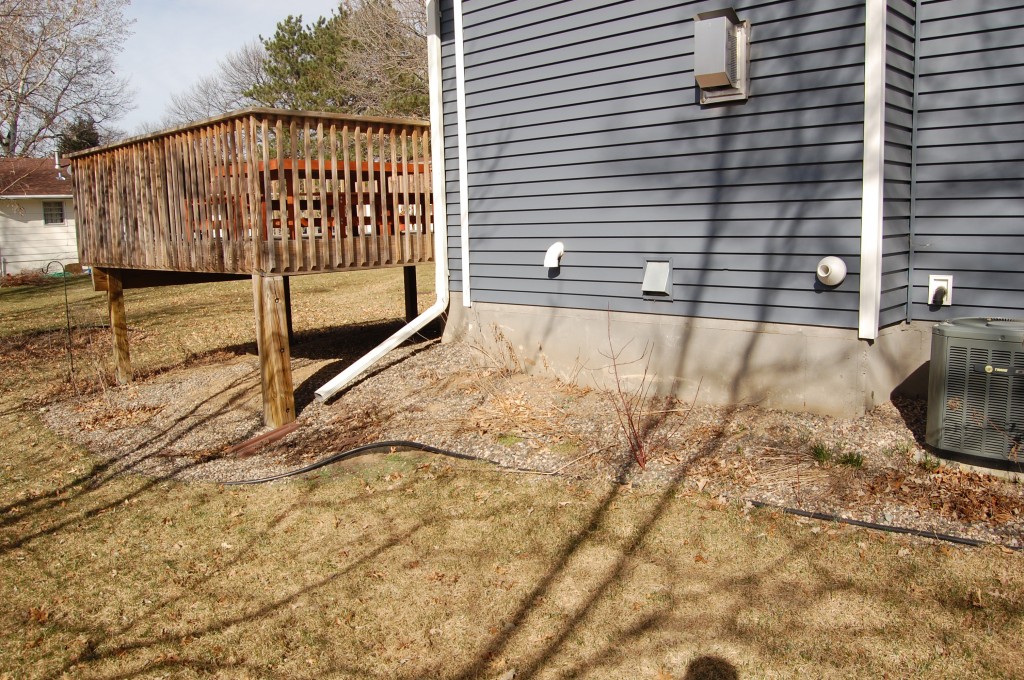
Side yard NOW:
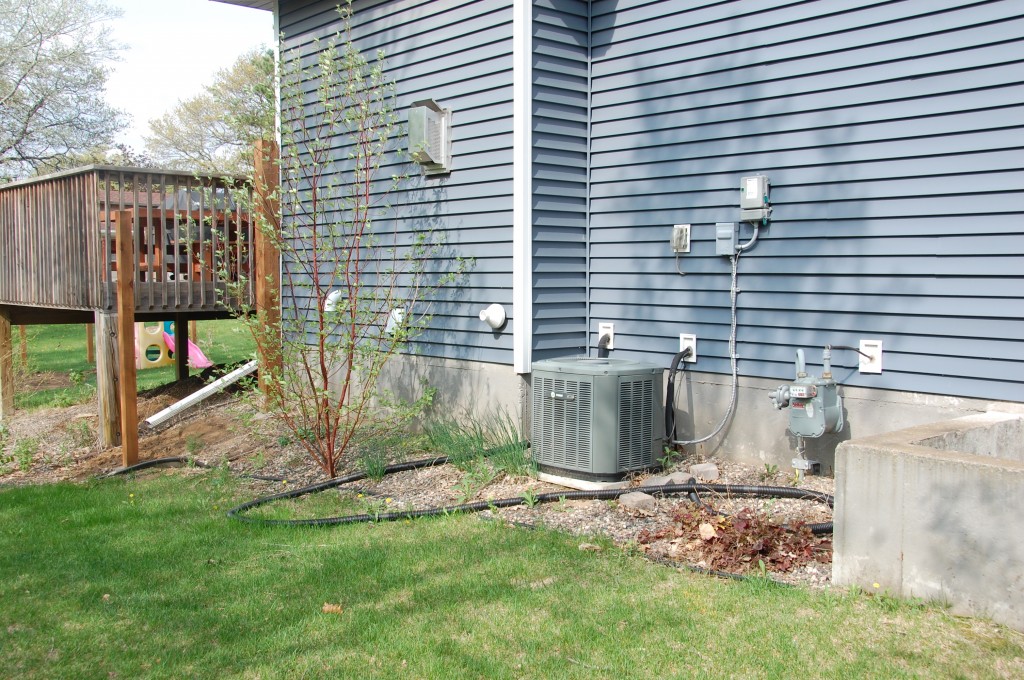
Steps forward: Absolutely none.

Steps back: Everything is completely overgrown, out of control, a big hot weedy mess. It looks much worse even than when we moved in.

Plan for 2013: Rip everything out and start over (transplanting any salvageable plants), possibly add a magnolia tree (my current horticultural crush).

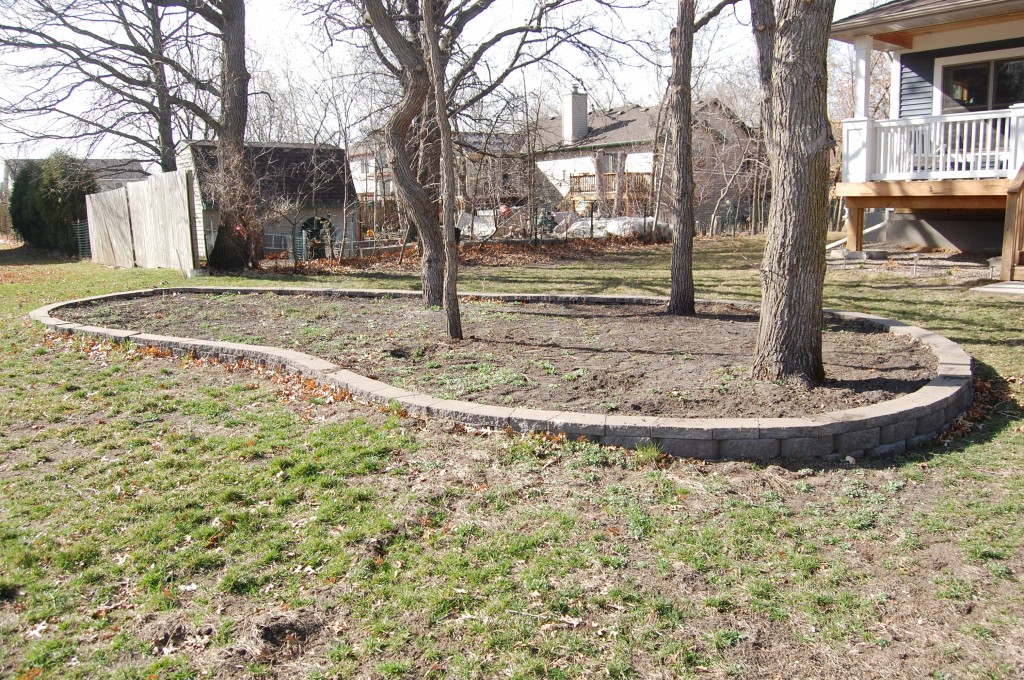
Back yard corner THEN:
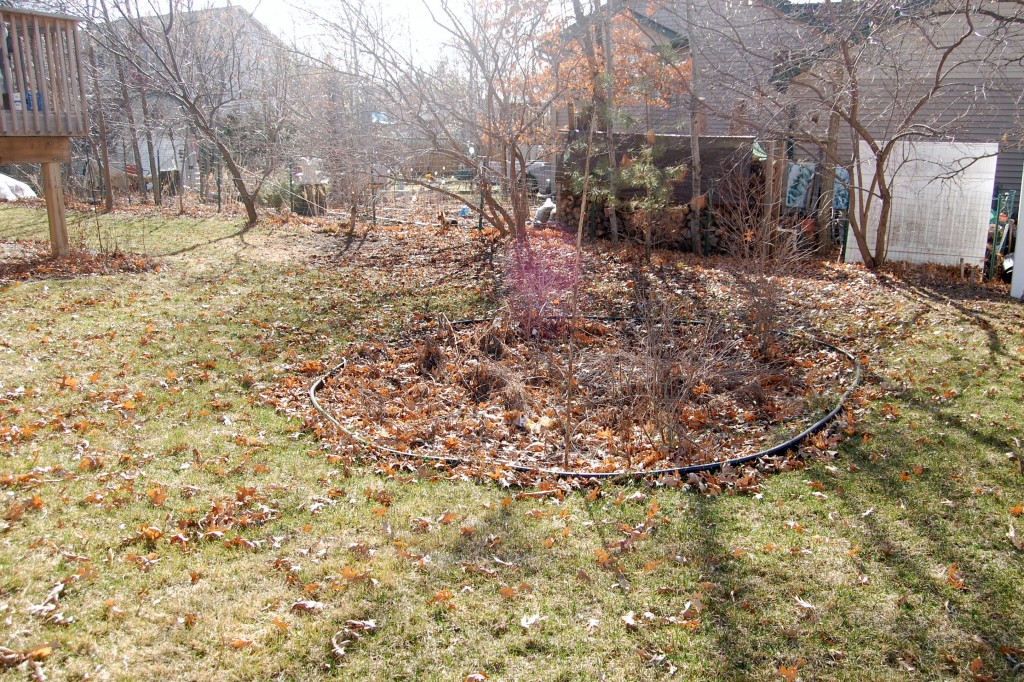
Back yard corner NOW:
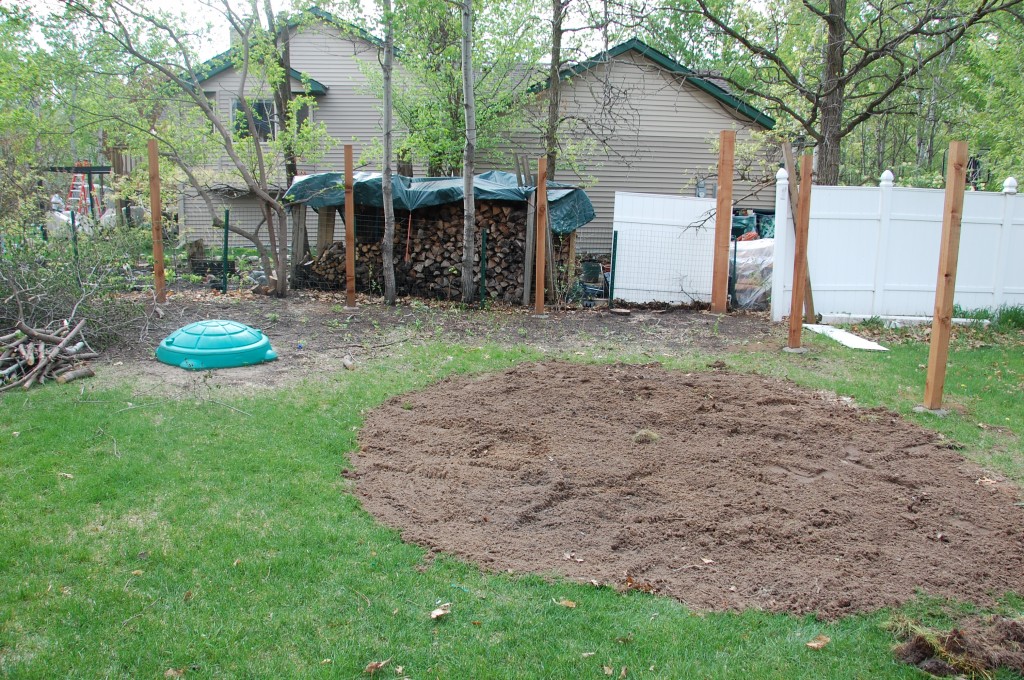
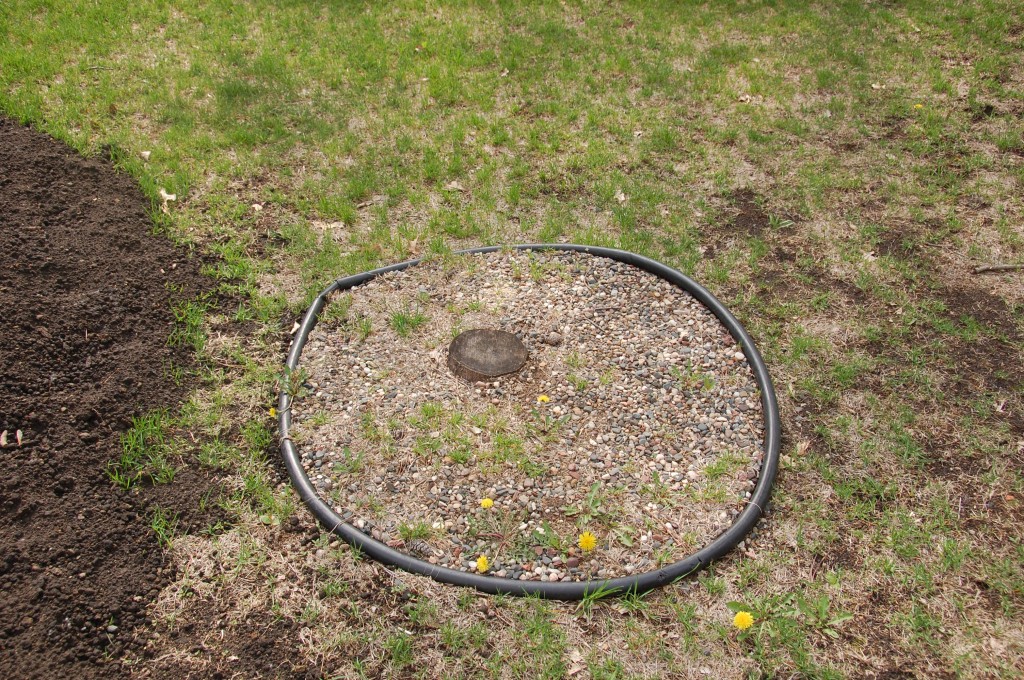
Steps forward: weedy, mostly dead rain garden removed, trees trimmed back to make room for fence, dirt from post holes used to fill in former garden, plastic landscape edging removed.

Steps back: piles of brush and debris yet to be cleared and the grass, it’s sooo bad back there. Also, our turtle sandbox and little tikes play structure (aka our found by the side of the road playground) are now homeless.

Plan for 2013: finish fence, grow grass, possibly add some sort of permanent fire pit. Build a bigger wooden sandbox elsewhere in the yard, dispose of turtle and maybe give away the play structure as well (except that the girls have suddenly become more interested in playing with it recently, so we’ll see what we end up doing).

Deck THEN:
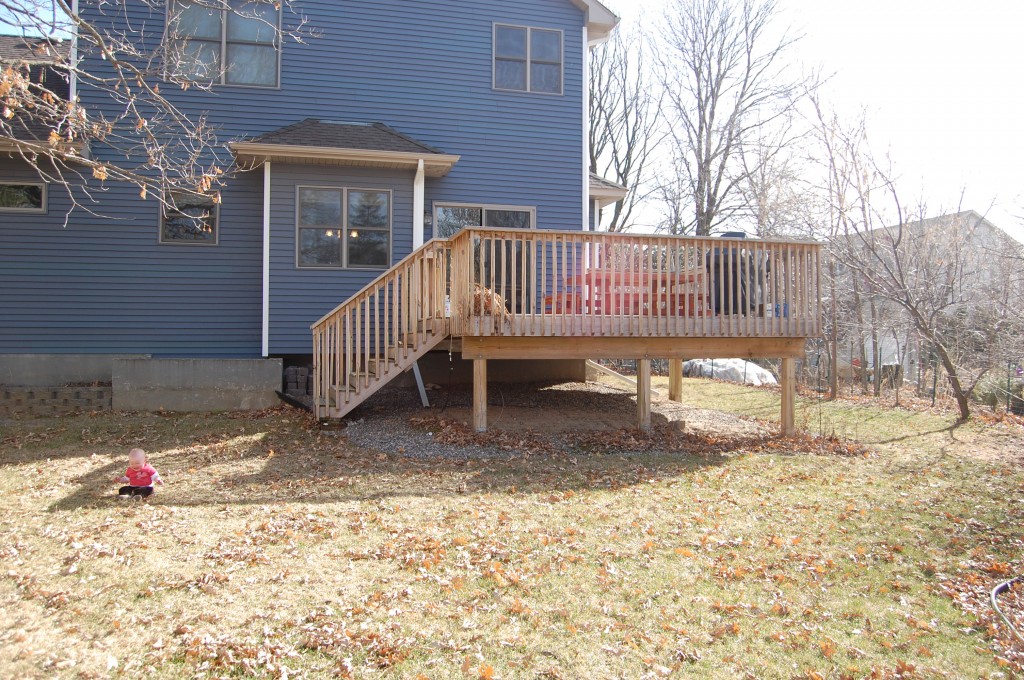
Deck NOW:
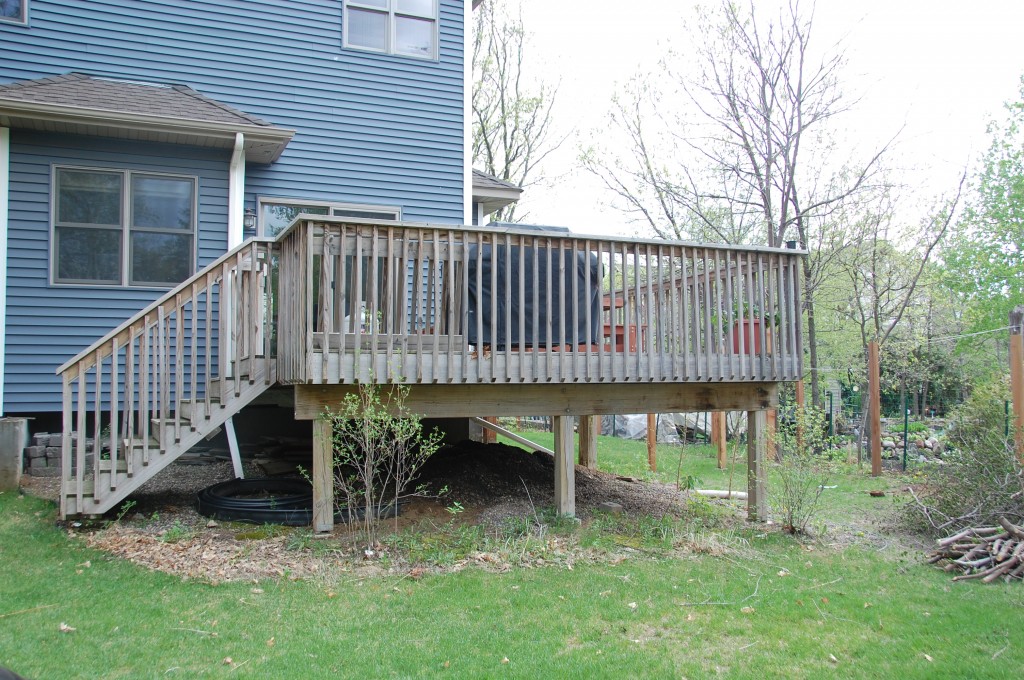
Steps forward: the two dogwood shrubs we transplanted from the rain garden are still alive and kicking.

Steps back: this part of our landscaping makes me want to cry. It’s covered in vicious stinging weeds and upstart maple trees that won’t die, no matter how many times I cut them back. Not to mention that underneath the deck is our current extra landscape materials storage (so not pretty). Oh and the deck is starting to rot and/or come apart in places. It needs to go.

Plan for 2013: make a new top for the outdoor table Peter built a few years ago, including adding a hole to hold a patio umbrella. Try to keep the weeds from taking over completely while we look forward to rebuilding the deck (maybe next year?!?!).

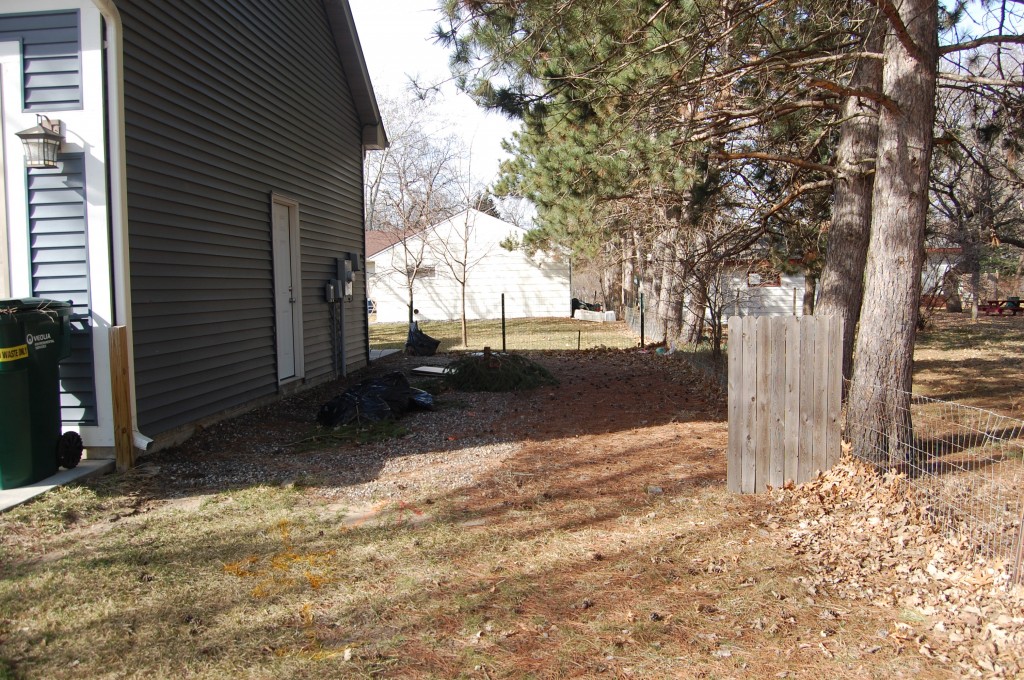
Back yard garden THEN:
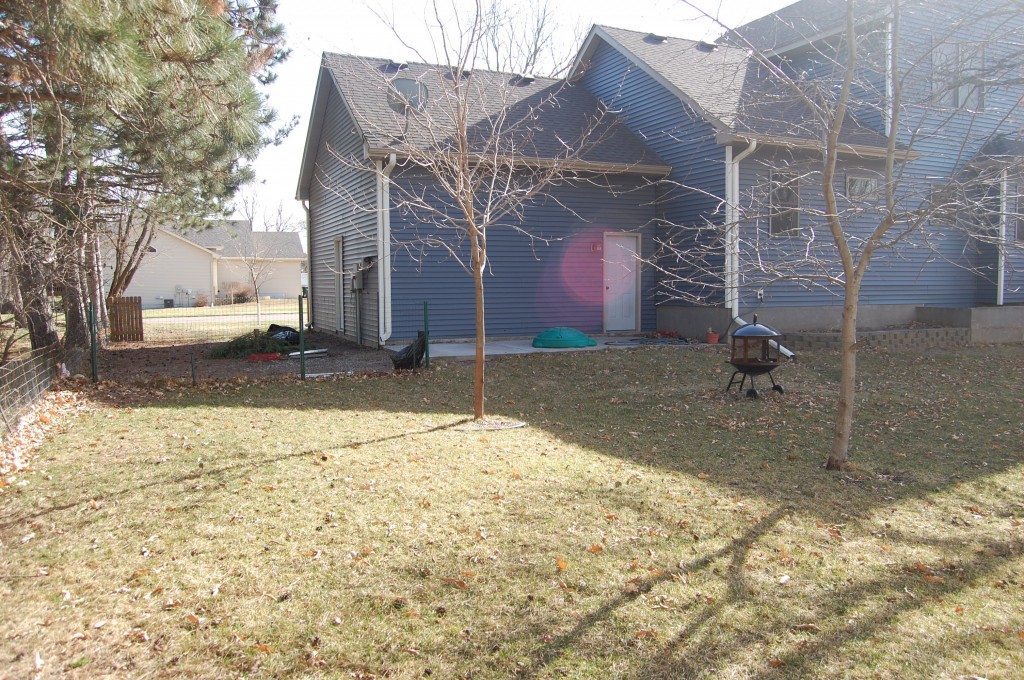
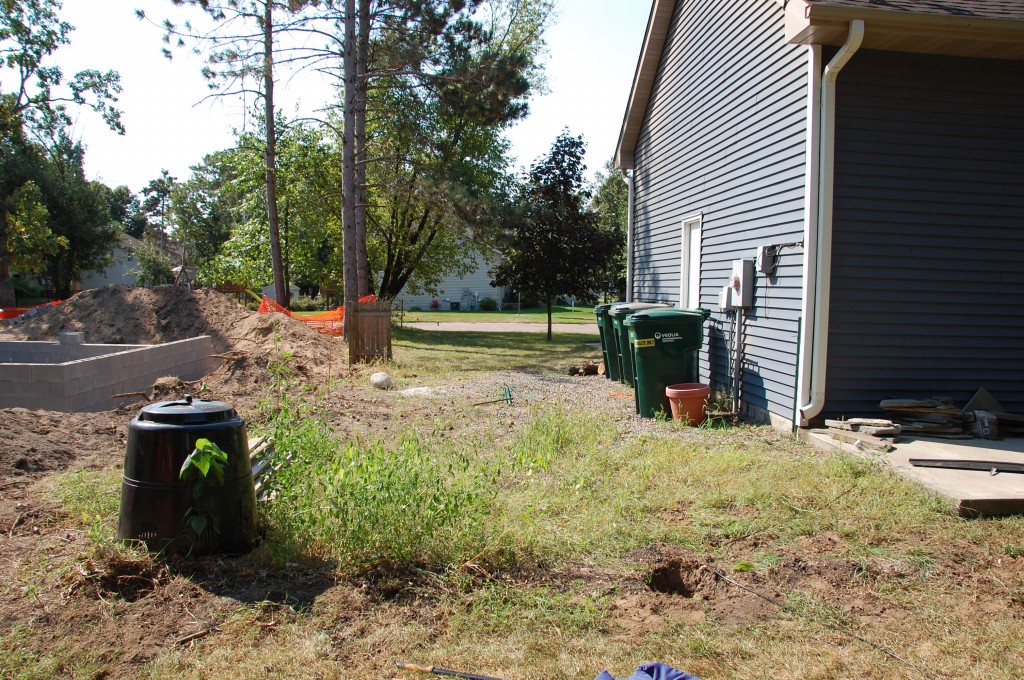
Bonus THEN photo from September last year:
Back yard garden NOW:
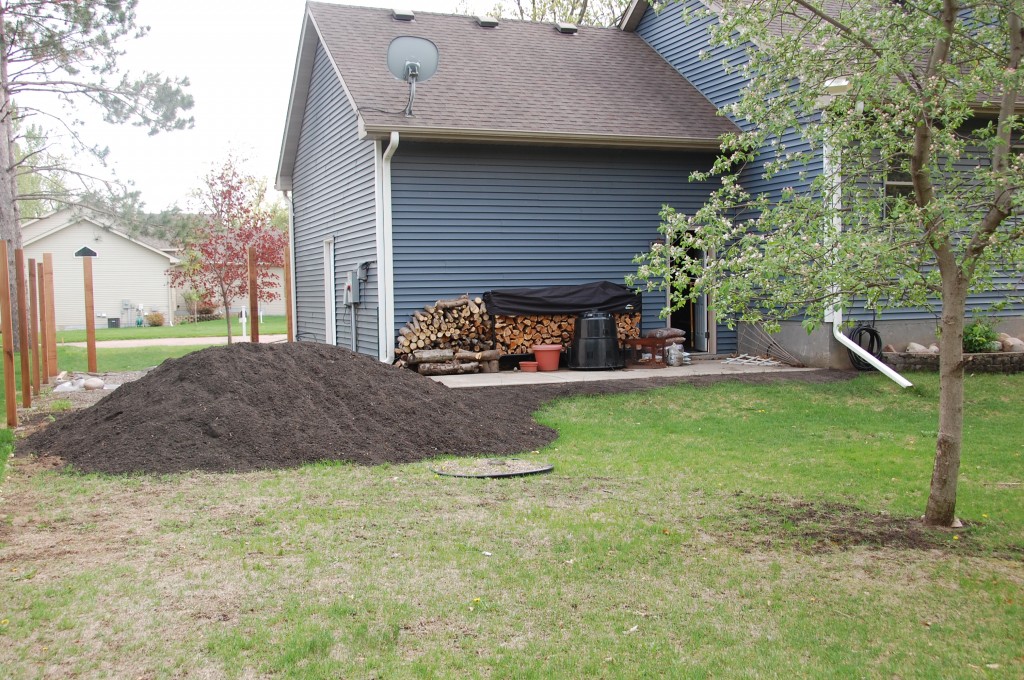
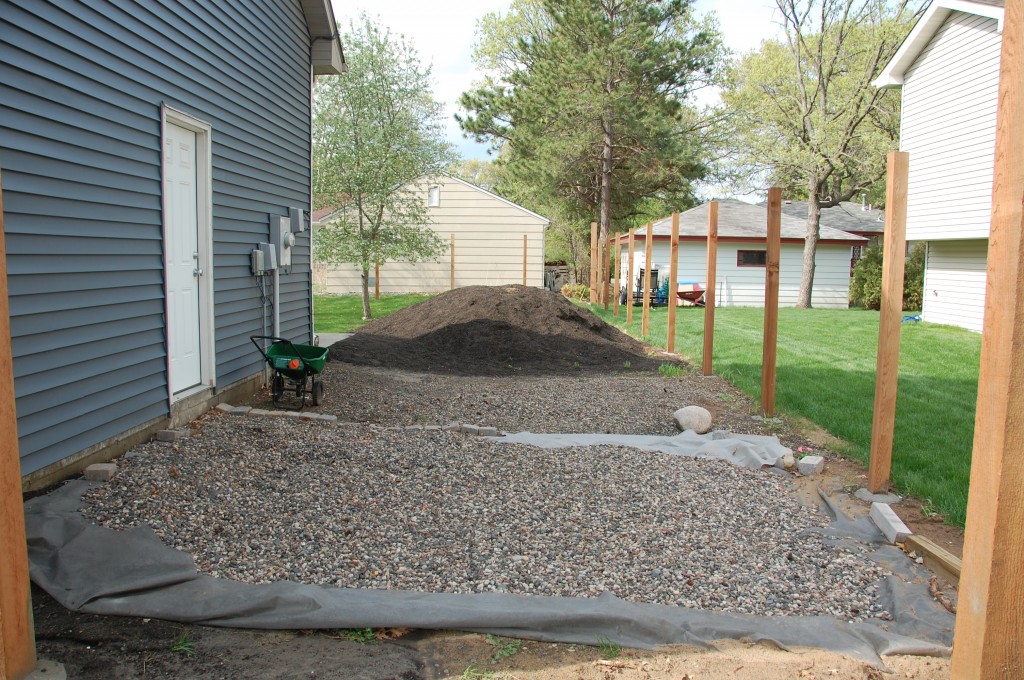
Steps forward: this is probably the part of our yard that has changed the most since we moved in. Last year when they built the house next door they took down a lot of the pine trees that bordered our lot, and we took down the maple that was starting to grow into the apple tree, so this side of our back yard went from dense shade to full sun. So we’ve done tree removal, weed removal, moved rock, got a huge load of black dirt and leveled out the ground so the concrete patio isn’t sticking out.

Steps back: removing all the trees just before a hot dry fall meant the grass fried. Also have a maple stump and rock circle that have become an eye sore without the distraction of an actual tree.

Plan for 2013: remove maple stump/tree circle, add raised garden beds along the side of the fence for a kitchen garden (hooray for full sun!!!), finish raking up loose rock next to the house into a smaller area to create a landing spot for the garbage cans just inside the fence, then grow lots of new grass!

Mailbox THEN:
No picture available because it was inconveniently located several houses away.

Mailbox NOW:Steps forward: this was one of Peter’s fall projects last year. We let our new next door neighbors have our old mailbox location so that we could move ours in front of our house. Peter built the stand and newspaper box from scratch and then jackhammered through a layer of asphalt to pour concrete and set it up. Why is there a layer of asphalt just inches beneath our grass on that side? We don’t know, although it gives us a hint as to why we could never get grass to grow in that corner.
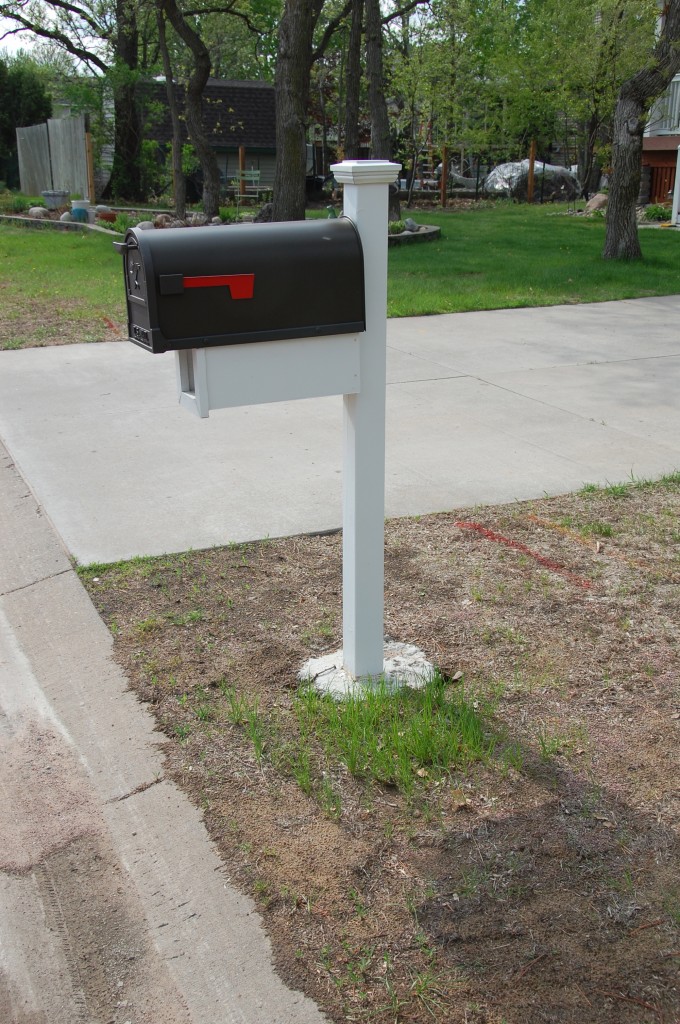
Steps back: discovering asphalt under our lawn… enough said.

Plan for 2013: jackhammer up the rest of the asphalt in the corner so I can plant some flowers ‘n’ things and make that corner worthy of the pretty, shiny, new mailbox.

So there you go. Looks like we are going to have a busy summer. And now that this is so long that no one will read to the end, I want to get outside and see how the fence is coming, so I’ll say TTFN and catch you later!
A Frances the Badger Birthday Party

So sorry to suddenly drop off the face of the blog planet.  The weather has FINALLY turned here in Minnesota and the girls and I have been spending every free minute outdoors.  That added to Peter’s birthday, Mother’s Day and the fact that our fence is being installed (yes, we are actually getting the long awaited fence) has added up to not much time for blogging.

But I’m back this evening, blogging from my front porch.  The birds are singing and the bugs haven’t started biting yet.  Oh how I adore spring!  Baby animals chattering, flowers and plants poking out, I’m in love with all the world.  Except for the rabbit that ate four years worth of growth off my Trillium.  That bunny can die a long, slow, painful death from all of the Lily of the Valley that he also greedily devoured.  But other than him, yes, I’m in love with all the world.

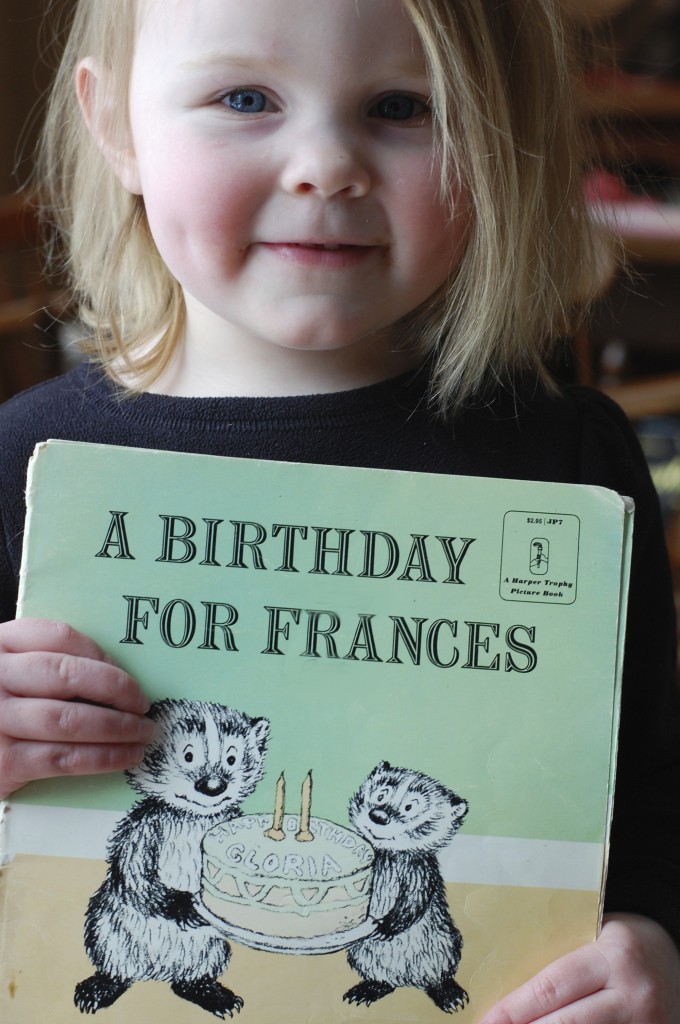
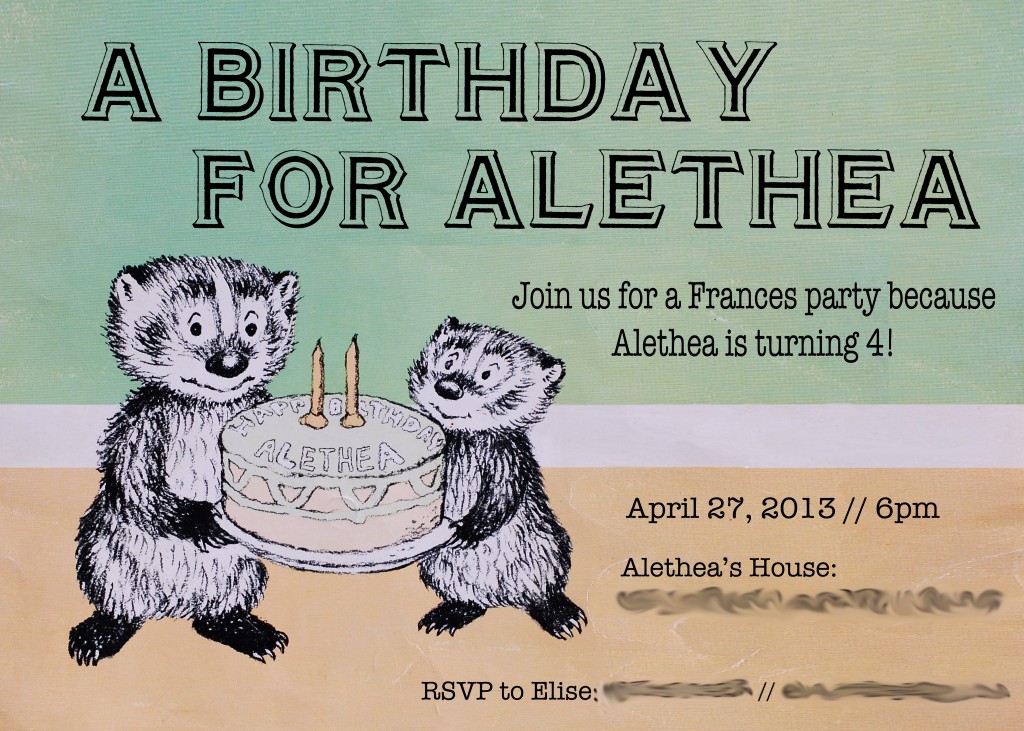
Anyhow, enough about the weather.  Back at the end of April, we had Alethea’s birthday party.  Lately she has been enjoying the Frances books by Russell Hoban, particularly A Birthday for Frances.  Thus her request for a “Frances party”.

For those of you who don’t know, Frances is a badger and the books were written in the 1960s and 70s, so not the sort of theme where you can just run into Party City and pick up a bunch of theme appropriate paper goods.  Instead, I used the color scheme from the book’s cover (pink and green), and taking as many cues from the book as possible, here’s what I came up with for invitations, decor and favors:

After last year’s bumblebee extravaganza, which was super fun, but also a bit crazy, I decided to go for a much smaller, mostly family guest list and I e-mailed out the invites instead of getting them printed up.

Peter gave me Photoshop Elements for Christmas two years ago and I think I’m just finally getting the hang of it.  I have to admit that I was almost giddy with pride when I managed to change the name on the cake from “Gloria” to “Alethea”.  Photoshop rookie for the win!

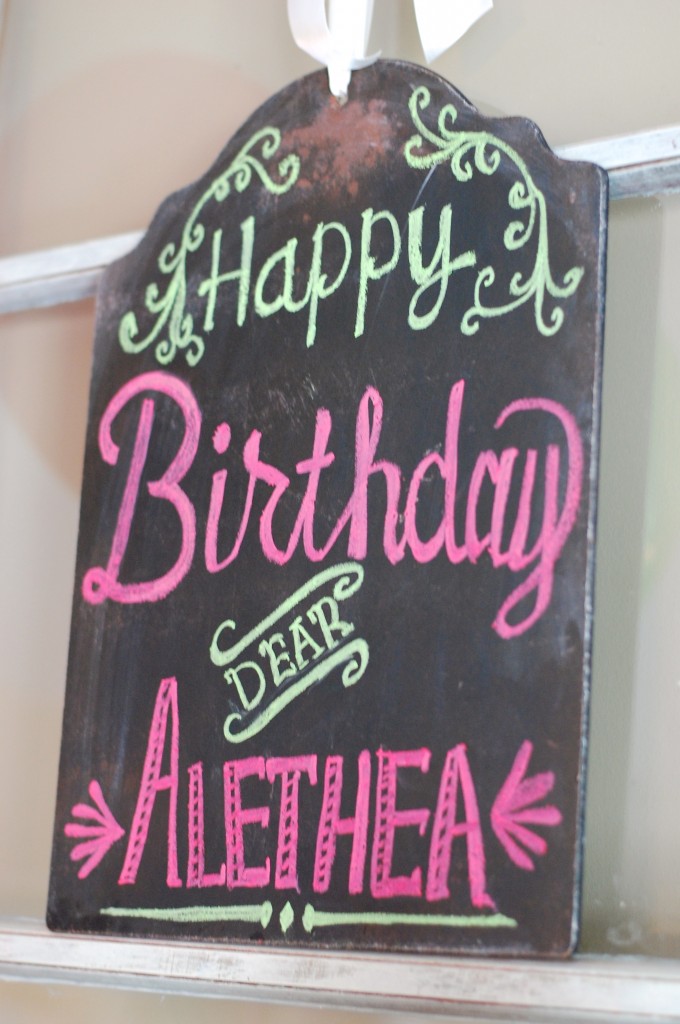
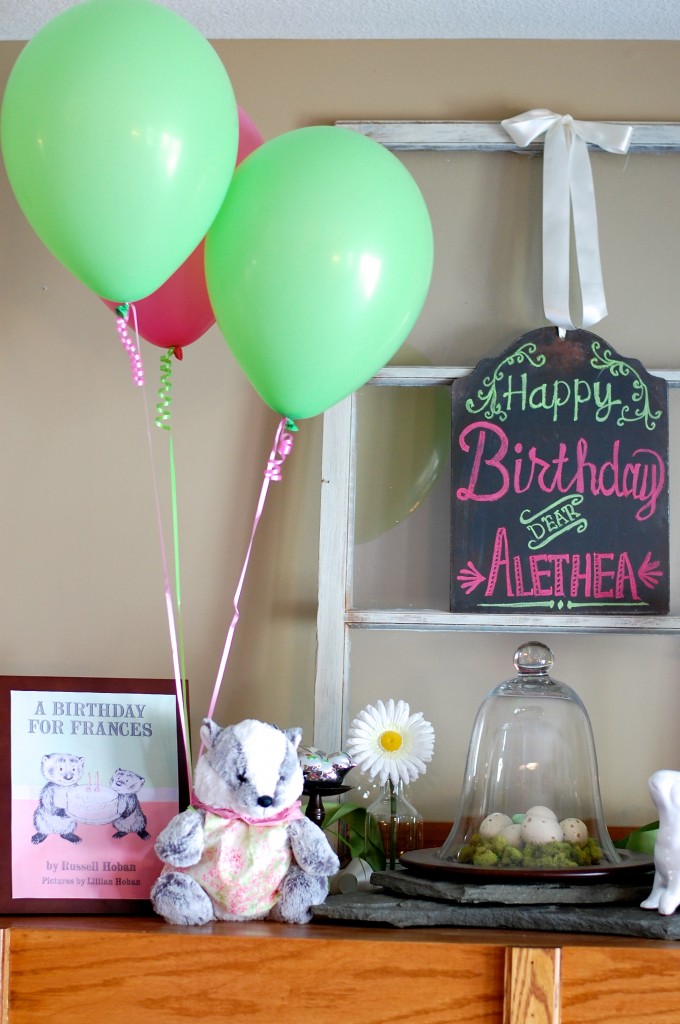
With the guests invited, I moved on to the decor.  I knew I wanted something special on the mantle, but didn’t want to totally revamp my spring decor, so I changed out my Easter chalkboard for a birthday themed one…

Also on the mantle was a balloon bouquet.  Alethea specifically requested a “Frances balloon” and I know she was thinking of a mylar balloon with a Frances badger on it, but since the only badger balloons I could find featured the slightly scary Wisconsin badger, I decided to go with the next closest thing, which was a plush badger holding balloons…

Alethea was very excited that Frances actually came to her party and was even wearing a custom made party dress thanks to Gramma Denny.  Frances appeared the morning of the party, but I told Alethea she had to leave Frances up on the mantle until she opened her presents.  So instead of playing with Frances, she stood looking up at her and said things like, “I’m so glad you’re here, Frances.  You have balloons!  Two green and one pink!  We have more balloons over here, but these are MY balloons.  Those three are yours.”  I always have to laugh when I listen in on Alethea’s conversations with her stuffed friends.  Those plush animals are so very real to her right now.
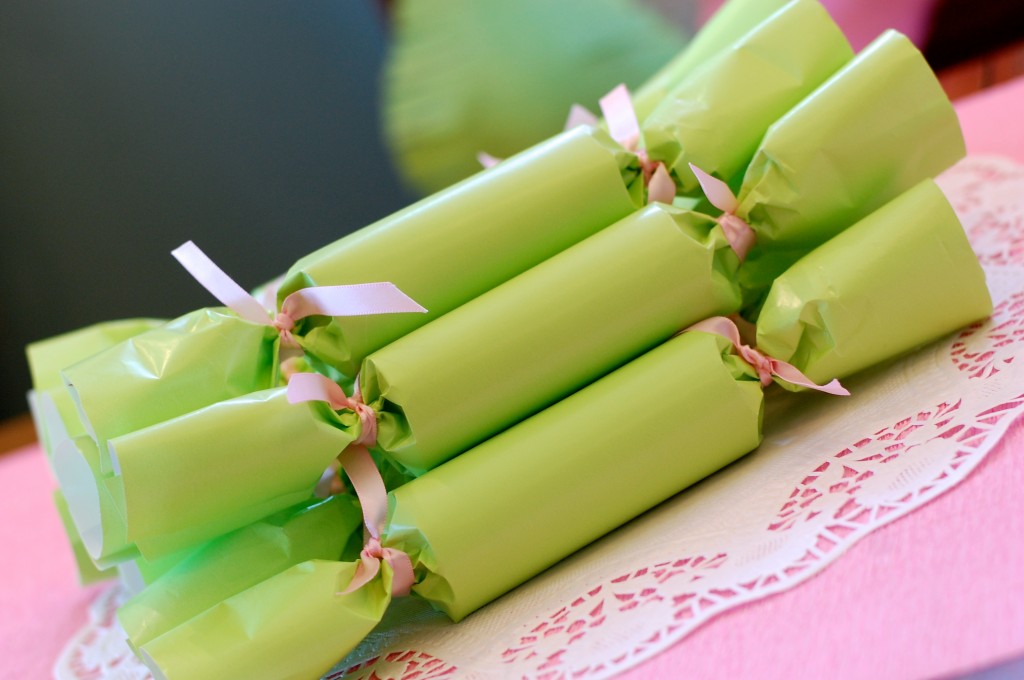
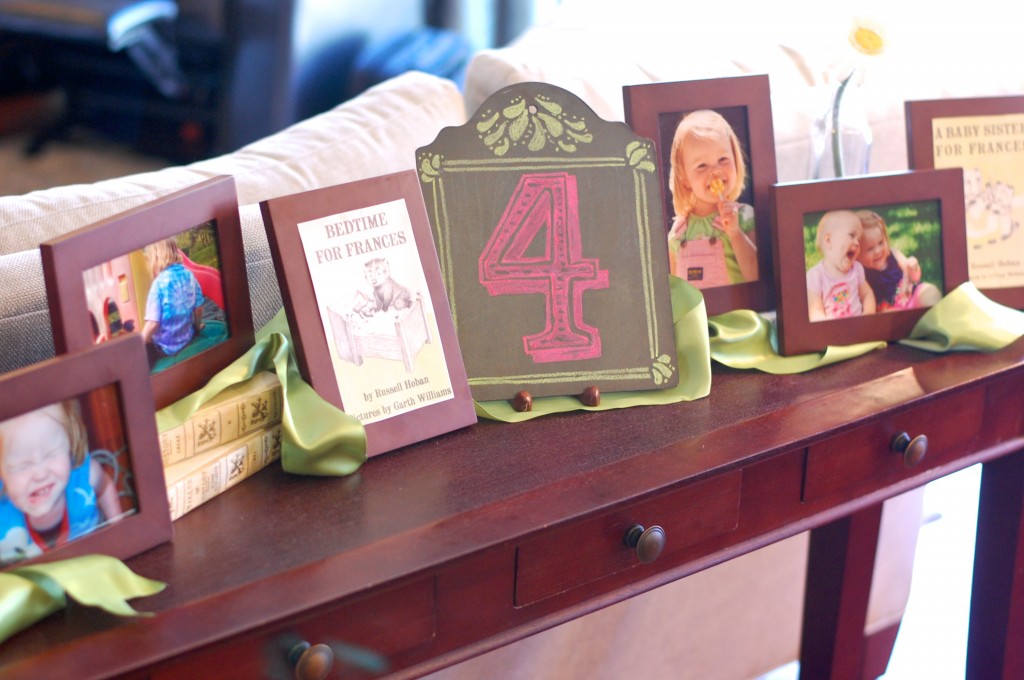
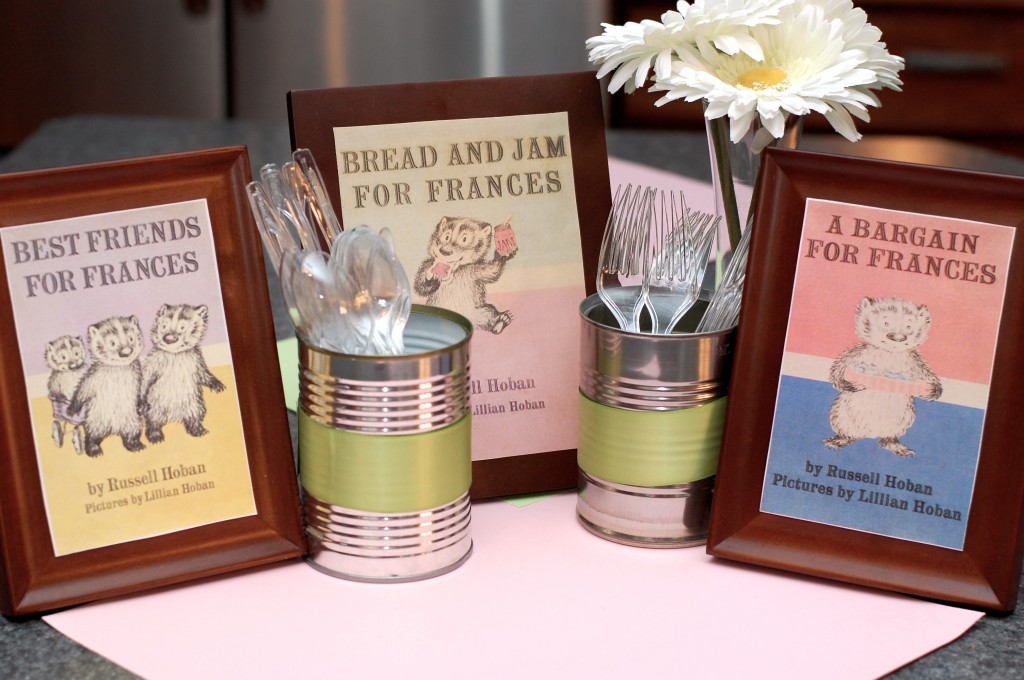
This year’s memory table (aka the console table behind the couch) held the usual assortment of pictures from the previous year, as well as another chalkboard and two Frances book covers that I printed out for the occasion.

The food and beverage stations featured more Frances book covers.  The menu for the evening was spaghetti and meatballs and peanut butter and jelly sandwiches.  If that menu sounds a bit odd, it might be because you’ve never read Bread and Jam for Frances, in which case, let me recommend that you do so, because it is one of the best children’s books of all time.

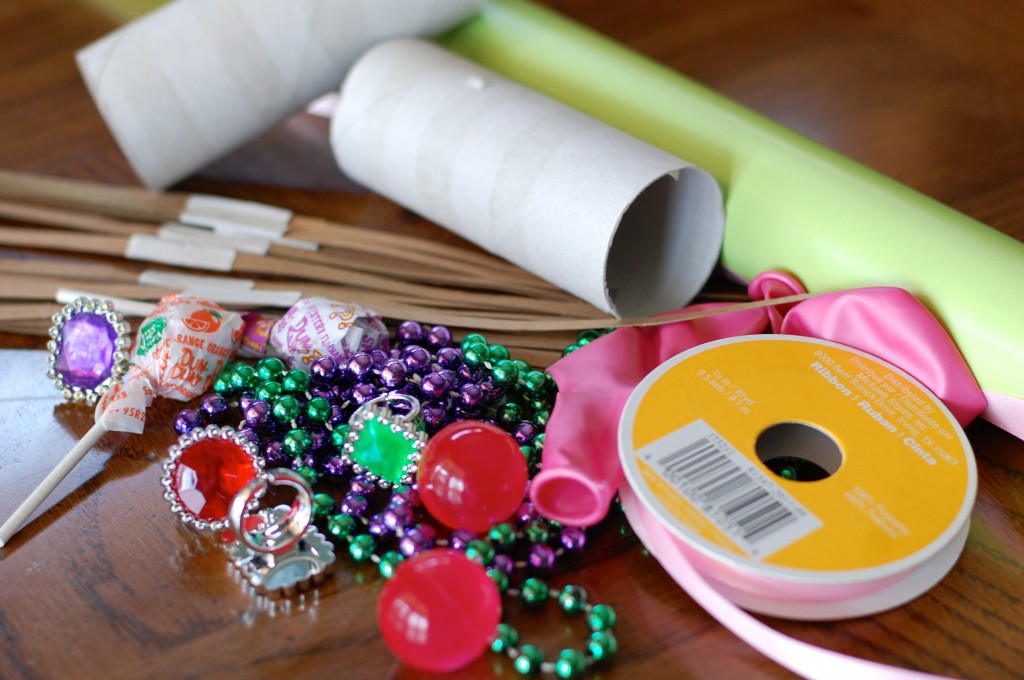
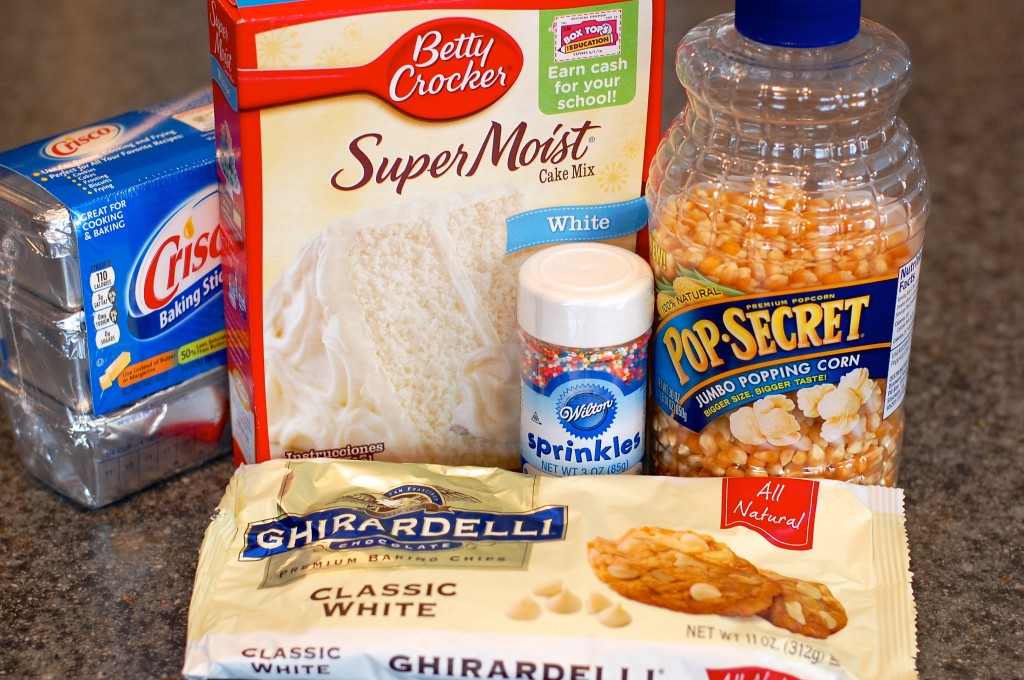
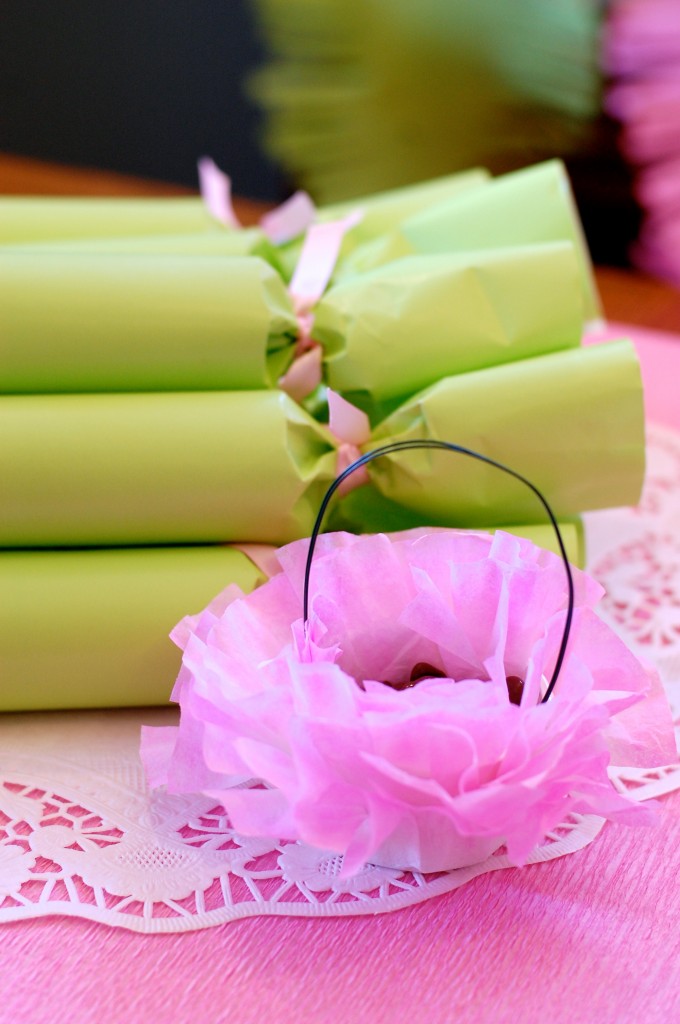
I took the favor ideas straight out of the book, which were party poppers and little baskets of gumdrops and chocolate covered raisins.  (Actually in the book they are chocolate covered peanuts, but choking hazards and kids birthdays aren’t a great mix.)  I DIYed the baskets using these instructions.  And my neighbor and I put together the party poppers with these supplies…

I found a place online to buy the cracker strips.  They weren’t as loud as I thought they’d be, more of a ‘pop’ than a ‘bang’, but maybe that was a good thing.  In the end I think we used too much tape to hold everything together, so they were a little hard to pull apart.  The kids didn’t seem to care though, they were mostly interested in the goodies inside.

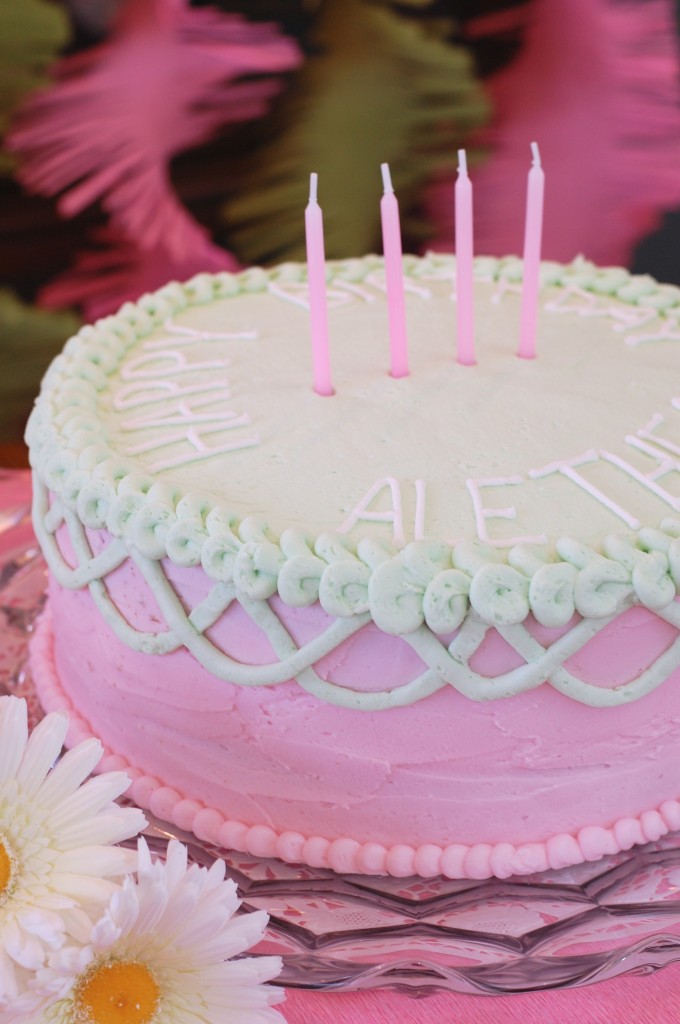
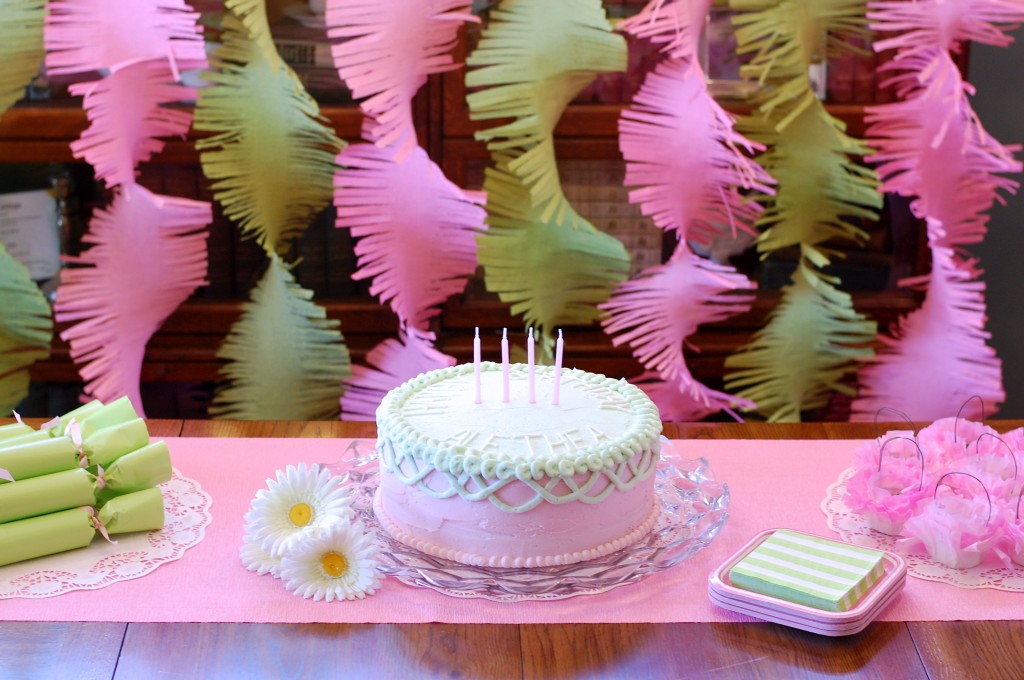
Another of Alethea’s requests was a cake “just like the one in the book”.  I knew I’d never survive all that piping, so I had my friend make the cake and she did an absolutely amazing job.  It was beautiful and also gynormous since she used two 12 inch rounds!

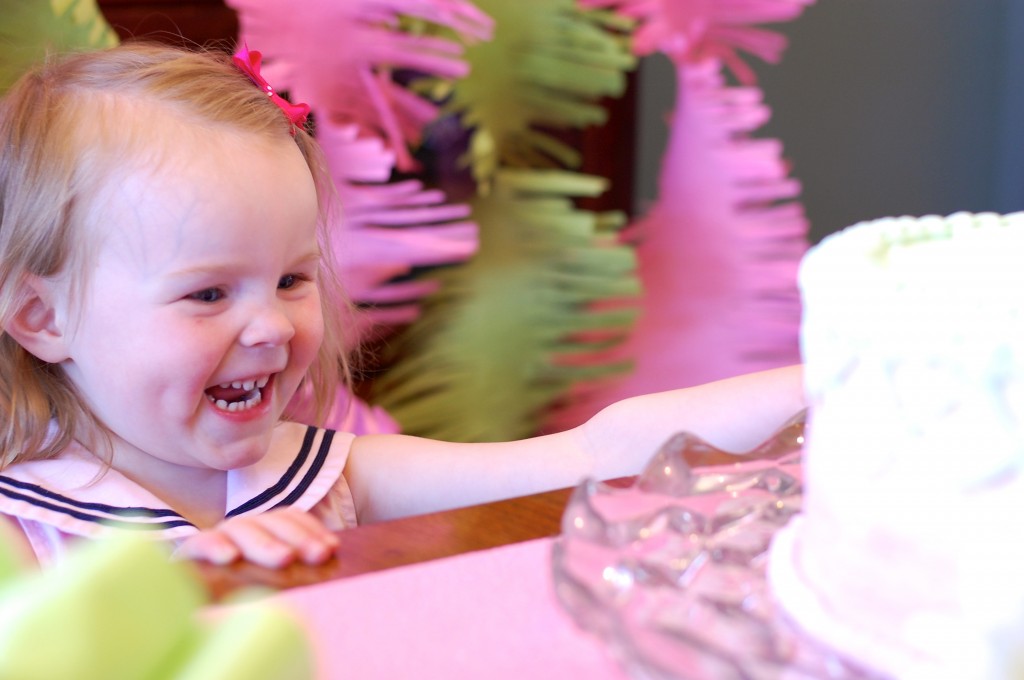
Alethea was quite pleased with the end result!

And here is what the cake table looked like once I got everything put together.  (Plates and napkins from Target, doilies and oversized pink candles from Party City, big fringe streamers DIYed using instructions here.)

Whew!  There you go, my best attempt at a Frances the Badger birthday theme.  And now, since this post is already way too long and it’s getting late, I’ll have to get the actual party pics up later, but never fear, they are coming.

Thanks for stopping by to share in the fun!

To view more BobbleHeadBaby celebrations, visit my Parties Page!

Easy Gourmet Popcorn Recipe

A couple weeks ago a friend of mine was organizing the decorations and treats for a bridal shower at church.  After detailing all of the adorable decor plans and other delights that were being cooked up, she said, “Would you bring something chocolate to nibble on?  I know you’ll come up with something great.”  Flattering, to be sure, but just a bit of pressure because I knew she wasn’t asking for a simple pan of brownies.  So with a busy week ahead, I did the only thing I could do and headed to Pinterest looking for a quickly thrown together chocolate dessert, but one that didn’t LOOK quick and easy.  The only thing I could come up with was some “easy chocolate truffles”, but since our dear friend Martha was the source of said recipe, I had my doubts about the “easy” part.  I decided to not think about it any more until I absolutely had to, hoping inspiration would strike.

Well, sometimes fortune favors the procrastinator, because come Thursday morning, three days before the shower, a wonderful neighbor of mine brought Cake Batter Popcorn for our playgroup snack that week.  It was cute, it was delicious, and she said it was the simplest thing ever to throw together.  It was like the heavens opened, angels were singing, bells ringing…. and I knew right then and there, I don’t have to try to make Martha Stewart truffles!  Hallelujah!  HALLELUJAH!

Here’s the heaven-sent recipe my friend gave me…

CAKE BATTER POPCORN

Ingredients:
One 11oz bag white chocolate chips
1/4 cup vegetable shortening
1 1/2 cups dry white or yellow cake mix (about half a standard boxed mix)
8-10 cups popped popcorn
1/4 cup sprinkles

Directions:
1. Melt the chocolate chips in the microwave by putting them in for 30 second intervals, stirring between each, until the chocolate is fully melted.

2. Add the vegetable shortening to the melted chocolate, and stir until it is melted together. (You can put it back into the microwave for a few seconds if you need to.  The runnier the mixture is, the better!)

3. Working quickly stir the cake mix into the chocolate mixture.

4. Immediately pour coating over the popcorn and toss together to coat evenly.

5. Spread popcorn out on cookie sheets to cool/harden and immediately sprinkle with your choice of sprinkles.

6.  Wait until hardened and then enjoy or transfer to an airtight container for storage.

It really is as simple as that!

Once I’d successfully accomplished the Cake Batter Delight, I decided to try my hand at altering the recipe to achieve a different flavor.  Here’s what I came up with:

CHERRY BROWNIE BATTER POPCORN

Ingredients:
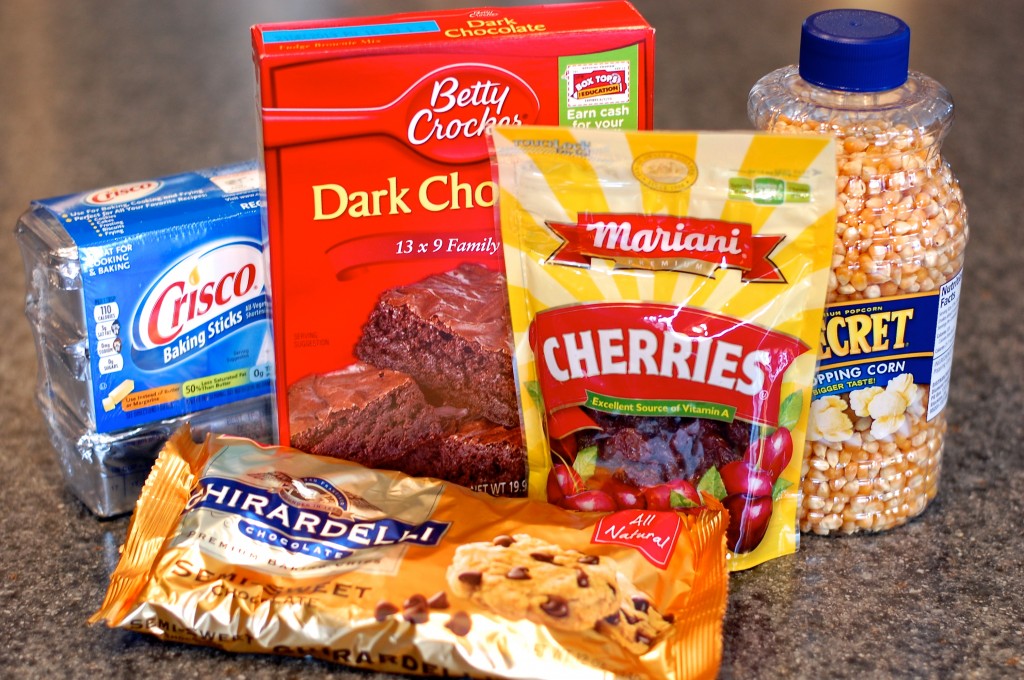
One 11oz bag semi-sweet chocolate chips
1/4 cup vegetable shortening
1 1/2 cups dry brownie mix (about half a standard boxed mix)
8-10 cups popped popcorn
One 5 oz bag dried cherries

Following the same six steps I did for the Cake Batter Delight, I threw together Cherry Brownie Batter Bliss, an equally decadent treat.

After they were both prepared (and had gone through rigorous quality control testing!) I portioned them out into jumbo muffin paper baking cups and took them to the shower.  Yum!

Both treats were delicious, hard to decide which one was better, I was leaning toward the brownie batter, but Peter (who helped with the quality control) was completely in favor of the cake batter variety.  Makes me want to do some more experimenting, because the possible permutations of this recipe are virtually endless.  I haven’t yet tried any other variations, so attempt at your own risk, but I don’t see why you couldn’t build your own recipe like this…

PICK YOUR OWN FLAVOR POPCORN

Ingredients:
One 11 oz bag candy chips (white, milk, dark chocolate, mint, butterscotch, etc)
1/4 cup semi-solid oil (vegetable shortening, peanut butter or coconut oil)
1 1/2 cups dry cake (chocolate, white, red velvet) or cookie (sugar, snickerdoole) mix
8-10 cups popped popcorn
1/4-1/2 cup candy, nuts, sprinkles or dried fruit pieces

Combine ingredients using the same steps as the above recipes.

I’m thinking dark chocolate chips with coconut oil, chocolate cake mix and flaked coconut for an Almond Joy Popcorn, or milk chocolate chips with peanut butter, brownie mix and chopped up Reese’s Peanut Butter Cups for Chocolate Peanut Butter Explosion.  (Can someone get me a job naming ice cream flavors, please!?!) You might be even be able to do seasonal flavors like for autumn using a spice cake mix and candy corn, or Christmas with some white chocolate chips and peppermint bits.

Okay, so now that you are inspired (and maybe hungry) please leave a comment letting me know what flavor combination YOU would choose!

TATT: Regrowing Green Onions

You know one thing I really don’t like about reading DIY blogs and tooling around Pinterest?  It always seems like just when I’m about to write a blog post on a topic, something that seems unique, a project I’ve done or a tip that I figure not everyone knows about, it never fails… a big blogger I follow posts about a similar project or a dozen pins on the topic show up in my Pinterest feed, and suddenly I feel completely unoriginal.  Should it matter?  Oh, probably not, but I do so hate to look like a complete copy cat.

That said, please allow me to feel better about offering you this tip by saying, “I knew about this BEFORE PINTEREST WAS EVEN INVENTED!”  Learned it from my grandmother actually, and you know if someone’s grandma did it, it’s gotta be good, right?

So here we go… regrowing green onions…

We love green onions around here.  I put them on pretty much every green salad I make, whether they’re accompanied by steak, tomatoes and croutons or a lovely combination of grilled chicken, strawberries, and almonds, green onions add a nice extra layer of flavor delight.  But how to always have them on hand when they go bad before we can eat through an entire bunch?  That my friends is the key question, and here is the answer…

1. Buy a bunch of green onions from the store.  Wrap the roots in a damp paper towel and keep them in the fridge, pulling them out as needed over the next few days to cut the tops off.

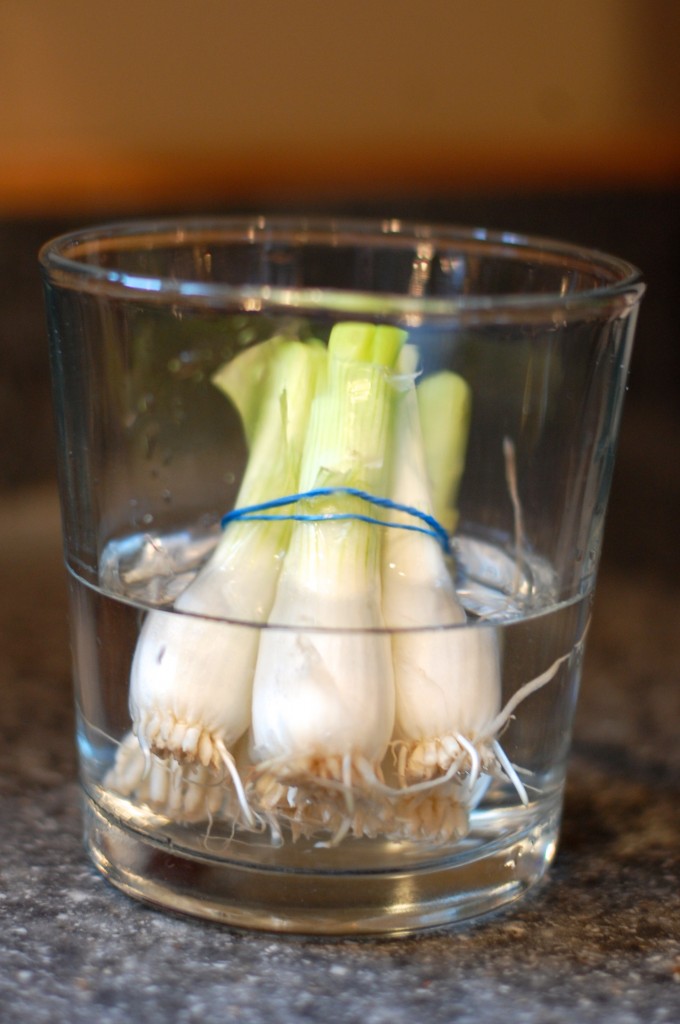
2. Once you have cut back to just above the top of the white part (or after they’ve been in your fridge for several days and you start to worry that they’ll go bad), put the remaining roots into a glass of water and set the glass near a window.  (They don’t need a ton of sun, but obviously any time you’re growing your own food, a little light helps.)

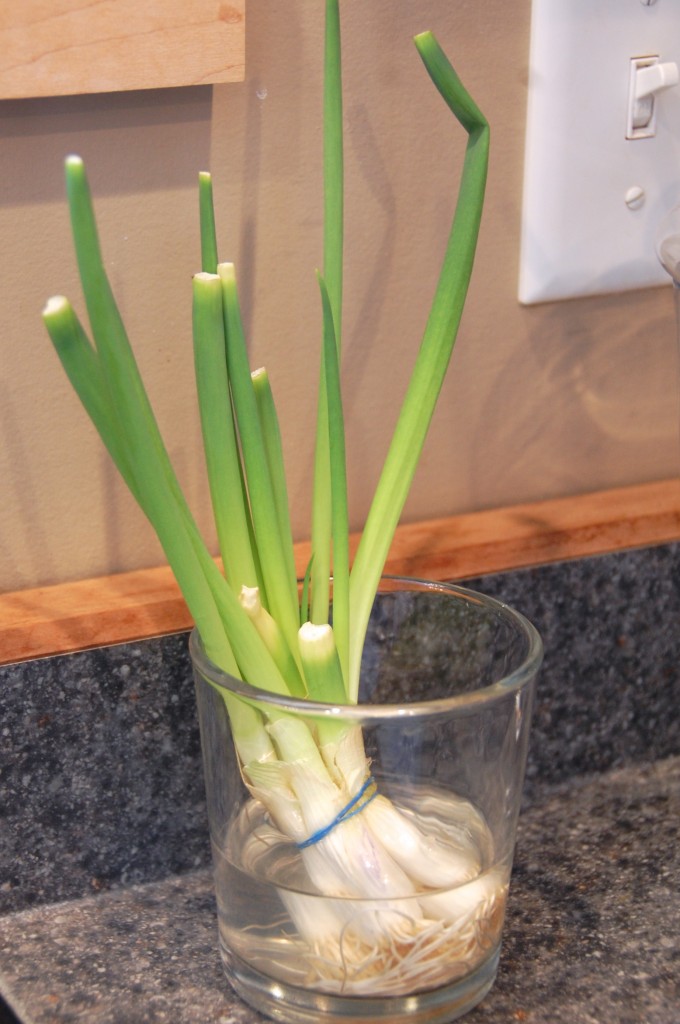
3. Wait a week or so, adding water to the glass as needed.  And you will get something like this…

You can now proceed to clip off what you need and then just set those babies back into the glass of water to keep on growing!

And now the caveats… this only works for a while, the roots will eventually get mushy and the flavor of the onions will become less potent.  When that happens, it’s time to get yourself a new bunch o’ onions.  Also, the water can get stinky, so you might need to change it out periodically if you don’t love the smell of onion water.  But really, who doesn’t?!

So there you go, regrowing green onions, brought to you today by my grandmother, and also a bazillion people on Pinterest apparently.

Happy salads!

Happy Birthday, Alethea!

Isn’t she lovely

Isn’t she wonderful

Isn’t she precious

Since one minute old

I never thought through love we’d be

Making one as lovely as she

But isn’t she lovely made from love

Happy 4th birthday, Alethea Margaret!!!!

You are LOVELY and LOVED!

So glad you’re our girl,

Mommy & Daddy

Lotsa Links

Some links for your Monday…

I’ve been a little out of it lately. Not sure if it’s the weather, but something just seems off, so I loved these tips on how to beat the doldrums.

I think I might try having Alethea and Lydia help me make a couple of these.

This little girl tells me that she wants a little brother because, “We need more boys in our house.”

Being able to have quality one-on-one time is something I’ve been thinking about a lot as Peter and I go back and forth on whether we will try to have more children.

Thought this was an insightful post about using social media.

I’ve sponsored a child through Compassion International for many years now and I’d love to take trip to visit our little girl in Africa someday.  One of my favorite bloggers came back from her sponsor trip and made this simple, but so meaningful piece of art.

Happy Monday everyone!

Not Your Average Spring Day

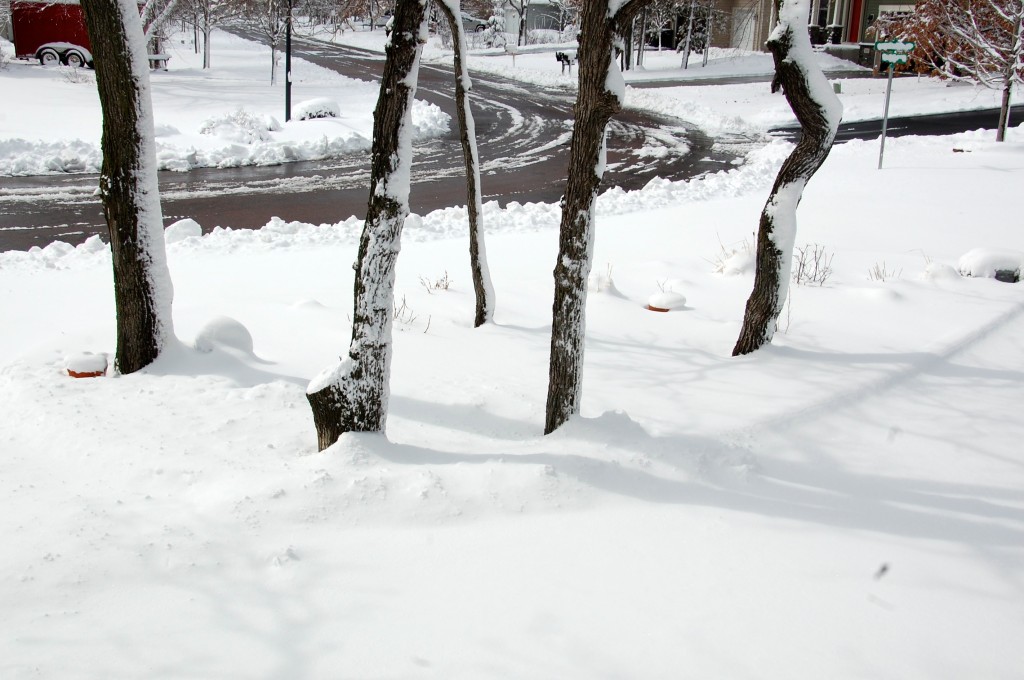
Can’t believe it’s April 19th and there is a fresh foot of snow outside on the ground.  I won’t say I’m thrilled, I’d much rather be gardening, but when your garden looks like this, you just have to find something else to do instead…

So instead of planting flowers or strolling along a sun drenched path the girls and I spent our morning outside doing other things. Like…

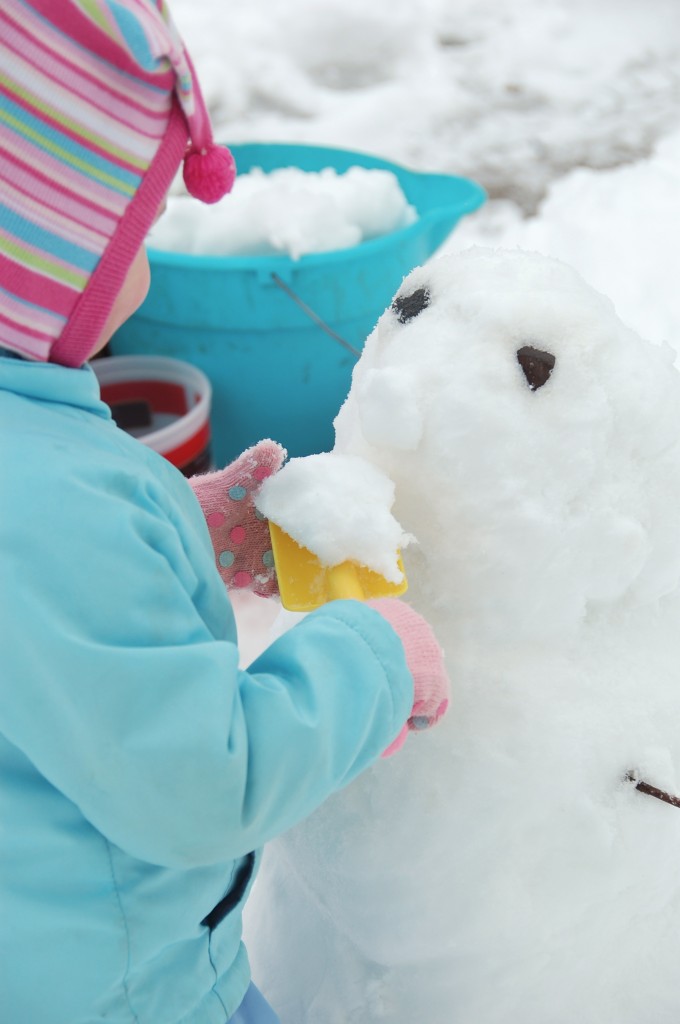
Building a snowman…

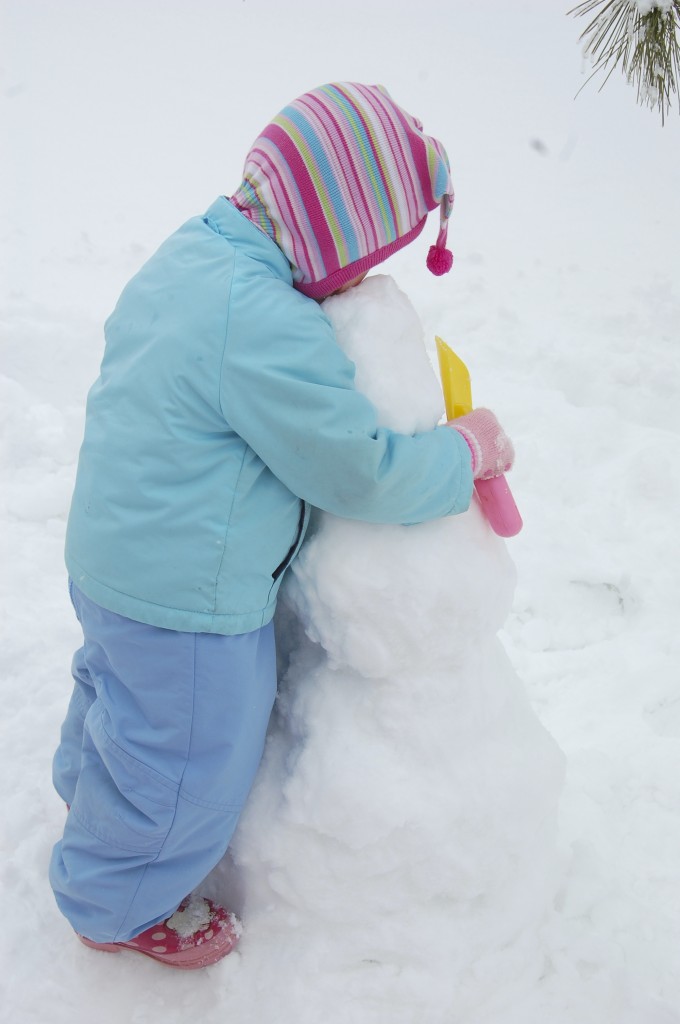
Hugging a snowman and…

Feeding a snowman lunch.  Although I was in formed that our snowman was in fact named “Ms. Snowman” and was therefore a girl.

We also…

Put a ball in our mouth…

And pretended to be a puppy.  And by “we” I mean “just Lydia” because no one else was so brave as to chew on a wet ball from off the driveway.

Additionally…

There was a pine tree close to the snowman and…

Alethea thought it was hilarious that the tree was tickling her.  A bit of preschool humor there for you.

And for our last hurrah, we..

Found a puddle to jump in and had a good time getting soaking wet and then a not so good time becoming very cold.

After which we…

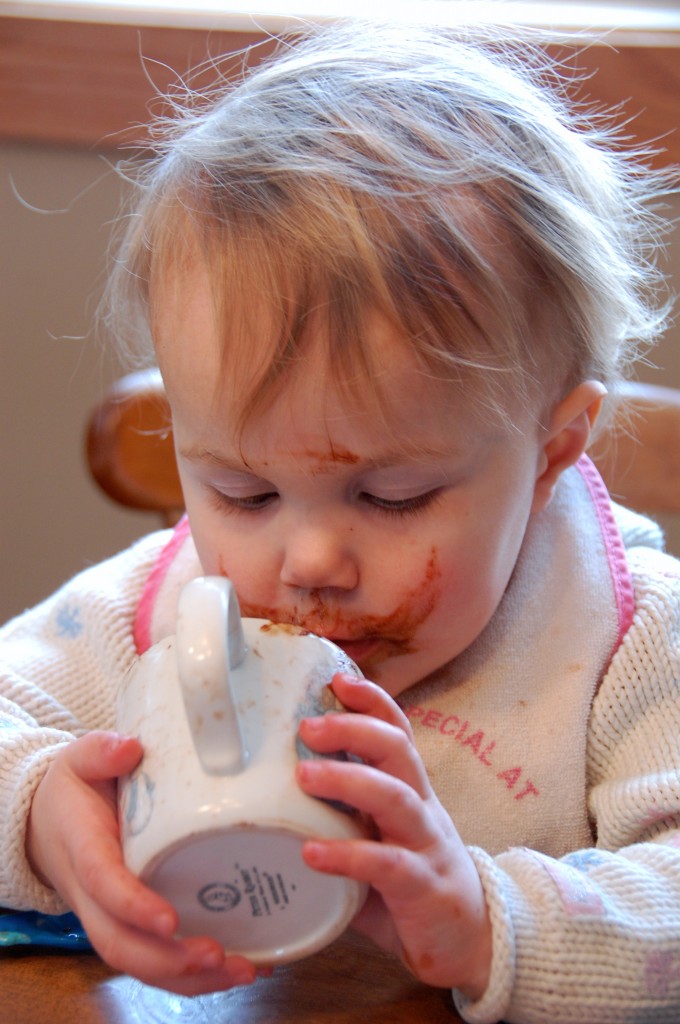
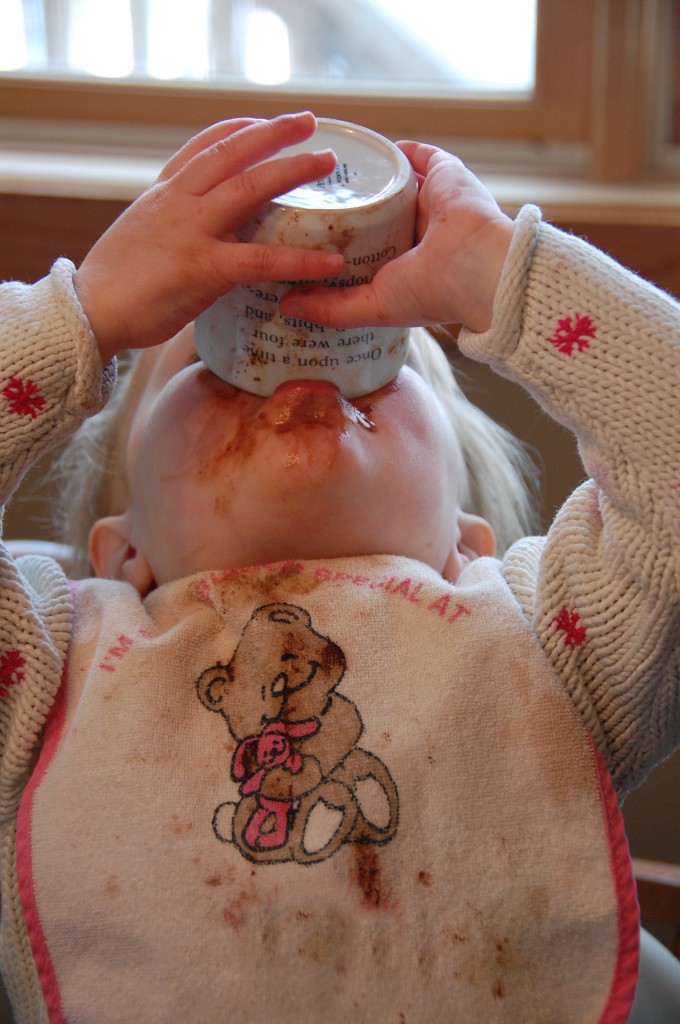
Went inside and had hot chocolate…

Good to the last drop!